Outsole Attaching Operations in Outsole Process: Outsole (Stock Fitting) Assembly Series
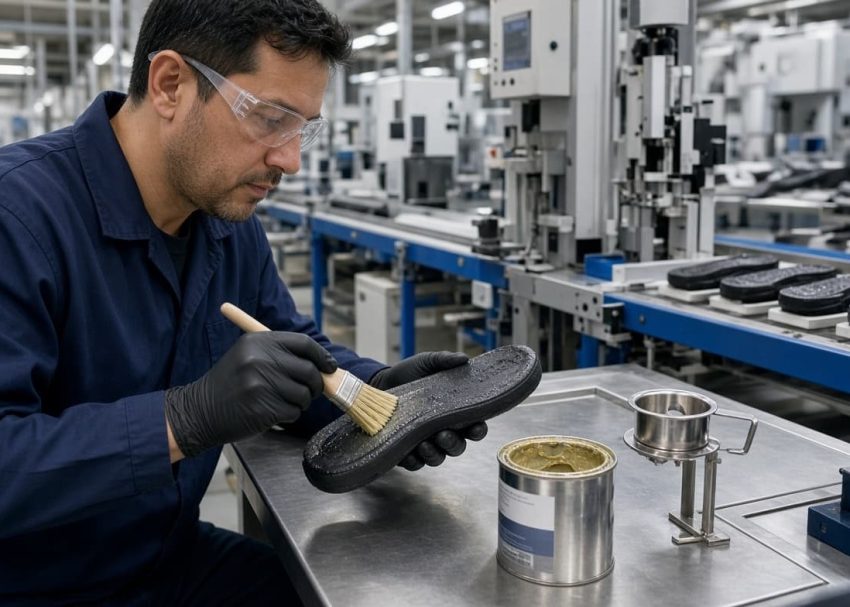
In the previous article, Drying and Activation Operations in Outsole Process, we discussed how adhesive-coated components are dried and activated to achieve the required tack before bonding. Once activation is complete, the adhesive surfaces remain effective only for a limited open time, making the next operation critical.
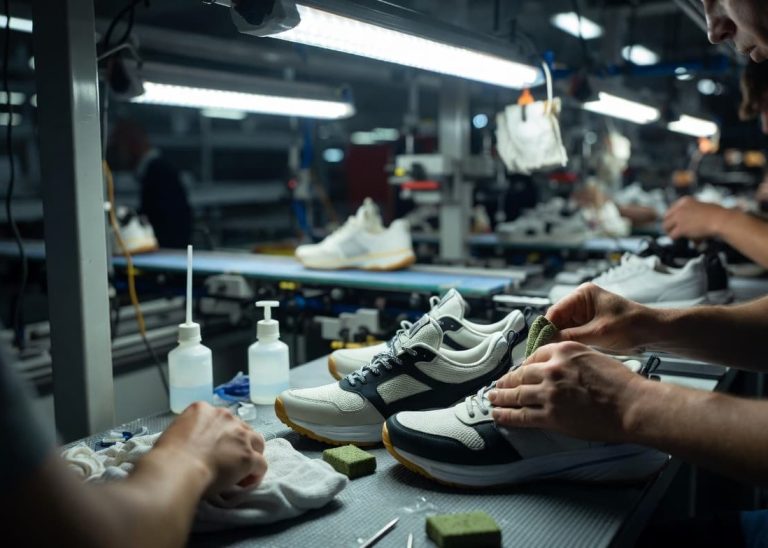
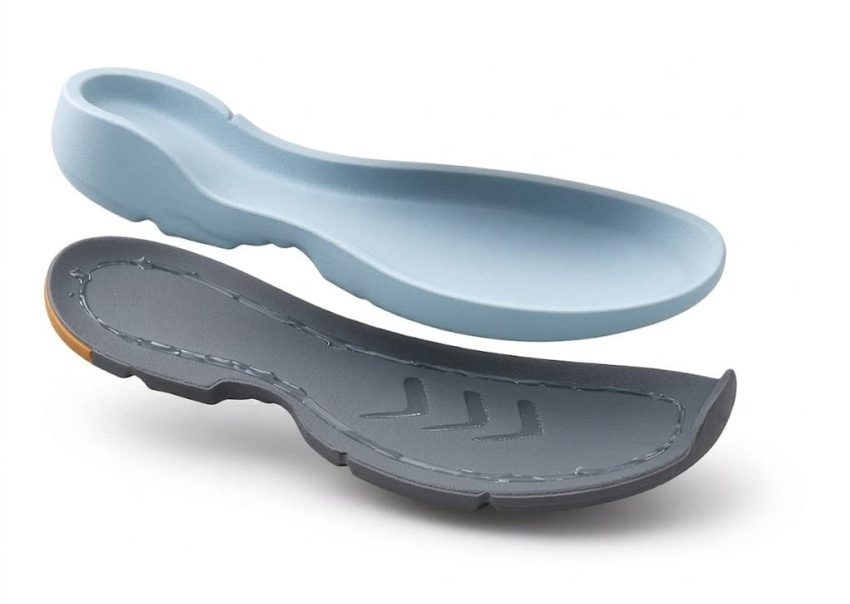
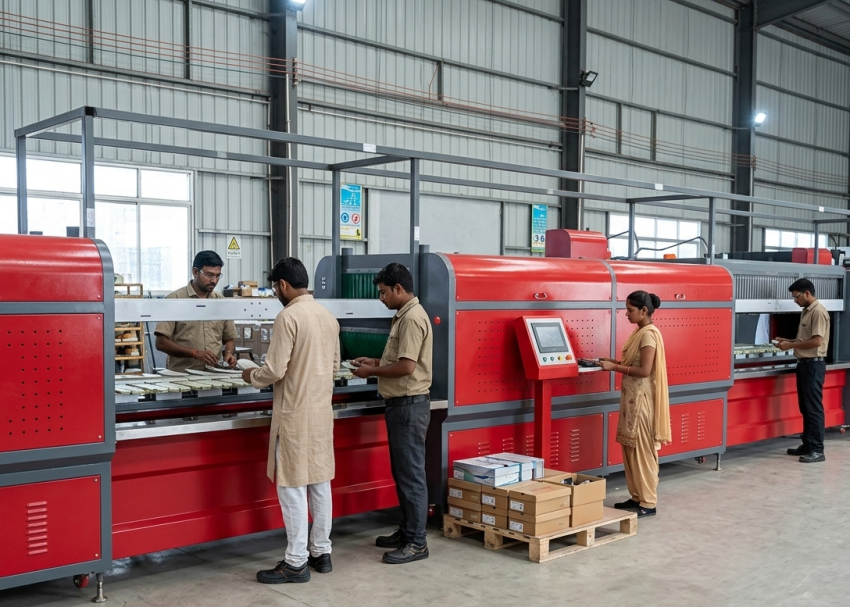
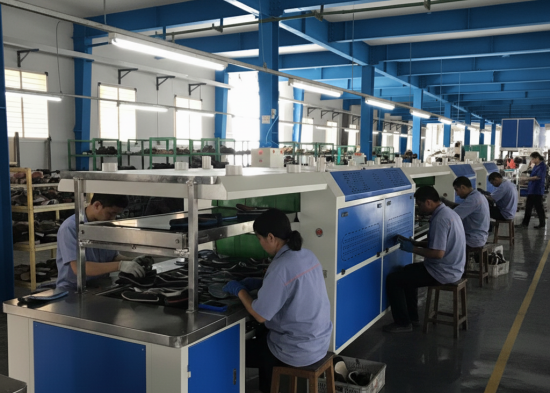
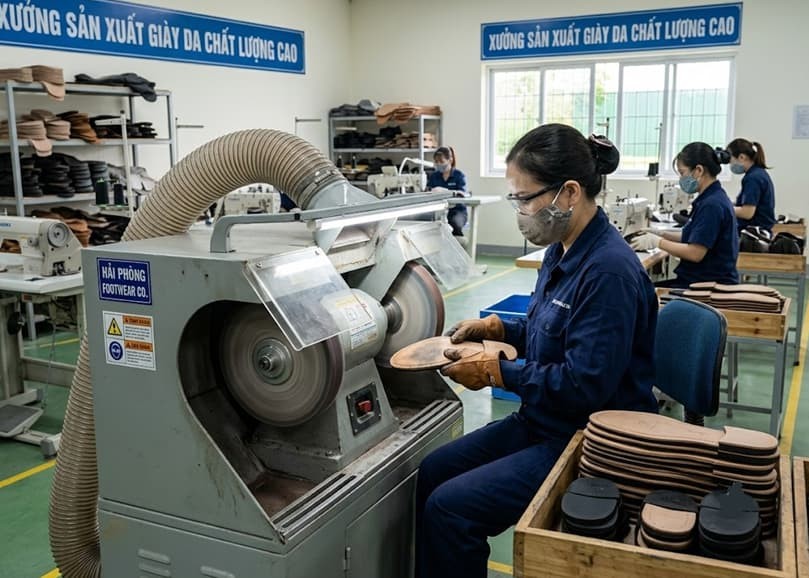
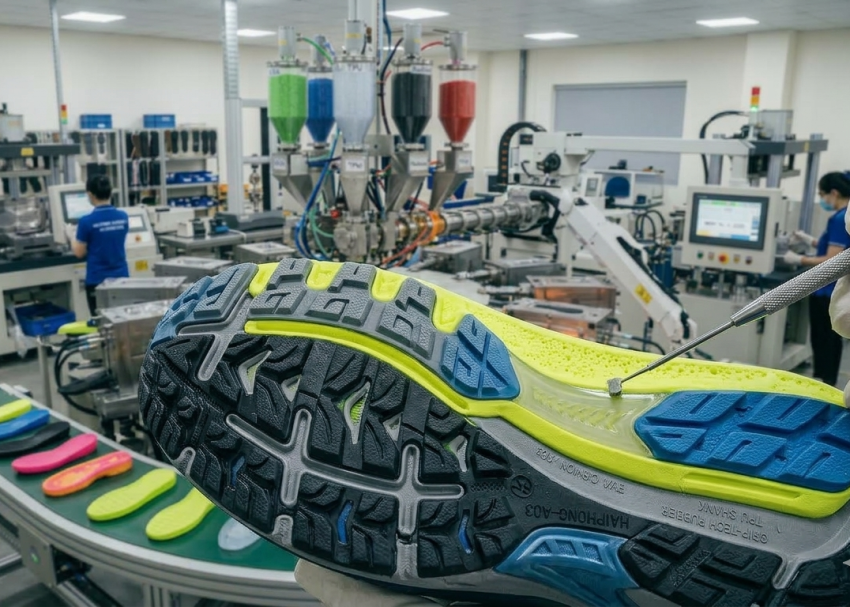
The next stage is Outsole Attaching, where activated outsole components are accurately assembled into a complete sole unit before pressing. Unlike the shoe assembly department, this operation does not attach the outsole to the upper. Instead, it joins components such as the rubber outsole, EVA or PU midsole, shank, welt, heel pieces, and decorative inserts to form the finished outsole package.
A properly assembled sole unit not only improves appearance but also ensures that the following Outsole Pressing Operation develops maximum bond strength across every bonded interface.
What is Outsole Attaching?
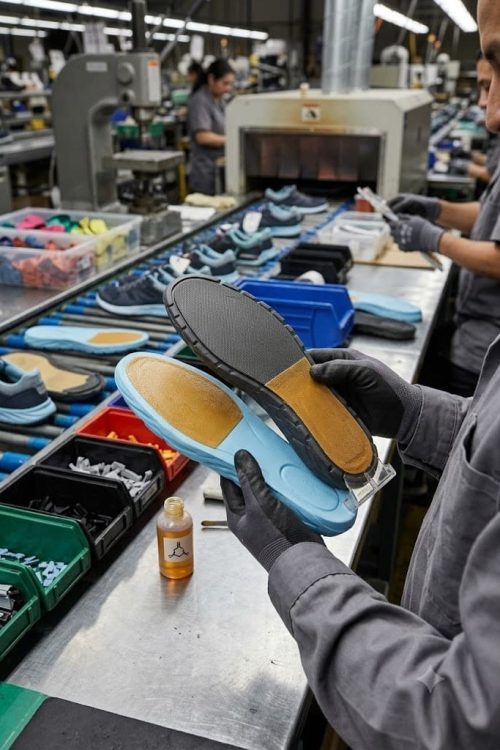
Outsole attaching is the process of assembling two or more prepared outsole components into a complete sole unit after adhesive activation and before mechanical pressing. Depending on the footwear construction, this operation may involve joining:
- Rubber outsole to EVA midsole
- Rubber outsole to PU midsole
- Rubber outsole to TPU midsole
- Rubber outsole to leather midsole
- Midsole to shank
- Rubber outsole to welt
- Heel lifts to outsole
- Decorative rubber inserts
- TPU support plates
- Arch support components
Unlike upper assembly operations, every bonding surface has already been prepared, cemented, dried, and activated. The operator’s responsibility is to position each component accurately within the specified open time before the sole assembly proceeds to pressing. Modern athletic footwear often contains five or more individual outsole components. Every component must be aligned precisely to maintain overall dimensions, appearance, flexibility, and durability.
Key Control Points
- Verify all components belong to the correct shoe size.
- Confirm adhesive activation is complete.
- Assemble within approved open time.
- Prevent contamination of activated surfaces.
Expert Tip:
Use locating fixtures for multi-component outsole assemblies.
Mark centrelines on complex midsoles during development.
Why Outsole Attaching is Critical
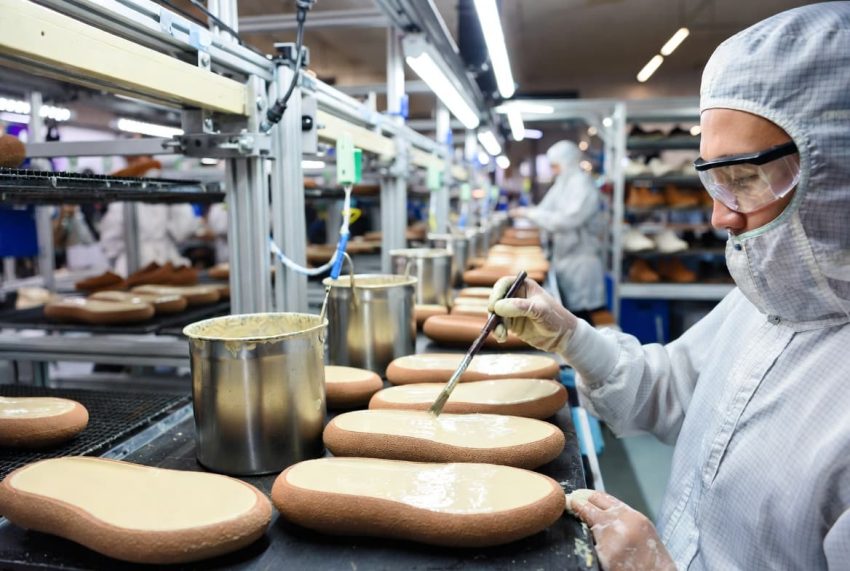
Outsole attaching determines whether the prepared components become a high-quality sole unit or a costly production defect.
Even though adhesive preparation has already been completed successfully, incorrect positioning can result in uneven edges, exposed midsoles, misaligned decorative features, displaced shanks, or inconsistent outsole dimensions. These defects often become impossible to correct after pressing.
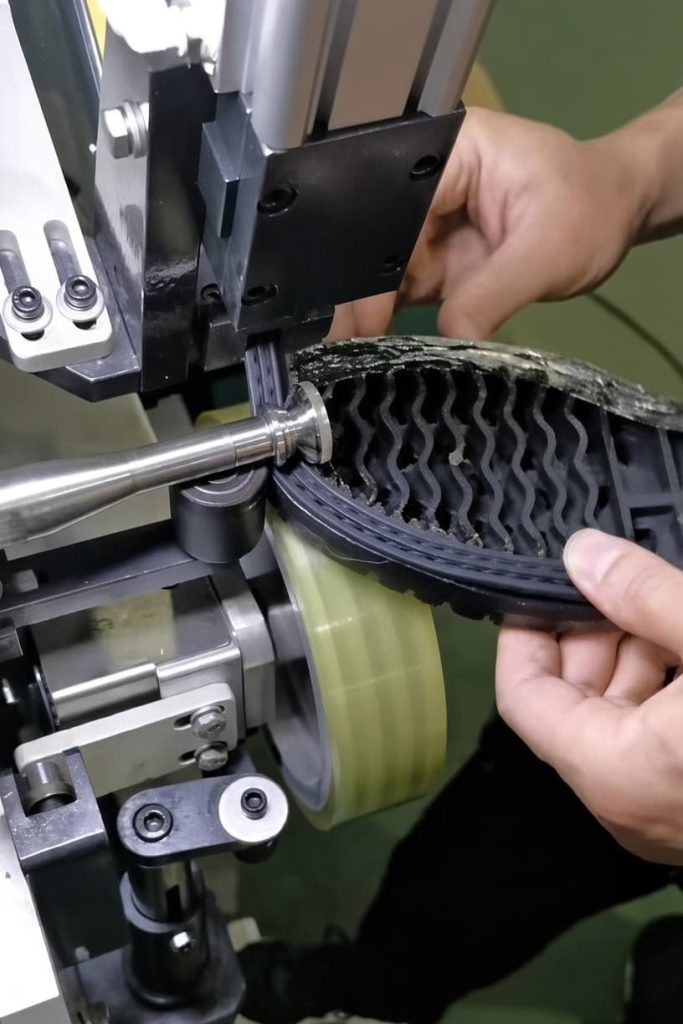
Accurate attachment also ensures that pressure applied during the next operation is distributed evenly across the bonded surfaces. When every component is correctly positioned, pressing produces a uniform adhesive bond throughout the sole package. From a production perspective, consistent attachment minimizes repairs, reduces adhesive waste, improves first-pass yield, and maintains customer quality standards.
Key Control Points
- Maintain dimensional accuracy.
- Ensure component symmetry.
- Achieve full bonding surface contact.
- Reduce repair and rejection rates.
Expert Tip:
Assemble from heel to toe to improve positioning accuracy.
Keep activated components separated until assembly begins.

Components Commonly Joined During Outsole Attaching
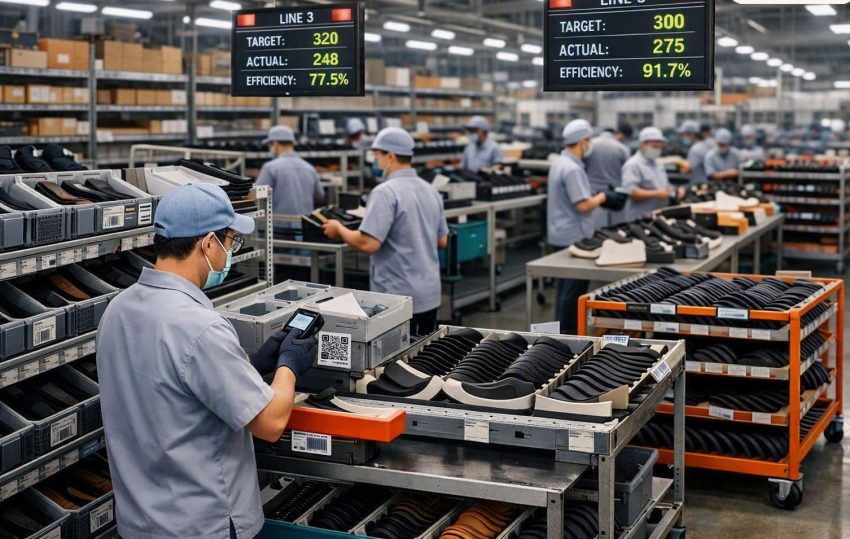
The exact components depend on the footwear construction and outsole design. Sports shoes, safety footwear, casual shoes, and fashion footwear often use different sole assemblies. The most common combinations include:
Rubber Outsole to EVA Midsole
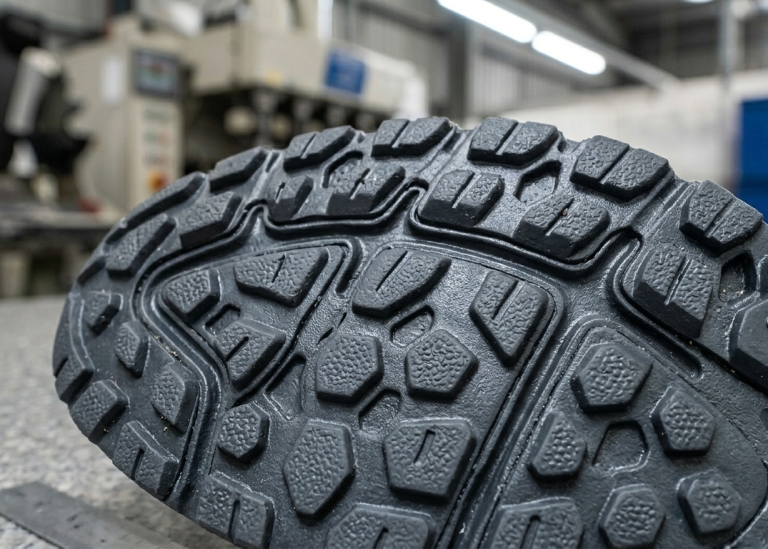
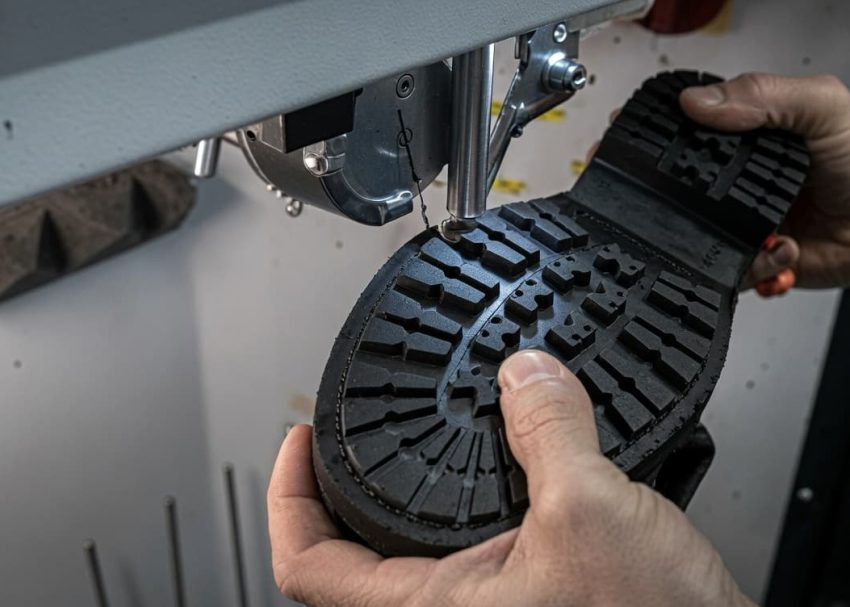
This is the most common construction used in athletic footwear. The lightweight EVA midsole provides cushioning, while the rubber outsole offers abrasion resistance and traction. Accurate alignment ensures consistent edge margins and prevents exposed foam after pressing
Rubber Outsole to PU Midsole
PU midsoles provide excellent durability and energy absorption. Because PU dimensions are generally more stable than EVA, careful positioning is still required to achieve uniform bonding and maintain the designed outsole profile.
Rubber Outsole to TPU Midsole or Plate
High-performance sports footwear frequently incorporates TPU components to improve torsional stability. Operators must align these rigid components precisely because even slight displacement affects both appearance and functional performance.
Midsole to Shank
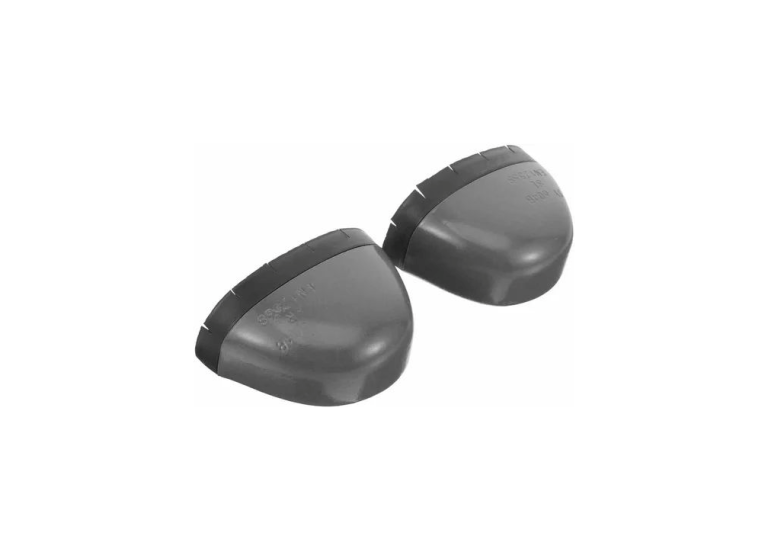
Many safety shoes, trekking shoes, and formal footwear include steel, nylon, fiberglass, or composite shanks. The shank must be positioned accurately within the designated cavity to provide proper arch support without creating imbalance during use.
Rubber Outsole to Welt
Goodyear welted and stitch-down constructions require accurate positioning between the outsole and welt. Consistent edge margins are essential because the welt remains visible in the finished product.
Decorative Components
Modern footwear often includes colored rubber inserts, logos, heel clips, or decorative sidewall elements. Although these components contribute little to structural strength, inaccurate placement immediately affects the product’s visual appeal.
Key Control Points
- Verify correct component sequence.
- Confirm matching sizes.
- Check orientation before contact.
- Ensure all bonding surfaces remain clean.
Expert Tip:
Compare the first assembled sole with the approved master sample every production shift.
Replace worn locating jigs immediately to maintain dimensional consistency.
Standard Outsole Attaching Procedure
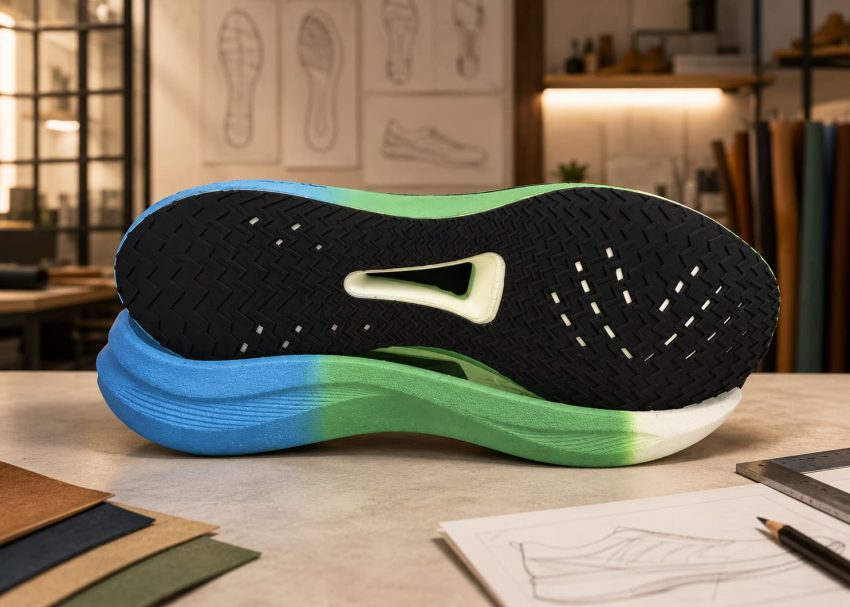
Once all components have been activated, the operator prepares them for assembly. Before bonding begins, each component is checked for cleanliness, correct orientation, and size compatibility.
The assembly normally follows a controlled sequence to reduce positioning errors:
- Identify all activated outsole components.
- Confirm the correct shoe size and style.
- Check orientation marks or locating pins.
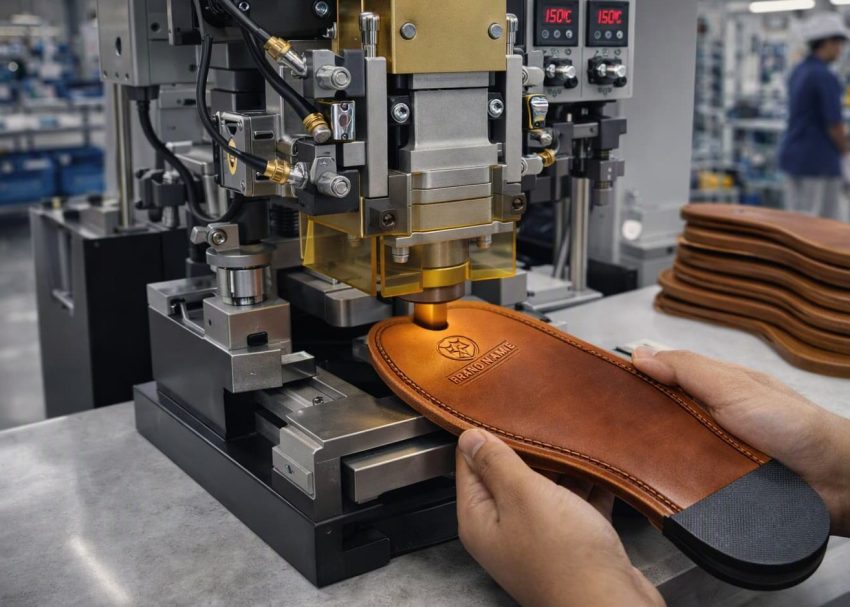
- Position the primary component (usually the midsole or outsole).
- Align the heel reference.
- Align the waist section.
- Position the toe area.
- Locate secondary components such as shanks, heel lifts, or inserts.
- Apply uniform manual pressure across the assembly.
- Transfer the assembled sole package immediately to the outsole pressing station.
Most factories complete this sequence within the approved adhesive open time to maintain optimum bonding conditions.
Expert Tip:
Perform hourly alignment audits for high-volume production.
Use transparent alignment templates during new style development.
Managing Open Time During Outsole Attaching
Once the adhesive-coated components leave the activation station, the countdown begins. The activated adhesive remains highly tacky only for a limited period known as the open time. During this interval, all outsole components must be assembled and transferred to the pressing station to achieve the specified bond strength.
Unlike cement application or activation, where machines largely control the process, open time management during outsole attaching depends on production discipline and operator efficiency. Delays caused by material shortages, workstation congestion, or poor line balancing can reduce adhesive performance before the components are pressed.
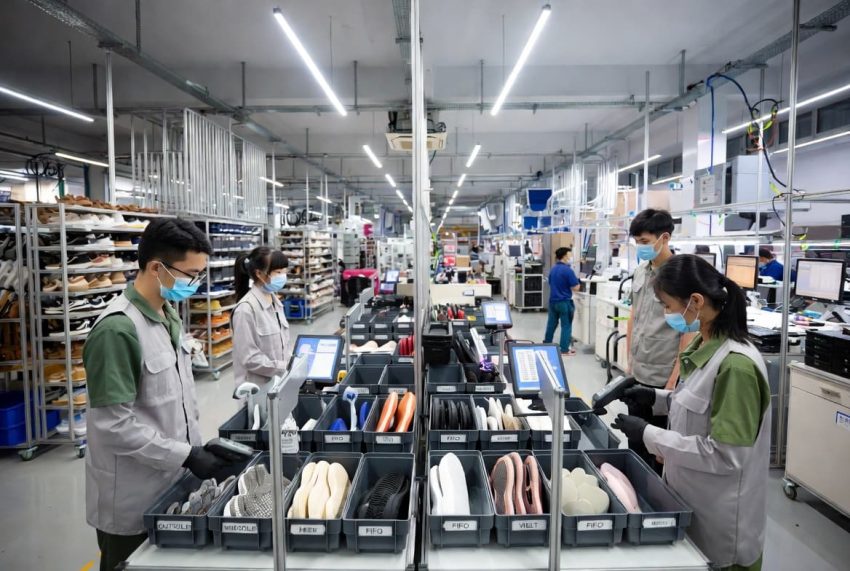
Production supervisors often use digital timers, production monitors, FIFO (First-In-First-Out) flow, or colour-coded trays to ensure activated components are assembled within the allowable bonding window.
Expert Tip:
Introduce first-piece approval at every production shift.
Keep dedicated locating fixtures for each outsole style.
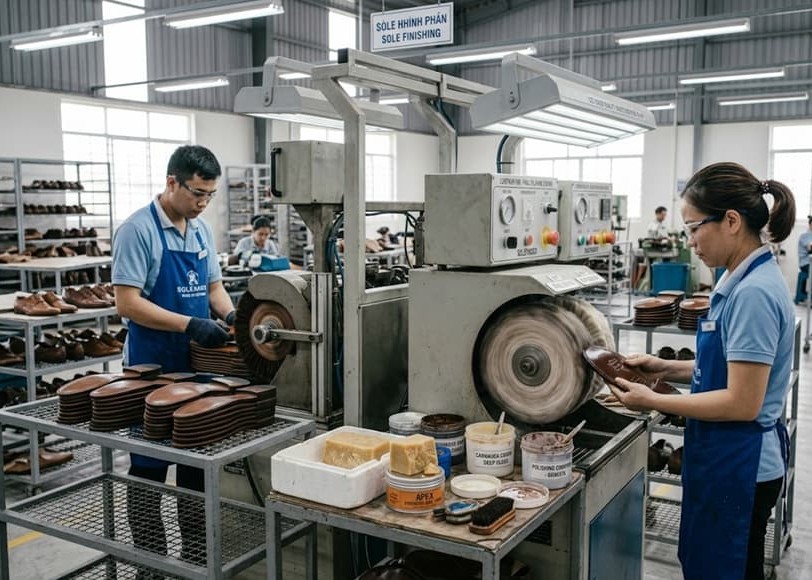
Alignment Techniques for Accurate Sole Assembly
Alignment is the most important operator-controlled activity during outsole attaching. A well-prepared adhesive system cannot compensate for poor component positioning.
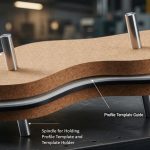
Factories generally establish fixed reference points to achieve repeatable assembly. The primary reference is usually the heel, followed by the waist and finally the toe. For multi-component sole units, secondary components such as shanks or inserts are aligned using moulded locating pockets, guide pins, or centreline markings.
For styles without mechanical locating features, operators rely on visual inspection against approved master samples. Adequate workstation lighting and ergonomic positioning significantly improve alignment accuracy.
Expert Tip:
Include attaching accuracy in operator skill evaluations.
Balance production output between activation, attaching, and pressing stations.
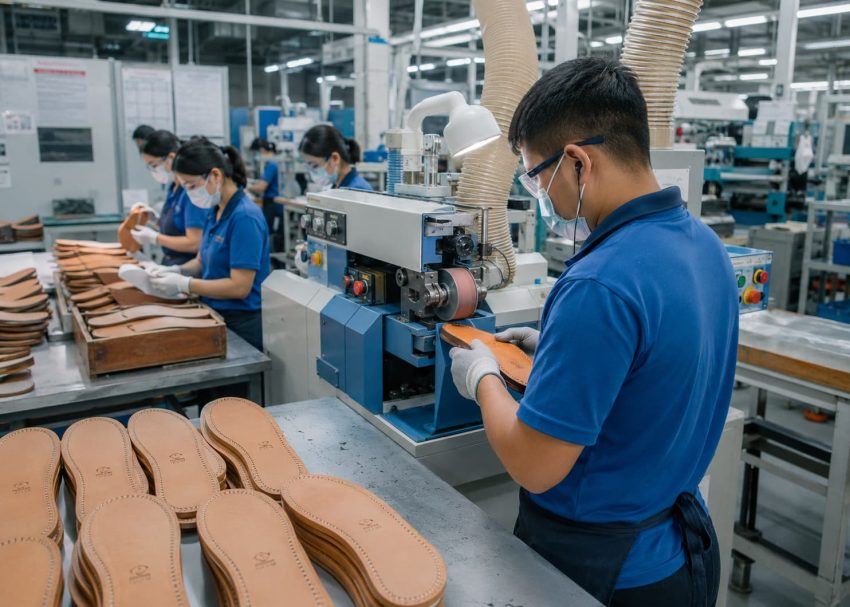
Common Challenges During Outsole Attaching
Although outsole attaching is a straightforward operation, several production issues can reduce assembly quality if they are not controlled effectively.
Component Misalignment
Incorrect positioning remains the most frequent problem. It may occur because of operator fatigue, poor lighting, worn locating fixtures, or rushing to meet production targets.
Corrective Action
- Improve workstation lighting.
- Replace damaged locating jigs.
- Retrain operators.
- Increase first-piece inspections.
Decorative Insert Movement
Small rubber inserts and logos can shift easily during handling.
Corrective Action
- Reduce unnecessary movement after positioning.
- Use moulded locating recesses.
- Confirm placement before pressing.
Welt Offset
Uneven welt margins are highly visible and difficult to repair after pressing.
Corrective Action
- Align heel reference first.
- Inspect side margins continuously.
- Compare with approved samples.
Midsole Shifting
Flexible EVA midsoles may shift during manual assembly if not positioned correctly before contact.
Corrective Action
- Use locating pins or assembly fixtures.
- Apply controlled manual pressure.
- Minimize unnecessary handling.
Expert Tip:
Keep assembled sole units free from dust before pressing.
Use dedicated racks for different outsole sizes and styles.
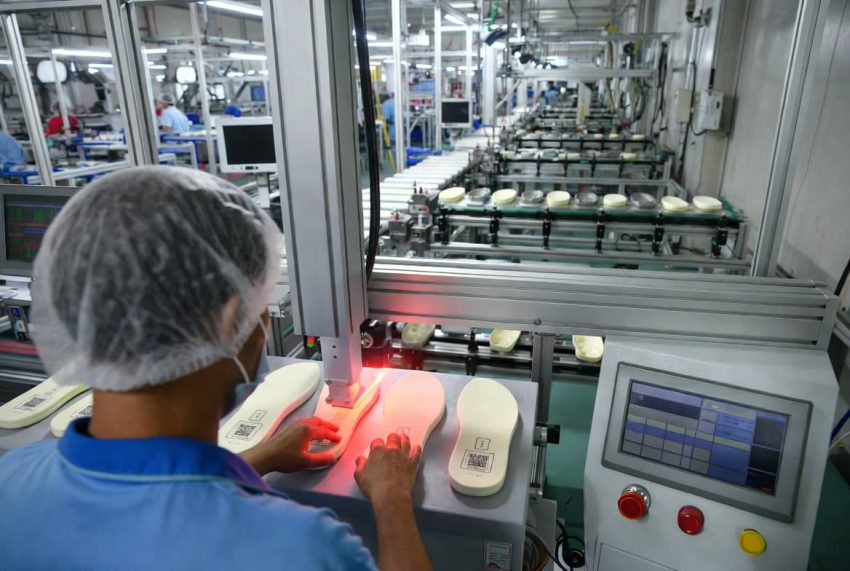
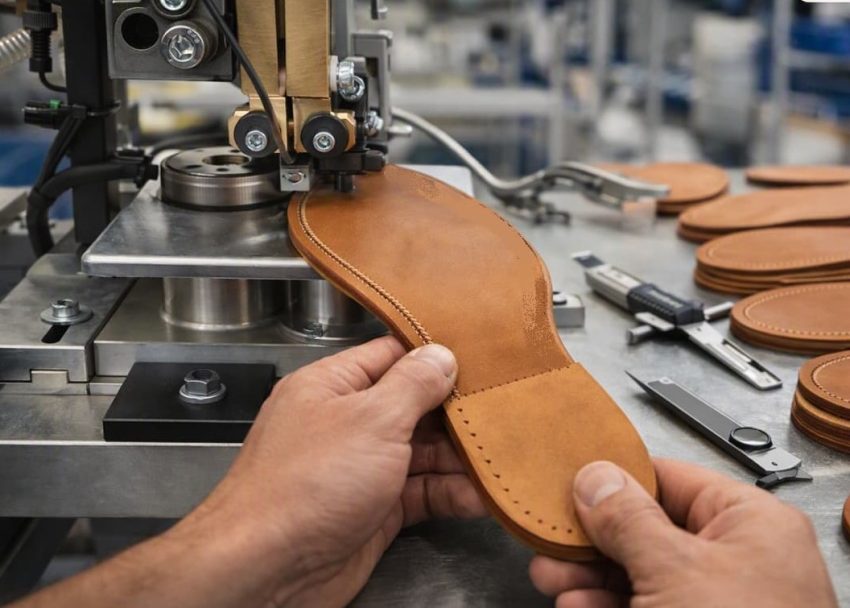
Quality Inspection Before Outsole Pressing
Every assembled sole unit should undergo a quick but systematic inspection before entering the outsole pressing machine. Early detection prevents defective assemblies from progressing further into production, where repairs become more difficult and expensive.
Typical inspection items include:
- Correct outsole orientation.
- Uniform edge margins.
- Accurate heel alignment.
- Correct toe positioning.
- Proper shank location.
- Flush welt alignment.
- Decorative inserts positioned correctly.
- No contamination on bonded surfaces.
- No visible gaps between components.
- Correct shoe size and component combination.
Many factories implement 100% visual inspection at this stage because it requires only a few seconds and significantly reduces downstream rejection rates.
Expert Tip:
Mark centrelines on complex midsoles to simplify assembly.
Standardize operator training across all production lines.
Preparing the Sole Unit for Outsole Pressing
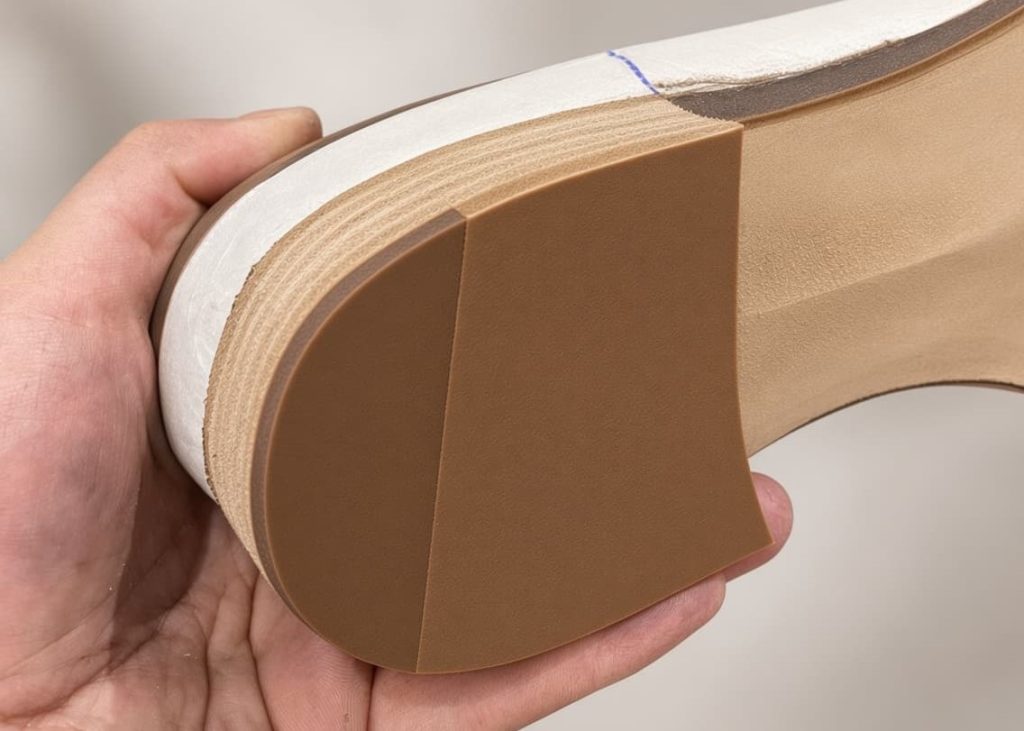
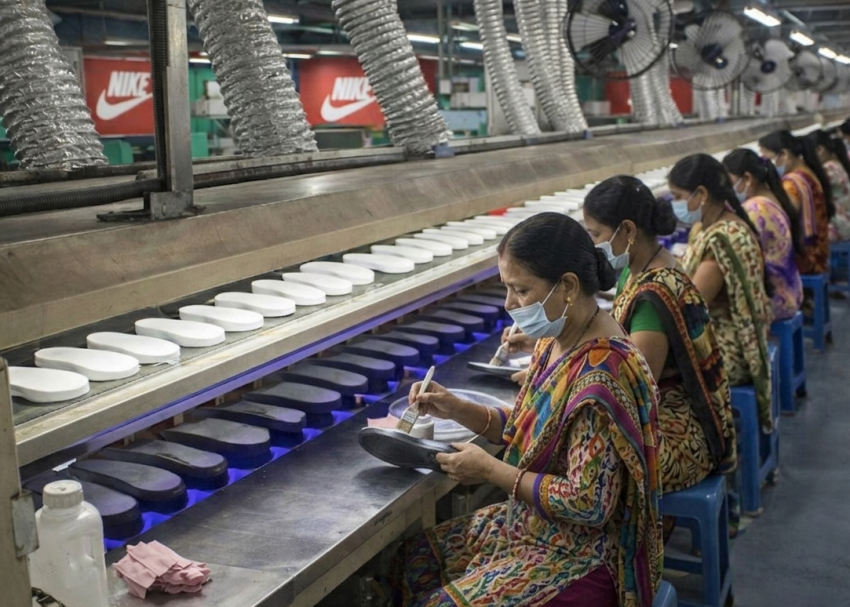
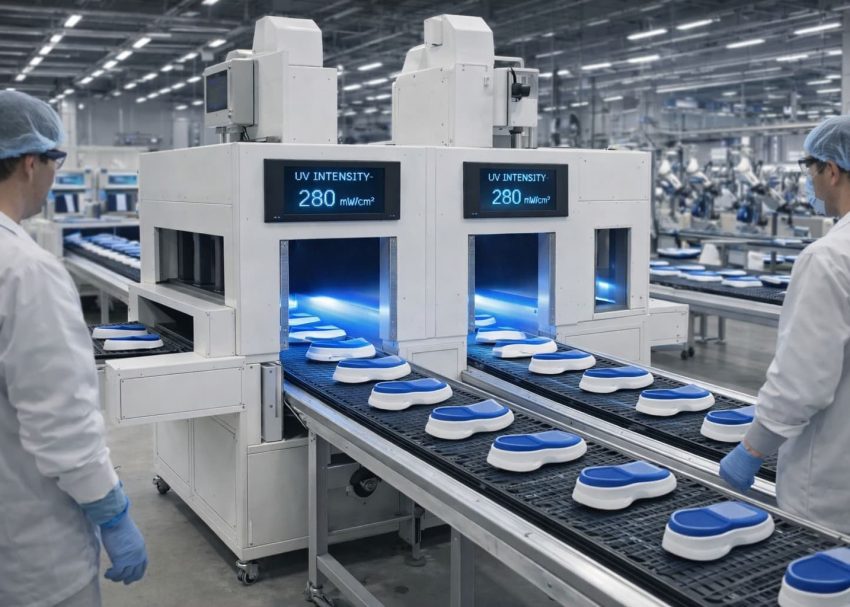
Once inspection is complete, the assembled outsole package is transferred immediately to the outsole pressing station. At this stage, the components have only achieved initial adhesive contact through manual positioning.
The pressing operation applies controlled pressure across the entire sole assembly, ensuring intimate contact between all bonded surfaces and allowing the activated adhesive to develop its designed bond strength.
Any delay between attaching and pressing should comply with the approved factory standard to maintain optimum adhesive performance. Therefore, efficient coordination between the attaching and pressing stations is essential for maintaining consistent product quality and production efficiency.
Expert Tip:
Inspect locating fixtures at the start of every shift.
Monitor recurring defects using quality trend charts.
Conclusion
Outsole attaching is the operation that transforms individually prepared outsole components into a complete sole assembly ready for mechanical pressing. Although the process appears simple, its success depends on accurate positioning, strict adherence to adhesive open time, and disciplined production practices.
In the next blog, we will discuss: Outsole Pressing Operations in Outsole Process: Outsole (Stock Fitting) Assembly Series
Frequently Asked Questions (FAQs)
Outsole attaching is the assembly of activated outsole components—such as rubber outsoles, midsoles, shanks, welts, and inserts—into a complete sole unit before the pressing operation.
No. In the Stock Fitting Department, outsole attaching refers to assembling the sole package itself. Attaching the completed outsole unit to the shoe upper is a separate operation performed later in the shoe assembly process.
Activated adhesives retain their bonding capability for only a limited period. Assembling components within the specified open time ensures optimum bond strength during the subsequent pressing operation.
Common components include rubber outsoles, EVA midsoles, PU midsoles, TPU plates, shanks, welts, heel lifts, decorative inserts, and arch support components, depending on the shoe construction
Typical defects include component misalignment, midsole shifting, shank displacement, uneven welt margins, decorative insert movement, exposed edges, and contamination of activated adhesive surfaces.
Factories improve consistency by using locating fixtures, centreline markings, positioning jigs, first-piece approvals, operator training, standardized work instructions, and regular quality audits.
Inspection ensures all components are correctly positioned before pressure is applied. Detecting defects at this stage minimizes rework, reduces material waste, and improves production efficiency.