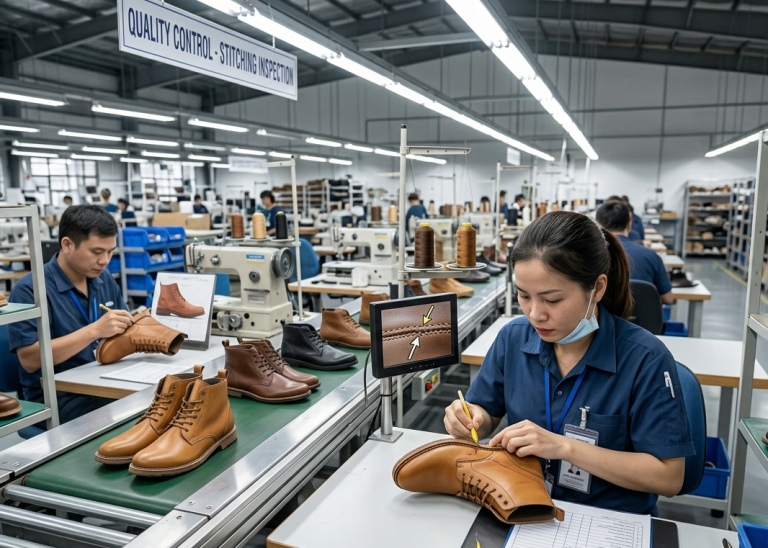
Outsole Pressing Operations in Outsole Process: Outsole (Stock Fitting) Assembly Series
In the previous article, Outsole Attaching Operations in Outsole Process, we covered the accurate positioning and attachment of outsole components within the Stock Fitting process. Once the outsole has been attached, the assembly immediately moves to the pressing operation.
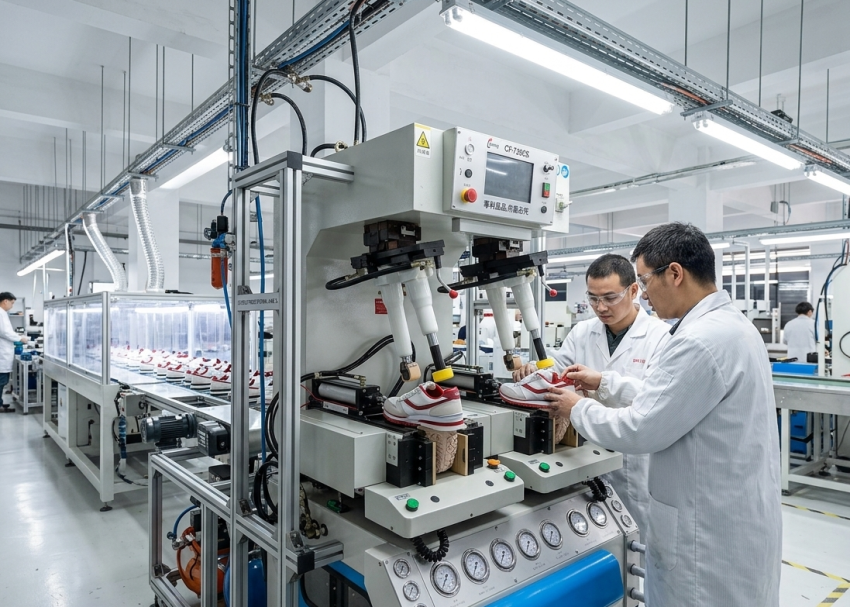
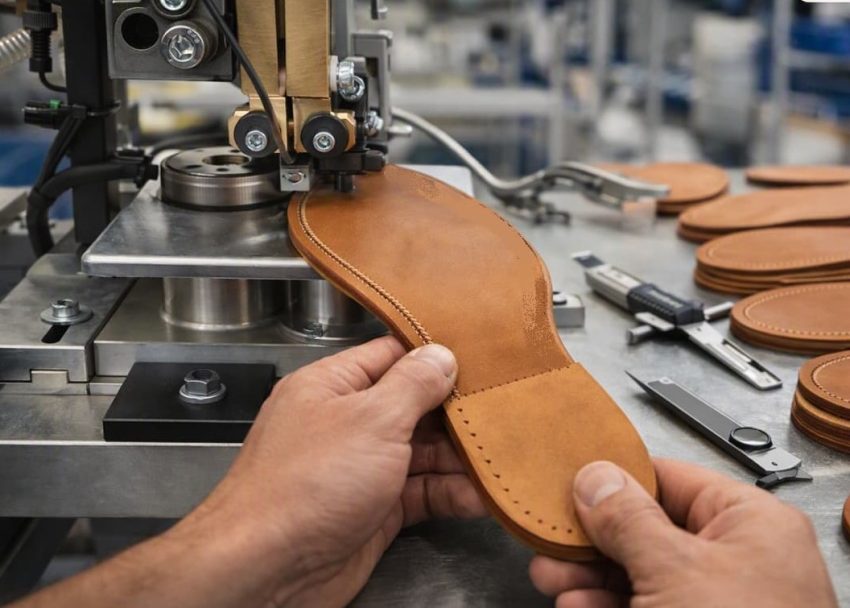
Outsole pressing applies controlled pressure to the attached components so that the adhesive-coated surfaces achieve maximum contact. It also helps remove trapped air, stabilize the outsole position, and improve the consistency of the bond before the footwear proceeds to the next operation.
Detailed machine construction and working principles were already discussed in our earlier article, Outsole Pressing in Footwear Manufacturing – Full Shoe Assembly Series. Therefore, this article focuses specifically on how pressing fits into the Outsole / Stock Fitting sequence and the factory controls required at this stage.
Expert Tip: Think beyond the press. Good pressing prepares the outsole assembly for the next stage—controlled chilling and subsequent stabilization.
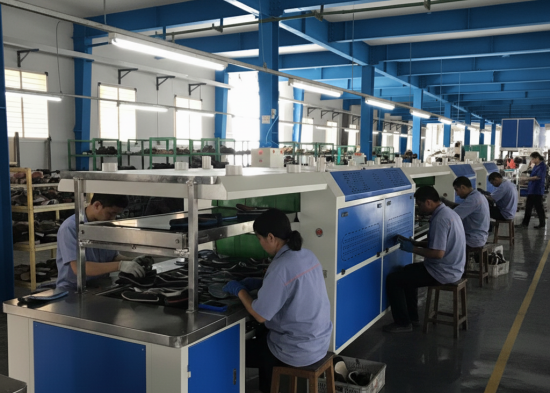
Role of Pressing After Outsole Attachment
Outsole attachment creates the initial contact between the outsole and the mating component. However, the attached parts may still contain small gaps, uneven adhesive distribution, or localized areas with insufficient contact. Pressing corrects these conditions by applying controlled force over the bonding area. Consequently, the outsole becomes firmly seated against the midsole, shank, welt, or other prepared component according to the footwear construction.
The pressing operation must also preserve the outsole geometry. Excessive pressure can deform soft rubber, EVA, PU, or other flexible materials, while insufficient pressure can leave weak bonding areas. Therefore, pressing should be treated as a controlled production operation rather than simply placing the shoe inside a press.
Key Control Points
- Transfer the assembly to pressing within the specified adhesive open time.
- Confirm correct outsole positioning before pressing.
- Apply approved pressure and pressing time.
- Ensure complete contact across the bonding area.
Expert Tip: Press immediately after attachment. Avoid unnecessary waiting between outsole attaching and pressing.
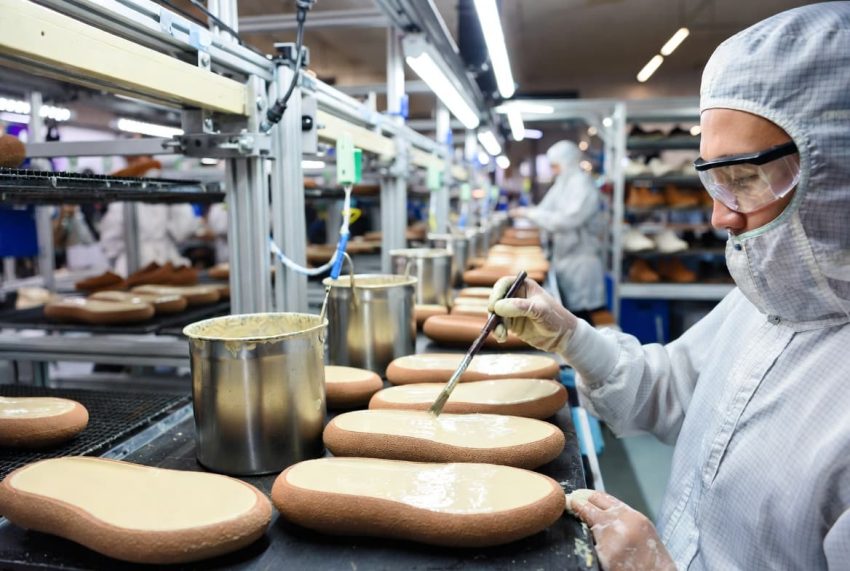
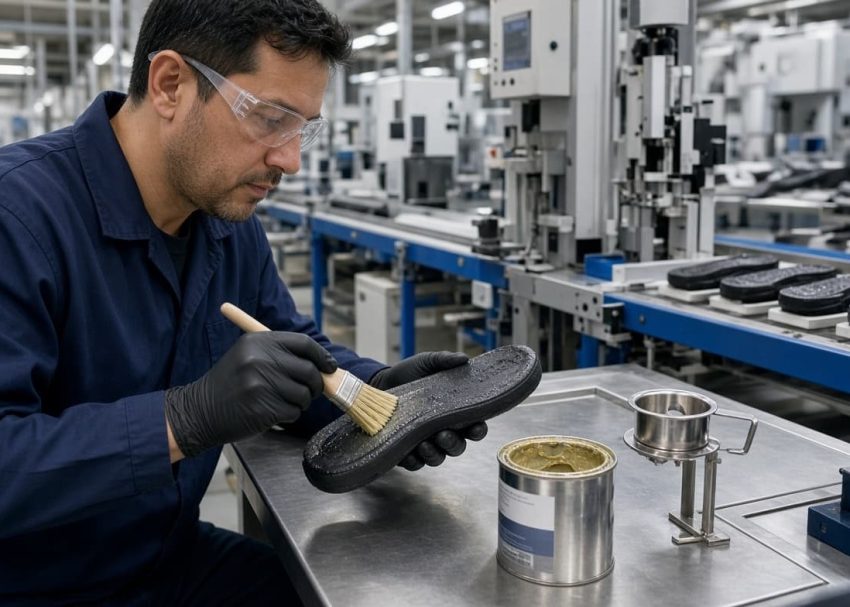
Pressing Sequence After Outsole Attachment
The sequence begins immediately after the outsole has been positioned and attached. Operators first check whether the outsole is correctly aligned with the reference marks established during the previous operation. The outsoles then enters the appropriate pressing equipment according to its construction. Depending on the outsole design, pressure may be applied from the bottom, sides, heel, toe, waist, or a combination of these areas.
During pressing, the tooling holds the outsole in its intended position while pressure brings the adhesive surfaces into intimate contact. After the specified dwell time, the pressure releases and the footwear moves to the next stage.
For complex constructions, factories may use more than one pressing action. For example, a bottom pressing operation may be followed by side pressing to secure the outsole perimeter. The exact sequence depends on outsole geometry, adhesive system, footwear construction, and machine capability.
Key Control Points
- Check alignment before the press cycle starts.
- Use the correct mold or pressing fixture.
- Maintain the specified dwell time.
- Avoid moving the outsole during pressure release.
Expert Tip: Don’t copy pressure settings between styles. Different outsole materials and geometries require different pressing conditions.

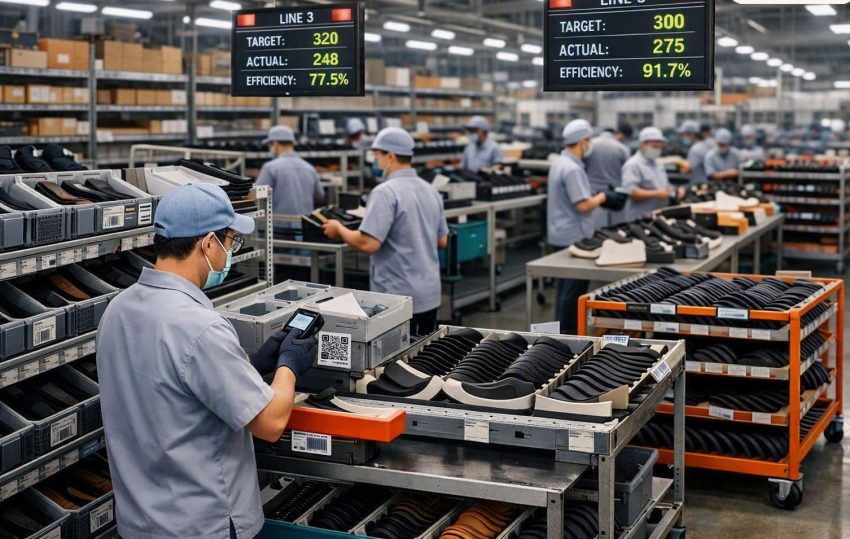
Pressure Application According to Outsole Construction
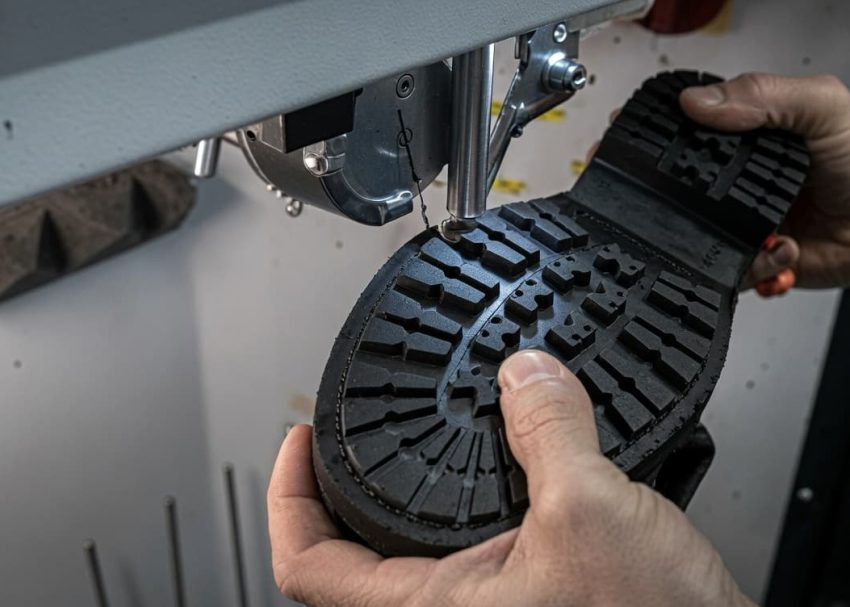
Not every outsole requires identical pressure distribution. A flat outsole generally allows relatively uniform bottom pressure, whereas a cup sole or contoured outsole requires pressure to follow the sidewalls and curved surfaces.
The toe area requires particular attention because outsole curvature can create localized gaps if the tooling does not follow the shoe geometry. Similarly, the waist and heel areas may require additional control because their shapes differ from the forepart.
For cup soles and sidewall constructions, side pressure becomes important because bottom pressure alone may not establish adequate contact along the vertical bonding surfaces. Therefore, factories should select tooling and pressing methods based on the actual outsole geometry rather than using identical settings for every footwear style.
Key Control Points
- Match tooling to outsole geometry.
- Check toe, waist, and heel contact.
- Verify sidewall pressure where required.
- Avoid excessive force on soft outsole materials.
Expert Tip: Check the perimeter first. Edge lifting around the toe, waist, or heel can indicate poor pressure distribution.
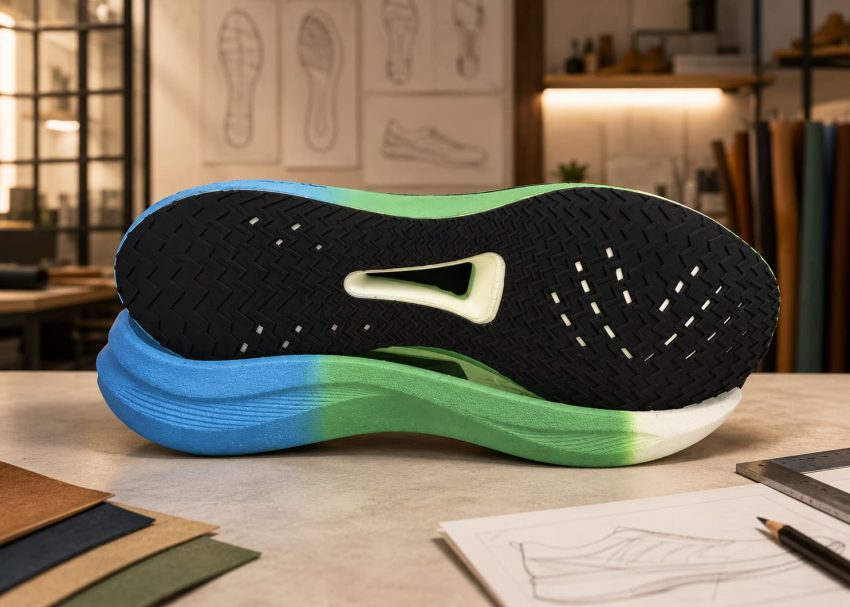
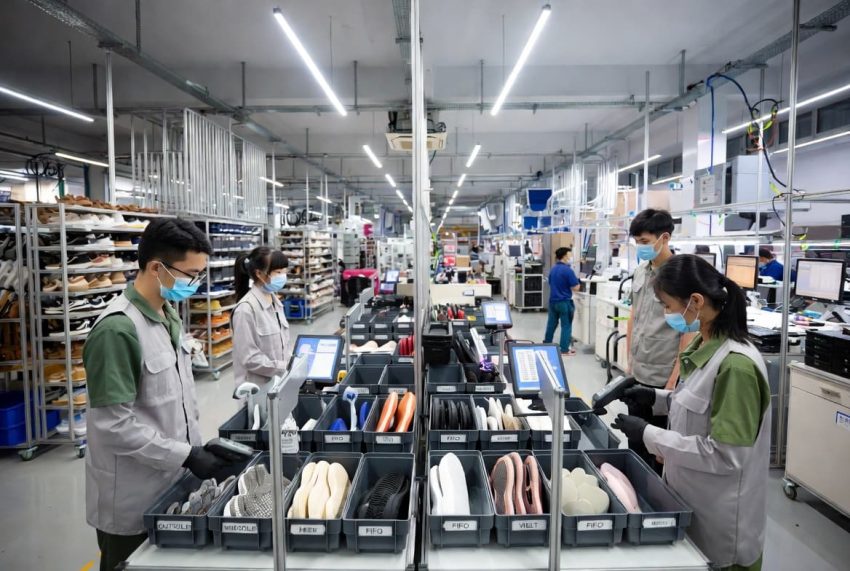
Common Defects During Outsole Pressing
Poor pressing can create defects even when the preceding attaching operation has been correctly performed.
- Incomplete bonding occurs when certain areas receive inadequate pressure. The adhesive may remain in contact visually, but the actual bonding area may be insufficient.
- Air pockets develop when trapped air cannot escape from between the mating surfaces. These pockets create localized weak areas and may contribute to later sole separation.
- Edge lifting commonly appears around the outsole perimeter when side pressure is insufficient or the outsole has shifted during pressing.
- Poor pressure distribution produces stronger bonding in some areas and weaker bonding in others. Worn tooling, incorrect molds, or machine misalignment can contribute to this problem.
- Outsole distortion occurs when excessive pressure or unsuitable tooling changes the intended shape of the outsole.
These defects should be detected at the pressing stage rather than allowing defective assemblies to continue into chilling and subsequent operations.
Key Control Points
- Separate defective assemblies for corrective action.
- Inspect toe, waist, heel, and side edges after pressing.
- Check for visible gaps or air pockets.
- Confirm that the outsole profile remains correct.
Expert Tip: Treat tooling as a quality parameter. A damaged mold can create bonding defects even when machine settings are correct.
Pressing Parameters and Production Control
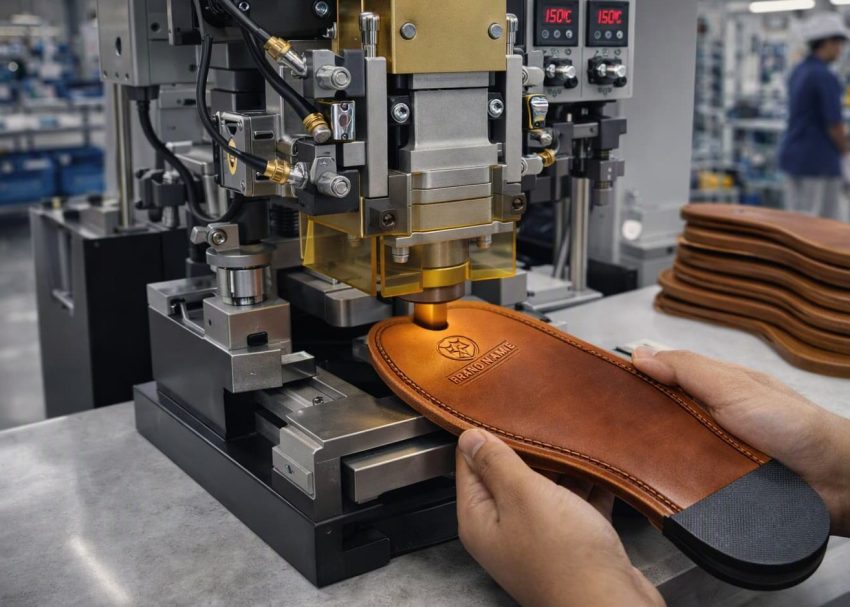
Four parameters deserve particular attention: pressure, pressing time, tooling condition, and adhesive open time. Pressure must be sufficient to establish complete contact without damaging the outsole. Pressing time must provide adequate compression while maintaining production efficiency.
Tooling condition directly affects pressure distribution. Worn rubber pads, damaged molds, or incorrect fixtures can create localized weak areas even when the machine pressure setting is correct.
The adhesive open time is equally important. Pressing should take place within the approved bonding window. If the assembly remains waiting for too long after attachment, adhesive tack may reduce and pressing may no longer produce the intended bond quality. For repeat production, factories should establish standard parameters for each footwear style and record them in the production specification or SOP.
Key Control Points
- Standardize pressure and dwell time by style.
- Monitor adhesive open time.
- Inspect tooling condition routinely.
- Record approved parameters in the production SOP.
Expert Tip: Control the first pair after every changeover. Approve the first pressed assembly before starting bulk production.
Quality Inspection After Pressing
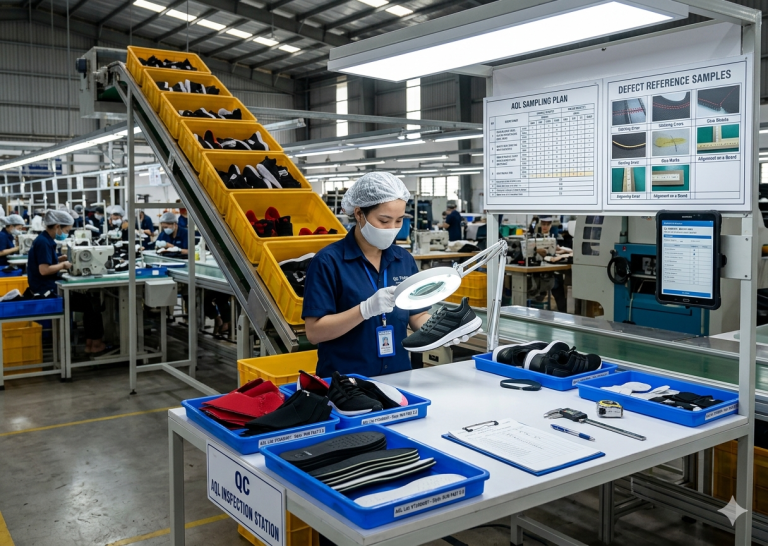
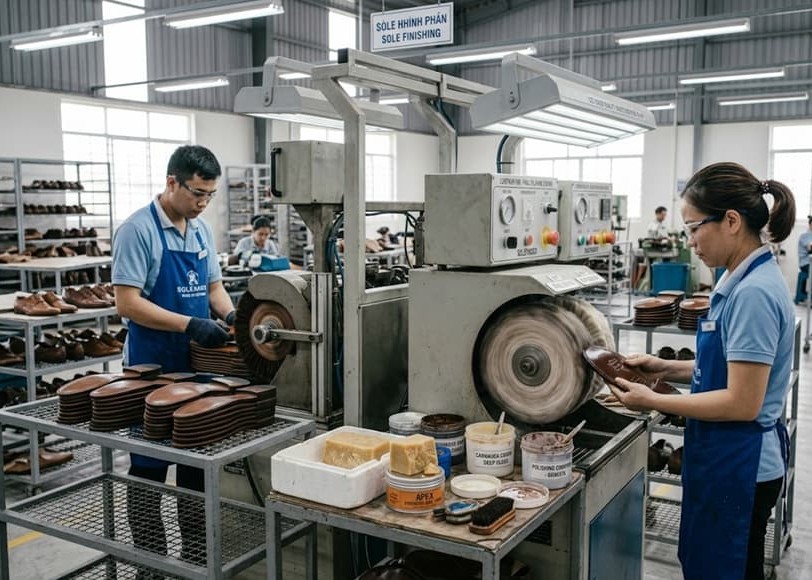
The pressed assembly should undergo a quick visual and physical inspection before entering the next operation. Operators should check outsole alignment, edge contact, heel seating, toe profile, and visible gaps. Any abnormal movement or lifting should trigger immediate investigation.
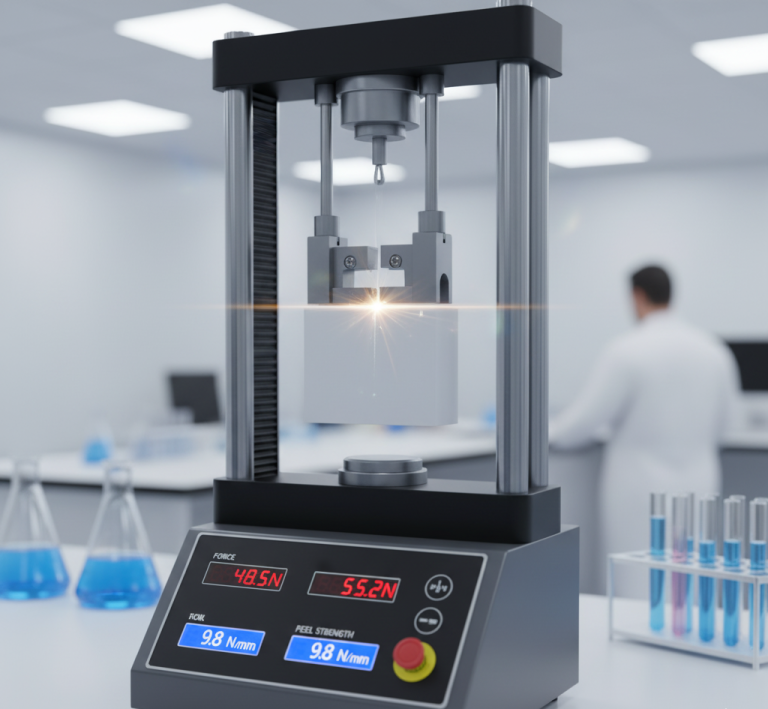
For new styles or process changes, factories should also verify bond performance through the applicable internal or laboratory test method. Peel strength, flexing, and other construction-specific tests can help confirm that the pressing process produces the required bond performance.
Importantly, the final bond may continue developing after pressing. Therefore, factories should follow the adhesive supplier’s recommended curing or conditioning requirements before conducting final bond-strength evaluation.
Key Control Points
- Check outsole alignment after pressing.
- Inspect the complete perimeter.
- Monitor recurring defects by machine and style.
- Verify bond performance according to the approved test plan.
Expert Tip: Record recurring defects. If one machine repeatedly produces the same defect, investigate pressure distribution, tooling, and calibration rather than simply reworking the shoes.
Pressing Equipment Reference
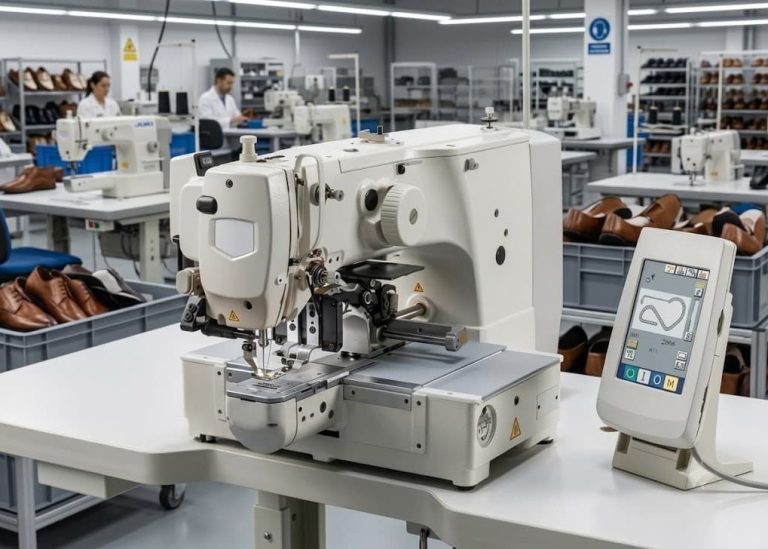
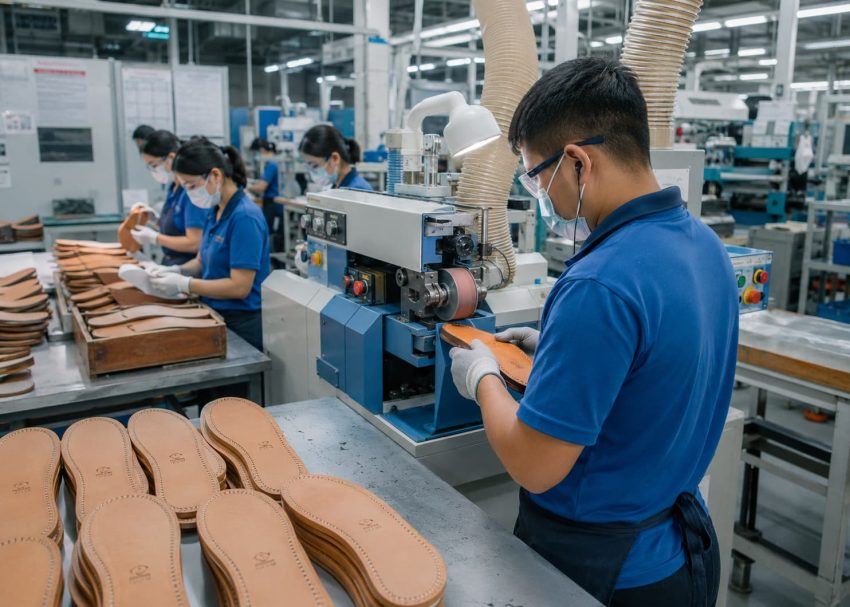
The major pressing equipment used in footwear factories includes:
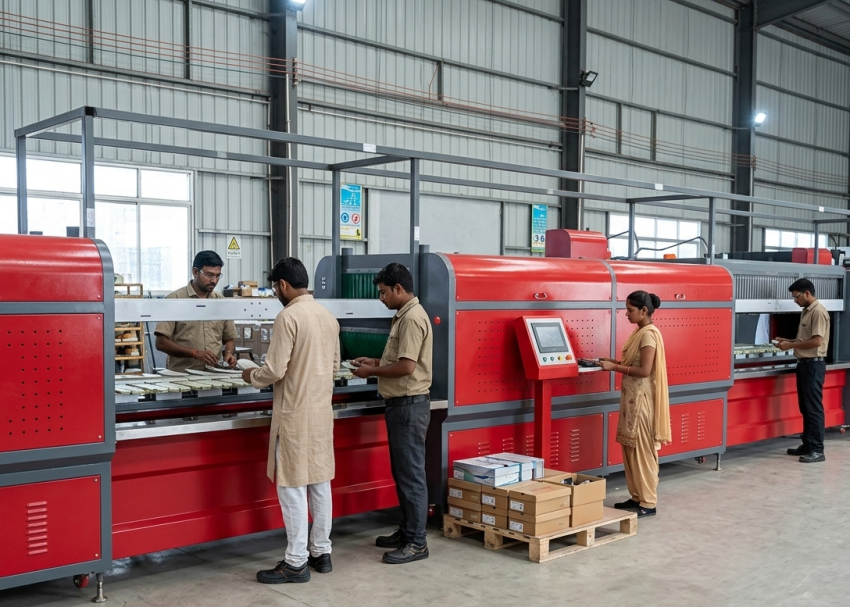
- Hydraulic Sole Press – suitable where higher and stable pressing force is required.
- Pneumatic Sole Press – useful for flexible and high-volume production applications.
- Side Press Machine – provides controlled pressure around outsole sidewalls and perimeter areas.
- Universal Sole Press – offers flexibility for different outsole shapes and footwear constructions.
For detailed machine construction, operating principles, and equipment selection, refer to our earlier article: Outsole Pressing in Footwear Manufacturing – Full Shoe Assembly Series Read the detailed Outsole Pressing article
Expert Tip: Do not over-press soft materials. Excessive pressure can deform EVA, PU, rubber, and other flexible outsole components.
Conclusion
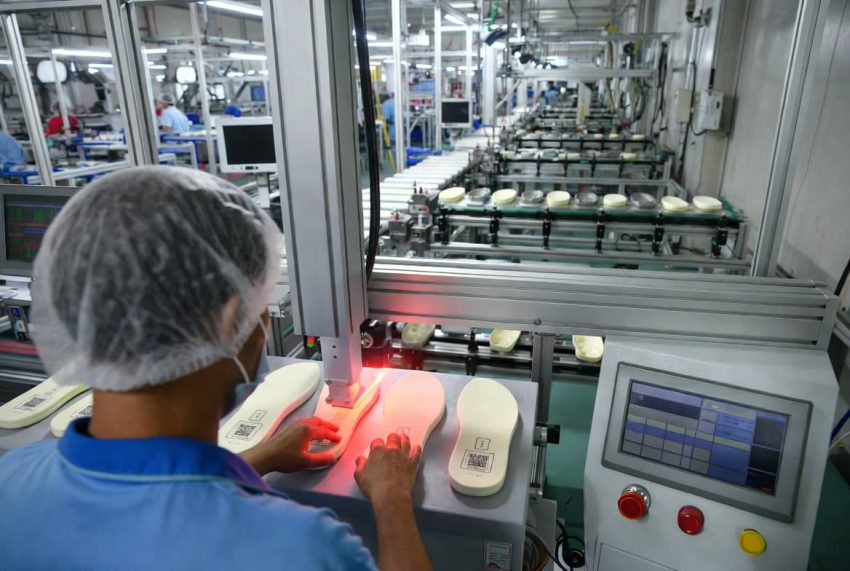
Outsole pressing is the critical stabilization operation immediately following outsole attachment in the Stock Fitting process. Its purpose is to establish complete and uniform contact between the prepared bonding surfaces while maintaining the intended outsole position and geometry.
By controlling these factors, factories can reduce incomplete bonding, air pockets, edge lifting, pressure variation, and premature sole separation. Moreover, effective pressing creates a stable outsole assembly that is ready for the next operation.
In the next article of TheFootwearEdge Outsole (Stock Fitting) Assembly Series, we will discuss Chilling Operations in Outsole Process, where controlled cooling helps stabilize the pressed assembly before it proceeds to subsequent Stock Fitting operations.
Frequently Asked Questions (FAQs)
Outsole pressing applies controlled pressure to maximize contact between bonded surfaces, remove trapped air, stabilize outsole positioning, and support consistent adhesive bonding.
No. Pressing requirements depend on outsole geometry, material, footwear construction, adhesive system, and bonding area.
Side pressing provides pressure along outsole sidewalls and perimeter areas where bottom pressure alone may not provide sufficient contact.
Common defects include incomplete bonding, air pockets, edge lifting, uneven pressure distribution, outsole distortion, and eventual sole separation.
Tooling condition is critical because worn or incorrectly shaped molds and pressing pads can produce uneven pressure even when the machine pressure setting is correct.
No. Each style should have approved pressing parameters based on its outsole material, construction, geometry, adhesive system, and tooling.
In this Stock Fitting sequence, the next operation is Chilling, which helps stabilize the pressed outsole assembly before subsequent processing