UV Priming for EVA Components Operations in Outsole Process: Outsole (Stock Fitting) Assembly Series
Modern athletic, casual, and outdoor footwear relies heavily on EVA (Ethylene Vinyl Acetate) because it offers excellent cushioning, lightweight performance, and manufacturing flexibility. However, EVA also presents one significant challenge—it is naturally difficult to bond with adhesives due to its relatively low surface energy. Without proper surface preparation, even high-quality adhesives may fail to achieve durable bonding.
In the previous article, Chemical Washing Operations in Outsole Process, we discussed how chemical washing removes contaminants and prepares outsole surfaces for adhesive application. Building on that foundation, this article explains UV Priming for EVA Components, a specialized surface activation process that significantly improves adhesive compatibility before cementing.
Many leading footwear manufacturers integrate UV activation with primer application to achieve consistent bond strength while minimizing delamination risks. Nevertheless, UV treatment remains effective only for a limited period. Therefore, factories must carefully monitor UV exposure parameters, primer quality, and treatment expiry windows to maintain reliable production quality.
Understanding UV Priming for EVA Components
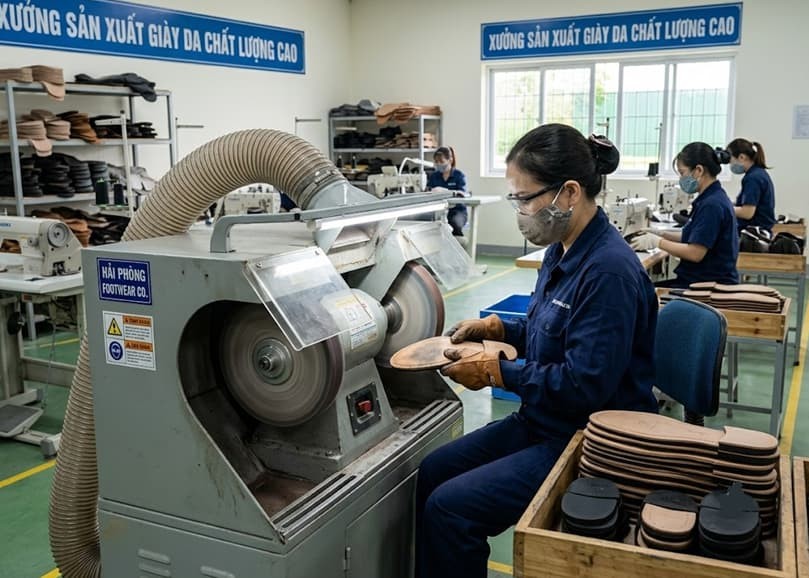
EVA possesses a relatively smooth and chemically stable surface. Although these characteristics provide excellent durability during product use, they reduce the ability of adhesives to wet and penetrate the material effectively. As a result, direct cement application often produces weak or inconsistent bonding.
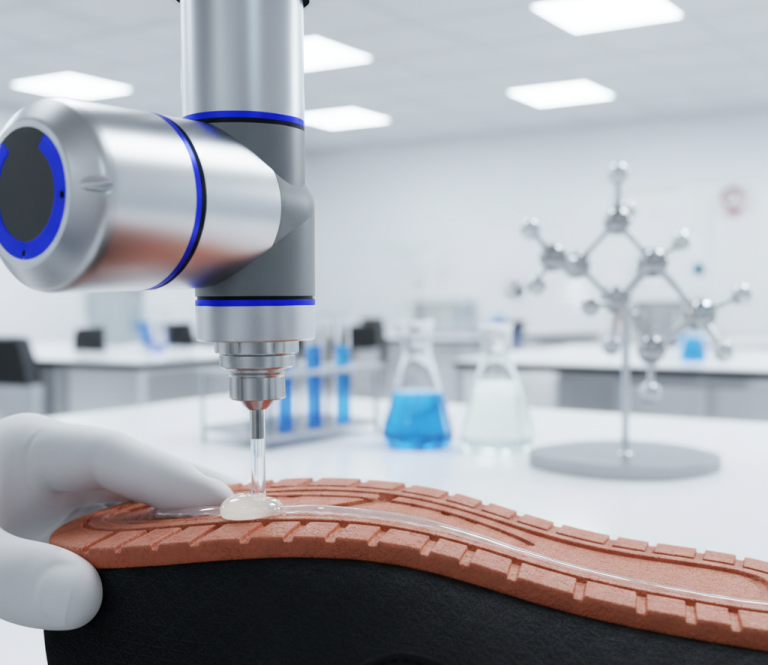
UV priming modifies the outermost molecular layer of the EVA surface by exposing it to controlled ultraviolet radiation. The UV energy increases the material’s surface energy, creating a more receptive surface for primers and adhesives. Immediately after activation, a specially formulated primer is applied to maximize adhesive compatibility before the bonding process continues.
Unlike mechanical roughing, UV treatment does not remove material from the EVA component. Instead, it alters the surface chemistry while preserving dimensional accuracy, making it particularly suitable for lightweight midsoles and precision-molded EVA parts.
Today, UV activation has become a standard process in many sports footwear factories because it delivers consistent surface preparation with minimal manual variation.
Key Control Points
- Verify UV machine intensity before each production shift.
- Use only approved primers compatible with EVA materials.
- Avoid touching activated surfaces before primer application.
- Record UV treatment time for expiry tracking.
Expert Tip: Never assume all EVA grades behave identically. High-density, low-density, expanded, and dual-density EVA often require different UV exposure parameters.
Why EVA Components Require UV Priming
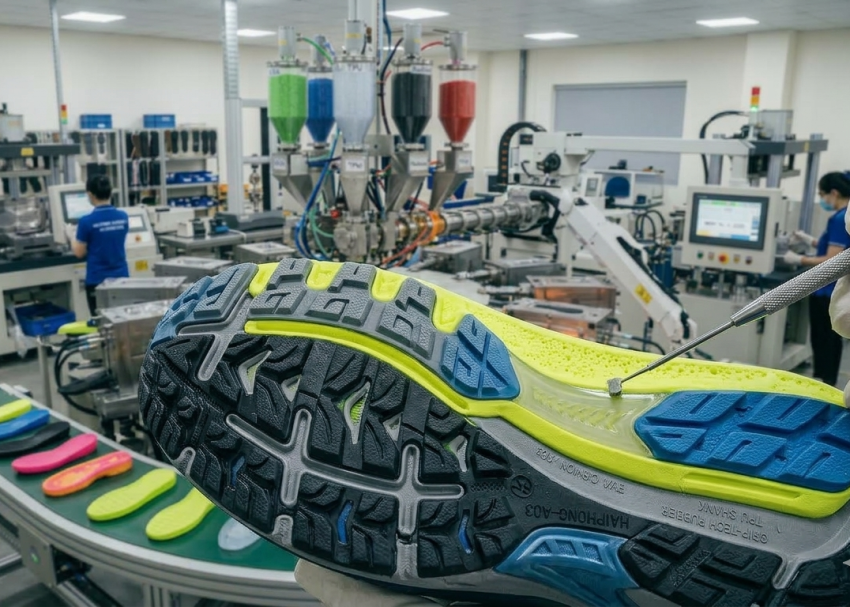
Among all footwear materials, EVA remains one of the most challenging substrates for adhesive bonding. Its closed-cell structure and naturally low surface energy prevent adhesives from spreading uniformly across the surface. Consequently, bond strength decreases significantly if no activation process is performed. UV priming addresses this issue by increasing surface energy, allowing primers to create stronger chemical interaction between the EVA substrate and the adhesive layer.
This enhanced interaction results in improved peel strength, shear strength, and long-term durability under repeated flexing.
The process becomes even more important for running shoes, safety footwear, hiking boots, and performance athletic footwear, where midsoles experience continuous compression and dynamic movement throughout the product’s life. Furthermore, UV activation improves manufacturing consistency because every component receives controlled treatment rather than depending solely on manual preparation techniques.
Typical Applications
- EVA midsoles
- EVA outsole inserts
- Lightweight sport shoe components
- Compression-molded EVA parts
- Multi-density EVA assemblies
Key Control Points
- Confirm material is suitable for UV activation.
- Maintain consistent production parameters across batches.
- Prevent contamination after activation.
- Follow primer manufacturer’s application guidelines.
Expert Tip: Validate UV settings whenever a new EVA supplier or formulation is introduced into production.
Surface Science Behind UV Activation
Although UV priming appears simple from the outside, its effectiveness depends on controlled surface chemistry. When ultraviolet radiation reaches the EVA surface, high-energy photons interact with the outer molecular layer. This controlled exposure introduces polar functional groups that increase the material’s surface energy. As surface energy rises, liquid primers and adhesives spread more evenly instead of forming isolated droplets.
Better wetting allows adhesives to establish stronger molecular attraction with the EVA substrate. Consequently, the adhesive layer forms a more uniform bond capable of resisting peeling, flexing, and environmental stresses encountered during footwear use.
However, this activated condition is temporary. Over time, the surface gradually returns toward its original low-energy state through molecular reorientation. This phenomenon explains why footwear factories establish strict treatment windows between UV activation and adhesive application. Therefore, UV treatment should always be viewed as a time-sensitive process rather than a permanent surface modification.
Advantages of Surface Activation
- Improves adhesive wetting.
- Produces more uniform primer coverage.
- Enhances chemical bonding.
- Reduces adhesive failure risk.
- Supports repeatable manufacturing quality.
Key Control Points
- Monitor exposure time continuously.
- Prevent excessive UV exposure.
- Minimize delay before primer application.
- Follow specified treatment expiry limits.
Expert Tip: Replace aging UV lamps before output drops below specified intensity to avoid hidden bonding failures.

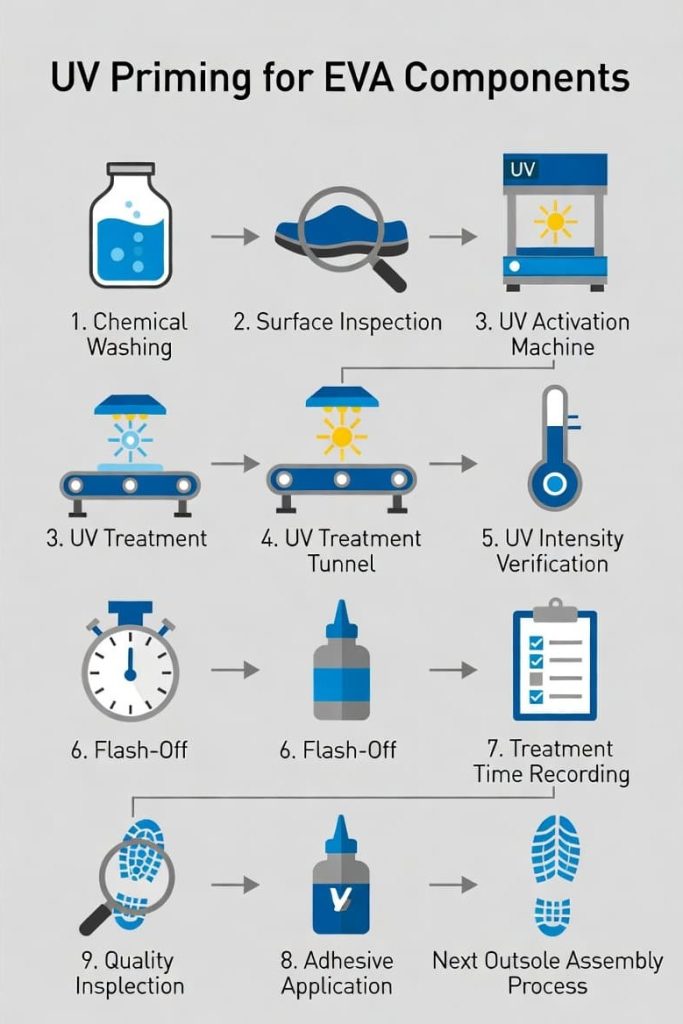
Complete UV Priming Process for EVA Components
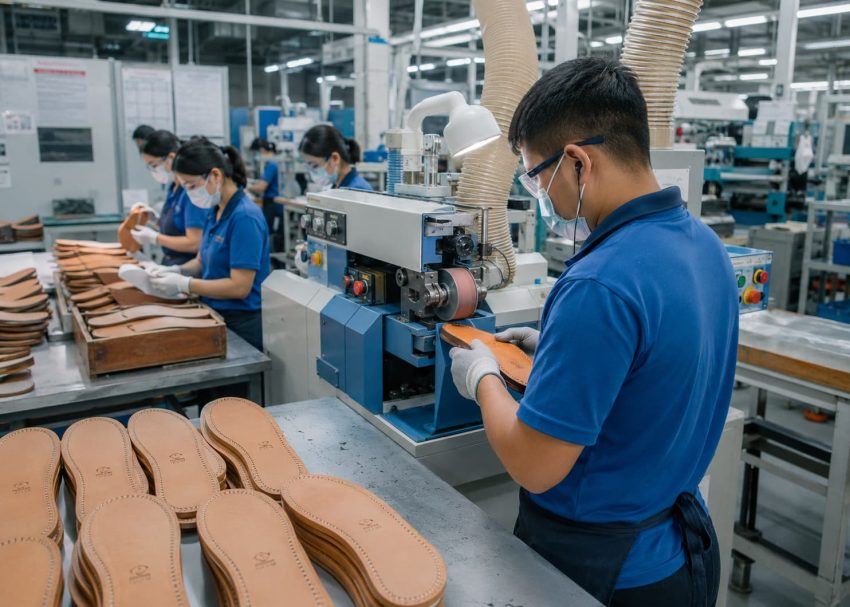
Successful UV priming is more than simply exposing an EVA component to ultraviolet light. It is a controlled sequence of operations in which every stage influences the final bond strength. If one step is skipped or poorly controlled, the entire adhesive system may fail even when premium primers and adhesives are used. Most footwear factories standardize the process to eliminate operator variation and ensure every EVA component receives identical treatment before cementing.
A typical production sequence is as follows:
- Receive cleaned EVA components from the previous operation.
- Inspect the surface for contamination or damage.
- Load components onto the UV activation conveyor.
- Expose the surface to controlled UV radiation.
- Verify UV treatment completion.
- Apply the recommended EVA primer.
- Allow primer to flash off according to specification.
- Record treatment time for expiry monitoring.
- Transfer components to the adhesive application process within the approved treatment window.
Each stage must be completed without unnecessary delays because the activated surface gradually loses its improved bonding characteristics.
Key Control Points
- Confirm components are clean before UV treatment.
- Follow the approved production sequence without interruption.
- Avoid unnecessary handling after activation.
- Record treatment time for traceability.
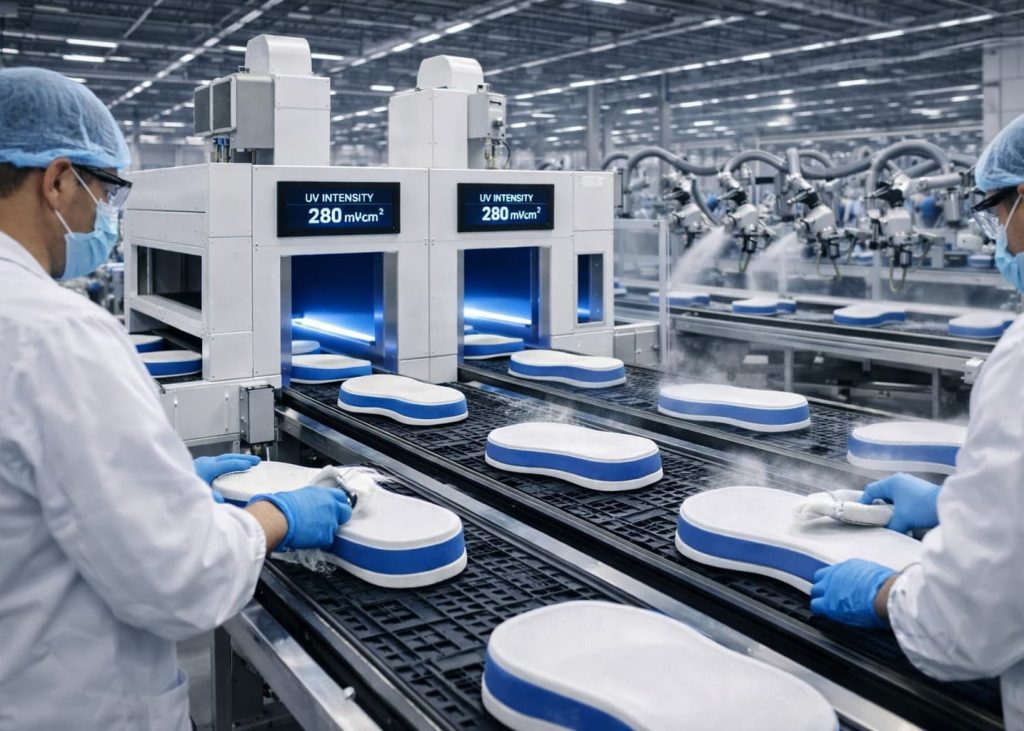
Expert Tip: Store primers according to manufacturer recommendations because incorrect storage can reduce bonding performance even after successful UV activation.

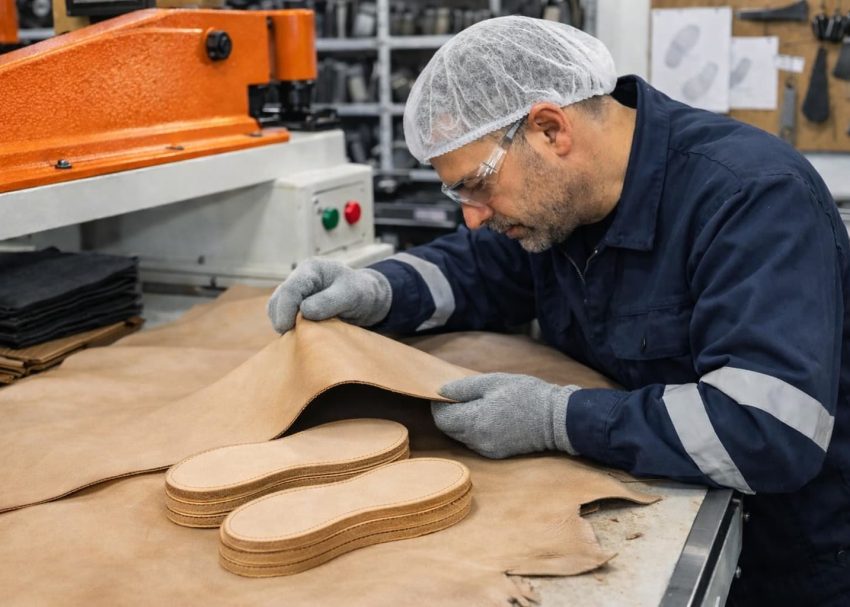
UV Activation Machine
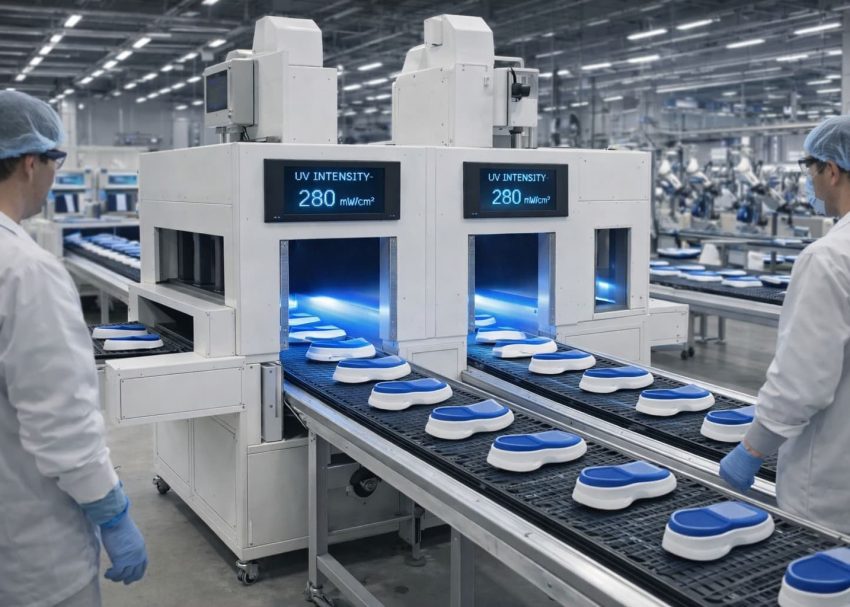
The UV activation machine is the heart of the priming process. It exposes EVA components to controlled ultraviolet radiation that modifies the surface chemistry without affecting the part’s dimensions or cushioning properties.
Modern systems are designed with enclosed chambers, automated conveyors, adjustable lamp intensity, and programmable exposure times. These features provide repeatable activation while protecting operators from direct UV exposure.
Production engineers establish machine settings during process validation. Once validated, these parameters should remain unchanged unless a new EVA formulation or primer system is introduced. Routine preventive maintenance is equally important because lamp ageing, reflector contamination, and conveyor speed variations can reduce treatment effectiveness.
Main Machine Components
- UV lamp assembly
- Conveyor transport system
- Reflective chamber
- Electronic timer
- Intensity monitoring system
- Safety shielding
- Cooling or ventilation system
- Control panel with programmable settings
Benefits
- Uniform surface activation
- High production consistency
- Reduced operator dependency
- Continuous production capability
- Repeatable bonding performance
Key Control Points
- Verify UV intensity before production.
- Keep reflectors and lamps clean.
- Inspect conveyor speed regularly.
- Replace lamps at scheduled service intervals.
Expert Tip: Validate UV intensity using calibrated measuring equipment rather than relying solely on lamp operating hours.

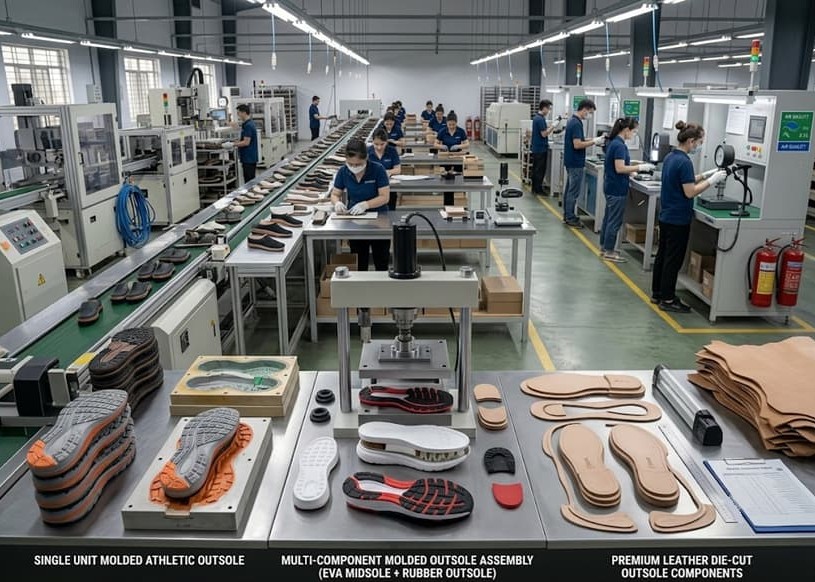
UV Treatment Tunnel
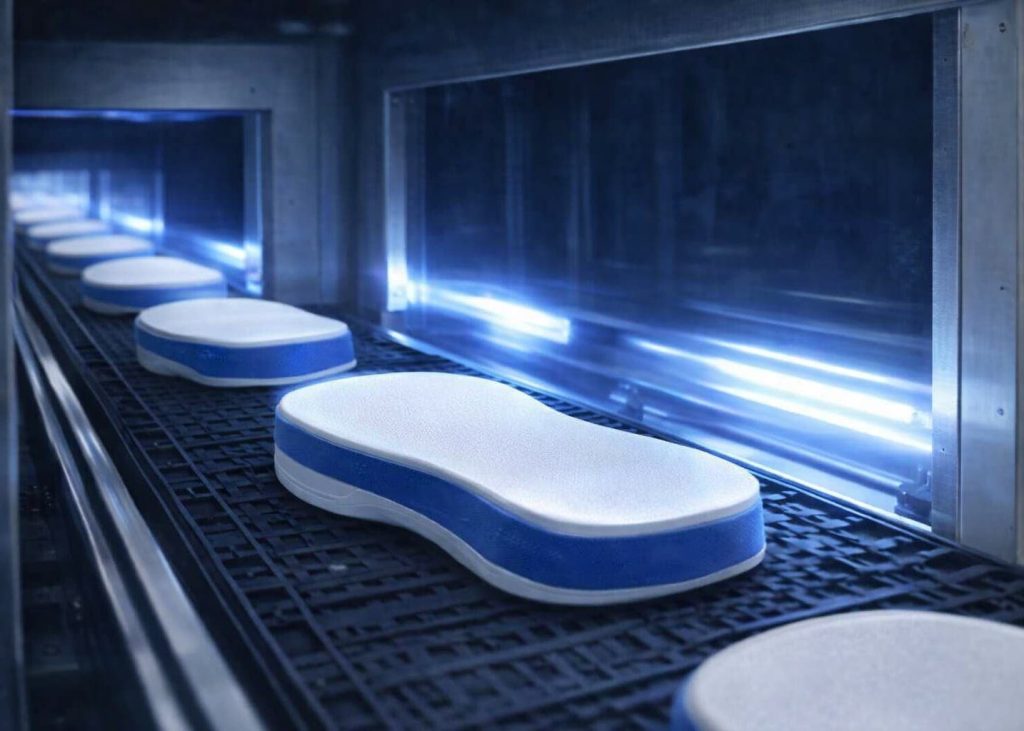
Large footwear factories commonly install UV treatment tunnels to process high production volumes efficiently. Instead of activating components individually, the tunnel continuously transports EVA parts beneath multiple UV lamps, ensuring consistent exposure across the entire surface.
Tunnel design minimizes shadowing and provides uniform radiation distribution. Conveyor speed, lamp spacing, and lamp output are carefully matched to the production rate and the specific EVA material.
Operators should avoid overcrowding the conveyor because closely packed components may create shaded areas that receive insufficient UV exposure. Likewise, components should be positioned consistently to maintain repeatable treatment. Well-maintained UV tunnels reduce process variation and improve bonding consistency across thousands of pairs produced each day.
Advantages
- Continuous production flow
- Consistent UV exposure
- Higher production capacity
- Reduced manual handling
- Improved process repeatability
Key Control Points
- Maintain proper spacing between components.
- Verify conveyor speed during every shift.
- Check lamp alignment regularly.
- Remove dust accumulation inside the tunnel.
Expert Tip: Standardize conveyor loading patterns to ensure every EVA component receives uniform UV exposure.

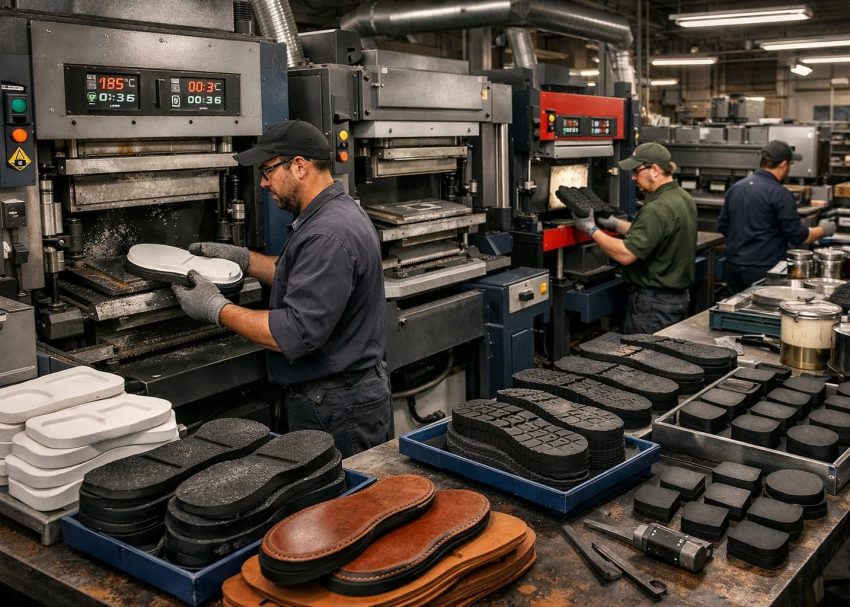
UV Treatment Window and Expiry Control
One of the most critical aspects of UV priming is understanding that surface activation is not permanent. After UV exposure, the activated EVA surface gradually loses its increased surface energy through natural molecular reorientation. As this occurs, adhesive compatibility decreases.
For this reason, footwear manufacturers define a validated UV treatment window, specifying the maximum allowable time between UV activation and adhesive application. Components that exceed this window should not proceed directly to cementing without reactivation, subject to the factory’s approved process. Ideally between 2-3 days. If it goes beyond this window, primer to be applied to achieve best bonding results.
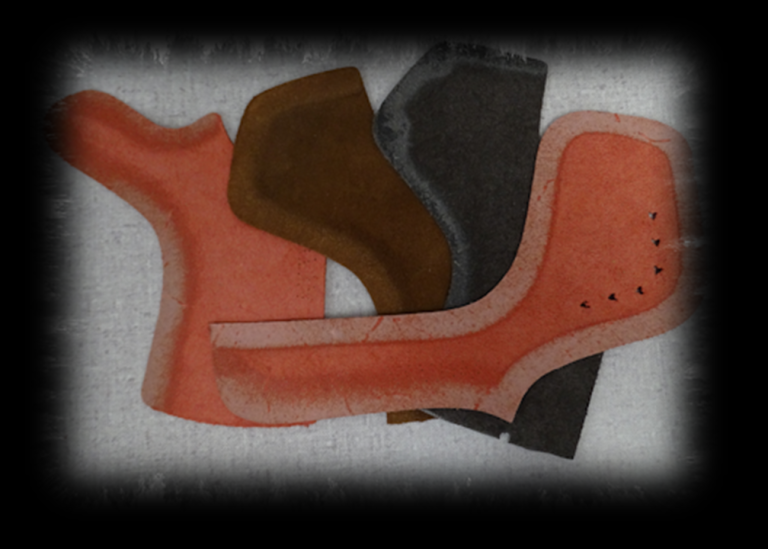
To maintain consistency, many factories stamp the outsole with exact date to record the activation time. Supervisors can then verify that each batch remains within the approved treatment period before it moves to the next operation. Proper expiry control reduces the risk of hidden bond failures that may only become evident during flex testing or after the footwear reaches the customer.
Best Practices for Expiry Control
- Record UV activation time for every batch.
- Use a first-in, first-out (FIFO) system for activated components.
- Separate expired batches from valid production.
- Revalidate or retreat components only according to approved procedures.
- Train operators to recognize treatment window requirements.
Key Control Points
- Monitor treatment expiry continuously.
- Prevent mixing of expired and valid batches.
- Maintain accurate production records.
- Follow documented reactivation procedures where applicable.
Expert Tip: Include UV activation time and expiry status on production travelers or digital manufacturing systems to improve traceability.
Common Defects in UV Priming for EVA Components
Even with automated UV activation systems, defects can occur if process parameters, equipment condition, or material handling are not properly controlled. Since bonding failures often appear only during shoe flexing, peel testing, or field use, identifying the root cause during production is essential. The following defects are among the most frequently encountered in footwear factories.
| Defect | Typical Cause | Production Impact |
|---|---|---|
| Expired UV treatment window | Delay before cementing | Reduced bond strength |
| Insufficient UV exposure | Low lamp intensity or short exposure | Poor adhesive wetting |
| Uneven UV treatment | Incorrect component positioning | Localized bond failure |
| Primer contamination | Dirty containers or brushes | Weak adhesion |
| Uneven primer coating | Poor application technique | Inconsistent bonding |
| Excess primer | Heavy coating thickness | Soft intermediate layer |
| Surface contamination after UV | Dust, oil, fingerprints | Adhesive failure |
| Incorrect primer selection | Material mismatch | Low peel strength |
Key Control Points
- Inspect every production batch before adhesive application.
- Prevent contamination throughout the process.
- Verify UV machine settings regularly.
- Replace worn application tools promptly.
Expert Tip: Keep primer containers closed when not in use to prevent solvent evaporation and contamination.

Root Cause Analysis and Troubleshooting
When bonding problems occur, replacing the adhesive alone rarely solves the issue. The entire UV priming process should be reviewed systematically to identify the actual cause.
Problem: Low Bond Strength
Possible Causes
- Low UV intensity
- Expired activation window
- Incorrect primer
- Dirty EVA surface
Corrective Actions
- Measure UV output.
- Reactivate components if approved.
- Verify primer compatibility.
- Improve surface cleanliness.
Problem: Bond Failure at Localized Areas
Possible Causes
- Uneven UV exposure
- Primer missed during application
- Shadowing inside UV tunnel
Corrective Actions
- Improve component positioning.
- Standardize primer application.
- Review conveyor loading.
Expert Tip: Include UV intensity verification in your daily start-up checklist instead of waiting for scheduled maintenance.

Problem: Adhesive Peels Easily
Possible Causes
- Primer flash-off incomplete
- Excess primer thickness
- Primer contamination
Corrective Actions
- Follow specified drying time.
- Apply thinner primer coat.
- Replace contaminated primer.
Problem: Variable Bond Strength Between Batches
Possible Causes
- Lamp ageing
- Different EVA suppliers
- Process variation
- Operator inconsistency
Corrective Actions
- Calibrate UV equipment.
- Validate new EVA materials.
- Standardize work instructions.
- Retrain operators where necessary.
Key Control Points
- Investigate the complete process instead of isolated steps.
- Record corrective actions for future reference.
- Validate process changes before production.
- Monitor recurring defects through quality trends.
Expert Tip: Establish preventive lamp replacement intervals based on measured intensity rather than operating hours alone.


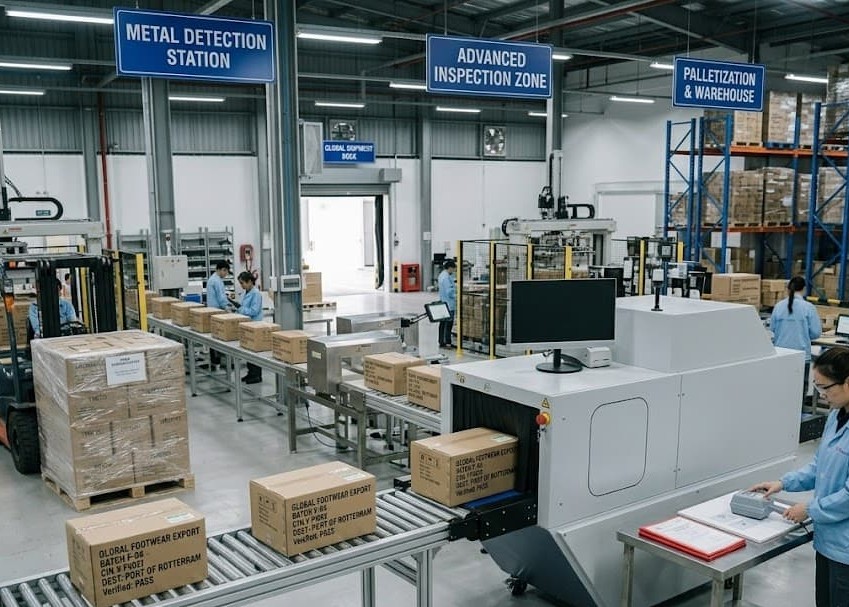
Quality Inspection and Process Verification
UV activation itself leaves very little visible evidence on the EVA surface. Therefore, quality assurance relies on process verification rather than visual inspection alone.
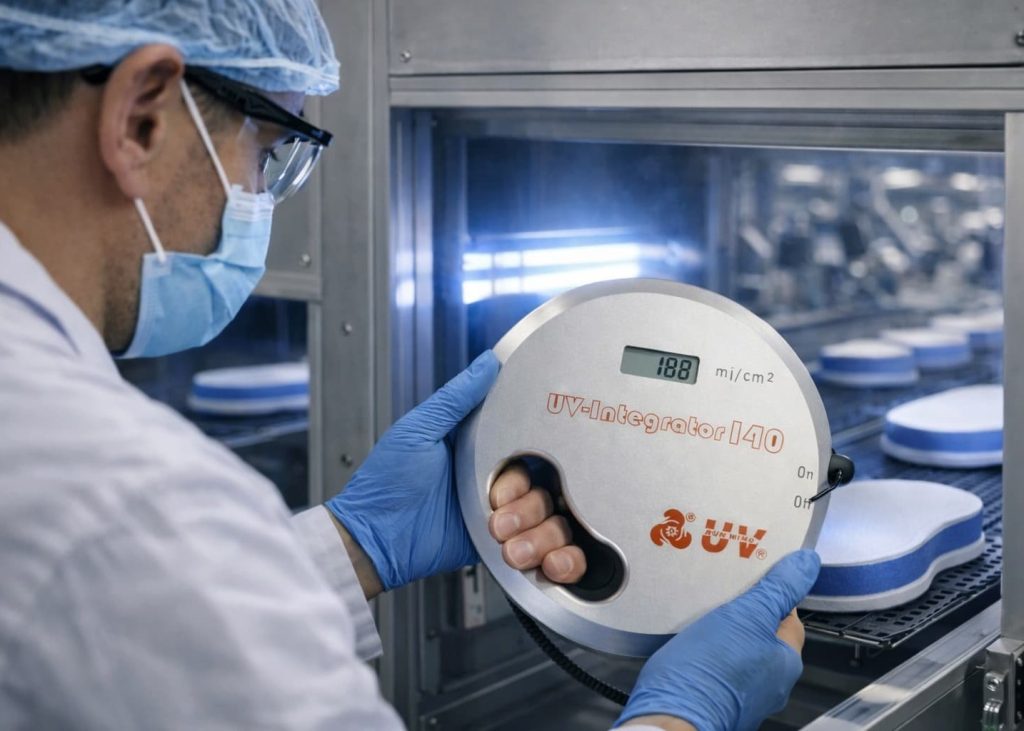
Factories typically combine equipment monitoring, production records, and laboratory testing to ensure the process remains under control.
Routine inspections generally include:
- UV lamp intensity verification
- Conveyor speed confirmation
- Primer application quality
- Treatment expiry monitoring
- Batch traceability
- Adhesive peel testing
- Production trial validation
Periodic laboratory testing further confirms that bond strength continues to meet customer and internal specifications.
Recommended Quality Checks
- UV intensity measurement
- Primer viscosity verification
- Surface cleanliness inspection
- Peel strength testing
- Flex testing
- Production audit
- Equipment calibration records
Key Control Points
- Calibrate measuring instruments regularly.
- Maintain complete inspection records.
- Review quality trends monthly.
- Investigate any abnormal test results immediately.
Expert Tip: Perform periodic peel testing on randomly selected production pairs to identify process drift before customer complaints occur.

Safety and Environmental Practices
Although UV priming is cleaner than many traditional surface preparation methods, it still requires strict safety controls. Ultraviolet radiation can damage skin and eyes if operators are exposed directly. Consequently, modern UV activation systems use enclosed chambers, interlocked safety doors, and protective shielding.
Primers also contain solvents that require adequate ventilation and proper handling procedures. Factories should establish comprehensive safety practices covering both UV equipment and chemical handling.
Recommended Safety Measures
- Keep UV shielding intact.
- Never bypass machine safety interlocks.
- Wear appropriate PPE when handling primers.
- Ensure adequate ventilation around primer stations.
- Store primers in approved containers.
- Dispose of chemical waste according to local regulations.
- Train operators on emergency procedures.
Key Control Points
- Inspect machine safety devices routinely.
- Maintain proper ventilation.
- Store chemicals away from ignition sources.
- Follow environmental disposal regulations.
Expert Tip: Maintain separate brushes or spray systems for different primer grades to prevent cross-contamination.
Conclusion
UV priming has become an essential process for achieving reliable adhesive bonding on EVA components used in modern footwear. By increasing surface energy and improving primer compatibility, manufacturers can significantly reduce delamination risks while producing consistent, high-quality footwear.
However, successful UV priming depends on much more than the activation machine itself. Accurate UV intensity, controlled exposure time, correct primer application, and strict management of the treatment expiry window all contribute to durable bonding performance. When these process controls are consistently maintained, factories achieve higher production efficiency, lower rejection rates, and improved product reliability.
In the next blog, we will cover “Stamping and Identification Marking Operations in Outsole Process: Outsole (Stock Fitting) Assembly Series.” This article will explain how manufacturers permanently identify outsole components using size markings, mold identification, production traceability, branding, and quality control methods before final assembly.
Expert Tip:
Use digital traceability systems to record UV activation time, primer batch number, operator, and production lot for faster root cause analysis.
Review bond failure trends by EVA supplier to identify material-related variations that may require process adjustments.
Frequently Asked Questions (FAQs)
UV priming increases the surface energy of EVA, allowing primers and adhesives to achieve stronger and more reliable bonding.
Some EVA grades can be bonded using specialized primers, but UV activation generally provides more consistent and durable adhesion.
The effective treatment window depends on the validated factory process, primer system, and EVA material. Manufacturers should always follow their approved specifications.
Bond strength may decrease because the activated surface gradually loses its increased surface energy.
No. When properly controlled, UV activation modifies only the surface chemistry without affecting the component’s mechanical properties.
UV activation is widely used in athletic footwear, safety shoes, outdoor footwear, casual shoes, and molded EVA component manufacturing.
Poor control of UV intensity, exposure time, primer quality, and treatment expiry are the most common causes of bonding failures.