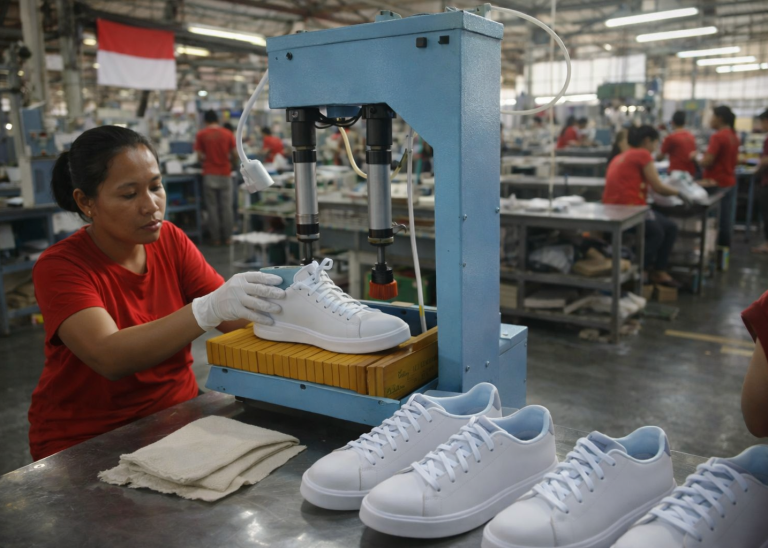
Component Label Stitching–Stitching Process Series
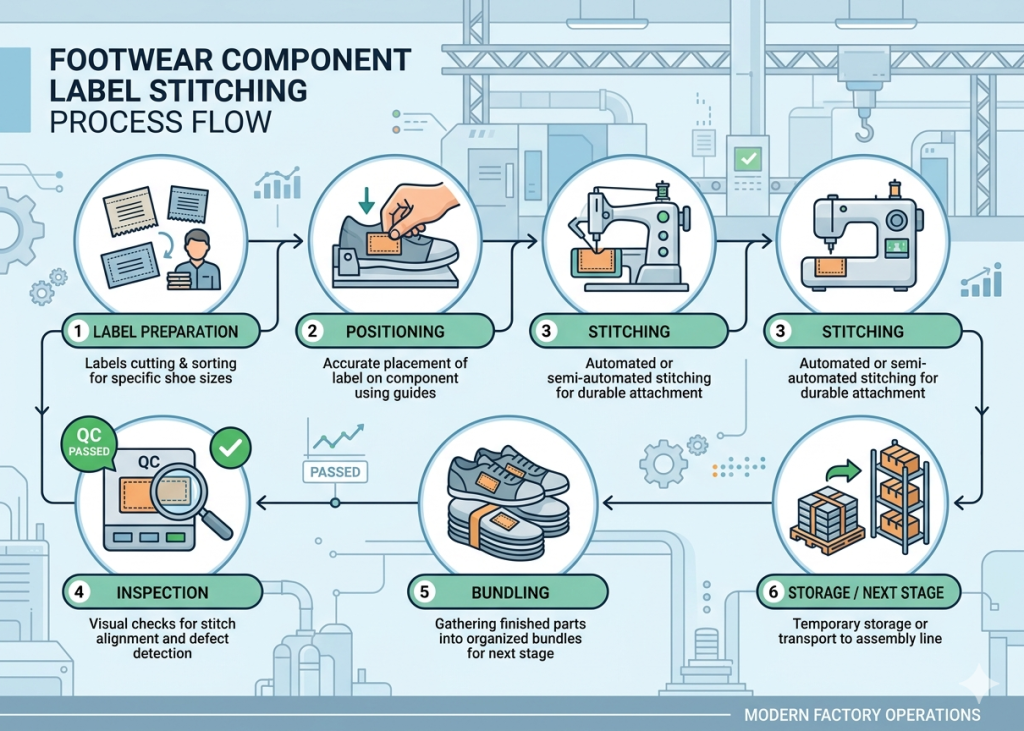
Component label stitching ensures that branding, size, care instructions, and traceability details are permanently attached to footwear components. It is a controlled operation that directly impacts brand visibility, compliance, and product identification.
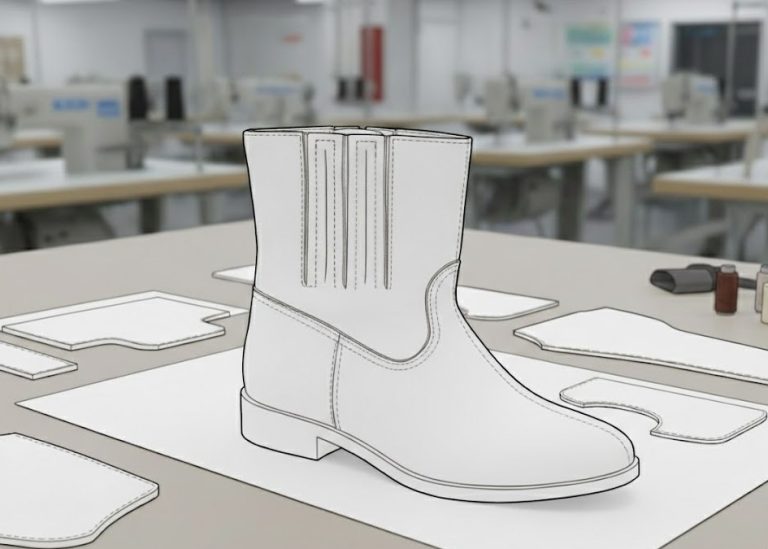
Label Stitching on Upper Components
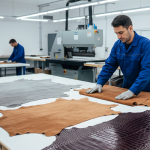
Label stitching on upper components involves attaching woven or printed labels onto parts such as tongue, quarter lining, or collar lining. This process integrates branding and product identity into the shoe structure before final assembly.
This operation is critical because it ensures brand visibility and traceability throughout the product lifecycle. Moreover, incorrect placement or stitching defects can lead to rejection during quality inspection or even brand compliance issues.
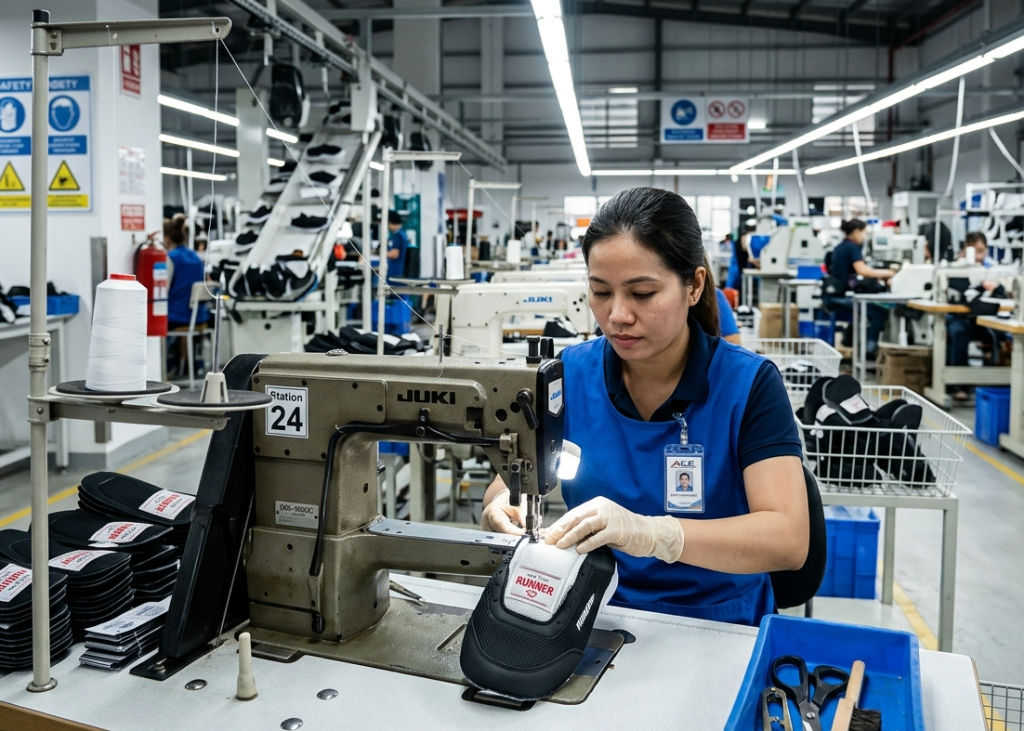
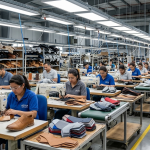
In practice, operators position the label using marking guides or templates. Then, they stitch using lockstitch or zig-zag machines depending on label type and material. Alignment, stitch density, and edge finishing must remain consistent across production batches. As a result, proper operator training and standardized templates improve repeatability.
Key Control Points:
- Ensure label alignment matches approved sample
- Maintain consistent stitch density (SPI)
- Avoid puckering on lightweight materials
- Verify correct label orientation before stitching
Pro Tip :
Use pre-marking templates to reduce alignment errors
Use jigs for repeatable positioning in bulk production
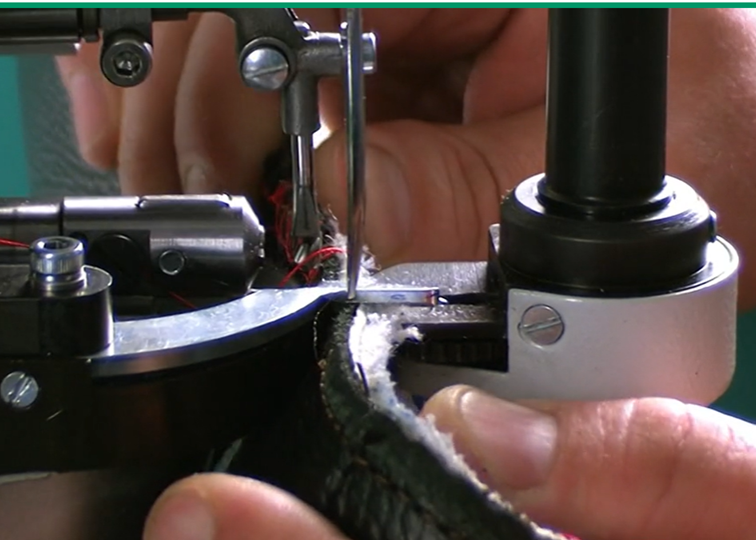
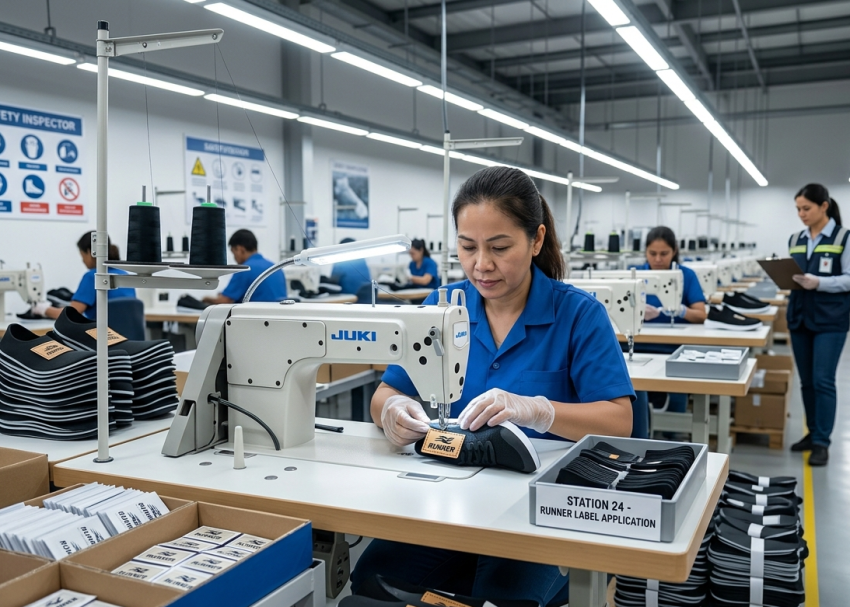
Label Stitching on Tongue Assembly
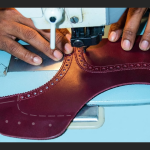
Label stitching on the tongue is one of the most visible branding operations in footwear. Typically, labels include logos, size details, or product codes and must remain durable under repeated flexing.
This step is important because the tongue experiences constant movement during wear. Therefore, improper stitching can cause label detachment or discomfort to the wearer. In addition, incorrect positioning directly affects aesthetic appeal.
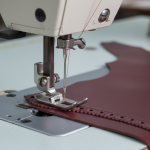
Operators first position the label centrally using guides. Then, they secure it using box stitching or edge stitching methods. Reinforcement stitching is often added to prevent peeling. Consequently, correct thread selection and tension control play a major role in durability.
Key Control Points:
- Maintain central alignment tolerance within ±1 mm
- Use reinforcement stitches for high-stress areas
- Ensure no thread loosening after flex testing
- Avoid needle marks outside label boundary
Pro Tip :
Standardize SPI (stitches per inch) across all lines
Conduct flex testing for tongue labels regularly
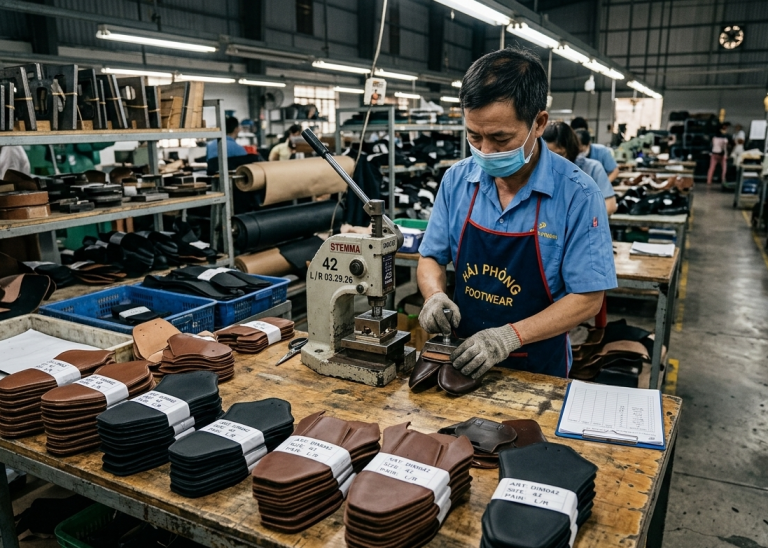
Label Stitching on Sock Liner / Insole
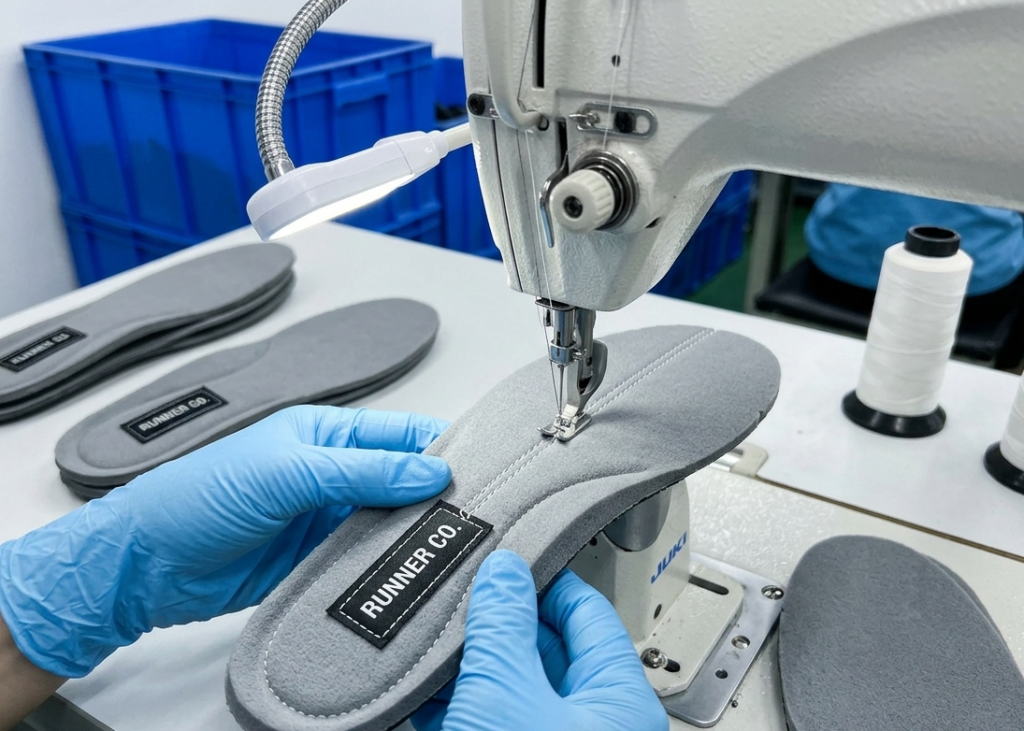
Label stitching on the sock liner or insole involves attaching branding or size labels onto the inner sole surface. This operation requires precision due to the soft and compressible nature of insole materials.
This process is essential because internal labels provide size identification and branding without affecting external design. However, poor stitching may cause discomfort or irritation to the wearer.
During execution, operators carefully position the label on the insole surface. Then, they use fine needle machines with controlled pressure to avoid material damage. In many cases, adhesive pre-fixing is used before stitching to improve positioning accuracy. As a result, the process ensures both comfort and durability.
Key Control Points:
- Use fine needle to prevent foam damage
- Maintain flat stitching without bulging
- Ensure label edges do not lift
- Check comfort during manual inspection
Pro Tip : Train operators on label orientation awareness
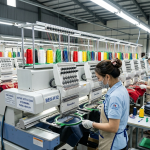
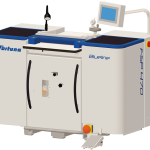
Label Stitching Using Automated Machines
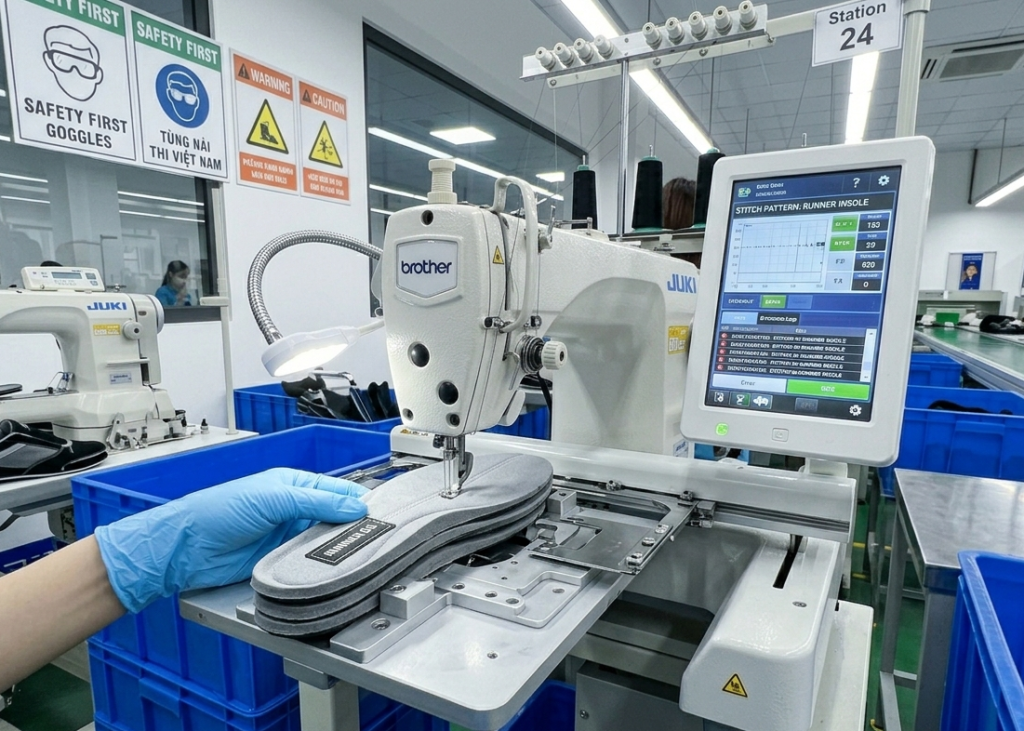
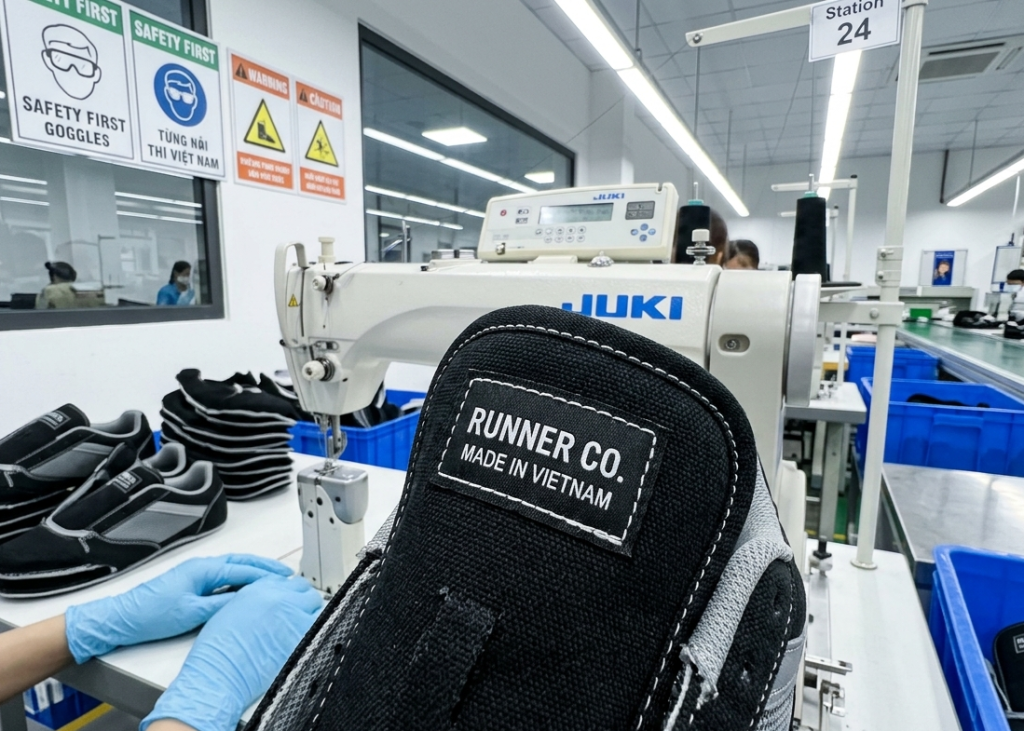
Automated label stitching uses programmable sewing machines to attach labels with high precision and repeatability. These machines are widely used in high-volume production environments.
This method is important because it improves consistency, reduces operator dependency, and increases production efficiency. Furthermore, automation minimizes human error and ensures uniform stitch quality.
In operation, the machine is programmed with stitching patterns and label positioning coordinates. Operators load components into jigs, and the machine performs stitching automatically. As a result, cycle time reduces while maintaining consistent quality standards.
Key Control Points:
- Verify program accuracy before production
- Use proper jigs to hold components securely
- Monitor thread tension and stitch formation
- Conduct periodic calibration checks
Pro Tip : Use contrasting thread during initial trials for visibility
Label Stitching with Heat Seal + Stitch Combination
This method combines heat sealing and stitching to secure labels on components. Initially, the label is heat-sealed to fix its position, followed by stitching for reinforcement.
This approach is crucial for synthetic materials where stitching alone may cause slippage. Additionally, it enhances durability and prevents label movement during further processing.
Operators first apply heat using a heat press to bond the label temporarily. Then, they stitch around the edges or in specific patterns for reinforcement. Consequently, this hybrid method ensures both positioning accuracy and long-term durability.
Key Control Points:
- Control heat temperature to avoid material damage
- Ensure proper adhesion before stitching
- Maintain consistent stitch margins
- Inspect for delamination after stitching
Pro Tip : Implement inline inspection after first 10 pairs
Frequently Asked Questions – FAQs
1. What type of labels are used in footwear stitching?
Woven labels, printed fabric labels, heat transfer labels, and synthetic patches are commonly used depending on brand and material.
2. Which stitch type is best for label attachment?
Lockstitch is most common, while zig-zag or box stitching is used for reinforcement.
3. How to prevent label misalignment?
Use templates, marking guides, and jigs to ensure consistent positioning.
4. Why do labels detach during use?
Poor stitch density, incorrect thread tension, or lack of reinforcement can cause detachment.
5. Can automation replace manual label stitching?
Yes, automated machines improve consistency and efficiency, especially in high-volume production.
6. What is the ideal SPI for label stitching?
Typically 8–12 SPI depending on material and label type.
7. Is heat sealing necessary before stitching?
It is optional but useful for synthetic materials to prevent label shifting.
Pro Tip : Maintain separate needle types for fabric vs foam materials
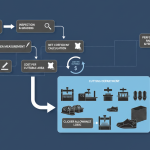
Explore other Stitching Process Series
- Stitching Process in Footwear Manufacturing: From Cutting to Closing Assembly in Shoe Production
- Cut Component Pairing & Match Marking After Cutting / Clicking-Stitching Process Series
- Cut Component Stamping After Cutting / Clicking – Stitching Process Series
- Cut Component Bundling After Cutting/Clicking-Stitching Process Series
- Component Marking After Cutting/Clicking–Stitching Process Series
- Component Branding in Footwear Manufacturing–Stitching Process Series
- Component Embroidery in Footwear Manufacturing–Stitching Process Series
- Component Skiving in Footwear Manufacturing–Stitching Process Series
- Component Splitting in Footwear Manufacturing–Stitching Process Series