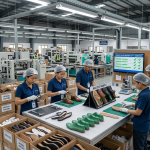
Repairing / Cleaning in Footwear Manufacturing – Full Shoe Assembly Series
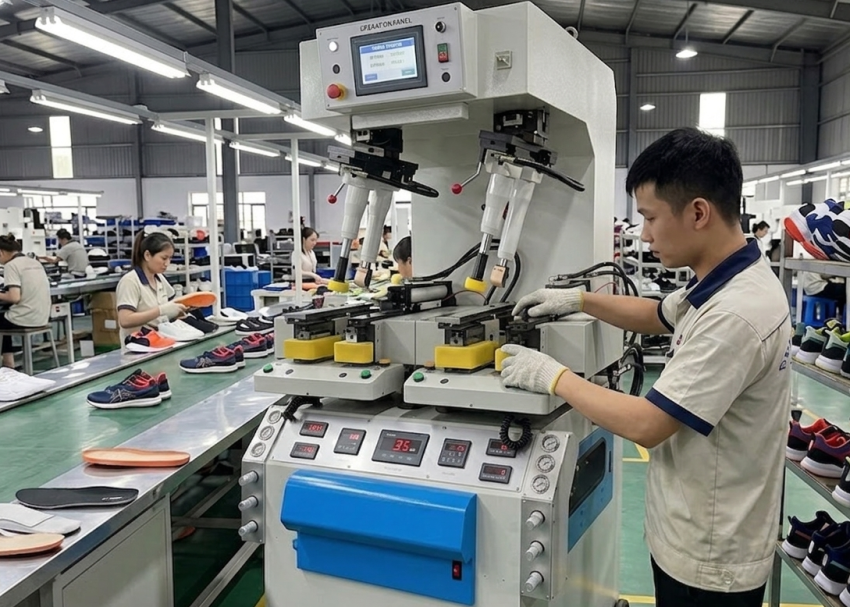
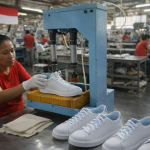
Once footwear moves beyond the core assembly stages, it enters a critical transition phase where construction work is essentially complete, but final appearance validation is still pending. At this point, the product may be structurally finished, yet it still requires careful visual correction before it can be approved for packing.
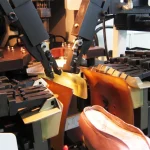
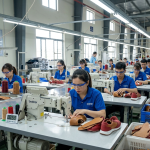
Throughout production, each pair passes through multiple handling stages such as lasting, sole bonding, stitching, and finishing operations. During these processes, it naturally accumulates minor surface imperfections including adhesive traces, dust settlement, handling marks, and polishing variations. While these defects do not impact performance, they significantly influence final inspection outcomes and customer perception.
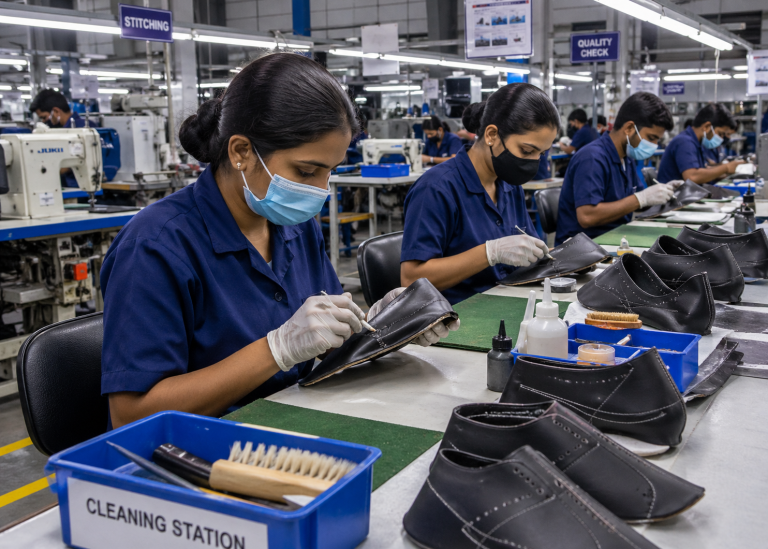
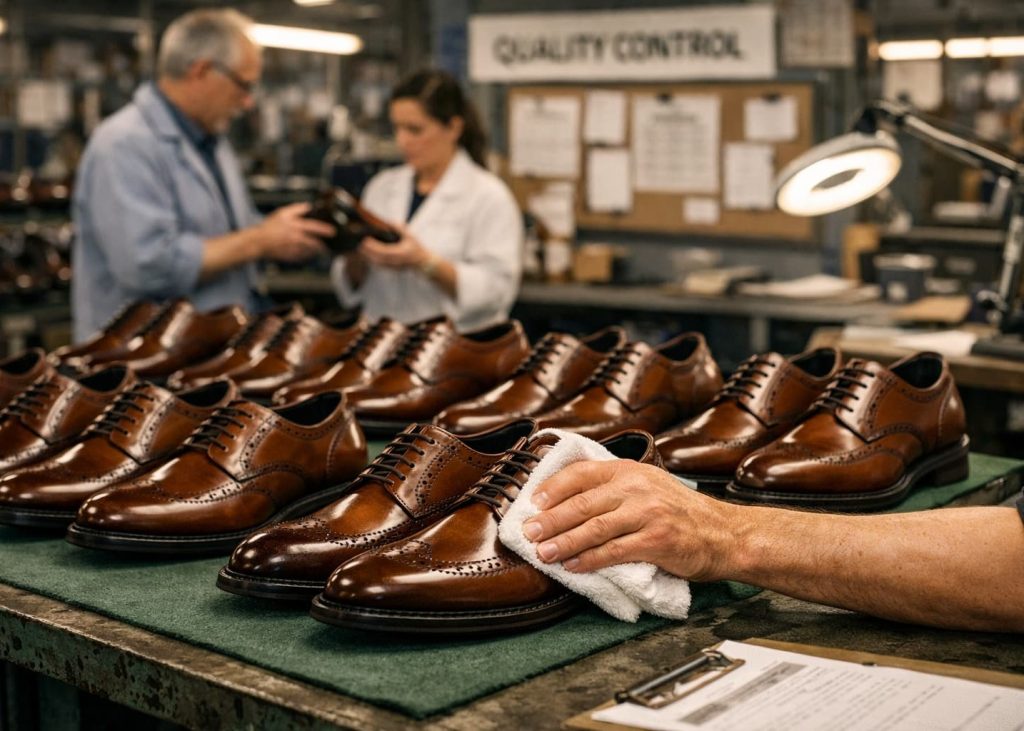
Repairing and cleaning is therefore implemented as a controlled finishing operation focused on restoring visual quality to approved factory standards. Operators systematically inspect each shoe under defined lighting conditions, identify cosmetic deviations, and correct them using approved mechanical and solvent-based methods. The objective is to ensure that every pair leaving the line presents a clean, consistent, and retail-ready appearance without visible defects.
In today’s footwear industry, even small cosmetic inconsistencies can lead to rejection at buyer inspection levels. This makes repairing and cleaning a decisive step in maintaining product acceptance, brand consistency, and overall quality assurance before final packing.

The Role of Repairing and Cleaning in Footwear Manufacturing
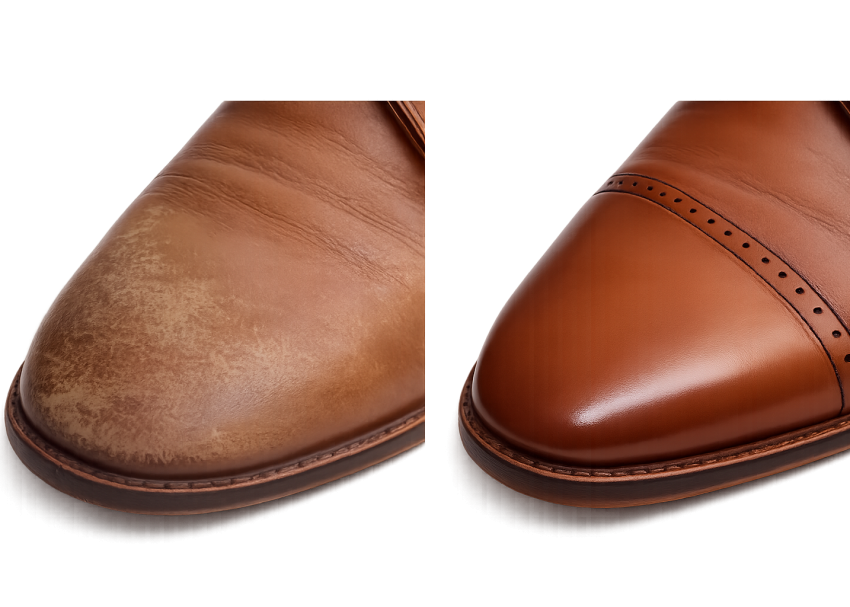
Repairing and cleaning serves as the final cosmetic quality restoration process before a shoe enters final inspection and packaging. Throughout assembly operations such as lasting, sole attaching, heel attachment, stitching, sock attaching, and finishing, footwear naturally accumulates minor visual defects. These defects may not affect functionality, but they significantly influence product appearance.
As shoes move through multiple workstations, operators handle them repeatedly. Machinery, conveyors, tools, adhesives, and production environments all contribute to the possibility of contamination or surface damage. Therefore, repairing and cleaning becomes essential to restore the intended appearance of the finished product.
In premium footwear manufacturing, appearance standards are often as strict as construction standards. Buyers expect shoes to arrive free from visible glue, stains, scratches, dust, fingerprints, and polishing inconsistencies. Failure to meet these expectations can result in shipment rejections, customer complaints, retail returns, or brand image damage.
For this reason, repairing and cleaning is not treated as a secondary activity. Instead, it functions as a specialized quality operation designed to eliminate cosmetic defects and ensure the shoe reflects the intended brand image.
Key Control Points
- Remove all visible adhesive residue
- Eliminate handling marks and contamination
- Maintain consistent appearance standards
- Verify quality before final inspection
Expert Tip: Implement a two-stage cleaning process consisting of dry cleaning followed by solvent cleaning.

Cosmetic Defects Generated During Assembly Operations
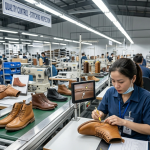
Every assembly process introduces opportunities for cosmetic defects. Understanding these defect sources helps factories improve both prevention and correction activities. During sole attaching operations, excess adhesive may spread beyond designated bonding areas. During stitching, thread contamination or marking may occur. Lasting operations can create wrinkles or pressure marks, while handling between departments often introduces fingerprints, scratches, or dust accumulation.
Furthermore, environmental conditions play a major role. Airborne dust can settle on adhesive surfaces. Improper storage may cause discoloration. Excessive handling increases the likelihood of contamination. Even high-quality manufacturing lines experience cosmetic defects that require corrective action before packing. Repairing teams must therefore understand not only how to remove defects but also where those defects originate.
This knowledge helps identify recurring problems and supports continuous improvement efforts throughout production. By analyzing defect patterns, factories can often reduce future rework and improve overall manufacturing efficiency.
Key Control Points
- Identify defect sources accurately
- Track recurring defect trends
- Separate cosmetic and structural defects
- Report major issues to production teams
Pro Tip: Monitor cleaning solution concentration daily to prevent streak formation.

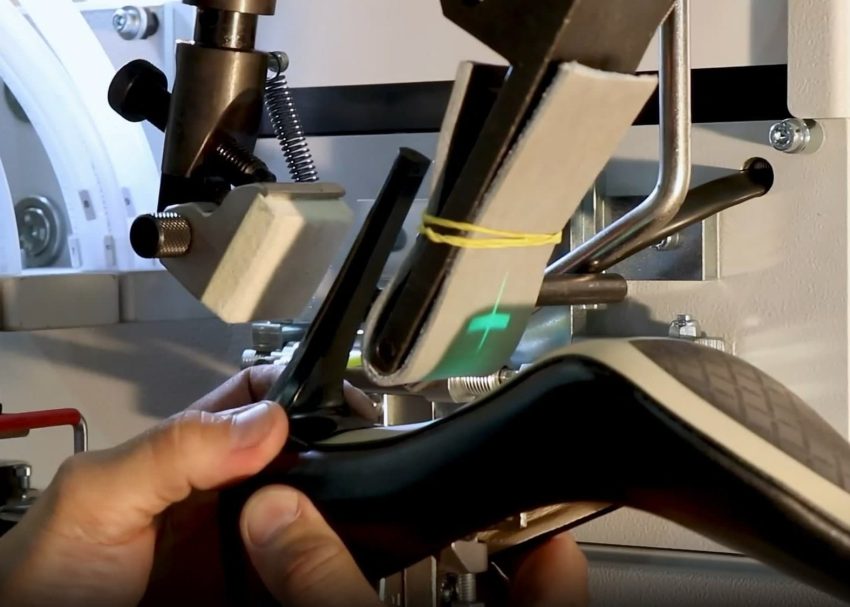
Repairing Operations Performed Before Final Inspection
Repairing focuses on correcting minor visual defects without altering the structural integrity of the shoe. The objective is to restore the intended appearance while maintaining product specifications and quality standards.
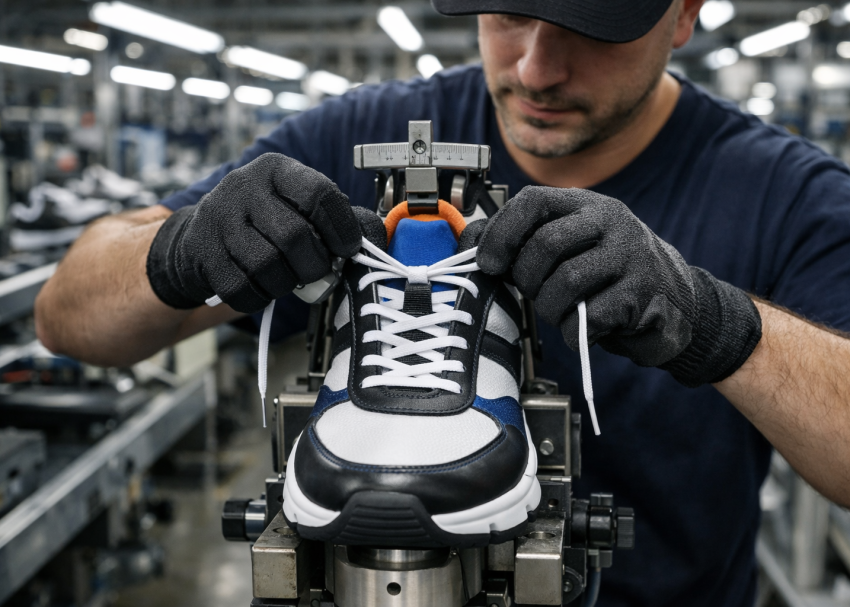
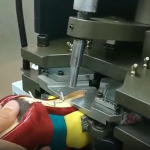
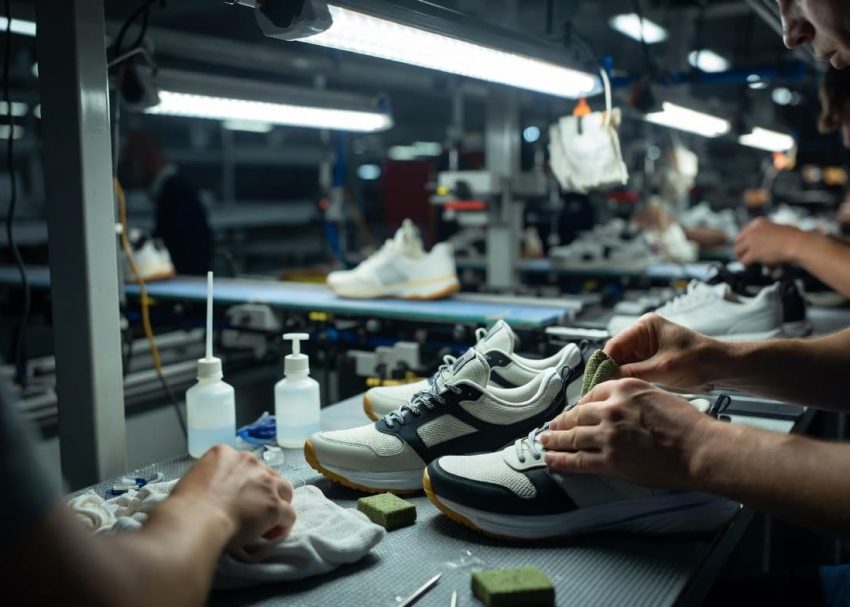
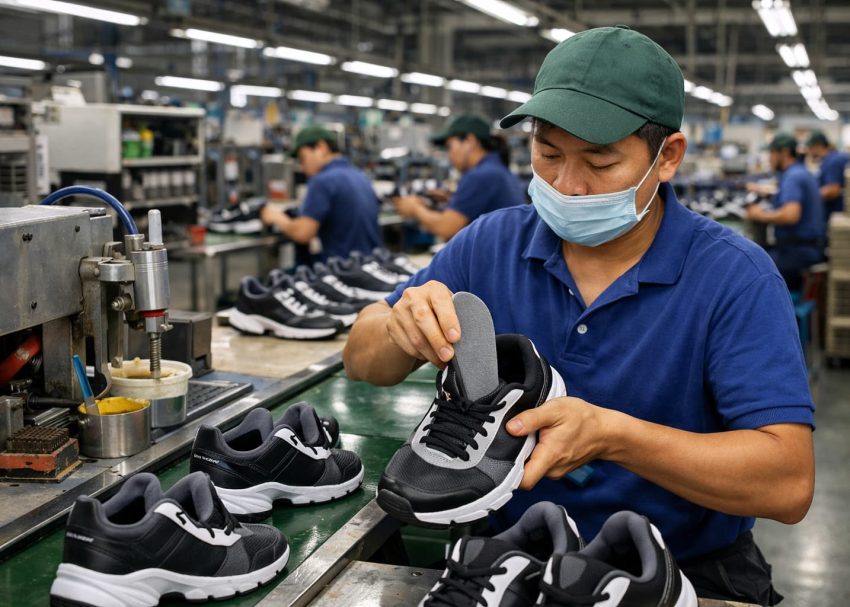
Operators begin by carefully examining the shoe under controlled lighting conditions. They identify visible imperfections and determine the most appropriate corrective action. Depending on the defect type, various repair methods may be used.
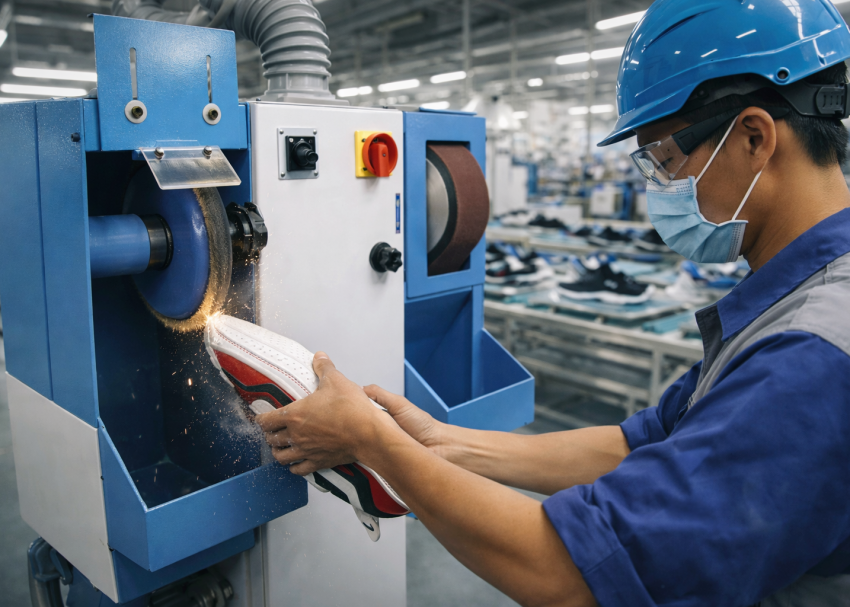
Adhesive residue is removed using crepe rubber erasers, cleaning sticks, or approved solvents. Scuff marks may require gentle surface restoration techniques. Edge paint damage can be corrected using matching touch-up materials. Small appearance inconsistencies are repaired before they become reasons for rejection during final inspection.
Material knowledge is extremely important during this stage. Leather, nubuck, suede, synthetic materials, mesh fabrics, knitted uppers, and coated materials all react differently to cleaning agents and mechanical abrasion. A repair method suitable for one material may permanently damage another.
For this reason, experienced operators are among the most valuable personnel in the finishing department. Their ability to restore appearance without creating secondary defects significantly affects final product quality.
Key Control Points
- Use approved repair methods only
- Match repair techniques to material type
- Prevent secondary damage during correction
- Verify appearance after repair completion
Pro Tip: Use separate cloth colors for different shoe color categories.
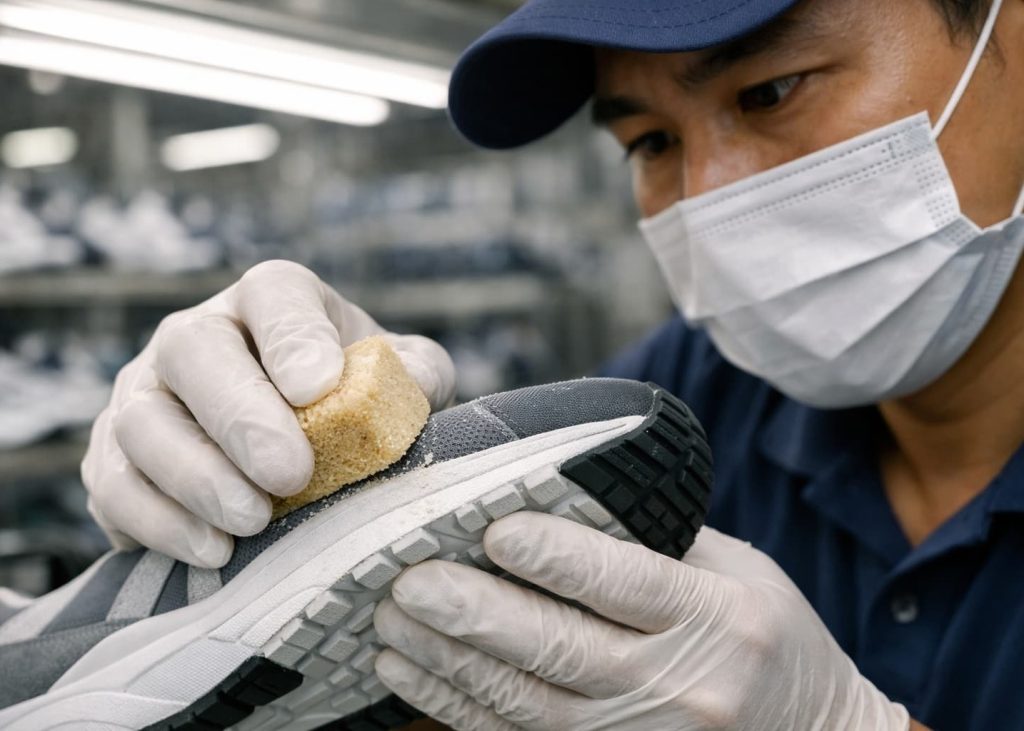
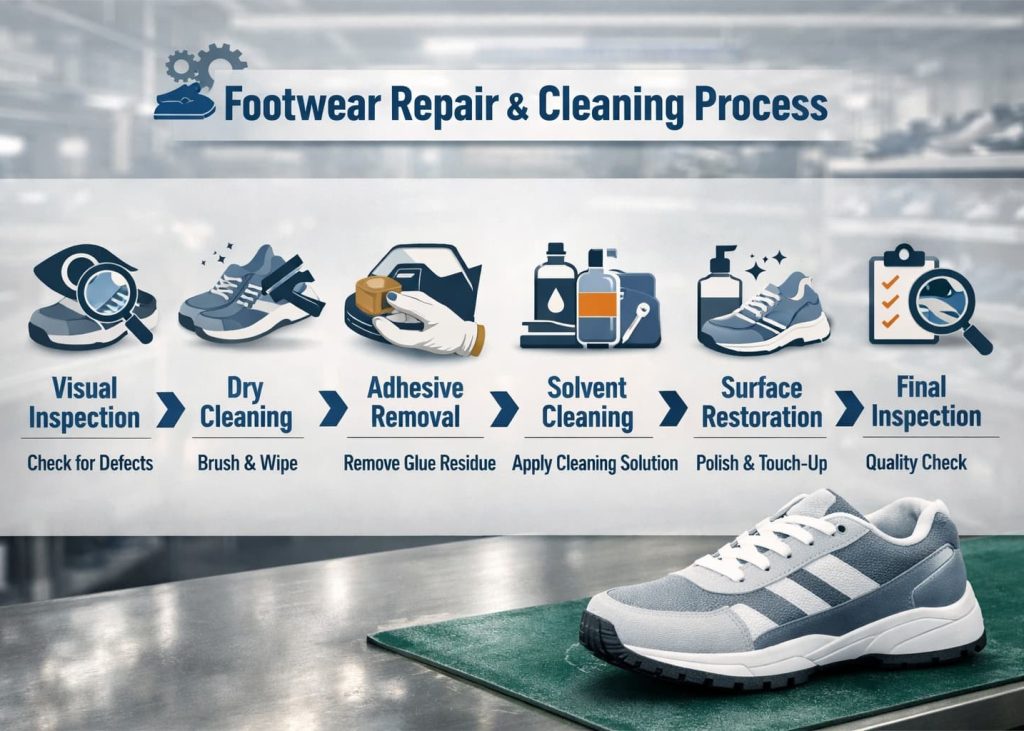
The Two-Stage Cleaning Process Used in Footwear Factories
Most professional footwear manufacturers follow a structured two-stage cleaning process. This approach minimizes chemical consumption while maximizing cleaning effectiveness. The first stage involves dry cleaning. During this step, operators remove loose contamination such as dust particles, dried adhesive fragments, lint, and surface debris. Dry cleaning prevents contaminants from spreading across the shoe during solvent application.
After dry cleaning, the shoe moves to the second stage, which involves solvent-based cleaning. Operators use approved cleaning solutions to remove remaining adhesive residue, stains, fingerprints, and cosmetic contamination. The controlled use of solvents allows effective cleaning while minimizing material risk.
This two-stage approach offers several advantages. First, it reduces solvent consumption. Second, it improves cleaning consistency. Third, it minimizes streak formation. Finally, it reduces the likelihood of damaging sensitive upper materials.
Many factories have adopted this method as a best practice because it provides superior appearance quality while supporting environmental and cost-control objectives.
Key Control Points
- Complete dry cleaning before solvent cleaning
- Use minimum effective solvent quantity
- Prevent contamination transfer between pairs
- Follow approved cleaning sequence
Pro Tip: Inspect footwear under multiple lighting angles.
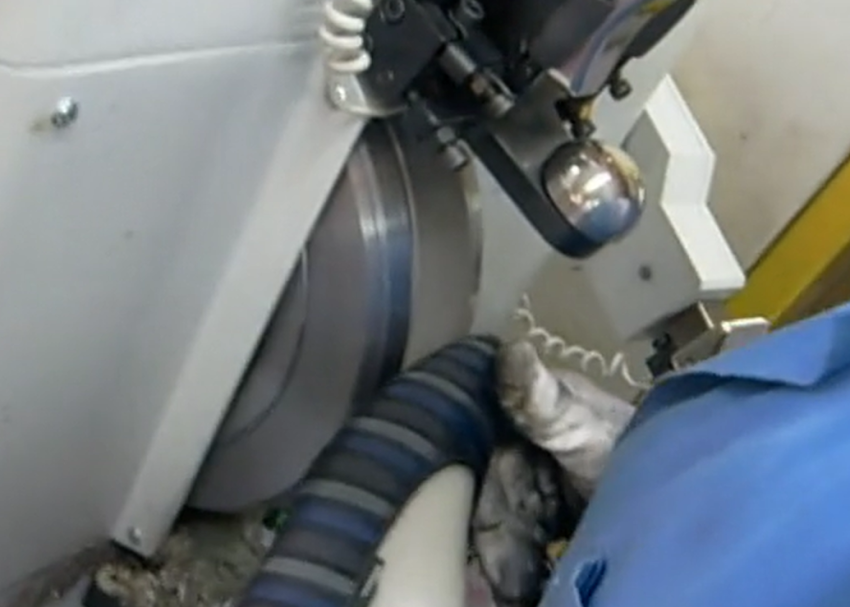
Dry Cleaning Methods and Applications
Dry cleaning represents the first active cleaning step in the repairing and cleaning process. Although it appears simple, this stage plays a critical role in achieving final appearance quality. Operators use specialized tools to remove loose contaminants without introducing moisture or chemicals. The process typically begins with visual inspection followed by targeted removal of visible debris.
Crepe rubber erasers are widely used to remove dried adhesive traces and minor surface contamination. Soft brushes help eliminate dust from textured materials and stitching areas. Air guns remove particles from difficult-to-access locations such as eyelets, seams, and outsole grooves.
Dry cleaning is particularly important because loose contaminants can interfere with subsequent solvent cleaning operations. If dust remains on the surface, solvents may spread contamination rather than remove it. By thoroughly completing dry cleaning first, operators create a cleaner surface that allows more effective cosmetic restoration during later stages.
Key Control Points
- Remove all loose contamination
- Use material-appropriate cleaning tools
- Clean difficult-to-reach areas thoroughly
- Inspect surfaces before solvent application
Pro Tip: Replace microfiber cloths frequently during production.
Solvent-Based Cleaning and Adhesive Residue Removal
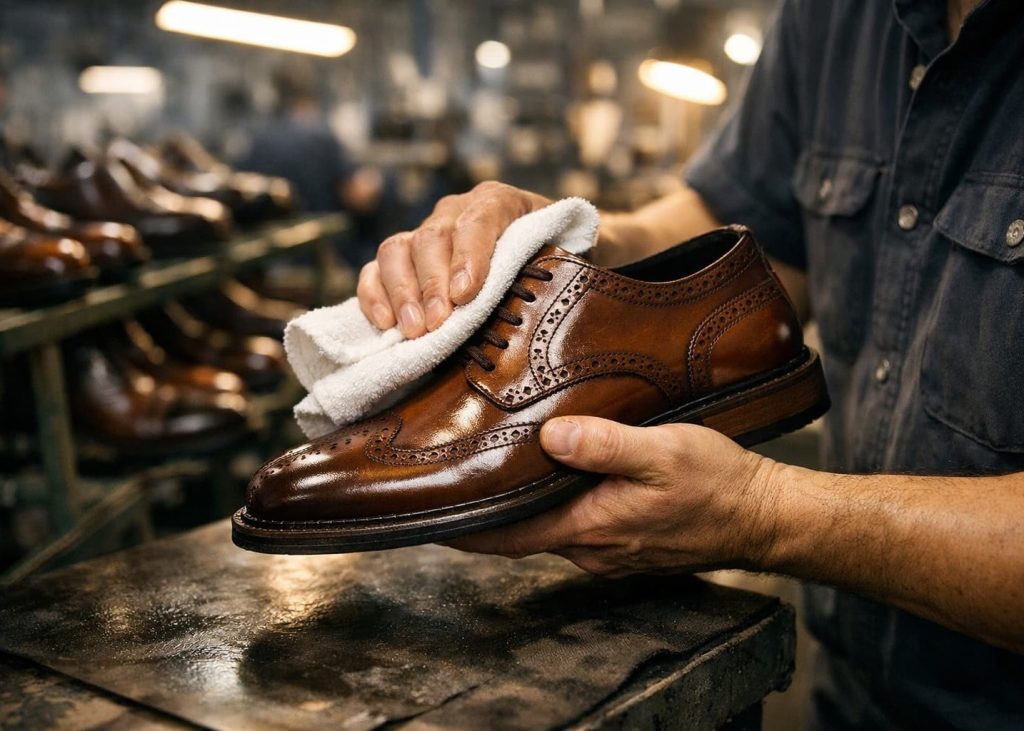
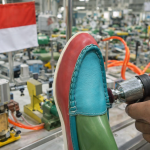
After dry cleaning is completed, operators proceed to solvent-based cleaning. This stage focuses on removing contaminants that cannot be eliminated mechanically. Excess cement is one of the most common issues addressed during solvent cleaning. Even with precise adhesive application systems, small traces of glue can remain visible after assembly. These traces often become more noticeable after curing and therefore require careful removal.
Operators apply approved cleaning solutions using microfiber cloths, cotton swabs, or specialized applicators. Rather than saturating the surface, they use controlled amounts to target specific contamination areas. Excessive solvent use can damage materials, alter surface finish, or create discoloration.
Modern footwear factories increasingly use material-specific cleaning solutions. Different formulations may be approved for leather, synthetic materials, mesh fabrics, or coated surfaces. This approach improves cleaning effectiveness while reducing material risk. Successful solvent cleaning requires patience, consistency, and attention to detail. Operators must remove contamination completely without affecting the original appearance of the material.
Key Control Points
- Use approved solvent formulations
- Apply solvents in controlled quantities
- Prevent solvent spreading
- Verify complete residue removal
Pro Tip: Track recurring cosmetic defects to identify root causes.

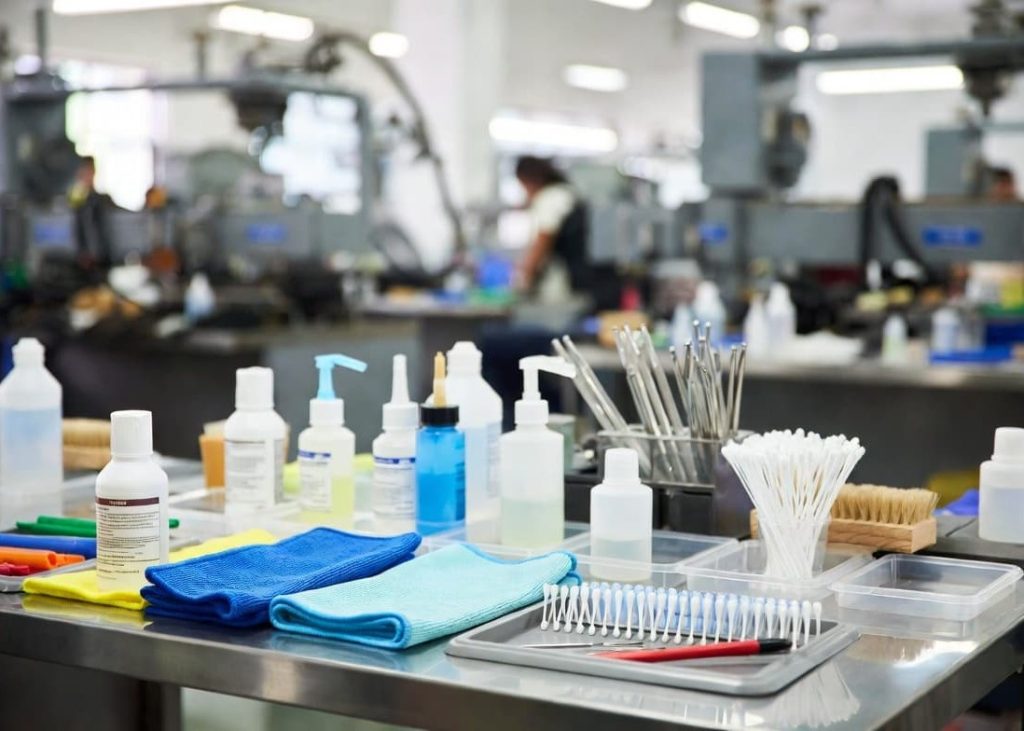
Cleaning Tools and Materials Used in Footwear Factories
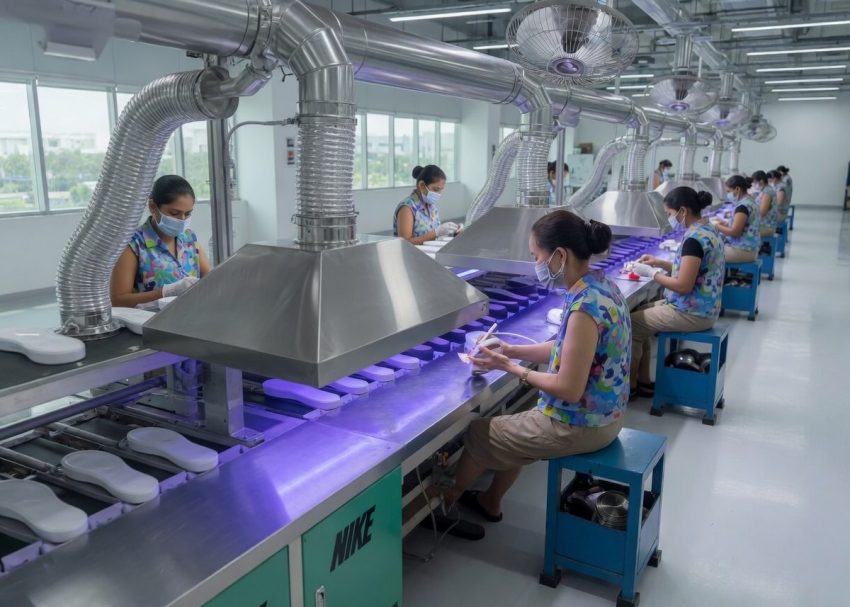
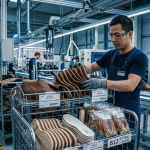
The effectiveness of repairing and cleaning depends heavily on the tools and materials available to operators. High-quality tools improve efficiency while reducing the risk of product damage. Most factories maintain dedicated cleaning stations equipped with specialized materials designed for footwear applications. These stations are organized to support different material categories and cleaning requirements.
Common cleaning equipment includes crepe rubber erasers, microfiber cloths, lint-free wipes, soft brushes, air guns, solvent dispensers, cotton swabs, touch-up applicators, and polishing materials. Each tool serves a specific function within the overall cleaning process.
Factories often maintain separate tool sets for light-colored shoes, dark-colored shoes, leather products, and suede materials. This separation reduces cross-contamination and improves consistency. Proper tool maintenance is equally important. Worn cleaning tools, contaminated cloths, and degraded brushes can introduce defects instead of removing them.
Common Tools Used
- Crepe rubber erasers
- Microfiber cloths
- Lint-free wipes
- Soft cleaning brushes
- Air blow guns
- Cotton swabs
- Solvent dispensers
- Touch-up pens
- Cleaning sponges
- Surface polishing cloths
Key Control Points
- Replace contaminated tools regularly
- Separate tools by material type
- Maintain organized workstations
- Use approved cleaning materials only
Pro Tip: Maintain dust-controlled cleaning environments.
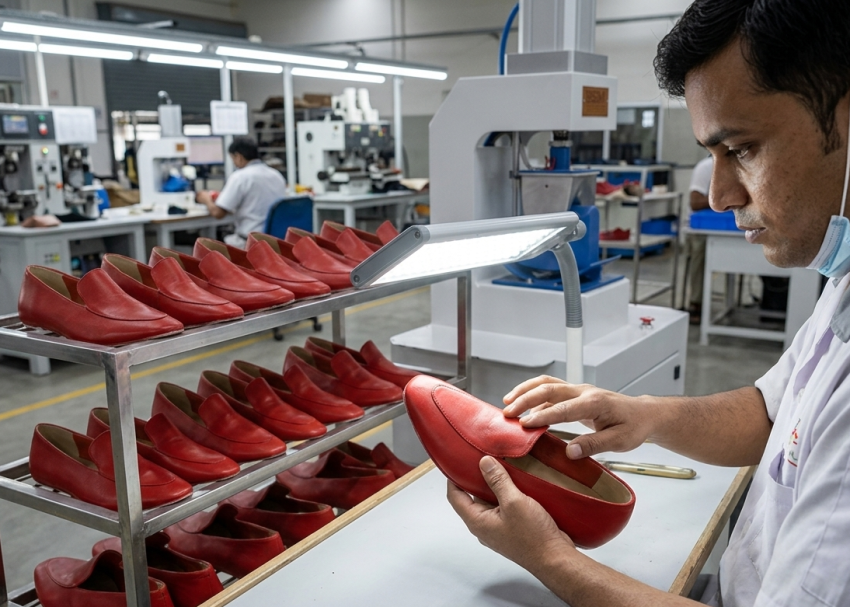
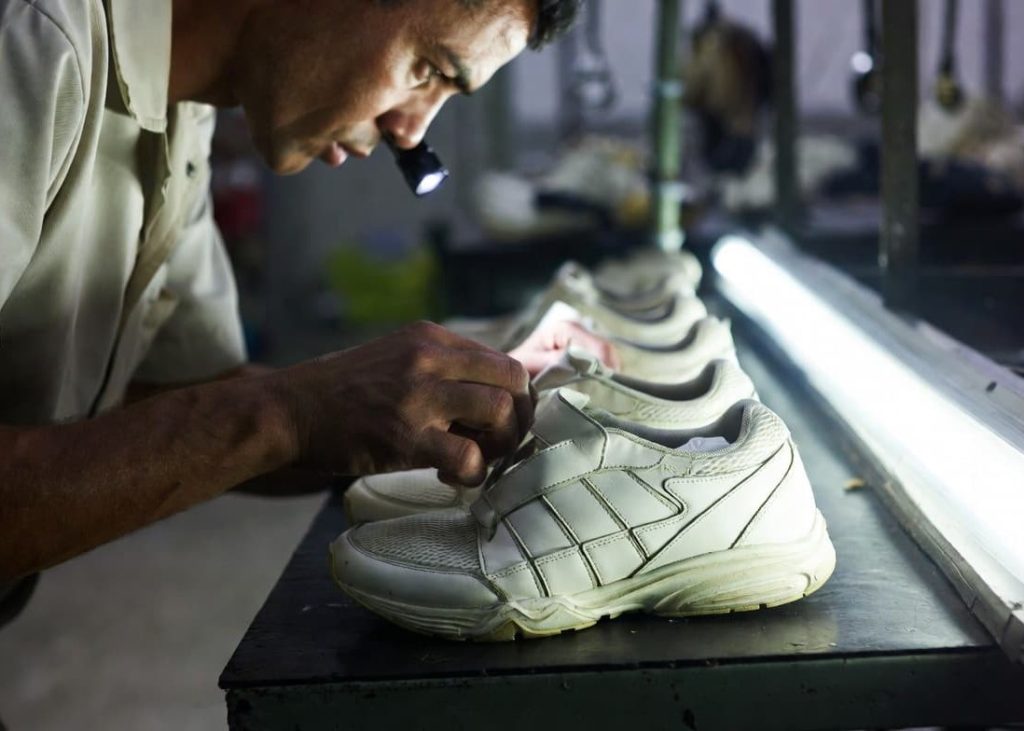
Controlled Lighting for Defect Detection
One of the most overlooked factors in footwear cleaning is lighting quality. Even highly skilled operators cannot identify all cosmetic defects under poor lighting conditions. Many defects become visible only when viewed from specific angles. Thin adhesive films, dust particles, fingerprints, and surface streaks often disappear under normal factory lighting but become obvious under inspection lighting.
For this reason, professional footwear manufacturers install dedicated lighting systems at repairing and cleaning stations. These systems provide consistent illumination that helps operators identify subtle defects before final inspection.
Operators typically rotate the shoe during examination to observe reflections from multiple angles. This technique helps reveal contamination that may otherwise remain unnoticed. Consistent lighting standards also improve inspection repeatability across shifts and departments.
Key Control Points
- Maintain standardized lighting intensity
- Inspect shoes from multiple angles
- Clean lighting stations regularly
- Verify defect visibility before release
Pro Tip: Train operators on material-specific cleaning methods.
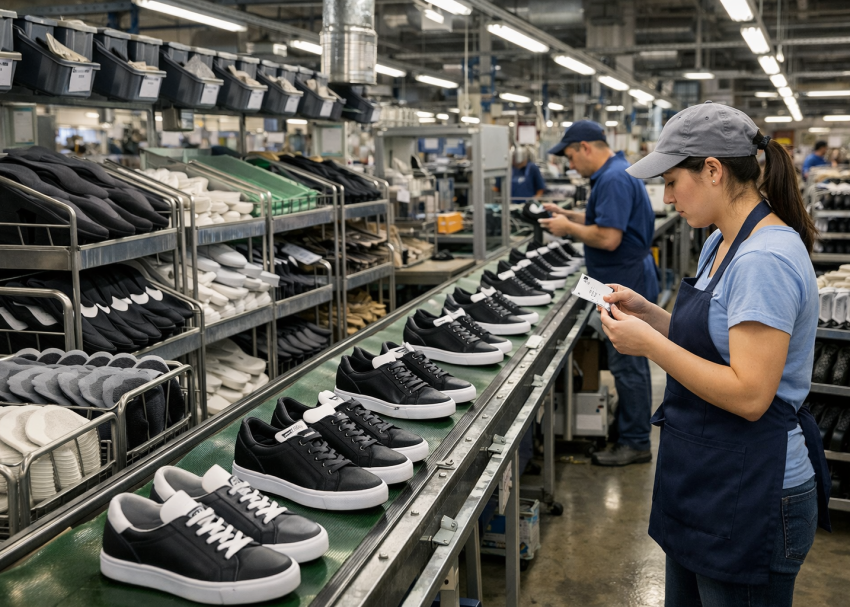
Quality Standards Before Final Inspection
Repairing and cleaning activities conclude only when the shoe meets established appearance standards. Before transferring products to final inspection, operators must verify that all cosmetic defects have been eliminated.
Most brands specify detailed appearance requirements covering upper surfaces, outsole cleanliness, edge finishing, color consistency, polishing quality, and overall presentation. Shoes must satisfy these requirements regardless of production volume or schedule pressure.
The final appearance assessment confirms that the product is ready for customer evaluation. A shoe that passes this stage should present a clean, premium, and defect-free appearance consistent with brand expectations.
Many factories implement 100% appearance inspection at this stage because even a single visible defect can affect buyer confidence.
Key Control Points
- Zero visible adhesive residue
- No dust or contamination
- No fingerprints or stains
- Consistent color and finish
- Clean outsole appearance
- Compliance with buyer standards
Conclusion
Repairing and cleaning is the final cosmetic quality assurance process before footwear reaches the packing department. Although the operation does not change the structural characteristics of the shoe, it significantly influences customer perception, retail presentation, and brand reputation.
Every adhesive mark removed, every scuff corrected, and every contaminant eliminated contributes directly to product quality. Therefore, leading footwear manufacturers invest in trained operators, controlled lighting systems, specialized cleaning tools, and standardized procedures to achieve consistent appearance standards.
As footwear quality expectations continue to increase, repairing and cleaning remains one of the most important finishing operations in the entire assembly process. A well-executed cleaning program not only reduces rejection rates but also ensures that every pair reaches the customer in the best possible condition.
In the next blog of TheFootwearEdge Full Shoe Assembly Series, we will discuss Paper Stuffing in Footwear Manufacturing, including shape retention, moisture control, presentation requirements, stuffing materials, and best practices before packing.
Frequently Asked Questions – FAQs
Why is repairing and cleaning important in footwear manufacturing?
- Removes cosmetic defects before packing
- Improves customer perception
- Supports buyer acceptance standards
What is the most common defect removed during cleaning?
- Excess adhesive residue
- Scuff marks
- Dust contamination
- Fingerprints
Why is dry cleaning performed before solvent cleaning?
- Reduces solvent consumption
- Improves cleaning effectiveness
- Prevents contamination spreading
What tools are commonly used for footwear cleaning?
- Crepe rubber erasers
- Microfiber cloths
- Soft brushes
- Solvent applicators
- Cotton swabs
Can improper cleaning damage footwear materials?
- Yes
- Excessive solvent use can cause discoloration
- Aggressive rubbing can damage surfaces
Why is controlled lighting necessary?
- Reveals hidden defects
- Improves inspection consistency
- Supports quality standards
How do factories prevent cleaning-related defects?
- Standardized inspection methods
- Operator training
- Material-specific procedures
- Controlled solvent use