Outsole Moulding Operations in Outsole Process: Outsole (Stock Fitting) Assembly Series
Every outsole used in footwear manufacturing begins as a moulded component. Before trimming, milling, finishing, or assembly can take place, the raw material must first be transformed into a precise outsole shape that meets both design and performance requirements. This transformation occurs during the outsole moulding operation, one of the most critical stages in outsole manufacturing.
In the previous article, “Milling and Digging in Outsole Process: Outsole (Stock Fitting) Assembly Series,” we explored how moulded outsoles are further machined to create grooves, recesses, heel seats, and attachment features that simplify downstream assembly. Those secondary operations can only achieve consistent results when the moulded outsole has accurate dimensions, uniform material properties, and a high-quality surface finish.
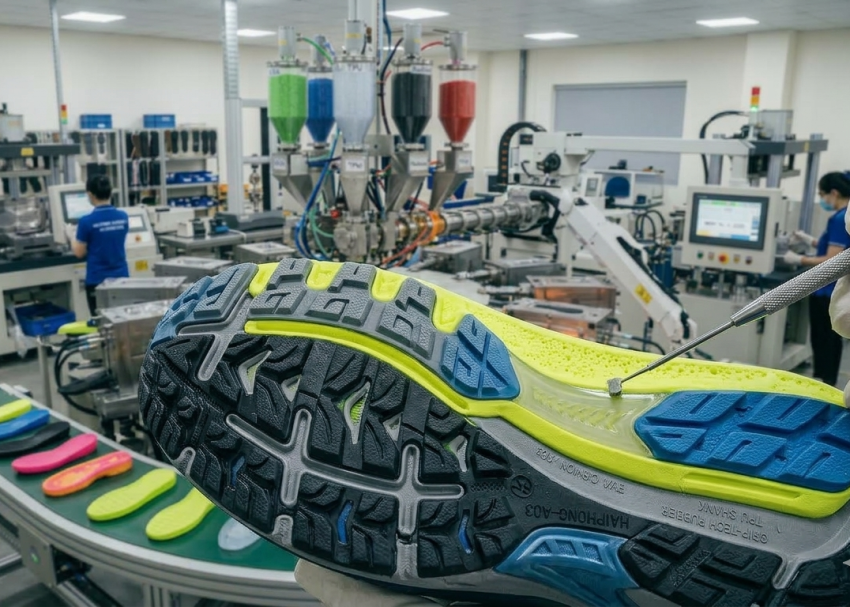
Outsole moulding uses controlled heat, pressure, and precision-engineered moulds to convert rubber, EVA, polyurethane (PU), TPU, PVC, and other materials into finished outsole components. The selected moulding technology directly influences product quality, appearance, durability, dimensional accuracy, and production efficiency, making it one of the most important processes in footwear manufacturing.
This article provides a practical overview of the major outsole moulding operations, the components commonly produced, the principal moulding technologies, typical production defects, and the process controls that help factories achieve consistent quality. More detailed coverage of individual moulding methods will follow in a dedicated Outsole Moulding Series later in this collection.
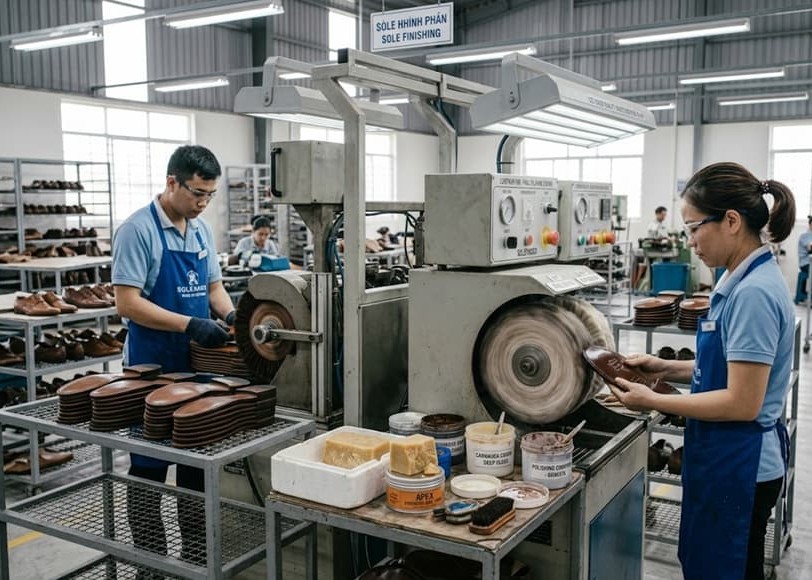
Understanding Outsole Moulding Operations
Every outsole begins as a raw material rather than a finished component. Depending on the footwear design, manufacturers process rubber compounds, thermoplastic materials, polyurethane systems, or EVA compounds inside specially designed moulds that reproduce the exact outsole geometry.
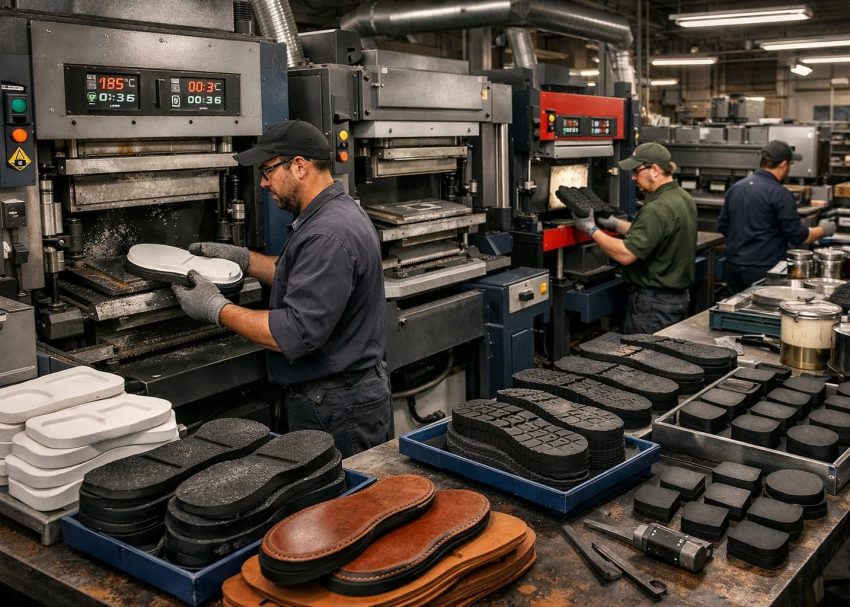
During moulding, the material flows into every cavity of the mould under carefully controlled processing conditions. Heat softens or cures the material, pressure forces it into intricate tread patterns, and cooling stabilizes the final shape before demoulding.
Unlike cutting or machining operations that remove material, moulding creates the complete outsole profile in a single manufacturing cycle. As a result, nearly every functional feature—including tread design, branding, heel profile, flex grooves, logos, texture, and dimensional details—is produced directly inside the mould.
Modern footwear factories rely heavily on automated moulding equipment to achieve repeatable quality while maintaining high production efficiency. Since mould tooling represents a significant investment, proper process control and mould maintenance are equally important for ensuring long-term manufacturing consistency.
Key Control Points
- Confirm the correct material formulation before moulding.
- Verify mould cleanliness before every production batch.
- Maintain approved processing parameters throughout production.
- Record mould identification and production traceability.
Expert Tip:
Never increase moulding temperature simply to reduce cycle time. Excessive heat can permanently affect material properties.
Protect moulded components from direct sunlight and excessive heat to minimize distortion

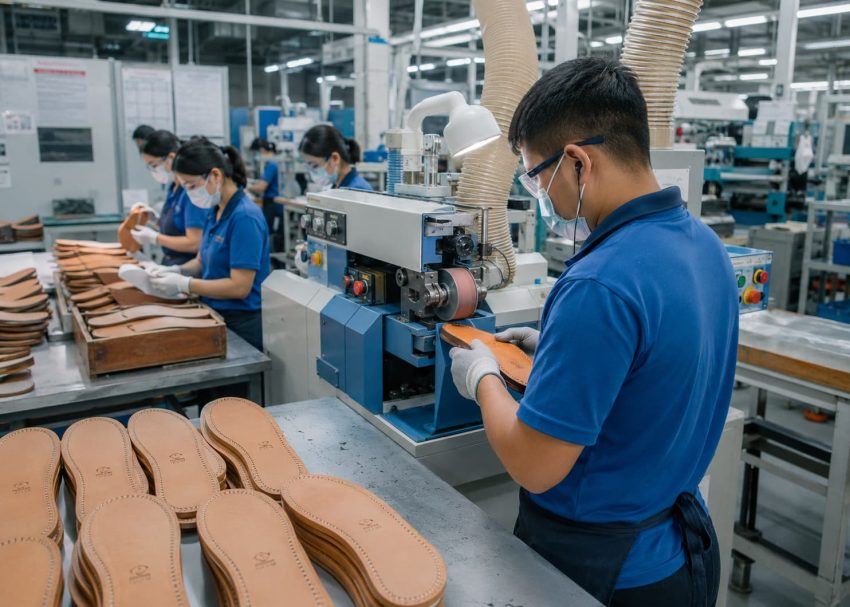
Why Outsole Moulding Determines Product Quality
Outsole moulding influences almost every performance characteristic of the finished footwear. Even a perfectly assembled shoe cannot compensate for poor moulding quality. Accurate mould filling ensures that the outsole matches its design dimensions, while stable curing or cooling produces consistent hardness and flexibility. Likewise, a well-maintained mould delivers sharp tread patterns, clean edges, uniform surface finish, and accurate logo definition.
Conversely, uncontrolled moulding conditions may create dimensional variations, incomplete filling, excessive flash, sink marks, or weak structural areas. These defects increase rejection rates and may create assembly difficulties during later stock fitting operations.
Furthermore, moulding directly affects downstream processes such as milling, trimming, roughing, bonding, finishing, and final shoe assembly. When moulded parts remain dimensionally stable, every subsequent operation becomes faster and more reliable.
From a production perspective, moulding also influences manufacturing cost. Short cycle times improve productivity, but excessive speed may compromise quality. Therefore, factories continually balance productivity with process stability to achieve the lowest overall manufacturing cost.
Key Control Points
- Monitor dimensional consistency throughout production.
- Compare moulded parts against approved master samples.
- Control curing or cooling conditions consistently.
- Reject components showing visible moulding defects.
Expert Tip:
Always verify the first-off moulded components before starting mass production.
Schedule regular calibration of weighing scales and dimensional measuring equipment.

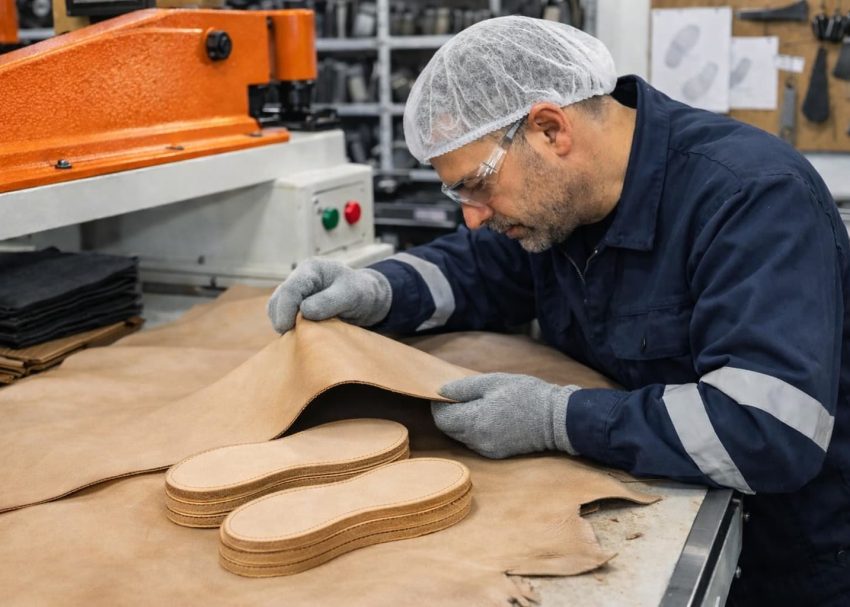
Components Commonly Manufactured Through Moulding
Modern footwear contains far more moulded components than many people realize. Although the outsole receives the most attention, several supporting parts are also produced through moulding to achieve the desired appearance, cushioning, structural support, and durability.
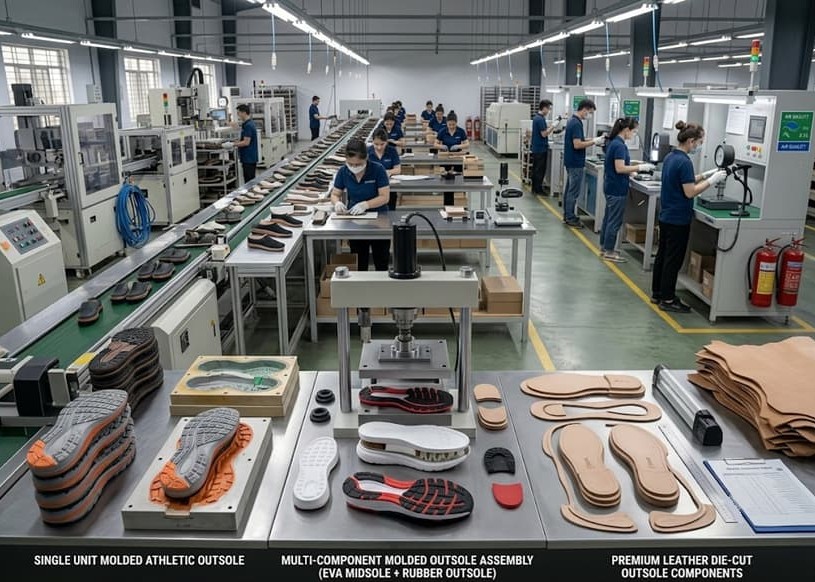
The moulding method selected depends on the material, production volume, product performance, and construction technique. Many athletic, casual, industrial, and fashion shoes combine several individually moulded parts that are later assembled into one complete outsole unit.
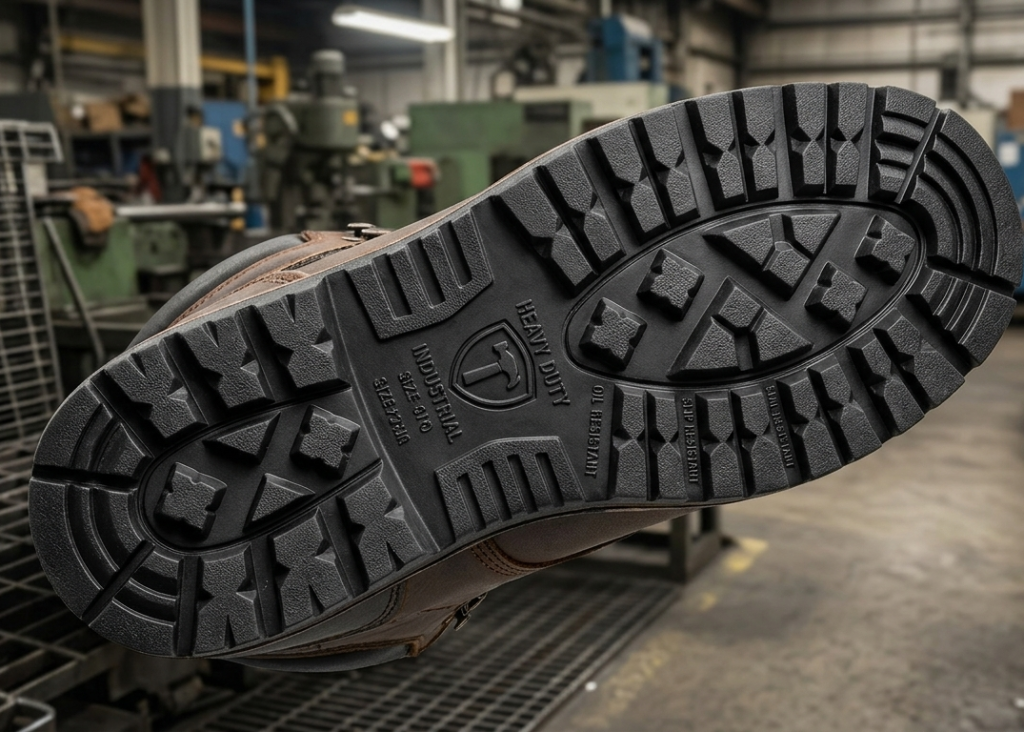
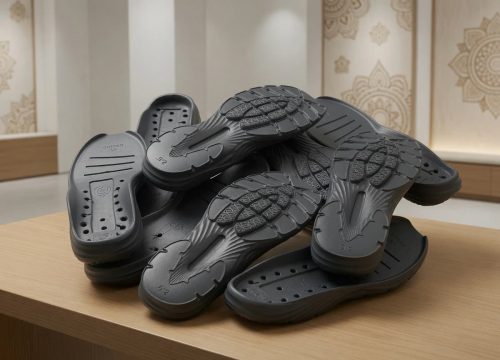
Unit Outsoles
Unit outsoles combine the walking surface and structural base into a single moulded component. Since they eliminate separate heel attachment operations, unit soles simplify assembly while improving production efficiency.
Manufacturers commonly mould unit soles using rubber, TPU, PVC, TPR, or PU, depending on footwear application. Sports footwear, school shoes, casual footwear, safety shoes, and work boots frequently use this construction.
The mould itself contains every design feature, including tread patterns, heel geometry, branding, decorative textures, drainage grooves, and flex channels.
Midsoles
Midsoles provide cushioning, energy absorption, stability, and walking comfort between the outsole and upper.
Although midsoles are sometimes integrated into unit soles, many performance footwear designs manufacture them separately using EVA, PU, TPU foam, or advanced cushioning compounds.
The moulding process determines density, compression characteristics, resilience, and overall comfort performance. Consequently, even small process variations may affect footwear cushioning and durability.
Expert Tip:
Store moulded components under controlled conditions to prevent distortion before assembly.
Train operators to recognize early signs of mould wear before visible production defects develop.
Heels
Separate moulded heels remain common in formal footwear, women’s fashion shoes, boots, and premium leather footwear.
Depending on product design, heels may be manufactured from high-impact plastic, rubber, PU, ABS, wood-filled compounds, or composite materials. Some heel constructions also contain embedded metal reinforcement for additional strength.
Accurate moulding ensures stable heel height, balanced weight distribution, and secure attachment during later assembly operations.
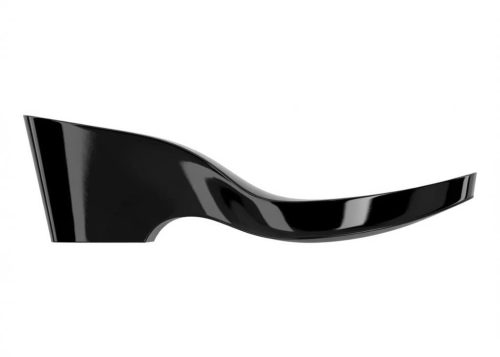
Wedges
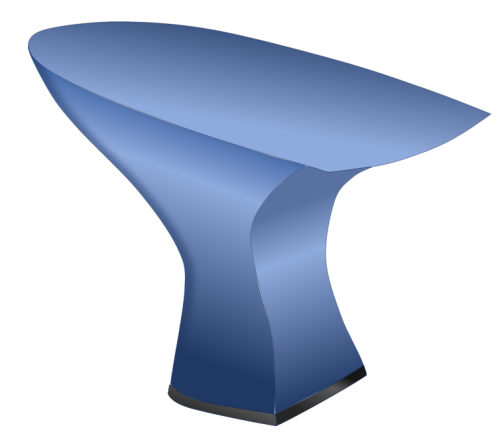
Wedges integrate heel elevation and sole support into one continuous moulded component.
Sports sandals, comfort footwear, casual shoes, and women’s footwear frequently incorporate EVA or PU wedges because they provide lightweight cushioning while reducing assembly complexity.
The mould design largely determines the final comfort, weight, and appearance of the finished footwear
Expert Tip: Implement preventive mould maintenance instead of waiting for defects to appear.
Welts
In premium footwear, moulded welts provide both decorative styling and functional attachment features. Some constructions use rubber or TPU welts that simulate traditional leather welt stitching while improving manufacturing efficiency.
Well-designed moulds produce sharp decorative profiles that enhance overall shoe aesthetics.
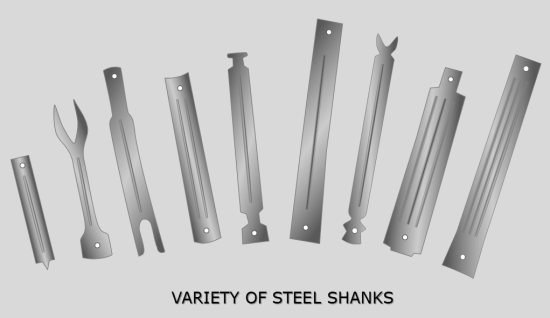
Shanks
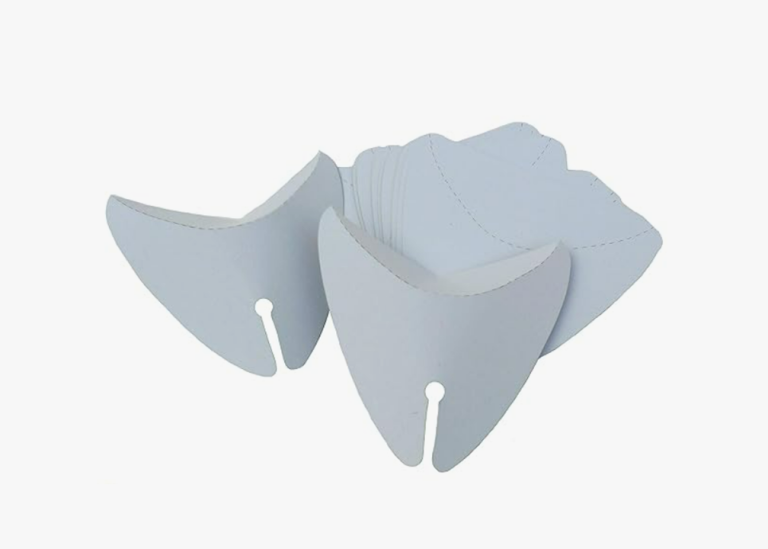
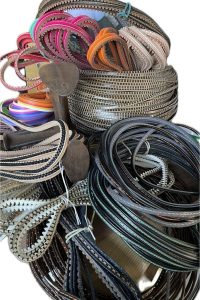
Shanks reinforce the midfoot area and improve structural stability by controlling excessive flexing. Depending on footwear design, manufacturers mould shanks from nylon, fiberglass-reinforced polymers, thermoplastics, or composite materials.
Although relatively small, shanks significantly influence footwear support and long-term durability.
Expert Tip:
Maintain separate process parameters for every outsole material because rubber, TPU, EVA, PVC, and PU behave differently during moulding.
Use Statistical Process Control (SPC) to monitor dimensional consistency on high-volume production lines.
Inserts
Many footwear styles include moulded inserts for cushioning, arch support, heel stabilization, or localized impact protection.
Manufacturers commonly produce inserts using PU, TPU gels, EVA, silicone, or specialized cushioning materials. These inserts improve wearer comfort without increasing overall footwear weight.
Veneers
Veneers are thin decorative moulded overlays that enhance outsole appearance while reducing manufacturing cost compared with full-material constructions.
These components may imitate leather, wood, carbon fibre, or premium finishes while remaining lightweight and durable.
Expert Tip:
Standardize mould numbering across all production lines to simplify maintenance and traceability.
Keep separate inspection standards for cosmetic components and structural components.
Common Outsole Moulding Technologies
Footwear manufacturers use several moulding technologies because no single process is suitable for every material or shoe construction. The selection depends on the outsole material, production volume, product performance, tooling investment, and customer requirements.
Although every technology follows the same basic principle of shaping materials inside a mould, each process differs in terms of machine design, material flow, curing method, cycle time, and production efficiency.
Understanding these moulding methods helps production engineers, quality inspectors, tooling engineers, and factory supervisors select the most suitable process for each footwear application.
Compression Moulding
Compression moulding remains one of the oldest and most widely used technologies for manufacturing rubber footwear outsoles. It is especially suitable for natural rubber, synthetic rubber, nitrile rubber, and specialty compounds used in safety footwear, industrial shoes, trekking boots, and premium leather footwear.
The process begins by preparing accurately weighed rubber preforms or blanks. Operators place the material into an open mould cavity before closing the mould under high pressure. Heat and pressure gradually soften the compound, allowing it to flow throughout the mould cavity. During the curing cycle, the rubber undergoes vulcanization, permanently forming the outsole shape and developing its final mechanical properties.
After curing, the mould opens and the outsole is removed for cooling, trimming, inspection, and any required secondary operations. Compression moulding produces excellent tread definition, durable outsoles, and reliable dimensional stability. However, it generally requires longer cycle times than injection moulding and often involves more manual handling.
Typical Applications
- Rubber unit outsoles
- Industrial safety footwear
- Military boots
- Leather shoe outsoles
- Heavy-duty outdoor footwear
Advantages
- Excellent rubber performance
- High durability
- Superior abrasion resistance
- Lower mould cost
- Suitable for thick outsole designs
Limitations
- Longer production cycles
- More operator involvement
- Flash removal often required
- Lower productivity than injection systems
Key Control Points
- Confirm complete vulcanization before demoulding.
- Verify preform weight before loading.
- Maintain curing temperature within specification.
- Monitor mould closing pressure.
Expert Tip: Always allow moulded parts to stabilize before dimensional inspection, especially EVA and PU materials.
Injection Moulding
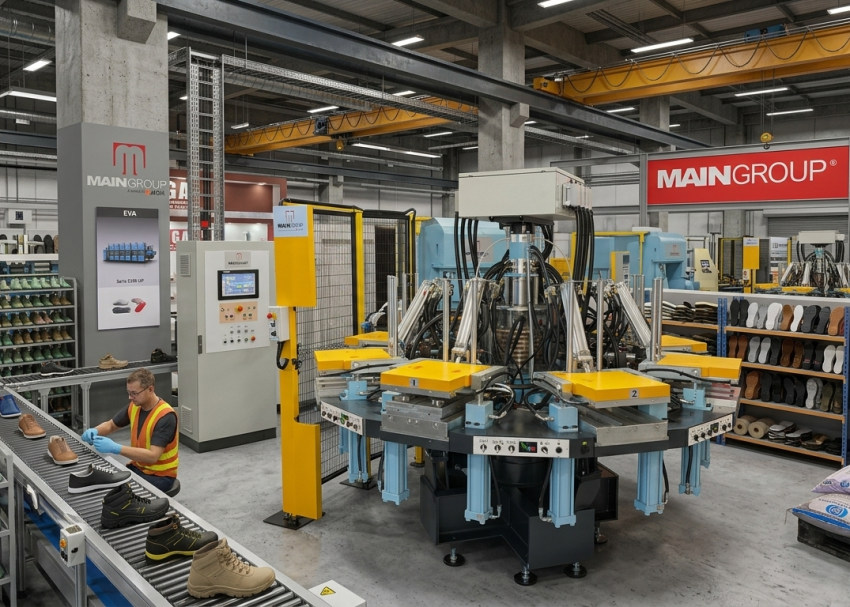
Injection moulding is widely used for thermoplastic outsole materials such as TPU, PVC, TPR, and certain specialty polymers. The process offers high production efficiency, consistent quality, and excellent repeatability, making it ideal for large-scale footwear manufacturing.
Unlike compression moulding, the raw material is first melted inside a heated injection barrel. A reciprocating screw then injects the molten material into a closed mould cavity at controlled pressure and speed.
Once the cavity is completely filled, the material cools and solidifies before the mould opens for automatic or manual part removal.
Because the mould remains closed during material injection, the process minimizes flash and produces highly detailed tread patterns with excellent dimensional accuracy. Injection moulding is extensively used in athletic footwear, casual shoes, children’s footwear, and fashion footwear where production speed and repeatability are essential.
Typical Applications
- TPU outsoles
- PVC footwear
- TPR soles
- Fashion footwear
- Sports footwear
Advantages
- High production speed
- Excellent repeatability
- Minimal material waste
- Accurate dimensions
- Reduced manual handling
Limitations
- Higher machine investment
- More expensive moulds
- Sensitive to processing parameters
- Requires precise temperature control
Key Control Points
- Monitor injection pressure.
- Verify melt temperature.
- Check cooling time.
- Inspect cavity filling consistency.
Expert Tip: Never adjust moulding parameters without documenting the reason and production results.

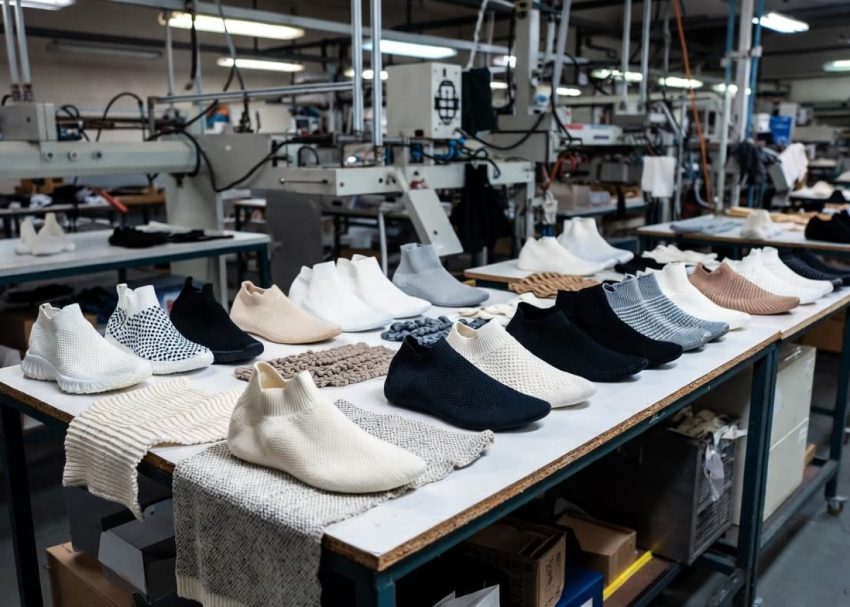
Direct Injection Moulding (DIP)
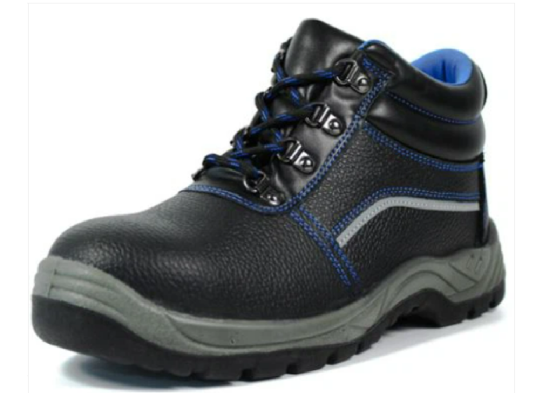
Direct Injection Moulding differs significantly from conventional outsole manufacturing because the outsole is moulded directly onto the lasted upper instead of being manufactured separately and attached later.
After lasting, the shoe upper is accurately positioned inside the mould. Molten material is then injected around the bottom of the upper, where it chemically or mechanically bonds to the upper during the moulding cycle.
This process eliminates separate cementing and outsole attachment operations, reducing labour while improving bond strength and production consistency.
Direct Injection technology is particularly popular in safety footwear, occupational footwear, military boots, and premium comfort footwear because of its excellent bonding performance and water resistance. However, successful direct injection requires highly accurate lasting, precise mould alignment, and carefully controlled material flow to prevent cosmetic or bonding defects.
Typical Applications
- Safety footwear
- Work boots
- PU safety shoes
- Occupational footwear
- Waterproof footwear
Advantages
- Eliminates separate sole attachment
- Excellent bonding strength
- Reduced labour
- Improved water resistance
- High production consistency
Limitations
- Expensive machinery
- Complex mould design
- Precise upper positioning required
- Limited flexibility for outsole replacement
Key Control Points
- Check complete material filling.
- Verify upper positioning before injection.
- Monitor bonding quality.
- Inspect outsole alignment.
Expert Tip:
Record first-piece approval for every mould change to improve traceability.
Clean mould vents regularly to reduce air-trap defects.

Polyurethane (PU) Injection Moulding
PU Injection Moulding has become one of the most widely adopted technologies for manufacturing lightweight, cushioned footwear. Unlike thermoplastic injection, polyurethane is created through a controlled chemical reaction between two liquid components—typically polyol and isocyanate. These materials are accurately metered, mixed, and injected into the mould, where they expand and cure into the final outsole or midsole.
PU offers an excellent balance between comfort, durability, flexibility, and weight, making it ideal for industrial footwear, comfort shoes, safety shoes, and premium casual footwear.
Manufacturers can also produce single-density, dual-density, or multi-density PU soles, combining soft cushioning with durable wear surfaces in one moulding process. Because PU chemistry is highly sensitive, environmental conditions such as temperature and humidity require close monitoring throughout production.
Typical Applications
- Safety footwear
- Comfort footwear
- Industrial shoes
- Casual footwear
- Dual-density outsoles
Advantages
- Lightweight construction
- Excellent cushioning
- Good flexibility
- Strong bonding capability
- Multiple density options
Limitations
- Sensitive chemical processing
- Strict storage requirements
- Higher raw material cost
- Moisture-sensitive materials
Key Control Points
- Inspect curing consistency.
- Verify chemical mixing ratio.
- Monitor ambient humidity.
- Check material temperature.
Expert Tip:
Maintain separate process sheets for each outsole design and material grade.
Verify mould temperature using calibrated instruments rather than relying solely on machine displays.


EVA Compression Moulding
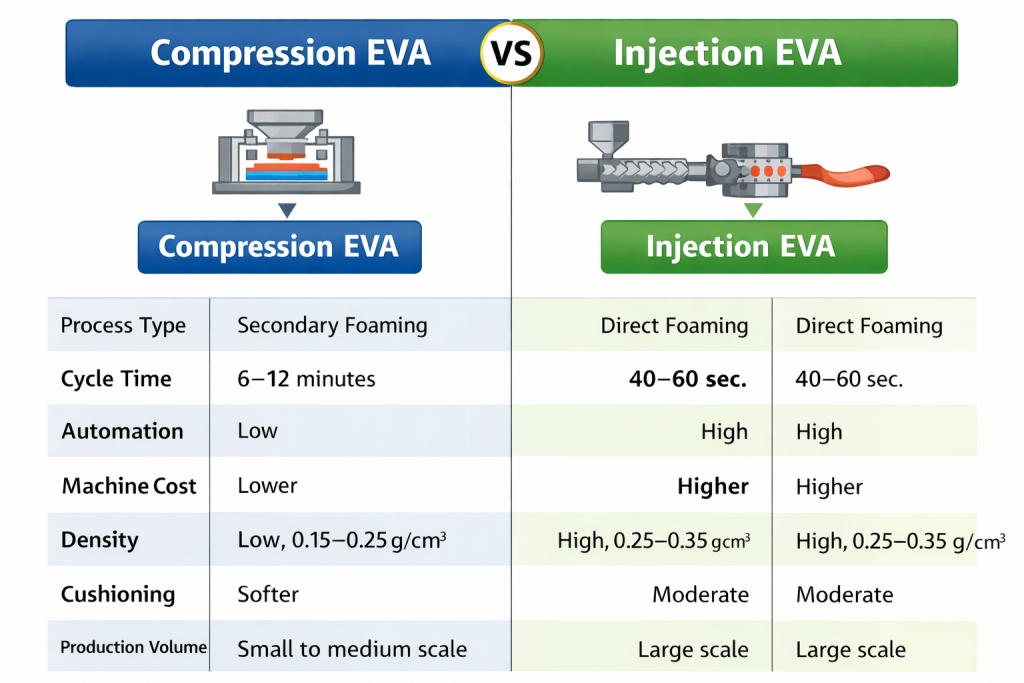
Ethylene Vinyl Acetate (EVA) is one of the most popular materials for athletic midsoles, sandals, slippers, children’s footwear, and lightweight casual shoes. During compression moulding, EVA compounds are placed into heated moulds where they expand under controlled heat and pressure. The foaming reaction creates millions of tiny, closed cells that give EVA its characteristic lightweight cushioning.
Unlike solid rubber, EVA experiences expansion during moulding. Therefore, mould design must carefully compensate for expansion rates to achieve the required finished dimensions. After moulding, EVA components often undergo cooling, stabilization, trimming, and dimensional inspection before further processing. The final product provides excellent shock absorption while maintaining very low weight, making EVA indispensable for modern sports and comfort footwear.
Typical Applications
- Running shoes
- Sports footwear
- Sandals
- Slippers
- Lightweight casual footwear
Advantages
- Extremely lightweight
- Excellent cushioning
- Good flexibility
- Easy colouring
- Comfortable underfoot feel
Limitations
- Compression set over time
- Lower abrasion resistance than rubber
- Requires stabilization before inspection
- Expansion control is critical
Key Control Points
- Allow complete stabilization before measurement.
- Control expansion rate.
- Monitor mould temperature.
- Verify density consistency
Expert Tip:
Standardize machine parameter sheets for every outsole style to reduce setup variation.
Use barcode or RFID traceability for moulds in high-volume production.

Comparing Major Outsole Moulding Technologies
| Technology | Common Materials | Major Products | Productivity | Investment | Primary Advantage |
|---|---|---|---|---|---|
| Compression Moulding | Rubber | Heavy-duty outsoles | Medium | Moderate | Excellent durability |
| Injection Moulding | TPU, PVC, TPR, EVA. | Fashion & sports soles | High | High | High-speed production |
| Direct Injection | PU, TPU | Safety footwear | High | Very High | Direct bonding to upper |
| PU Injection | Polyurethane | Safety & comfort shoes | High | High | Lightweight cushioning |
| EVA Compression | EVA Foam | Midsoles & sandals | Medium | Moderate | Lightweight comfort |
Expert Tip:
Always inspect the first five moulded components after every machine restart.
Validate mould cooling efficiency during preventive maintenance.
Common Moulding Defects in Outsole Manufacturing
Even with advanced moulding machines and well-designed tooling, defects can occur if process parameters are not properly controlled. Most moulding defects originate from variations in temperature, pressure, material preparation, mould condition, or cycle time. If these issues are not detected early, they can increase scrap, create assembly problems, and reduce footwear durability.
A robust quality control system therefore combines machine monitoring, first-piece inspection, in-process checks, and preventive maintenance to ensure every moulded outsole meets the approved specification.
Short Mould (Short Shot)
A short mould, also called a short shot, occurs when the mould cavity is not completely filled with material. As a result, parts of the outsole remain incomplete, particularly around tread patterns, corners, logos, or thin sections.
The problem may result from insufficient material, low injection pressure, poor material flow, blocked vents, or incorrect processing temperature. Short moulds are unacceptable because they affect both appearance and structural integrity. In severe cases, the outsole cannot be assembled and must be rejected.
Common Causes
- Insufficient material charge
- Low injection or compression pressure
- Low material temperature
- Blocked mould vents
- Premature material solidification
Prevention
- Verify material weight before every cycle.
- Maintain approved pressure settings.
- Clean venting channels regularly.
- Monitor melt and mould temperatures.
Expert Tip:
Replace worn ejector pins before they begin damaging finished components.
Maintain separate storage conditions for rubber compounds, PU chemicals, and EVA materials to preserve processing quality.
Flash
Flash refers to excess material that escapes between mould parting lines during moulding. Although flash can often be removed during trimming, excessive flash increases labour costs and may indicate underlying tooling or process problems.
Minor flash is common in some rubber compression moulding processes. However, large or inconsistent flash usually suggests mould wear, excessive pressure, poor mould alignment, or contamination on mould surfaces. Regular mould maintenance significantly reduces flash-related defects.
Common Causes
- Excessive mould pressure
- Worn mould parting surfaces
- Incorrect mould closing force
- Excess material loading
- Damaged mould alignment
Prevention
- Inspect mould alignment frequently.
- Maintain mould parting surfaces.
- Verify material charge weight.
- Follow approved pressure settings.
Expert Tip:
Record recurring defects by mould number rather than by machine only. This simplifies root cause analysis.
Replace worn seals, guide pins, and bushes before they affect mould alignment.
Air Traps
Air traps occur when air becomes trapped inside the mould cavity and cannot escape during material filling. The trapped air prevents complete filling and often leaves voids, burn marks, bubbles, or weak structural areas.
Air trapping becomes more common in complex tread designs, deep cavities, and high-speed injection processes where the material reaches the cavity before the trapped air can escape. Proper vent design and regular cleaning of vent channels are essential for preventing this defect.
Common Causes
- Blocked mould vents
- Poor vent design
- High injection speed
- Complex cavity geometry
- Contaminated mould surfaces
Prevention
- Clean vents during scheduled maintenance.
- Verify vent dimensions.
- Adjust injection speed where necessary.
- Inspect mould venting after repairs.
Expert Tip:
Use standardized visual defect samples to train production operators.
Never compensate for mould wear by increasing machine pressure.
Sink Marks
Sink marks appear as shallow depressions on the moulded surface after cooling. They usually develop in thicker sections where the internal material shrinks more than the outer surface during cooling.
Although sink marks mainly affect appearance, severe cases may indicate uneven cooling or inconsistent material distribution, potentially reducing component strength. Factories often optimize mould design, cooling channels, and processing conditions to minimize this defect.
Common Causes
- Uneven wall thickness
- Inadequate packing pressure
- Insufficient cooling time
- Excessive material shrinkage
- Poor mould design
Prevention
- Maintain uniform wall thickness where possible.
- Increase holding pressure within approved limits.
- Verify cooling cycle.
- Inspect mould cooling channels regularly.
Expert Tip:
Review defect trends weekly to identify recurring process issues.
Include mould condition in daily production meetings to reduce unexpected downtime.
Dimensional Variation
Dimensional accuracy is critical because moulded outsoles must fit perfectly with uppers, insoles, heels, welts, and other footwear components. The Dimensional variation occurs when moulded parts differ from approved specifications due to inconsistent processing conditions, mould wear, material shrinkage, or environmental influences.
Even small dimensional changes can create bonding issues, stitching misalignment, poor aesthetics, or assembly delays. Most factories monitor critical dimensions using digital measuring equipment and Statistical Process Control (SPC) to identify trends before defects become significant.
Common Causes
- Mould wear
- Temperature variation
- Material shrinkage
- Incorrect cooling time
- Machine parameter instability
Prevention
- Calibrate measuring instruments regularly.
- Standardize processing parameters.
- Replace worn mould inserts.
- Conduct periodic dimensional audits.
Expert Tip:
Use approved master samples during every production shift.
Implement preventive rather than corrective mould maintenance.
Process Control Parameters
Stable process control is the foundation of consistent moulding quality. Although exact settings differ for each material and machine, factories continuously monitor four critical parameters throughout production.
Temperature Control
Material temperature and mould temperature directly affect material flow, curing, shrinkage, and surface finish.
Excessive temperatures may degrade the material, while low temperatures can cause incomplete filling and poor curing.
Pressure Control
Pressure determines how effectively material fills every section of the mould cavity. Insufficient pressure may produce short moulds, while excessive pressure increases flash and mould wear.
Maintaining stable pressure ensures consistent dimensions and sharp tread definition.
Cycle Time Monitoring
Every moulding cycle should follow a standardized sequence that includes filling, curing or cooling, mould opening, part removal, and mould closing. Reducing cycle time without engineering approval may increase productivity temporarily but often leads to dimensional instability, incomplete curing, or premature mould wear.
Expert Tip:
Establish SPC control charts for critical outsole dimensions.
Approve machine parameter changes only through engineering authorization.
Mould Condition Verification
The mould itself is one of the most valuable assets in outsole manufacturing. A well-maintained mould produces consistent quality for thousands of production cycles, while a neglected mould quickly generates defects and downtime.
Daily inspections should include cavity cleanliness, vent condition, guide pins, ejector systems, cooling channels, fasteners, and surface finish. Preventive maintenance is considerably less expensive than emergency repairs or production stoppages.
Key Control Points
- Clean mould cavities after each production batch.
- Lubricate moving components according to schedule.
- Inspect vents and cooling channels.
- Record mould maintenance history.
Expert Tip:
Conduct first-piece, hourly, and final inspections during every production batch.
Maintain a dedicated mould history card showing repairs, polishing, and service intervals.
Conclusion
Outsole moulding is the foundation of high-quality outsole manufacturing. Every subsequent operation—including milling, trimming, roughing, colouring, bonding, and final assembly—depends on the dimensional accuracy and consistency established during moulding.
Although different materials require different moulding technologies, the basic manufacturing objective remains the same: produce outsole components that consistently meet design specifications while maintaining productivity, durability, and cost efficiency.
Successful factories achieve this through controlled process parameters, preventive mould maintenance, standardized operating procedures, and continuous quality monitoring. By combining the right moulding technology with disciplined process control, manufacturers can reduce defects, improve assembly performance, and deliver reliable footwear products to global markets.
Continue the Outsole Assembly Series
In the next article, we will explore: Trimming Operation in Outsole Process: Outsole (Stock Fitting) Assembly Series. The next blog explains how excess flash, runner systems, mould marks, and unwanted material are removed after moulding. It also covers trimming equipment, manual versus automatic trimming methods, quality standards, and defect prevention techniques before outsoles proceed to finishing and assembly.
Expert Tip:
Use digital process monitoring wherever possible to improve traceability and reduce human error.
Train operators to recognize defect trends before they become large-scale quality issues.
Frequently Asked Questions (FAQs)
Outsole moulding is the process of converting raw materials such as rubber, EVA, PU, TPU, or PVC into finished outsole components using heat, pressure, and precision moulds.
Rubber compounds are the most common materials produced through compression moulding because they offer excellent durability, abrasion resistance, and traction.
Compression moulding places material directly into an open mould before curing, whereas injection moulding melts the material and injects it into a closed mould under pressure, resulting in faster production and higher consistency.
Correct mould temperature ensures proper material flow, curing, dimensional stability, and surface finish while preventing defects such as short moulds and sink marks.
Typical defects include short moulds, flash, air traps, sink marks, dimensional variation, burn marks, and incomplete curing.
Regular mould maintenance prevents wear, improves product consistency, reduces downtime, and extends tooling life while lowering production costs.
Common moulded components include unit outsoles, midsoles, heels, wedges, welts, shanks, inserts, and decorative veneers.
Posts you make Like

Troubleshooting Adhesive Bond Failures in Footwear Manufacturing…