Computerized Footwear Stitching Fixtures: Pallets, Templates, Materials, Design & Manufacturing
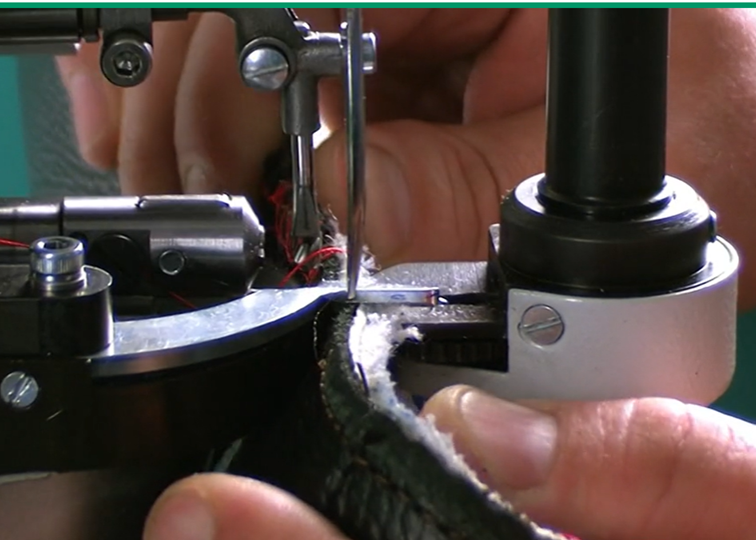
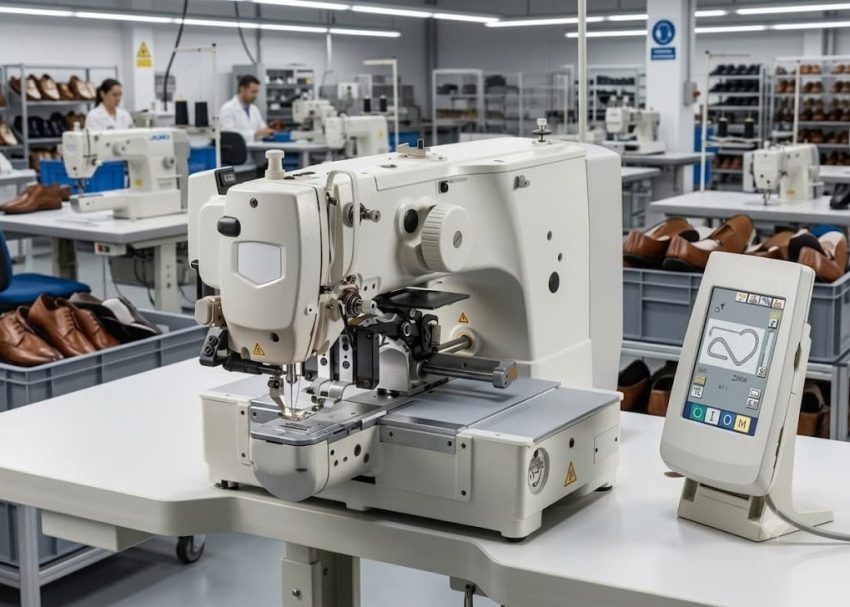
In computerized footwear stitching, the sewing machine is only one part of the system. The machine controls the needle movement, stitch sequence, speed, and programmed sewing path, but another component plays an equally important role in achieving repeatable results: the fixture, pallet, or stitching template.
A computerized stitching program can be extremely accurate, but that accuracy can be lost if the footwear component is not positioned correctly. The fixture provides a controlled reference for placing the upper, lining, strap, tongue, quarter, vamp, or other component before stitching begins.
In footwear factories, these devices may be called pallets, templates, jigs, fixtures, clamps, or sewing guides, depending on their construction and machine configuration. Their basic objective is the same: locate the workpiece accurately, hold it securely, and allow the programmed stitching operation to be repeated consistently.
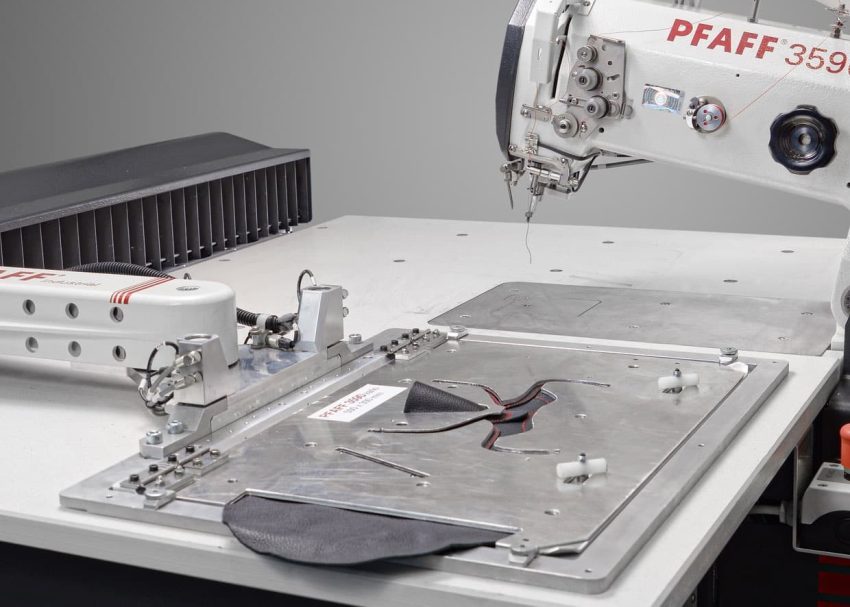
What Is a Computerized Stitching Fixture?
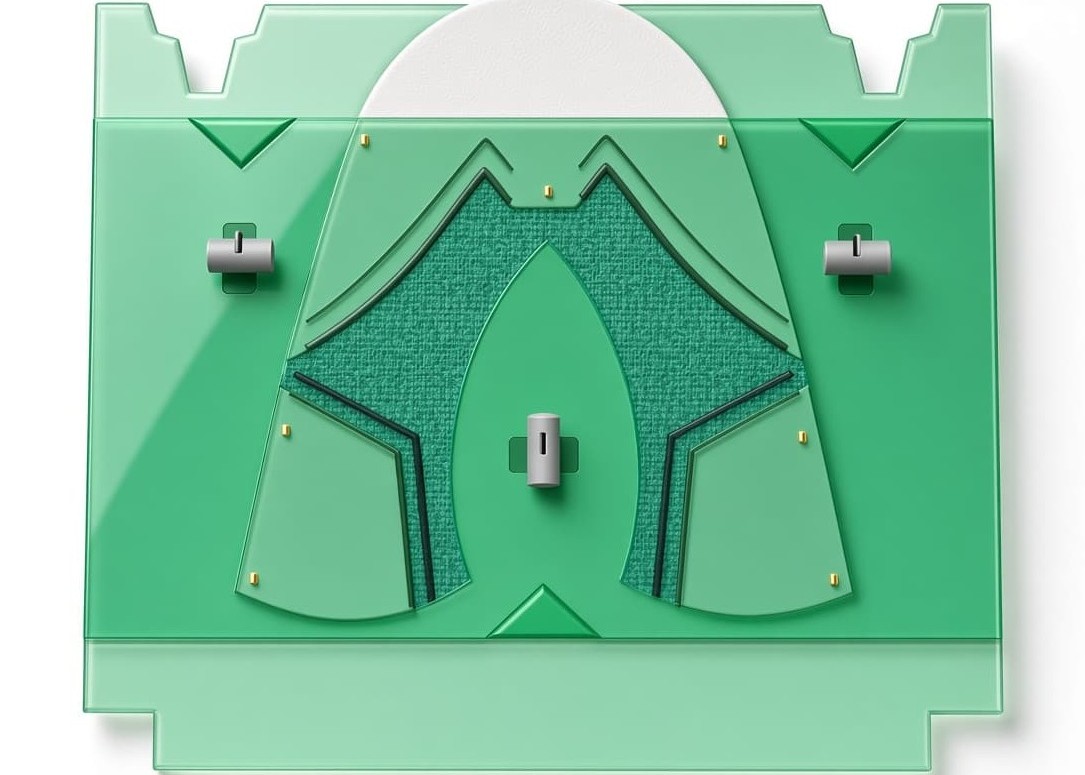
A computerized stitching fixture is a specially designed tool used to position and hold a footwear component during an automated or programmable sewing operation.
The fixture is normally designed around the shape of the component and the required stitch path. It establishes reference points so that the material is placed in the same position for every cycle.
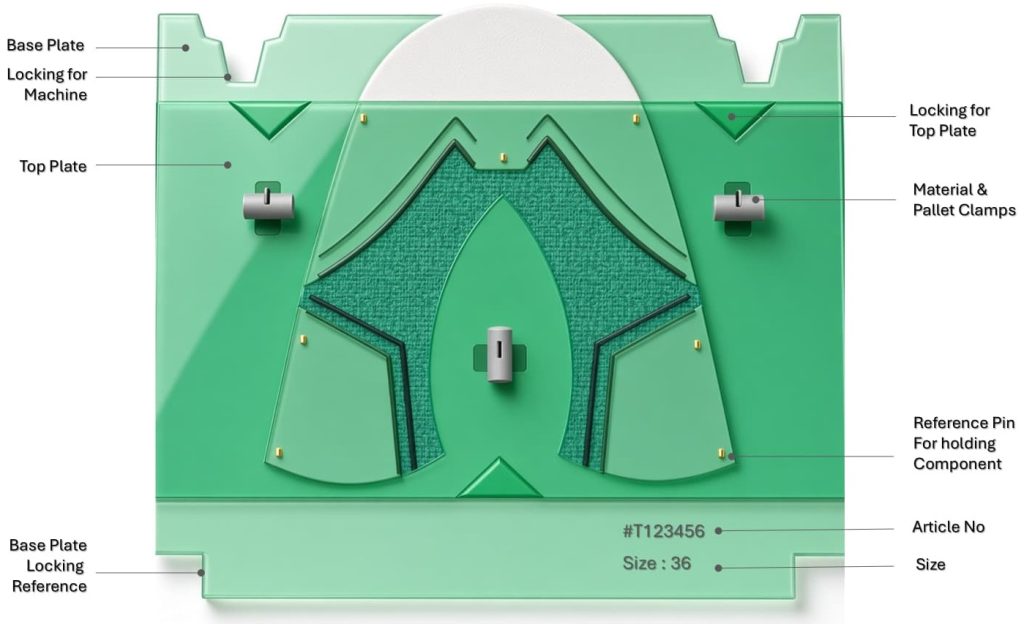
like a conventional sewing guide, a computerized stitching fixture can be much more closely integrated with the machine’s programmed sewing coordinates. A typical fixture may contain:
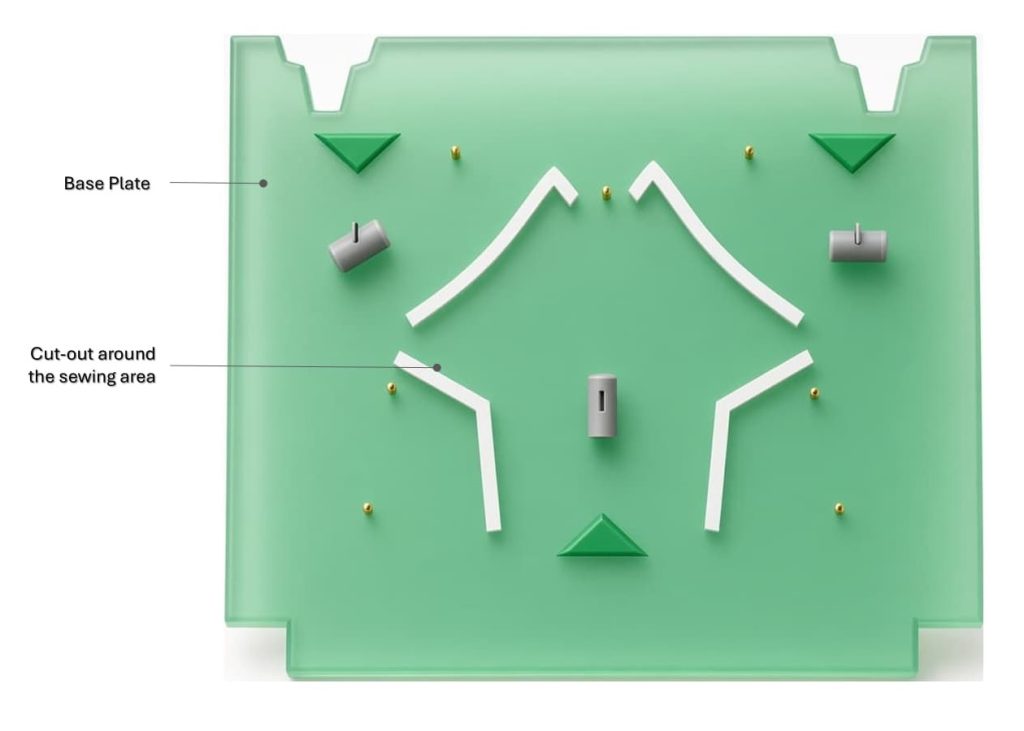
- A base plate or pallet
- Component locating surfaces
- Registration pins or reference points
- Material clamps
- Magnets or mechanical retainers
- Replaceable templates
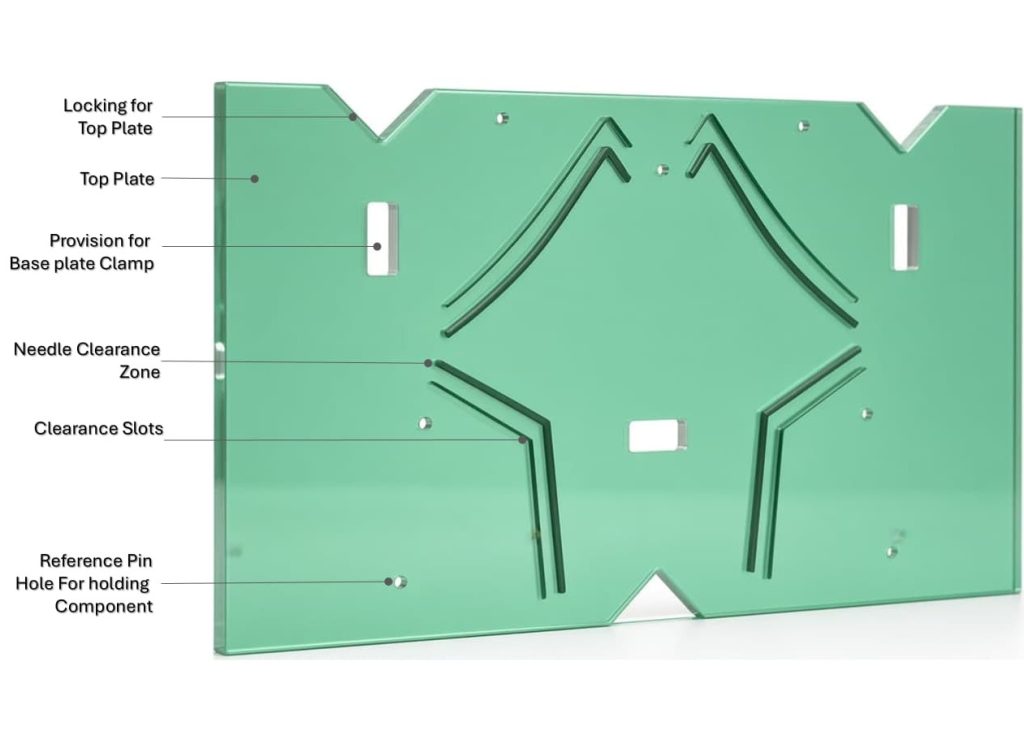
- Cut-outs around the sewing area
- Needle-clearance zones
- Alignment marks
- Stop positions or locating edges
The fixture therefore becomes the physical connection between the digital sewing program and the physical footwear component.
Key Takeaways: A well-designed pallet can improve quality, productivity, repeatability, and operator efficiency.
Why Is a Pallet or Fixture Needed?
The main purpose of the pallet is repeatable positioning. During manual sewing, an experienced operator continuously controls the component by hand. In computerized stitching, the machine follows a predefined sewing path. If the component is placed incorrectly, the machine may still execute the programmed path accurately—but the stitching will appear incorrect on the footwear.
For example, a stitching program may be designed to sew a decorative line 3 mm from a panel edge. If the component moves 2 mm during loading, the machine will still sew the programmed path, but the finished stitch may be too close to the edge or even outside the intended area. The fixture reduces this variation by creating a physical reference system.
The principal purposes are:
- Automation – allows the programmed machine to work with predictable component geometry.
- Positioning – places the component in the correct coordinate.
- Repeatability – allows the same position to be reproduced cycle after cycle.
- Stability – prevents unwanted movement during sewing.
- Alignment – maintains the relationship between edges, holes, logos, and stitch lines.
- Productivity – reduces manual positioning time.
- Quality control – minimizes operator-dependent variation.
- Protection – helps prevent material distortion during stitching.
Key Takeaways: A computerized stitching machine requires accurate component positioning to achieve consistent results.
Pallet vs Fixture vs Template: Are They the Same?
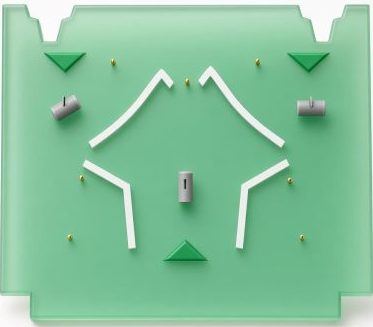
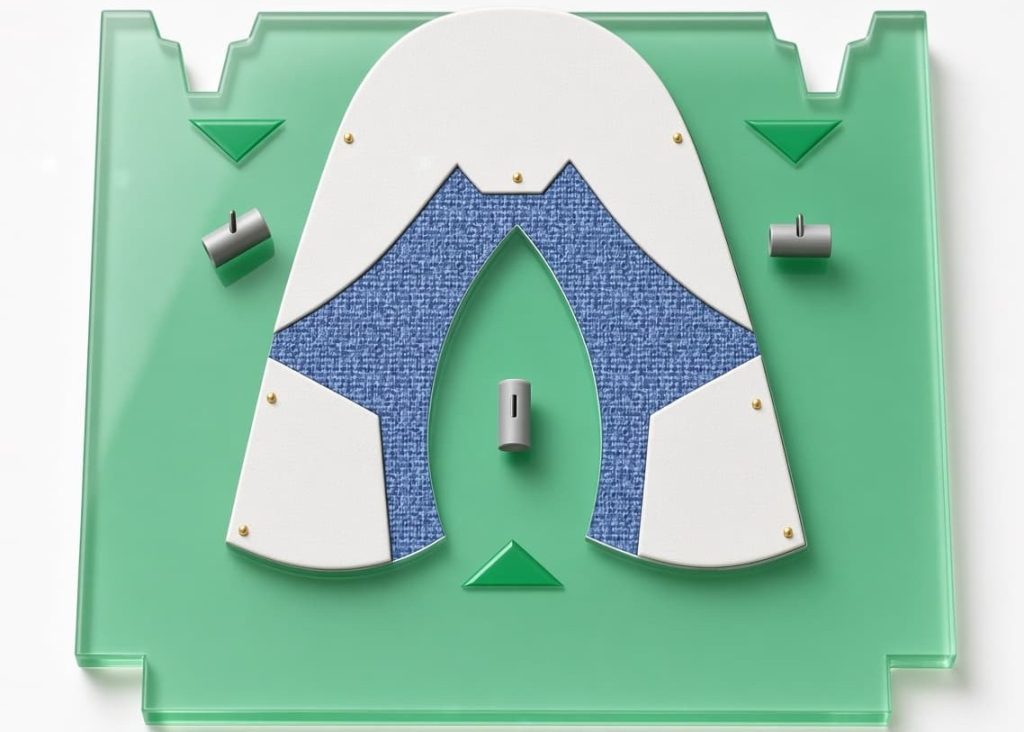
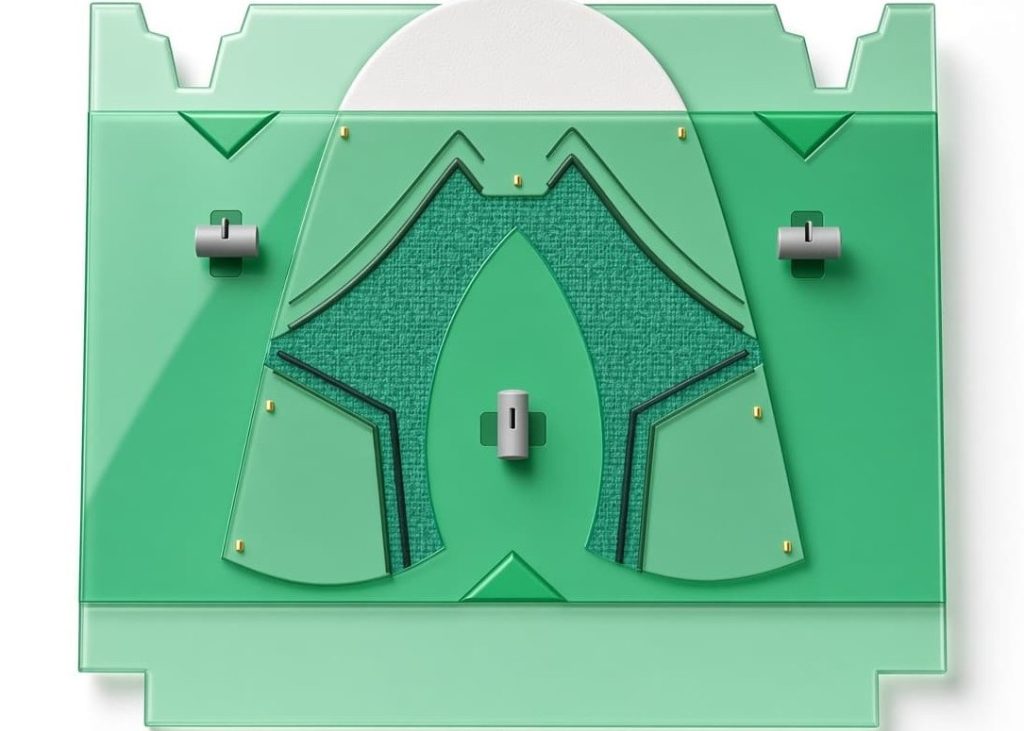
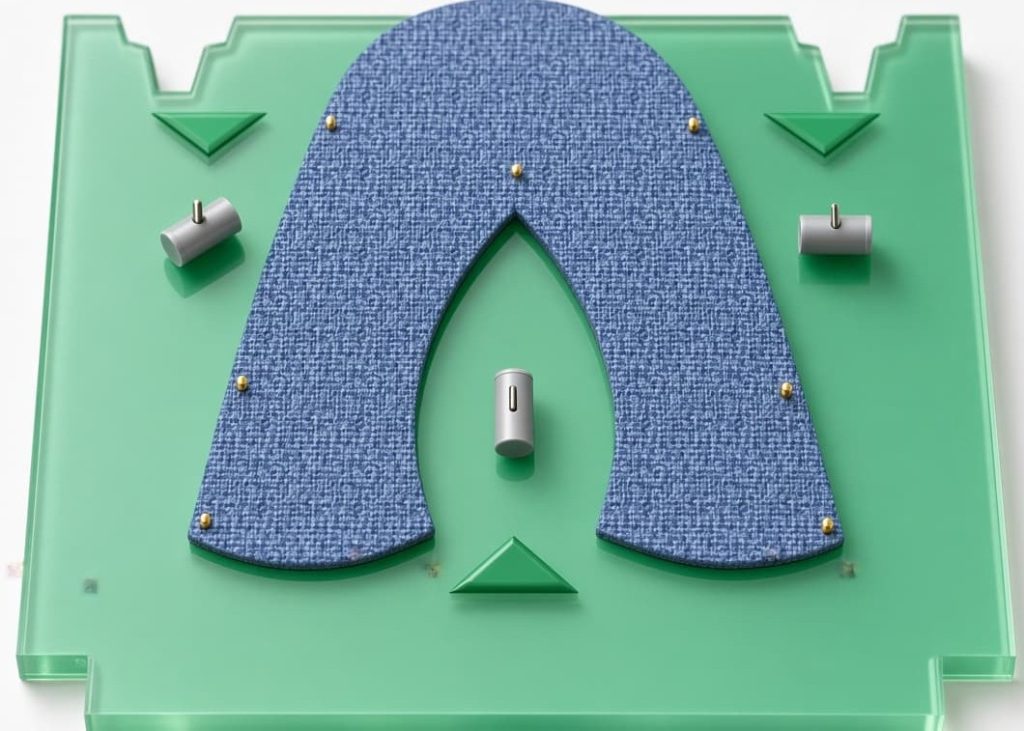
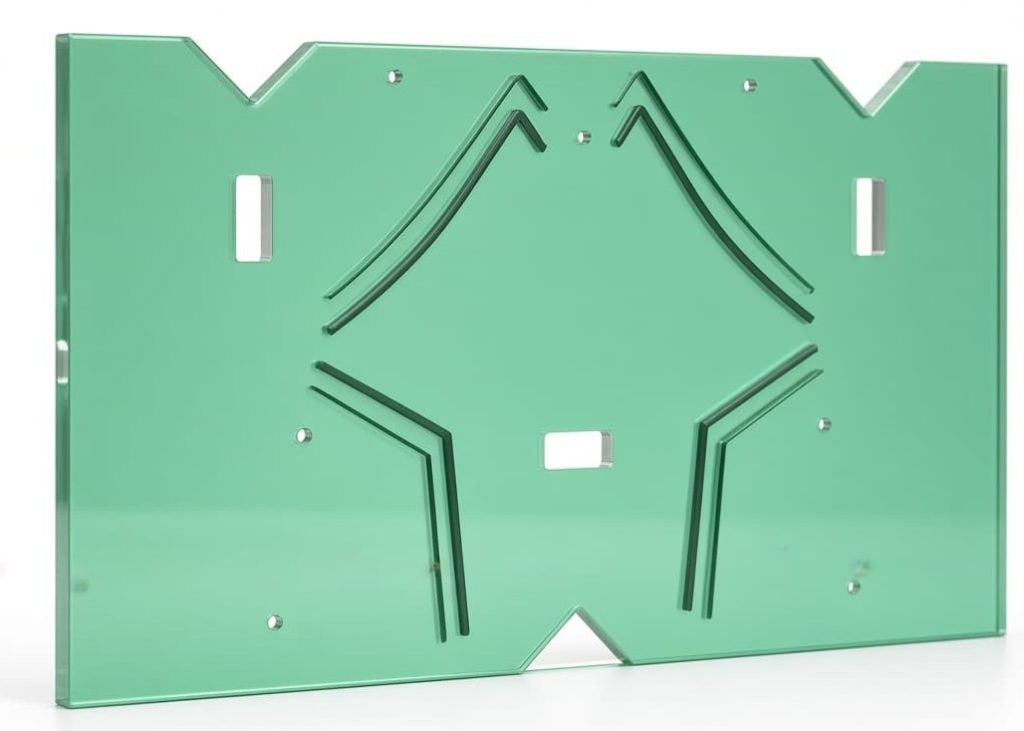
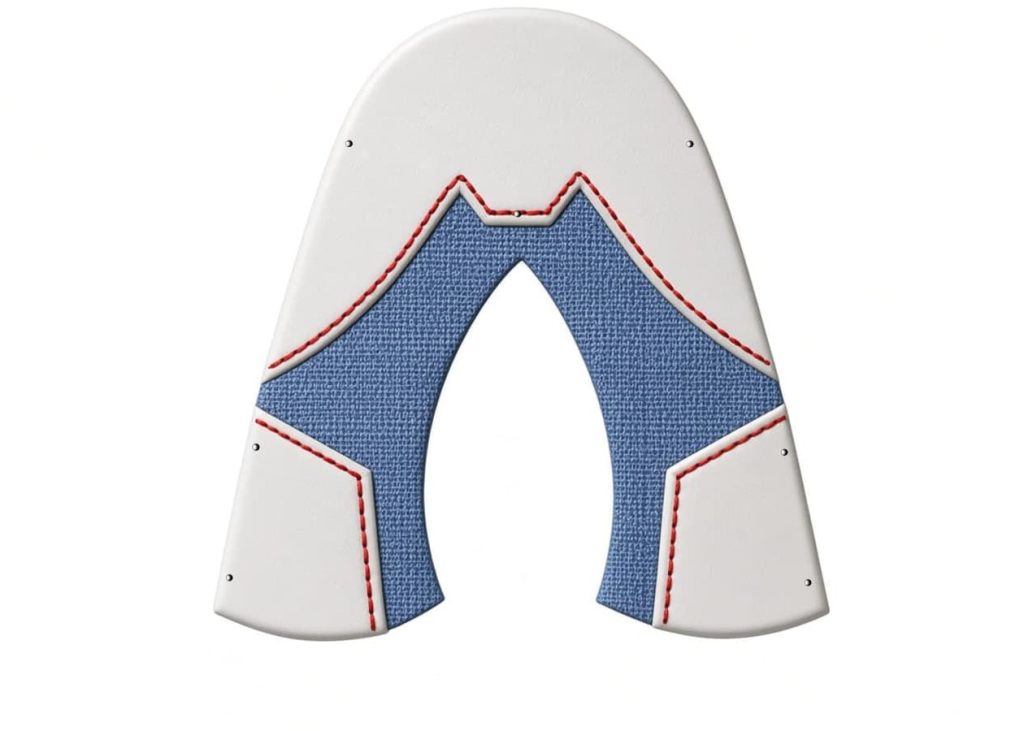
The terminology can be confusing because different footwear factories and machine suppliers use different names.
- A template generally defines the shape or location of the component or stitch operation.
- A fixture is a broader term for a device that locates and/or holds the workpiece.
- A pallet is commonly the removable work-holding platform used with a computerized sewing system.
In practical footwear production, the terms may overlap.
| Term | Typical Function |
|---|---|
| Template | Defines shape, position, or stitching reference |
| Jig | Guides or locates the component |
| Fixture | Holds and positions the component |
| Pallet | Removable platform carrying the component |
| Clamp | Applies holding pressure |
| Guide | Controls edge or material position |
The exact terminology depends on the machine design and factory practice.
Key Takeaways: A pallet, fixture, jig, or template establishes the physical reference for the footwear component.
What Materials Are Used to Make Stitching Pallets?
The material selected for a fixture depends on the component material, sewing operation, required durability, machine configuration, and production quantity. There is no single material that is ideal for every footwear fixture.
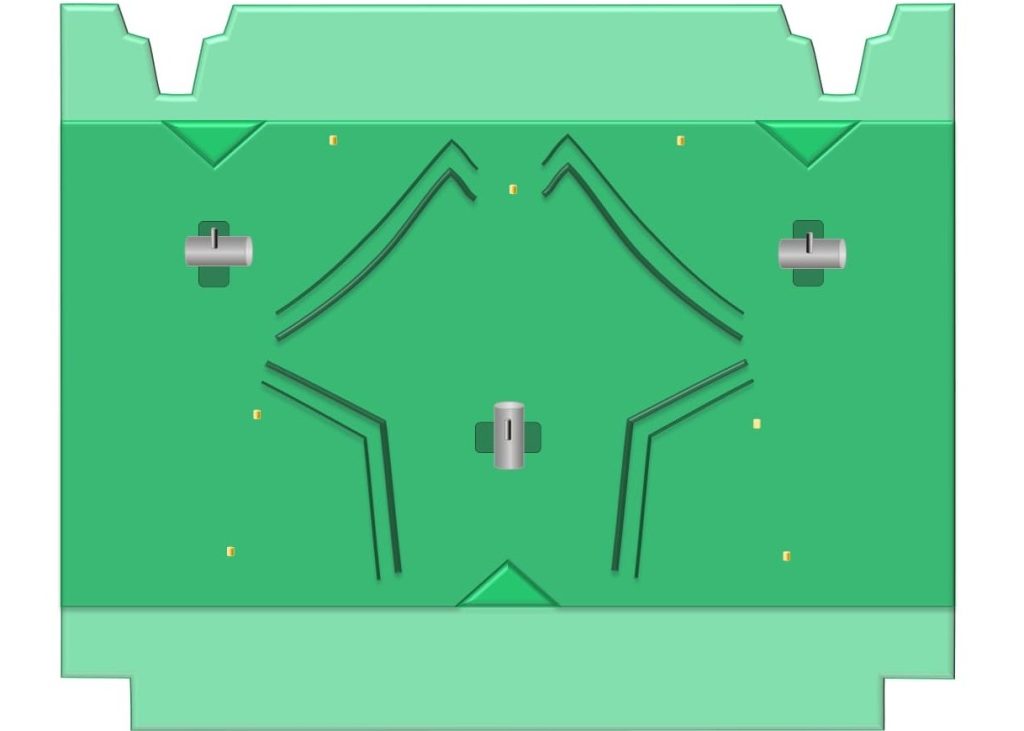
Acrylic / PMMA
Transparent acrylic1 is commonly useful when visibility of the component is important. Its transparency allows the technician to see:
- Reference marks
- Material edges
- Logo positions
- Stitching zones
- Component boundaries
Acrylic is also relatively easy to machine and is suitable for many prototype and production fixtures.
Advantages: good visibility, easy machining, relatively lightweight.
Limitations: can crack if poorly designed or subjected to excessive impact.
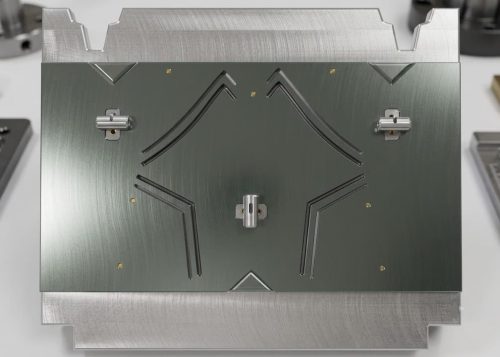
Polycarbonate
Polycarbonate can be selected where greater impact resistance is required.
Compared with conventional acrylic, it is generally more resistant to impact and is useful where the fixture is frequently loaded and unloaded.
It can be particularly valuable for fixtures that receive repeated handling in production.
Steel
Steel may be selected where very high rigidity, durability, or resistance to repeated industrial use is required.
However, its greater weight can make frequent manual handling less convenient.
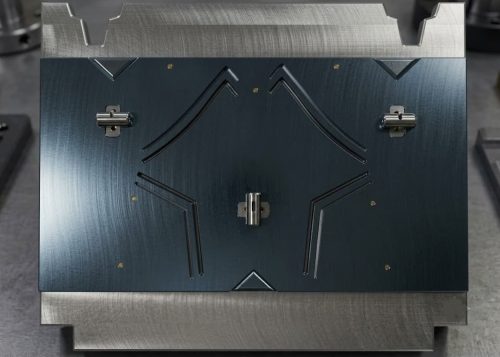
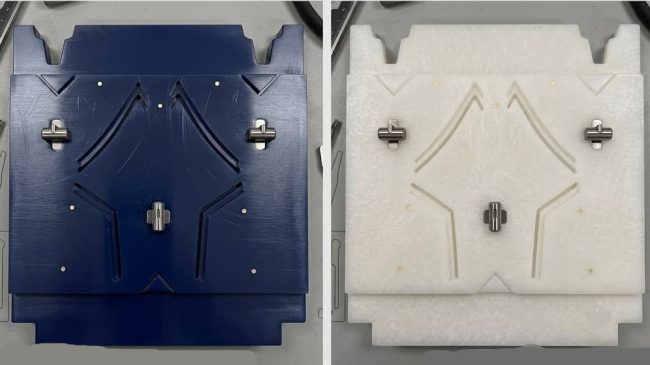
Key Takeaways: Acrylic, polycarbonate, engineering plastics, aluminum, steel, rubber, and silicone can all have applications in fixture construction.
Engineering Plastics
Materials such as POM/Delrin2, nylon, UHMW-PE3, and similar engineering plastics can be used for locating components, sliding surfaces, guides, or replaceable wear parts.
These materials can provide useful combinations of:
- Low friction
- Wear resistance
- Dimensional stability
- Machinability
- Low weight
POM, for example, is useful for precision locating components where smooth movement and repeatability are important.
Aluminum
Aluminum is frequently suitable for the structural portion of a fixture.
It offers:
- Good rigidity
- Low weight compared with steel
- Easy machining
- Good dimensional stability
- Long service life
Aluminum can be used for the pallet base while plastic or rubber components provide the contact surfaces for the footwear material.
Rubber, Silicone and Soft Pads
Soft materials can be added to the fixture where direct contact with delicate footwear materials is required. They can help provide:
- Grip
- Protection against surface marking
- Controlled clamping
- Better conformity to irregular components
The hardness of the soft material is important. Excessive clamping pressure can leave marks on leather, synthetic leather, mesh, or coated materials.
Key Takeaways: The correct material depends on durability, visibility, weight, wear, and the footwear material being handled.
How Is a Computerized Stitching Pallet Made?
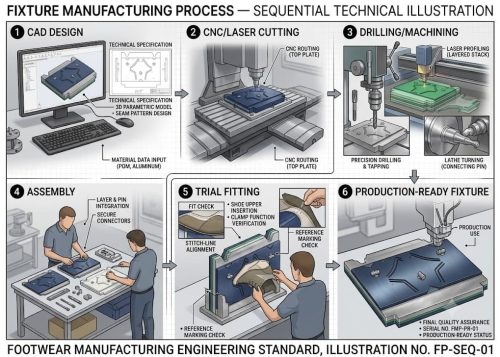
The manufacturing process normally begins with the product geometry and stitching requirement. The fixture designer first needs to understand what component will be stitched, where it must be positioned, and which areas must remain clear for the needle and sewing foot.
Step 1: Study the Footwear Component
The technician examines the component and identifies:
- Component outline
- Grain or material direction
- Fold lines
- Stitching lines
- Reference points
- Edge distances
- Seam allowances
- Holes or perforations
- Logos or decorative details
- Areas that must not be clamped
This is essential because the fixture must work with the actual production component—not simply with a theoretical CAD outline.
Step 2: Define the Stitching Coordinate
The programmed stitch path and physical fixture must work together.
The designer establishes a relationship between:
Machine coordinate → Fixture reference → Component position → Stitching path.
If this relationship is incorrect, even a perfectly programmed machine can produce an incorrectly positioned stitch.
Step 3: Design the Locating System
The fixture is then designed with physical locating features. These may include:
- Edge stops
- Pins
- Pockets
- Contoured supports
- Slots
- Reference holes
- Registration marks
The objective is to constrain the component sufficiently without making loading unnecessarily difficult.
Step 4: Add Clamping or Holding Features
The component must remain stable during sewing. Depending on the application, the fixture may use:
- Mechanical clamps
- Spring clamps
- Magnetic holding
- Vacuum assistance
- Pressure plates
- Flexible retainers
- Adhesive-backed temporary positioning
- Combination holding systems
The holding method must be strong enough to prevent movement but gentle enough not to damage the material.
Key Takeaways: Fixture design must consider the complete sewing path and needle/foot clearance.
Step 5: Create Needle and Sewing-Foot Clearance
This is one of the most important areas of fixture design.
The fixture must not interfere with:
Clearance must be considered throughout the entire programmed stitching path—not just at one point.
Step 6: Manufacture the Fixture
Depending on the material and complexity, the fixture can be produced using:
- CNC machining
- Laser cutting
- Routing
- Drilling
- Milling
- 3D printing
- Manual machining
- Combination manufacturing methods
For development samples, a simple plastic or 3D-printed fixture may be sufficient. For high-volume production, a more durable machined fixture may provide better repeatability and service life.
Key Takeaways: Good locating features improve repeatability and reduce operator variation.
Why Fixture Accuracy Matters
A computerized sewing machine can repeat the same programmed movement thousands of times. However, the machine does not automatically know whether the operator has loaded the footwear component correctly. This creates an important principle:
Machine accuracy cannot compensate for incorrect component positioning.
If the fixture is inaccurate, worn, incorrectly assembled, or poorly designed, the same error can be reproduced on every piece. For this reason, fixture development should be considered part of the stitching engineering process, rather than simply an accessory-making activity.
Key Takeaways: Clamping must prevent movement without damaging the upper material.
Common Fixture Design Problems
Poor fixture design can create production problems even when the sewing program is correct. Common issues include:
- Component slipping during stitching
- Incorrect edge positioning
- Excessive clamping pressure
- Material marking
- Difficulty removing the finished component
- Needle interference
- Sewing-foot interference
- Fixture wear
- Incorrect left/right component positioning
- Accumulated tolerance
- Difficult loading and unloading
- Poor visibility of reference marks
A fixture should therefore be evaluated not only for dimensional accuracy but also for operator usability and production cycle time.
Key Takeaways: Fixture accuracy is as important as machine programming accuracy for consistent computerized stitching.
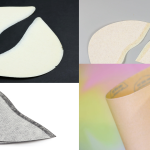
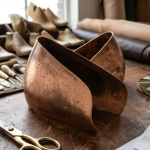
How to Design a Good Footwear Stitching Fixture
An effective fixture balances accuracy, stability, speed, durability, and material protection. The best fixture is not necessarily the most complicated one. A practical fixture should:
- Locate the component using reliable references.
- Allow replacement of wearing parts where practical.
- Maintain the same relationship with the machine coordinate system.
- Minimize the number of operator decisions.
- Clearly indicate loading orientation.
- Prevent incorrect loading where possible.
- Keep the sewing zone unobstructed.
- Avoid unnecessary pressure on delicate materials.
- Allow quick loading and unloading.
- Provide adequate needle clearance.
- Resist wear in high-contact areas.
Key Takeaways: Prototype fixtures can be simple, while mass-production fixtures normally require greater durability and refinement.
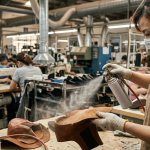
Fixture Development: Prototype to Production
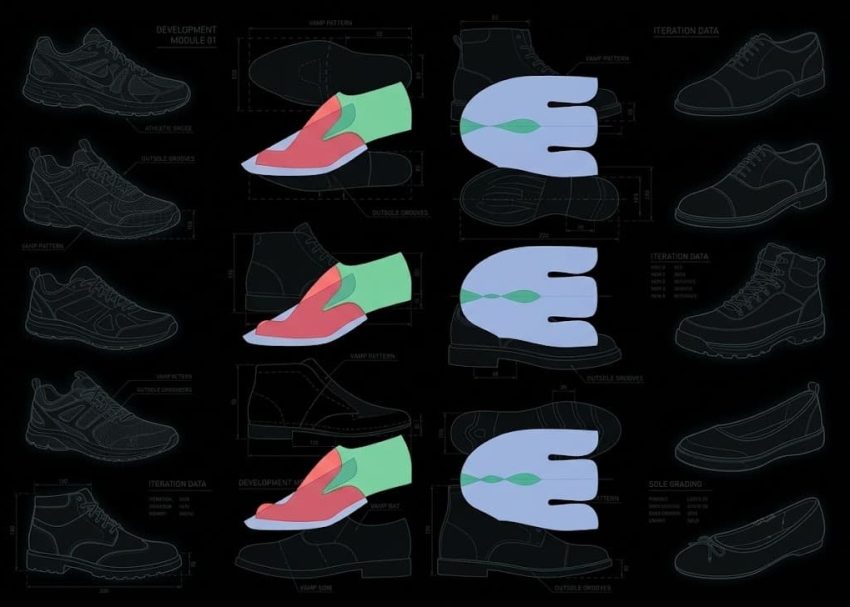
Fixture development usually becomes more refined as the product moves toward mass production.
Prototype Stage
A simple fixture may be produced quickly using:
- Acrylic
- 3D printing
- Thin plastic sheets
- Basic machined components
The objective is to prove the stitching concept.
Pilot Production
The fixture is modified after observing:
- Loading time
- Stitch accuracy
- Material movement
- Operator handling
- Needle clearance
- Component removal
Mass Production
The final fixture is optimized for:
- Repeatability
- Durability
- Fast loading
- Easy maintenance
- Replacement of wear components
- Production quantity
This progression prevents excessive investment in a fixture before the stitching process itself has been validated.
Pallet Design Is Part of the Digital-to-Physical Process
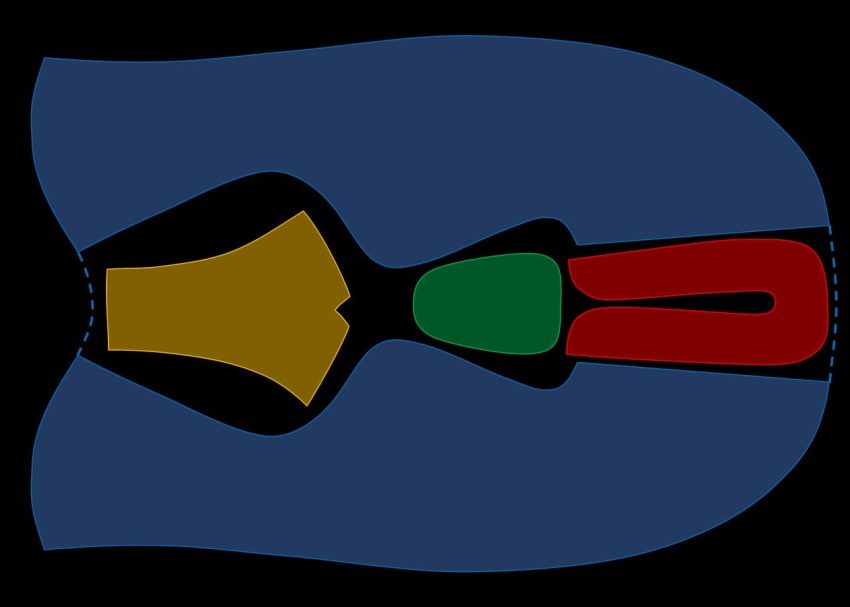
Computerized stitching is often described as a digital manufacturing process because the sewing path is created through software. However, the complete process is actually a combination of digital control and physical positioning.
- The digital program defines where the machine should stitch.
- The fixture defines where the footwear component is physically located.
- The machine then executes the programmed path relative to that physical reference.
This is why fixture design, programming, and pattern engineering should not be treated as completely separate activities.
Conclusion
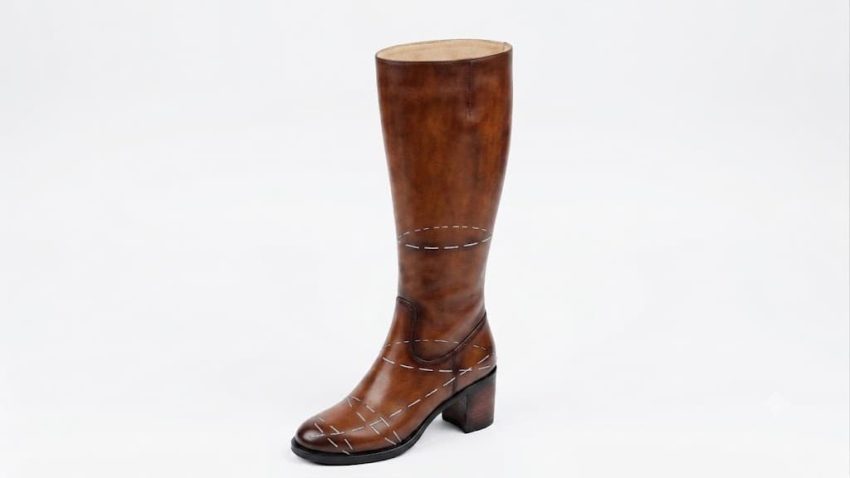
The fixture or pallet may appear to be a simple accessory beside a computerized sewing machine, but in footwear production it performs a critical engineering function. It converts a flexible and sometimes irregular footwear component into a repeatably positioned workpiece that the programmed sewing system can process.
The machine provides the programmed movement; the fixture provides the physical reference. For footwear manufacturers, investing time in fixture development is therefore not simply about making a holder for the upper. It is about creating a reliable interface between the product, operator, and automated sewing system.


FAQs – Frequently Asked Questions
A fixture is a positioning and holding device that keeps the footwear component in a controlled location while the computerized sewing machine follows its programmed stitching path.
A pallet is commonly the removable platform or work-holding assembly used to position a footwear component during automated or computerized stitching.
Common materials include acrylic, polycarbonate, POM/Delrin, nylon, aluminum, steel, rubber and silicone, depending on the fixture’s function.
The machine can accurately repeat its programmed path, but it still needs the footwear component to be positioned correctly. The fixture establishes that physical reference.
Yes. 3D printing can be useful for prototypes, development fixtures and certain low-volume applications, although production fixtures may require more durable materials.
A template generally defines shape or position, while a fixture is a broader work-holding system that can locate and secure the component.
It reduces component movement and operator-dependent positioning variation, helping maintain consistent stitch location from one piece to another.
- PMMA stands for Polymethyl Methacrylate, a transparent thermoplastic commonly known by brand names such as Acrylic, Plexiglas, Perspex, and Lucite. ↩︎
- POM (Polyoxymethylene) Also known as: Acetal, Delrin® (a trademarked form of POM by DuPont) ↩︎
- UHMW-PE (Ultra-High-Molecular-Weight Polyethylene) A specialized polyethylene with extremely long polymer chains. ↩︎