Upper Component Edge Colouring in Footwear Manufacturing – Stitching Process Series
Upper component edge colouring is a critical finishing step in footwear manufacturing. It directly influences product aesthetics, perceived quality, and durability. Moreover, it seals exposed edges, prevents fibre opening, and enhances resistance against moisture and wear.
In modern footwear production, especially for leather and synthetic uppers, edge colouring is both a visual and functional requirement. Therefore, factories must execute this process with precision and control.
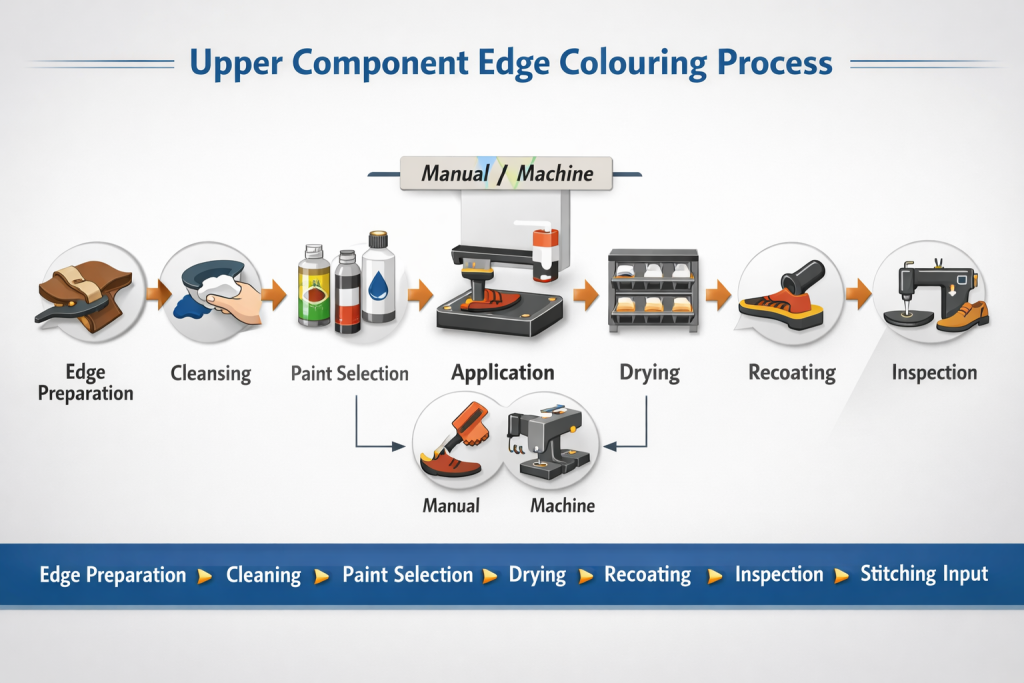
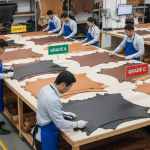
Edge Colouring – Process Overview
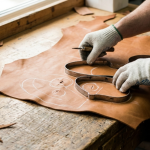
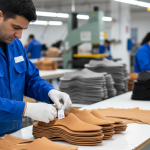
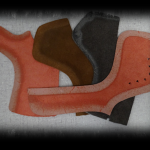
Upper component edge colouring involves applying a controlled layer of colour or coating on exposed edges such as quarters, straps, facings, and tongues after cutting and skiving operations.
This process ensures a clean, sealed, and uniform edge finish. As a result, it improves both product appearance and edge durability.
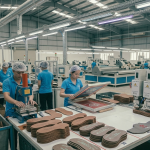
In factory execution, operators first prepare the edge through trimming, skiving, or buffing. Then, they apply edge paint using manual tools or machines. Finally, they dry and recoat if required to achieve the desired finish.
Key Control Points
- Ensure edges are smooth and dust-free before application
- Maintain consistent paint viscosity
- Apply uniform coating thickness
- Ensure proper drying between coats
Pro Tip :
Apply two thin coats instead of one thick coat
Avoid over-application on thin edges
Types of Edge Colouring Materials
Factories select edge colouring materials based on product category, material type, and performance requirements. Water-based edge paints are widely used due to flexibility and environmental compliance. In contrast, solvent-based paints provide faster drying and stronger adhesion but require careful handling.
Wax-based finishing is typically used in premium leather goods for natural aesthetics. Similarly, polyurethane-based coatings offer higher durability and abrasion resistance. Therefore, correct material selection ensures both performance and visual consistency.
Key Control Points
- Match paint type with upper material
- Check compatibility with adhesives and finishes
- Monitor shelf life and storage
- Ensure batch-wise colour consistency
Pro Tip :
Use intermediate drying to prevent cracking
Conduct periodic operator skill training
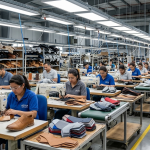
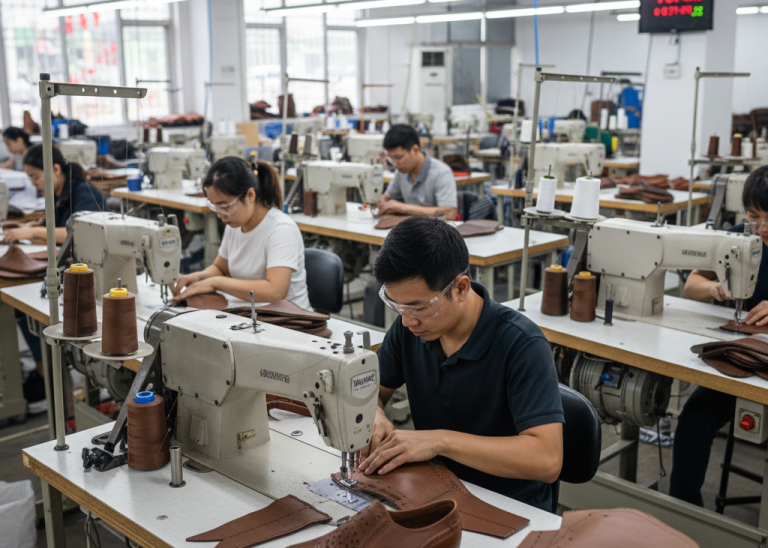
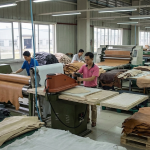
Manual Edge Colouring
Manual edge colouring uses brushes, rollers, or edge pens. It is commonly used for sampling, low-volume production, or detailed designs requiring high precision.
Operators apply paint carefully along the edge while avoiding overflow onto the upper surface. Although this method provides flexibility, it depends heavily on operator skill. Therefore, factories use manual methods mainly for premium or customized production.
Key Control Points
- Train operators for steady application
- Use correct brush size for edge width
- Avoid overflow and patchiness
- Maintain consistent stroke speed
Pro Tip : Maintain separate tools for light and dark colours
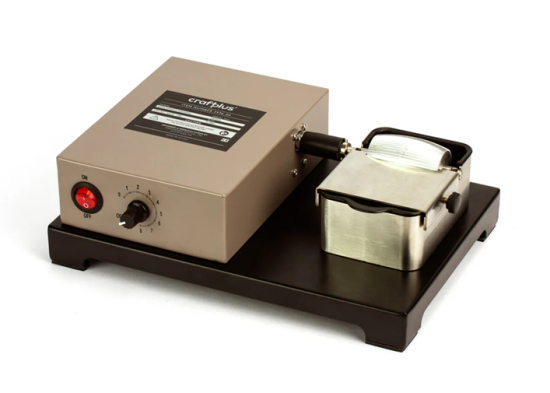
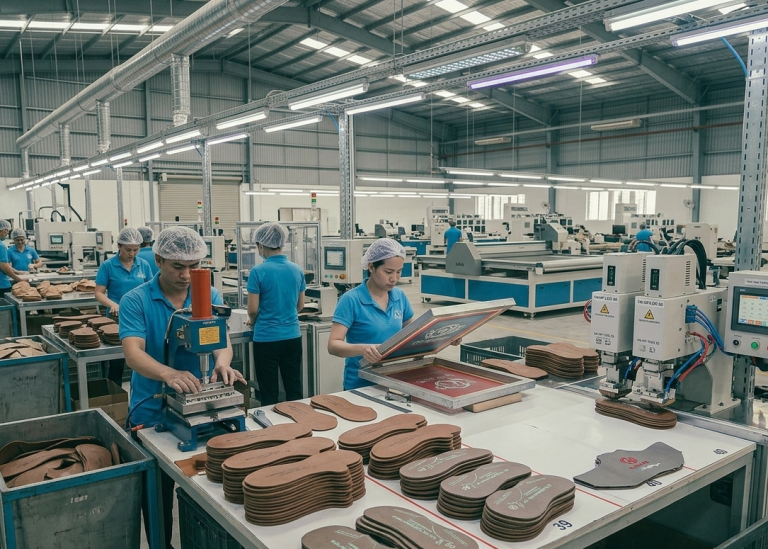
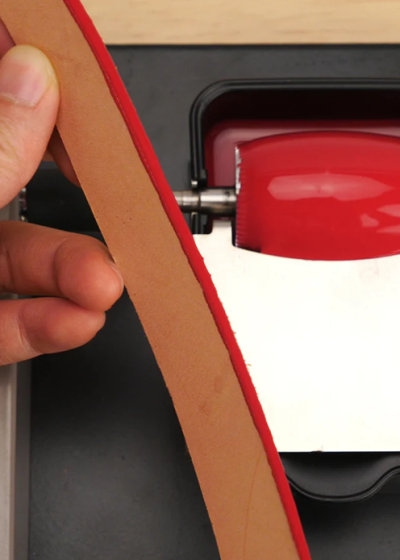
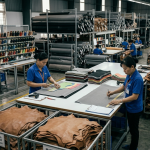
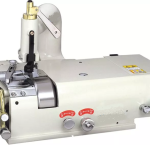
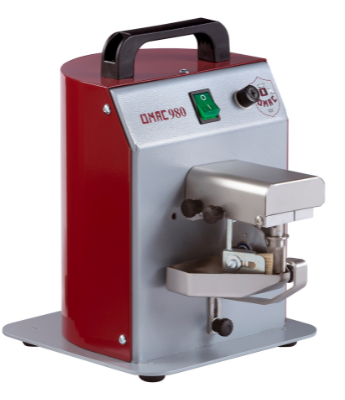
Semi-Automatic Edge Colouring Machines
Semi-automatic machines improve consistency and productivity compared to manual methods. These machines typically use rollers or wheels to apply paint evenly along edges.
Operators guide components along the machine, ensuring proper alignment. As a result, uniformity improves and operator dependency reduces. These machines are widely used in medium to high-volume production.
Key Control Points
- Adjust roller pressure based on material thickness
- Maintain proper paint feeding system
- Ensure correct feeding alignment
- Clean rollers regularly to avoid buildup
Pro Tip : Always test adhesion before bulk production

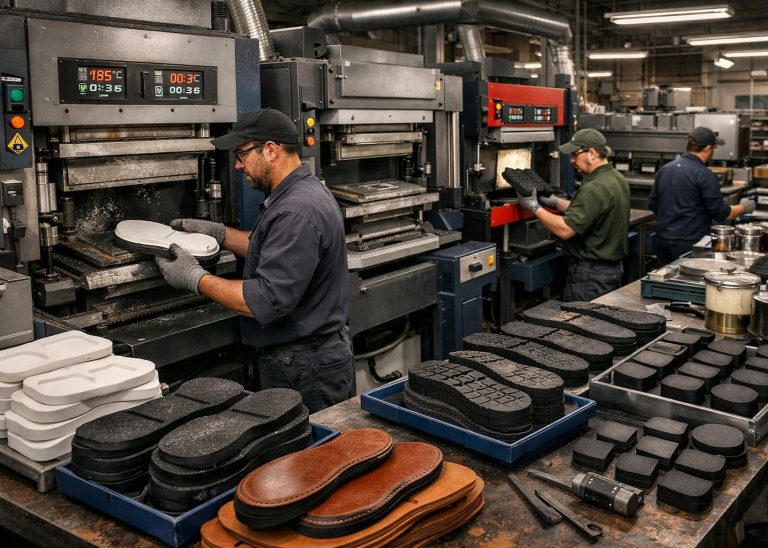
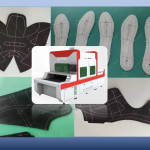
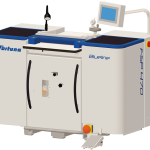
Fully Automatic Edge Colouring Systems
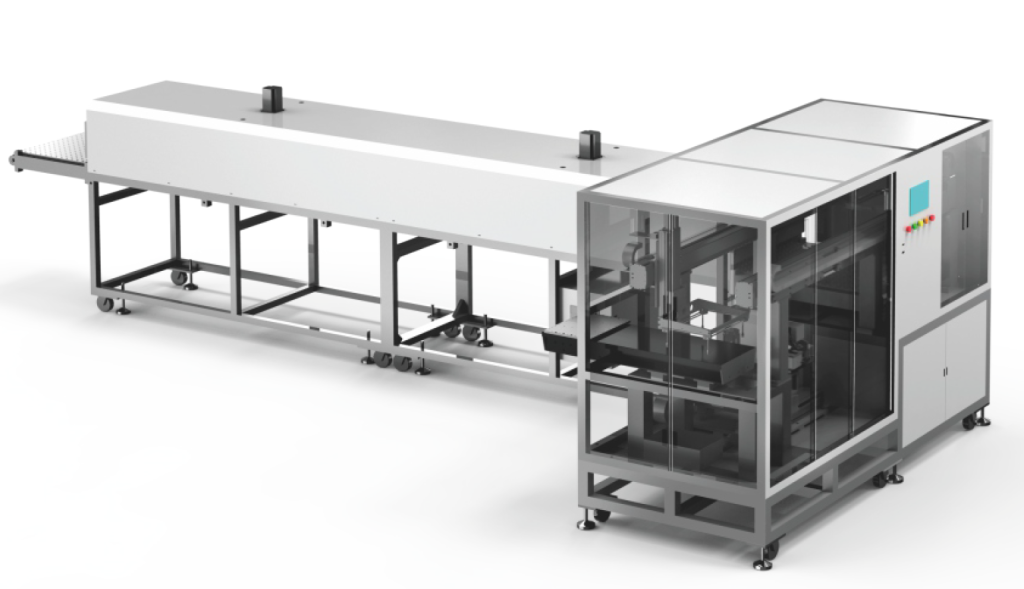
Fully automatic systems provide high precision, repeatability, and productivity. These machines control paint flow, speed, and application thickness with minimal operator intervention.
They are suitable for large-scale production where consistency is critical. Moreover, automation reduces variation and improves efficiency. However, proper calibration and maintenance are essential to achieve consistent results.
Key Control Points
- Calibrate settings before each batch
- Monitor paint viscosity continuously
- Ensure accurate component positioning
- Perform regular preventive maintenance
Pro Tip :
Select machine based on production volume, not cost alone
Standardize machine settings for repeat orders
Drying and Curing Process
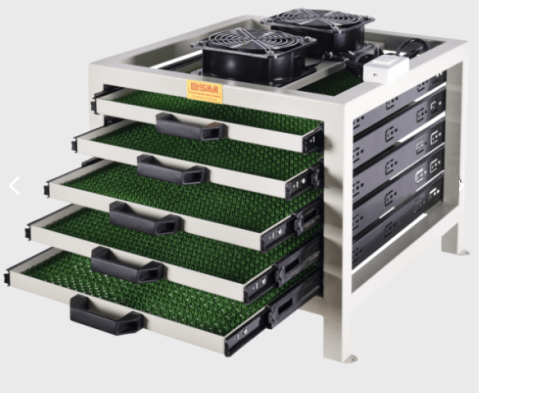
After application, drying stabilizes the coating and ensures adhesion. Depending on material type, drying can be natural or supported using hot air systems.
Proper curing enhances flexibility, bonding strength, and resistance to cracking.
Therefore, temperature and time control are critical.
Improper drying leads to defects such as tackiness, peeling, or colour inconsistency.
Key Control Points
- Maintain controlled temperature and humidity
- Avoid overheating to prevent discoloration
- Ensure full drying before next operation
- Follow material-specific drying time
Pro Tip : Always validate trial run before bulk production
Common Edge Colouring Defects
Edge colouring defects impact both appearance and durability. Common issues include uneven coating, colour variation, peeling, cracking, and rough edges.
These defects usually result from poor surface preparation, incorrect viscosity, or improper drying. Therefore, identifying and controlling root causes is essential for maintaining product quality.
Key Control Points
- Inspect edges before and after colouring
- Monitor viscosity and mixing ratios
- Ensure proper drying conditions
- Implement in-line inspection
Expert Insight: Maintain spare rollers and parts for continuity
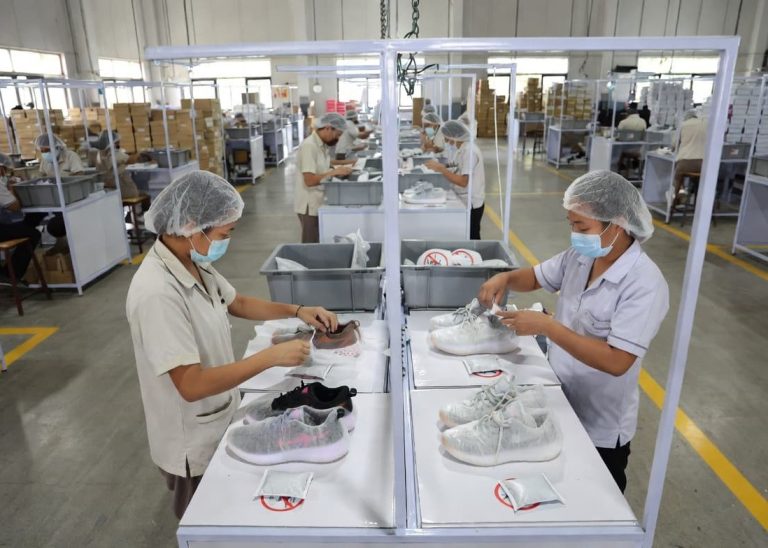
Quality Inspection Standards
Quality inspection ensures that edge finishing meets brand standards. Inspectors check colour consistency, smoothness, adhesion, and edge sealing. In addition, they perform rub resistance and flexibility tests to validate durability.
Special Attention: Edge colour tends to smudge on suede and nubuck materials. Moreover, it may migrate to lining materials if not properly controlled. Therefore, careful validation during development is essential.
Key Control Points
- Use standard colour references
- Perform adhesion and rub tests
- Check suede/nubuck for smudging
- Inspect for colour migration to lining
Expert Insight: Always maintain viscosity log sheet
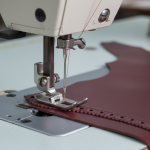
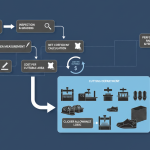
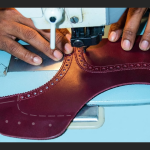
Integration with Stitching Line
Edge colouring must align with stitching operations to ensure clean finishing. Typically, it is performed before stitching, especially for visible edges.
Proper coordination between cutting, skiving, colouring, and stitching ensures smooth workflow and avoids rework.
Therefore, process synchronization is essential for line efficiency.
Key Control Points
- Ensure components are fully dry before stitching
- Avoid contamination from adhesives or oils
- Maintain smooth process flow
- Align edge colour with design requirements
Expert Insight: Introduce first-piece approval system
Frequently Asked Questions – FAQs
1. Why is edge colouring important in footwear?
It enhances appearance, seals edges, and improves durability by preventing fibre exposure and moisture entry.
2. Which material is commonly used?
Water-based edge paints are most widely used due to flexibility and environmental compliance.
3. Can edge colouring be automated?
Yes, fully automatic machines provide consistent quality for high-volume production.
4. What causes edge colour peeling?
Improper surface preparation, wrong viscosity, or poor drying conditions lead to peeling.
5. Why does colour smudge on suede?
Suede absorbs paint easily, causing spreading or smudging if not properly controlled during application.
6. How many coats are recommended?
Two thin coats are preferred for better durability and finish.
7. When is edge colouring done in process flow?
It is typically done before stitching to ensure clean finishing of visible edges.
Explore other Stitching Process Series
- Stitching Process in Footwear Manufacturing: From Cutting to Closing Assembly in Shoe Production
- Cut Component inspection after cutting/clicking – Stitching Process Series
- Cut Component Pairing & Match Marking After Cutting / Clicking-Stitching Process Series
- Cut Component Stamping After Cutting / Clicking – Stitching Process Series
- Component Marking After Cutting/Clicking–Stitching Process Series
- Component Branding in Footwear Manufacturing–Stitching Process Series
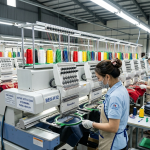
- Component Embroidery in Footwear Manufacturing–Stitching Process Series
- Component Skiving in Footwear Manufacturing–Stitching Process Series
- Component Splitting in Footwear Manufacturing–Stitching Process Series
- Reinforcement (Backers & Tapes) Process in Footwear Manufacturing – Stitching Process Series