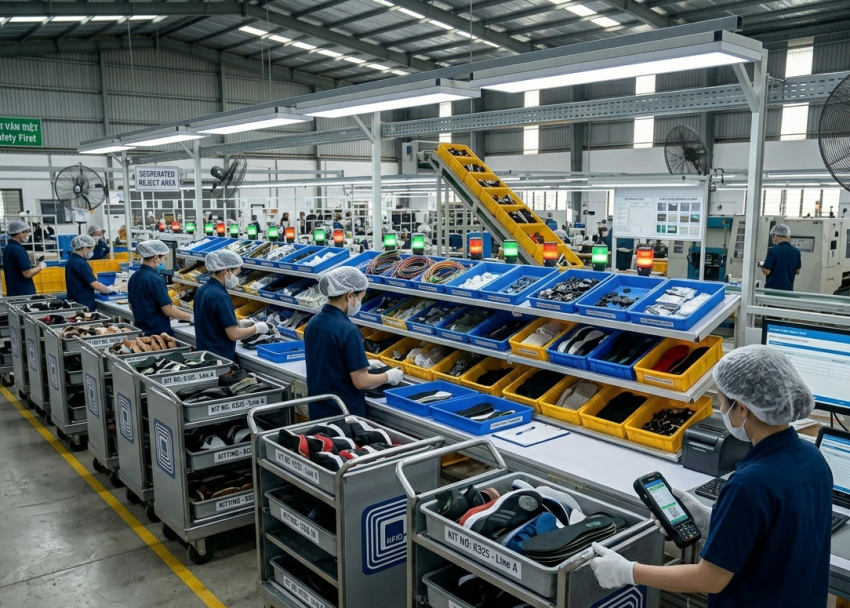
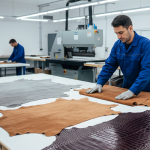
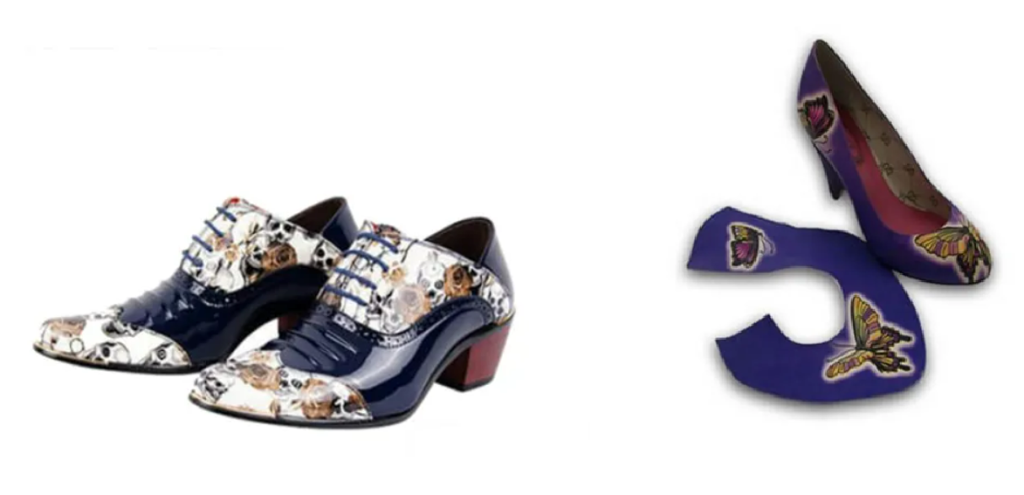
Component Printing in Footwear Manufacturing – Stitching Process Series
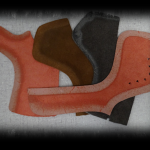
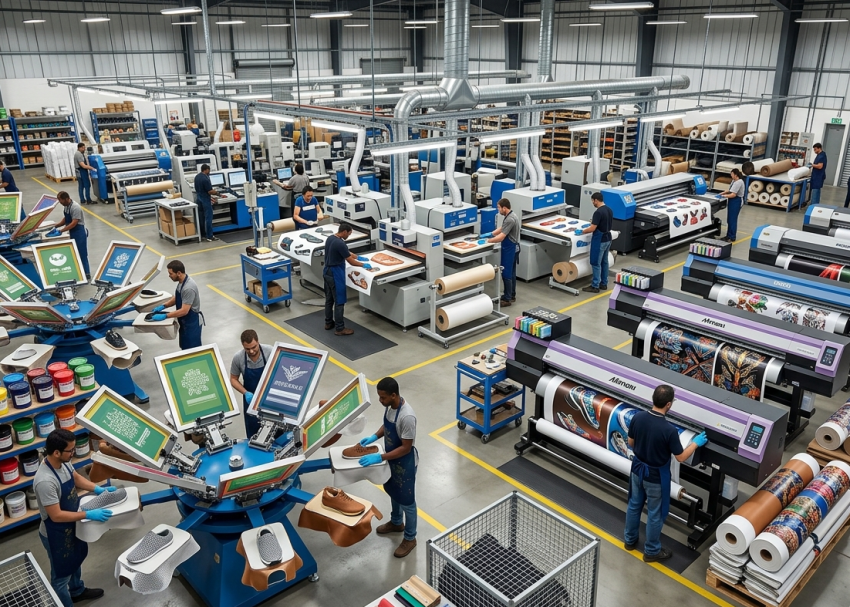
Component printing is a critical pre-stitching operation that defines branding, aesthetics, and product identity. It directly influences visual appeal, durability, and customer perception. Therefore, factories must standardize methods, control parameters, and ensure consistency across materials like leather, synthetic, mesh, and textiles.
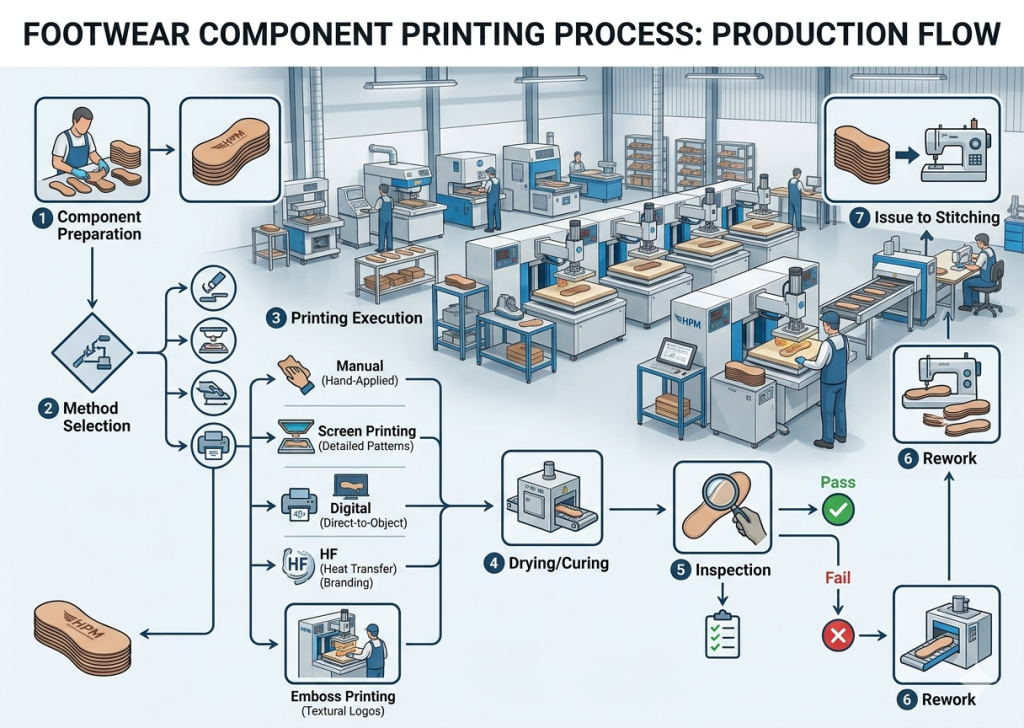
Manual Printing (Hand Printing)
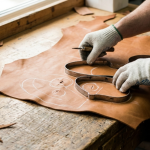
Manual printing is a basic method where operators apply logos or markings using brushes, stamps, or simple tools. It is commonly used for sampling, small batches, or artisan footwear. This method offers flexibility during development. However, it depends heavily on operator skill. As a result, consistency can vary between pieces, especially in bulk production.
In practice, operators align the component manually and apply ink or pigment using predefined guides. Drying follows under ambient or controlled conditions.
Key Control Points:
- Ensure proper stencil or guide alignment
- Maintain uniform ink application
- Control drying time to avoid smudging
- Use consistent operator technique
Pro Tip :
Use PU-based inks for better elasticity in footwear
Use standard color references (Pantone) for consistency
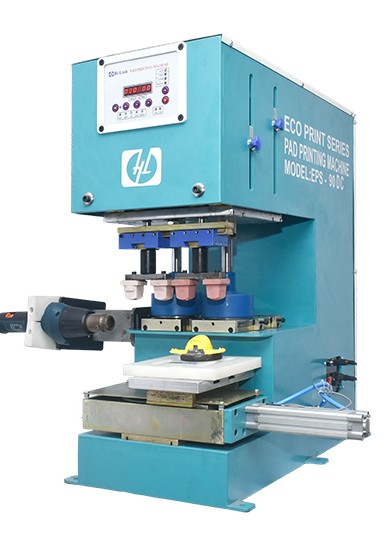
Screen Printing (Silk Screen Printing)
Screen printing uses mesh screens to transfer ink onto components. Each color requires a separate screen, making it suitable for multi-color designs with high consistency. This method is widely used in footwear factories due to its cost-effectiveness and scalability. It works well on leather, PU, mesh, and textiles.
During execution, the screen is aligned over the component. Then, ink is pushed through using a squeegee. After printing, components are dried or cured depending on ink type.
Key Control Points:
- Maintain correct screen tension and mesh count
- Control squeegee pressure and angle
- Ensure accurate color registration
- Monitor curing temperature and time
Pro Tip :
Always test flex resistance after full curing
Monitor ink shelf life and storage conditions
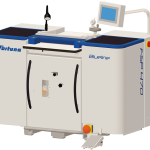
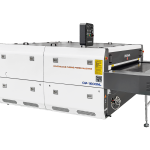
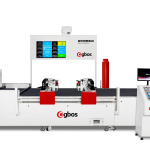
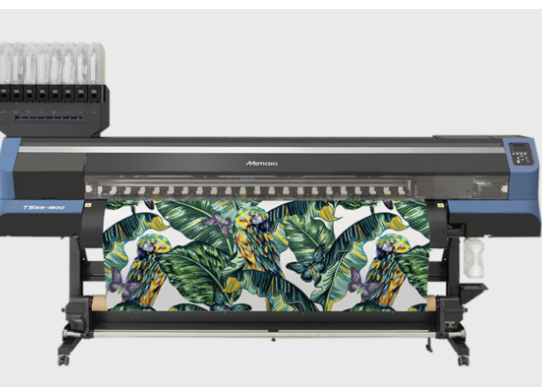
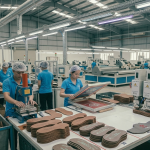
Digital Printing (Inkjet / UV Printing)

Courtesy : YOTTA
Digital printing uses advanced machines to print designs directly onto components using inkjet or UV technology. It eliminates the need for screens. This method enables high-resolution graphics, gradients, and complex designs. Therefore, it is ideal for fashion footwear and quick design changes.
In production, components are placed on a flatbed or conveyor system. The machine prints directly from digital files, followed by UV curing or drying.
Key Control Points:
- Use correct file resolution and color profiles
- Ensure surface preparation for ink adhesion
- Maintain printer calibration regularly
- Control curing process for durability
Pro Tip :
Limit total thickness based on product category (sports vs casual)
For suede materials, avoid heavy ink as it may migrate or smudge
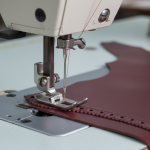
Heat Transfer Printing
Heat transfer printing applies pre-printed designs onto components using heat and pressure. It is widely used for logos, graphics, and branding elements.
This method ensures sharp and consistent prints. Moreover, it reduces dependency on operator skill compared to manual methods.
In execution, the transfer film is placed on the component. Then, a heat press machine applies controlled temperature and pressure to transfer the design.
Key Control Points:
- Maintain correct temperature and pressure settings
- Ensure proper alignment before pressing
- Control pressing time precisely
- Use compatible materials and transfer films
Pro Tip : Use vacuum tables or jigs for accurate layer alignment
High Frequency (HF) Printing
High frequency printing uses radio frequency energy to bond materials and create raised or embossed effects. It is commonly used in sports and synthetic footwear.
This method enhances branding with a premium 3D effect. Additionally, it improves durability compared to surface printing. In the process, components are placed in HF molds. Then, RF energy generates heat internally, bonding layers and forming the design.
Key Control Points:
- Use correct mold design and alignment
- Control RF power and cycle time
- Ensure material compatibility (PU/PVC)
- Monitor cooling before removal
Pro Tip : Monitor environmental humidity to avoid curing defects
Emboss Printing
Emboss printing creates a raised or recessed design on the component surface using heat and pressure. It is widely used for leather uppers.
This method enhances brand identity while maintaining a premium look. It does not rely on inks, which improves durability. During execution, heated dies press the design into the material. The pressure and temperature define the depth and clarity of embossing.
Key Control Points:
- Maintain die temperature consistency
- Control pressure to avoid material damage
- Ensure accurate positioning
- Check depth uniformity across components
Pro Tip : Always validate print adhesion on different materials during development stage
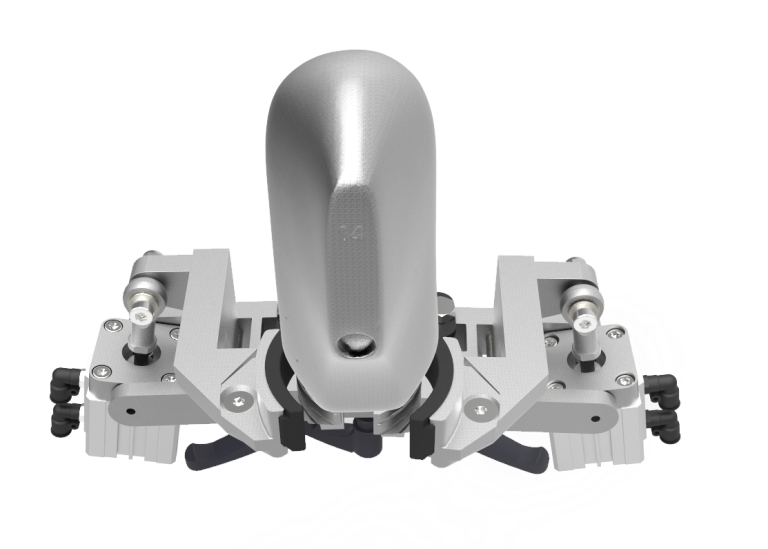
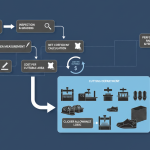
High Rise Printing (Multi-Layer Printing)
Process Understanding and Industrial Application
High rise printing is a multi-layer ink deposition process designed to create a 3D raised effect on footwear components. It is commonly used for branding logos, decorative elements, and premium product lines. Unlike standard screen printing, this method builds thickness through controlled layering of binders and inks, followed by staged curing.
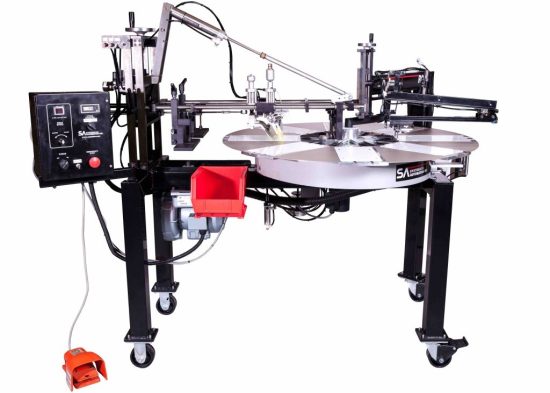
Courtesy : SYSTEMATIC AUTOMATION
Binder Coat – Foundation Layer
The binder coat is the first base layer applied on the component. It acts as an adhesion promoter between the substrate (leather, PU, mesh) and subsequent ink layers. In practice, factories use transparent or semi-transparent binder chemicals. This layer penetrates slightly into the material surface and creates a bonding interface.
Purpose:
- Improves ink adhesion
- Prevents ink absorption into porous materials
- Creates a smooth base for uniform layering
Typical Application:
- 1 initial binder coat
- Applied using screen or stencil
- Light pre-curing required
Ink Layer Build-Up (3D Formation)
After the binder, multiple ink layers are applied sequentially to build the raised structure. Factories typically use high-viscosity plastisol or PU-based inks to maintain thickness without spreading.
Layering Practice (Typical):
- 3 to 8 ink layers depending on height requirement
- Each layer is partially cured before the next application
- Thickness increases progressively
Purpose:
- Creates 3D height and tactile effect
- Enhances brand visibility
- Provides premium aesthetic finish
Intermediate Fixing (Flash Curing)
Between layers, flash curing is performed to stabilize each coat before adding the next. This step prevents:
- Ink collapse
- Layer mixing
- Shape distortion
Typical Conditions:
- Temperature: 80–120°C
- Time: 10–30 seconds per layer
Final Fixing Coat (Top Seal Layer)
The fixing coat is the final sealing layer applied after achieving desired thickness.
This layer may be:
- Glossy
- Matte
- Protective transparent coat
Purpose:
- Enhances durability
- Prevents cracking and peeling
- Improves abrasion resistance
Typical Application:
- 1–2 top coats
- Fully cured after application
Pro Tip : Conduct peel adhesion tests during development
Final Curing Process
After all layers are completed, the component undergoes full curing.
Typical Parameters:
- Temperature: 120–160°C
- Time: 2–5 minutes (depending on material and ink type)
This ensures:
- Complete polymerization
- Strong inter-layer bonding
- Long-term durability
Drying & Total Process Time
The overall process involves staged drying:
- Binder pre-dry: 30–60 seconds
- Each ink layer flash cure: 10–30 seconds
- Final curing: 2–5 minutes
Total Cycle Time (Per Batch):
- Approximately 5–12 minutes depending on layers
Practical Factory Observations
- Excessive layer thickness leads to cracking during flexing
- Poor curing causes surface stickiness and dust attraction
- Suede and nubuck materials show migration or edge bleeding
- Alignment must be precise across all layers
Key Control Points
- Maintain consistent ink viscosity across layers
- Control curing temperature precisely
- Ensure layer alignment using fixtures
- Avoid excessive thickness to prevent cracking
Pro Tip : Use trial runs before bulk production to avoid large-scale defects
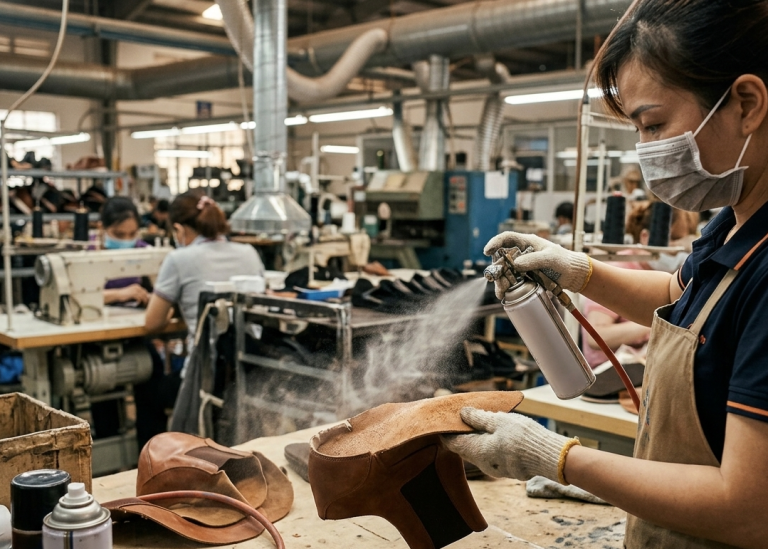
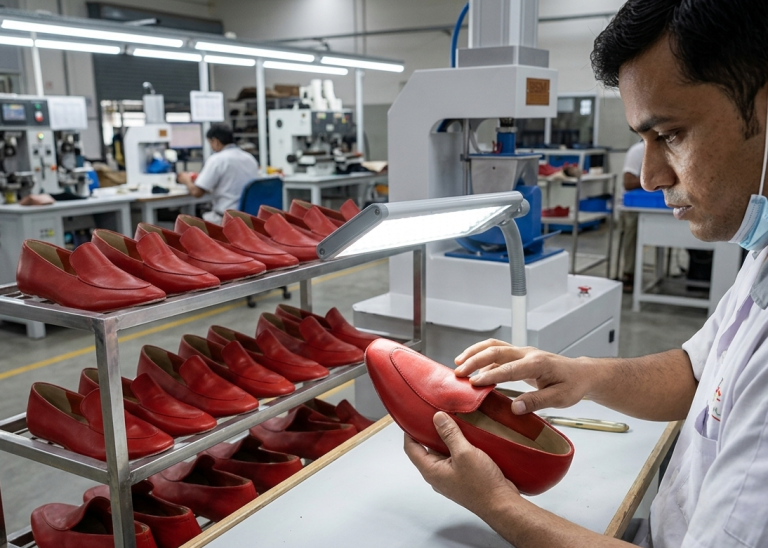
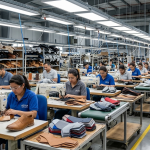
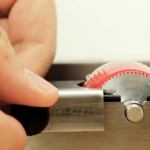
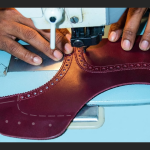
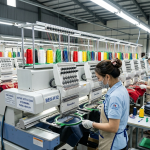
Quality Inspection in Component Printing
Courtesy : BSM INDIA
Quality inspection ensures that printed components meet visual and performance standards. It prevents defects from moving into stitching operations. Inspection includes checking color accuracy, alignment, adhesion, and finish quality. Early detection reduces rework and material loss.
Inspectors evaluate components under proper lighting and compare them with approved standards.
Key Control Points:
- Verify color matching with approved standards
- Check print alignment and positioning
- Test adhesion and durability
- Identify defects like smudging or uneven print
Pro Tip : Maintain separate SOPs for each printing method
Common Defects in Component Printing
Defects in printing can affect both aesthetics and durability. Therefore, identifying root causes is essential for process improvement.
Common issues include color variation, misalignment, smudging, poor adhesion, and cracking. These defects usually arise from improper process control, incorrect materials, or machine settings.
Key Control Points:
- Monitor ink viscosity and consistency
- Ensure proper machine calibration
- Control environmental conditions
- Use approved materials only
Pro Tip : Control humidity and temperature in printing area
Frequently Asked Questions – FAQs
1. Which printing method is best for leather uppers?
Emboss and screen printing are most suitable due to durability and finish quality.
2. Can digital printing replace screen printing?
Digital printing offers flexibility but screen printing remains cost-effective for bulk production.
3. What causes print smudging?
Improper drying, excess ink, or incorrect material compatibility.
4. Is heat transfer printing durable?
Yes, when proper temperature and pressure settings are maintained.
5. Why is HF printing used in sports footwear?
It provides strong bonding and a premium 3D effect on synthetic materials.
6. How to avoid color variation in printing?
Use standard color references and control ink mixing and application.
7. Can printing affect stitching quality?
Yes, poor adhesion or thick prints can interfere with stitching operations.
Pro Tip : Train operators regularly on alignment and handling
Explore other Stitching Process Series
- Stitching Process in Footwear Manufacturing: From Cutting to Closing Assembly in Shoe Production
- Cut Component inspection after cutting/clicking – Stitching Process Series
- Component Marking After Cutting/Clicking–Stitching Process Series
- Component Embroidery in Footwear Manufacturing–Stitching Process Series
- Component Skiving in Footwear Manufacturing–Stitching Process Series
- Component Splitting in Footwear Manufacturing–Stitching Process Series
- Reinforcement (Backers & Tapes) Process in Footwear Manufacturing – Stitching Process Series
- Component Edge Trimming After Cutting/Clicking – Stitching Process Series
- Upper Component Edge Colouring in Footwear Manufacturing – Stitching Process Series
- Upper Component Edge Polishing in Footwear Manufacturing – Stitching Process Series