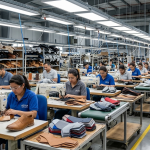
Component Branding in Footwear Manufacturing–Stitching Process Series
In continuation of our previous blog Component Marking After Cutting/Clicking – Stitching Process Series, the next critical stage is component branding.
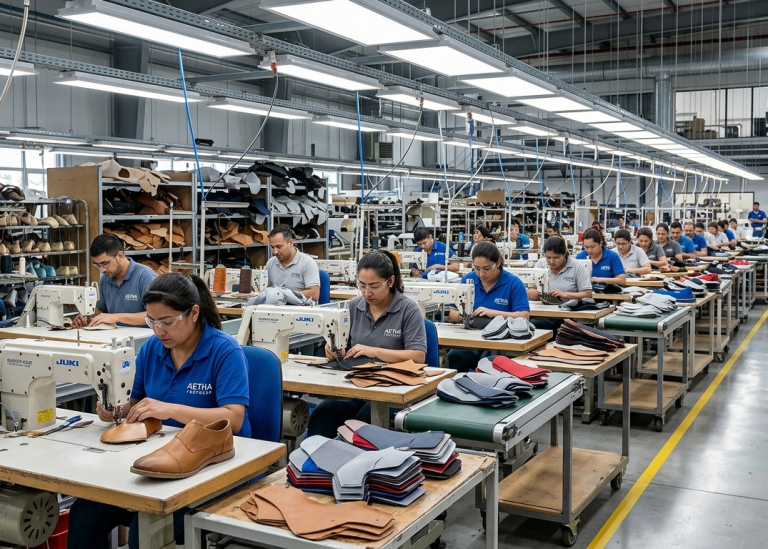
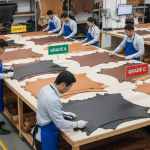
While marking ensures traceability, branding establishes product identity and visual appeal. At this stage, the upper components begin to reflect the brand’s image, positioning, and market value. Therefore, precision and consistency are essential because even minor defects can directly impact product acceptance.
Pro Tip :
Always conduct first-piece approval with QA before bulk production
Use jigs or templates to ensure consistent logo placement

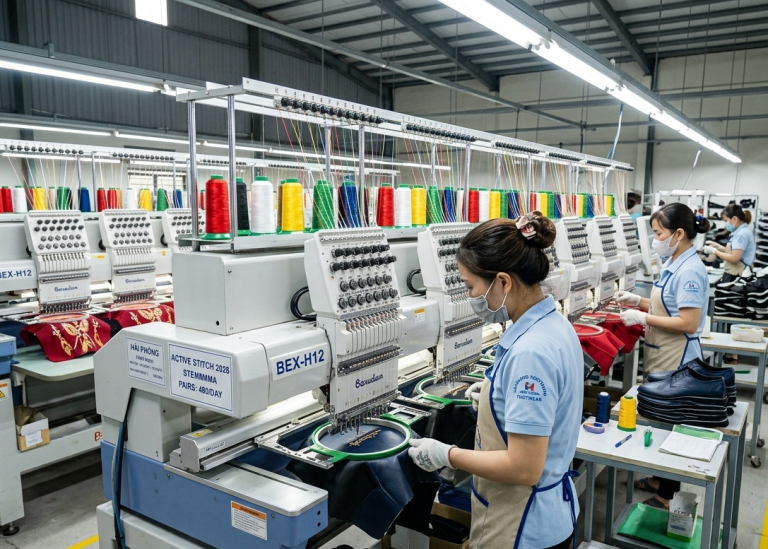
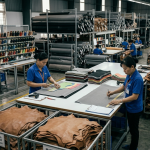
Component Branding in Footwear
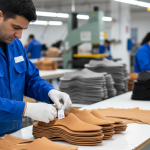
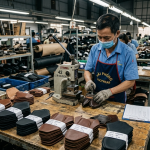
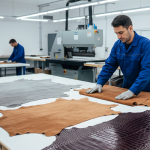
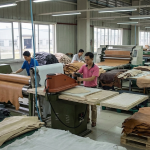
Component branding is the controlled application of logos, graphics, or brand identifiers onto upper components before stitching. This operation transforms a plain component into a branded product element aligned with design specifications.
From a manufacturing perspective, branding is not just decoration. Instead, it is a functional process that connects design intent with production execution. It must match approved artwork, color standards, and placement tolerances.
The importance of this stage lies in its direct influence on consumer perception and brand recall. For premium and export footwear, branding defects often result in immediate rejection. Therefore, factories must treat branding as a high-precision operation rather than a cosmetic step.
In practice, branding execution depends on:
- Material type (leather, synthetic, textile)
- Design complexity
- Volume requirements
- Brand quality standards
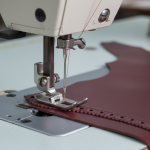
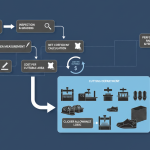
The process typically includes artwork verification, sample approval, machine setup, trial execution, bulk production, and inspection.
Key Control Points:
- Ensure artwork matches approved design file and size
- Verify branding placement using templates or guides
- Maintain color consistency across batches
- Conduct first-piece approval before bulk production
Pro Tip :
Maintain machine parameter logs for repeat orders
Implement shade and finish comparison boards
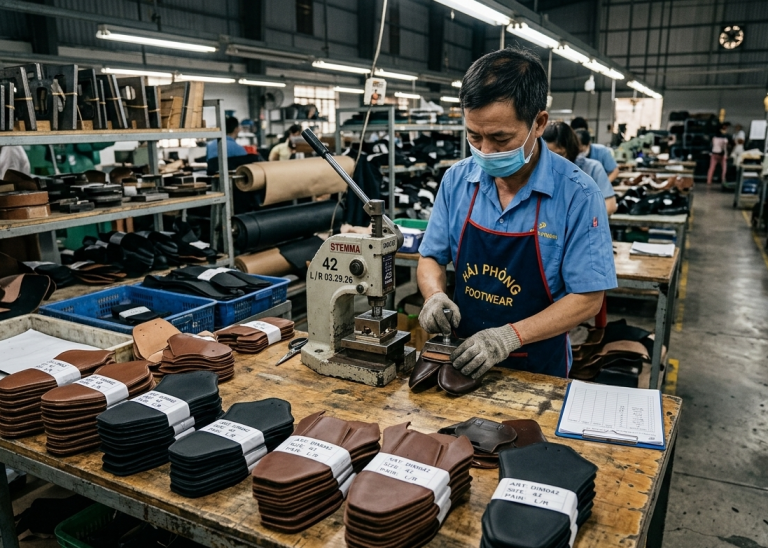
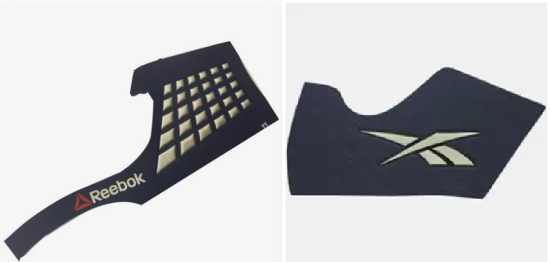
Embossing and Debossing
Embossing and debossing create permanent impressions on the component surface using heat and pressure. While embossing raises the design, debossing presses it inward, depending on aesthetic requirements.
This method is widely used for leather and synthetic materials because it provides a clean, durable, and premium finish. Additionally, it eliminates the need for inks or chemicals, reducing variability.
The execution begins with die preparation based on approved artwork. Operators then set temperature, pressure, and dwell time according to material characteristics. After setup, trial pieces are produced and checked before proceeding to bulk production.
Consistency is critical because variations in heat or pressure can lead to unclear impressions or material damage. Therefore, machine calibration and operator skill play a major role.
Key Control Points:
- Control temperature and pressure to avoid material burning
- Use properly engraved dies with sharp detailing
- Ensure uniform depth across all components
- Check alignment before pressing
Pro Tip :
Train operators specifically for each branding method
Store branded components carefully to avoid surface damage
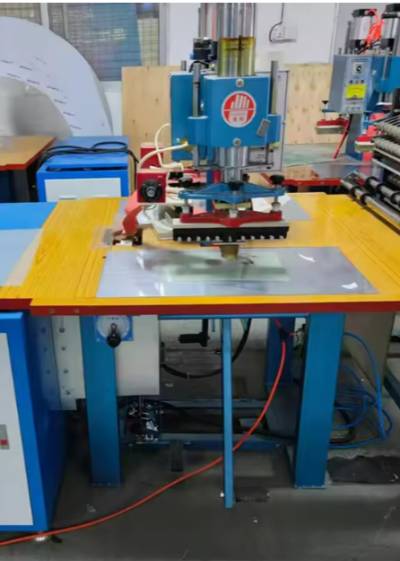
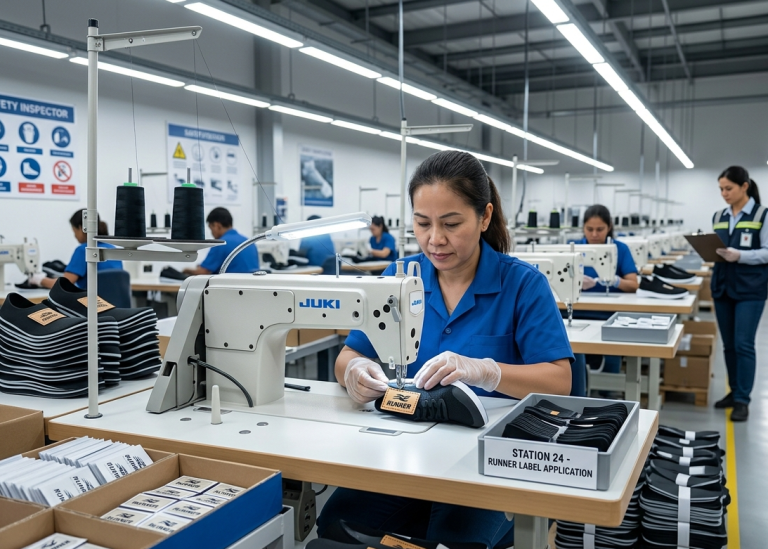
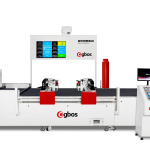
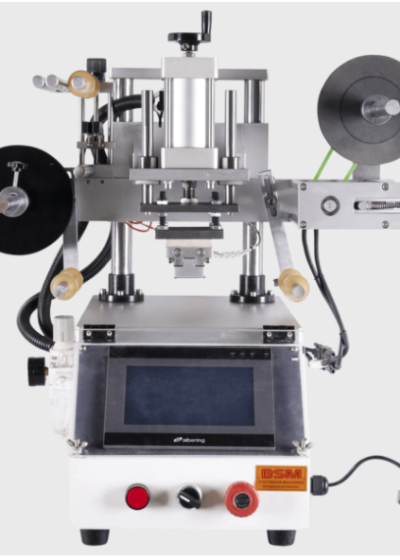
High-Frequency (HF) Branding for TPU Logos
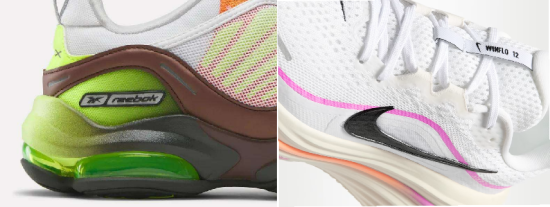
High-frequency branding uses electromagnetic waves to bond TPU logos onto components. This method is commonly used in sports and casual footwear for a modern, raised branding effect.
The advantage of HF application is its strong bonding and clean finish, especially on synthetic materials. It also allows for complex logo shapes and multi-layer constructions.
The process starts with logo preparation and positioning. The component and TPU logo are placed in the HF machine, where controlled energy melts and bonds the materials together. After bonding, cooling time is provided to stabilize the joint.
Improper settings can lead to weak bonding, distortion, or surface damage. Therefore, parameter control is essential for durability.
Key Control Points:
- Ensure correct HF frequency and pressure settings
- Maintain proper alignment of logo and component
- Allow adequate cooling time before handling
- Check bonding strength through peel tests
Pro Tip :
Use trial runs for new materials before bulk execution
Integrate branding QC with stitching input inspection
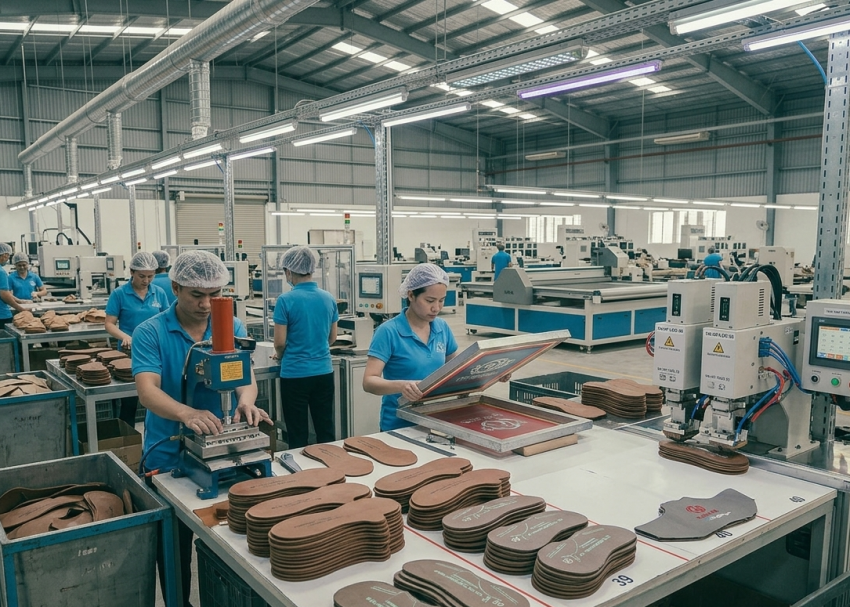
Screen Printing
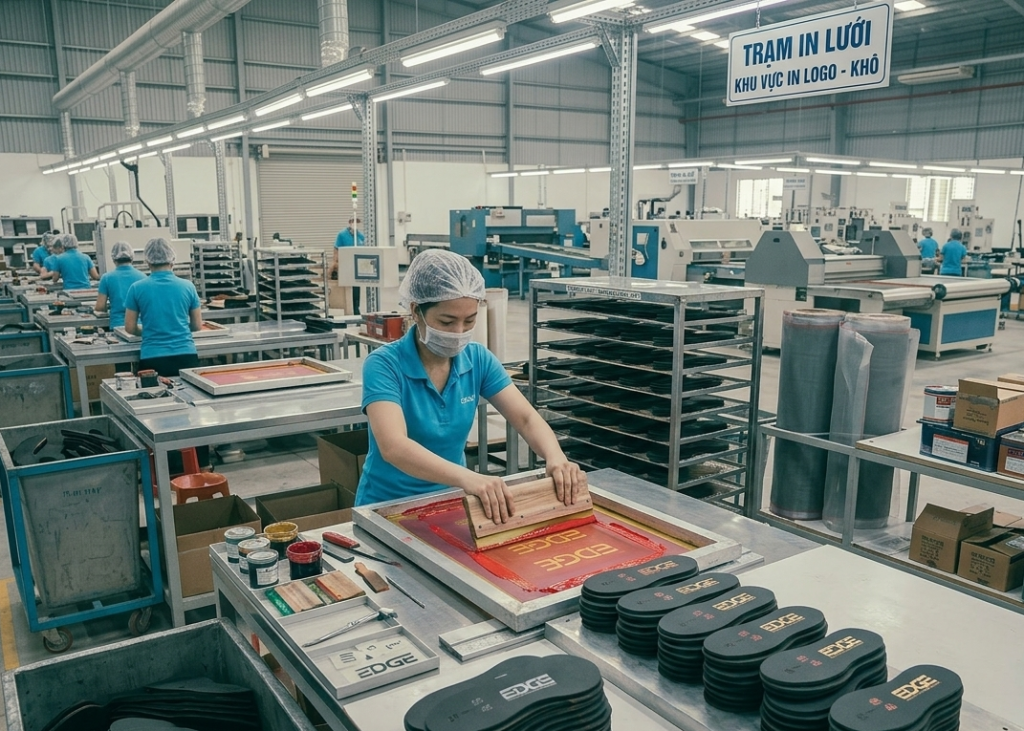
Screen printing applies ink-based designs onto components using mesh screens. It is suitable for logos, patterns, and multi-color graphics, especially on textiles and synthetics.
This method is preferred for high-volume production with consistent design replication. Additionally, it offers flexibility in color usage and design complexity.
The process involves preparing screens based on artwork, mixing inks to match color standards, and setting up printing stations. Components are placed under the screen, and ink is applied using a squeegee.
After printing, components undergo drying or curing to fix the ink. Proper curing ensures durability and prevents fading or cracking during use.
Key Control Points:
- Use correct mesh size for design clarity
- Maintain ink viscosity and color consistency
- Ensure proper curing temperature and time
- Avoid smudging during handling
Pro Tip :
For high-rise printing, always validate flexibility performance after curing
Use material-specific parameter charts for foil and embossing
Transfer Foil Printing
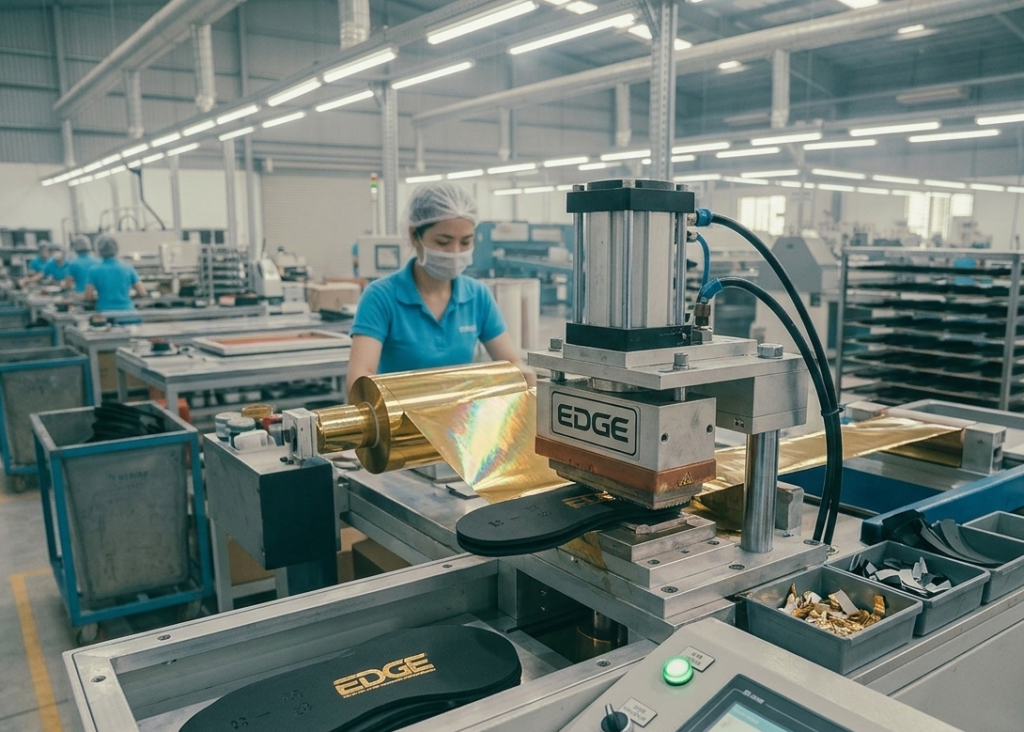
Transfer foil printing is used to create premium metallic or glossy branding effects. It is commonly applied in fashion and high-end footwear segments.
This method enhances product appearance and perceived value. Therefore, it is often used for logos that require a standout visual impact.
The process includes placing a foil sheet over the component and applying heat and pressure using a transfer press. The foil adheres only to the design area, leaving a clean finish.
Foil adhesion depends on temperature, pressure, and surface compatibility. Improper settings can result in peeling or incomplete transfer.
Transfer Foil Printing – Heat vs Cold Foil
Transfer foil printing is divided into heat transfer foil and cold foil, each suited for different materials and product positioning.
Heat Transfer Foil
Heat transfer foil uses heat and pressure to bond the foil onto the component surface. This is the most commonly used method in footwear manufacturing.
It is ideal for:
- Leather (finished and coated)
- Synthetic materials (PU, PVC)
- Microfiber uppers
The process ensures strong adhesion and durability. Therefore, it is widely used in both sports and formal footwear. However, excessive heat can damage sensitive materials. Hence, parameter control is critical.
Key Control Points:
- Maintain optimal temperature (avoid scorching)
- Ensure uniform pressure distribution
- Use correct dwell time for full transfer
- Check adhesion after cooling
Cold Foil Transfer
Cold foil transfer uses adhesive instead of heat to bond the foil. The foil sticks only to areas where adhesive is applied.
This method is suitable for:
- Heat-sensitive materials (textiles, mesh)
- Lightweight synthetic uppers
- Decorative fashion footwear
Cold foil provides flexibility and prevents material distortion. However, adhesion strength is generally lower than heat transfer.
Key Control Points:
- Ensure precise adhesive application
- Maintain clean surface for proper bonding
- Control curing/drying of adhesive
- Test peel strength after application
Heat vs Cold Foil – Material Suitability
| Material Type | Recommended Foil Method |
|---|---|
| Full-grain leather | Heat transfer |
| Synthetic leather | Heat transfer |
| Mesh/Textile | Cold foil |
| TPU/Film surfaces | Heat transfer |
| Stretch materials | Cold foil |
Key Control Points:
- Check adhesion strength after application
- Maintain correct temperature and pressure settings
- Use compatible foil for the material type
- Ensure clean component surface before transfer
Expert Insight:
Maintain die maintenance schedule to avoid logo distortion
Implement adhesion testing (tape/peel test) for all branding types
High-Rise Printing (3D Layered Branding)
High-rise printing is an advanced branding technique where multiple layers of ink, binder, or coating are applied sequentially to create a raised, three-dimensional logo or design. Unlike standard screen printing, this method builds thickness through repeated application and curing cycles.
This method is increasingly used in sports, athleisure, and premium footwear because it provides a tactile, high-visibility branding effect. Additionally, it enhances perceived product value and differentiation.
From a manufacturing standpoint, high-rise printing requires strict control because multiple layers must align perfectly. The process typically starts with base layer printing, followed by intermediate curing, and then additional layers are built progressively to achieve the required height and texture.
Material compatibility plays a major role. Synthetic uppers, mesh, and coated textiles perform better compared to natural leather, which may not support thick layered coatings consistently.
Key Control Points:
- Control layer thickness to avoid cracking or peeling
- Ensure proper curing between each layer
- Maintain alignment across multiple passes
- Use compatible inks and binders for flexibility
Expert Insight:
Standardize visual approval boards for branding reference
Separate branding lines for light and dark materials to avoid contamination
7. Common Defects and Their Impact
Incorrect marking directly affects stitching quality and final product appearance. Common defects include:
- Misaligned stitch lines
- Incorrect seam allowance
- Invisible or faded markings
- Double or overlapping lines
These defects lead to rework, rejection, and productivity loss. Therefore, marking accuracy must be controlled strictly.
Key Control Points
- Conduct inline inspection after marking
- Reject defective markings immediately
- Maintain operator accountability
- Track defect trends for improvement
Expert Insight:
Use SPC (Statistical Process Control) for high-volume branding lines
Frequently Asked Questions – FAQs
1. Which branding method is best for leather footwear?
Embossing and debossing are preferred because they provide durability and a premium finish.
2. Can branding be done after stitching?
Yes, but most branding is done before stitching for better control and accuracy.
3. What causes logo misalignment?
Improper positioning, lack of templates, or operator error are common causes.
4. How is branding quality checked?
Through visual inspection, adhesion testing, and comparison with approved samples.
5. Why does foil branding peel off?
Incorrect temperature, pressure, or incompatible material leads to poor adhesion.
6. Is screen printing durable?
Yes, if proper curing is done, it offers good durability for most applications.
7. What is first-piece approval?
It is the validation of the first branded component before bulk production starts.
Expert Insight:
Ensure operator certification for HF and embossing machines

Explore other Stitching Process Series
- Stitching Process in Footwear Manufacturing: From Cutting to Closing Assembly in Shoe Production
- Cutting/Clicking in Footwear Stitching – Stitching Process Series
- Cut Component inspection after cutting/clicking – Stitching Process Series
- Cut Component Pairing & Match Marking After Cutting / Clicking-Stitching Process Series
- Cut Component Stamping After Cutting / Clicking – Stitching Process Series
- Cut Component Bundling After Cutting/Clicking-Stitching Process Series
- Component Marking After Cutting/Clicking–Stitching Process Series