Heel Nailing in Footwear Manufacturing – Full Shoe Assembly Series
A footwear heel experiences some of the highest mechanical stresses during normal wear. Every step transfers impact forces through the heel area, creating continuous loading, torsional movement, and repeated stress cycles throughout the product’s life. While modern adhesive systems provide strong bonding performance, certain footwear constructions require additional reinforcement to ensure long-term structural stability.
This is particularly true for formal footwear, women’s heeled shoes, safety footwear, boots, and other constructions where the heel must withstand concentrated forces without loosening, shifting, or separating from the shoe bottom. To achieve this additional level of security, manufacturers incorporate mechanical fastening methods that work alongside adhesive bonding.
Heel nailing serves as one of the most effective reinforcement techniques used in footwear manufacturing. By driving precision-engineered nails or screws through the shoe bottom and into the heel structure, manufacturers create a permanent mechanical lock that enhances heel retention, improves torsional rigidity, and increases durability under demanding wear conditions.
However, successful heel nailing requires far more than simply inserting fasteners into a heel. The process depends on accurate heel positioning, controlled penetration depth, optimized driving force, engineered nailing patterns, and rigorous quality verification. Even minor deviations can result in internal pressure points, heel instability, comfort issues, or premature product failure.
This article explores the complete heel nailing process, including machine operation, engineering considerations, quality control requirements, common defects, and best practices used to achieve durable and reliable heel attachment in industrial footwear manufacturing.
Purpose of Heel Nailing in Footwear Manufacturing
Heel nailing provides permanent mechanical reinforcement between the heel base and shoe outsole. Although adhesives create the primary bond, manufacturers add nails or screws to improve long-term structural stability, especially in products exposed to repeated impact loading and torsional movement.
In formal footwear and heeled constructions, the heel experiences concentrated stress during walking because the wearer’s body weight transfers repeatedly through a relatively small contact area. Over time, adhesive-only bonding may weaken under heat, moisture, flexing, or impact stress. Mechanical fastening prevents this gradual separation.
Heel nailing also improves dimensional stability. Properly nailed heels maintain alignment, reduce heel wobbling, and preserve shoe geometry throughout the product life cycle.
Additionally, heel nailing improves production reliability. Even if minor adhesive variation occurs during bottom assembly, properly installed nails provide secondary structural security that significantly reduces field failures and customer complaints.
Key Control Points
- Select nail length according to heel thickness and construction type
- Maintain accurate heel positioning before nail insertion
- Verify nail penetration depth during every production shift
- Conduct pull-out resistance testing on sample pairs
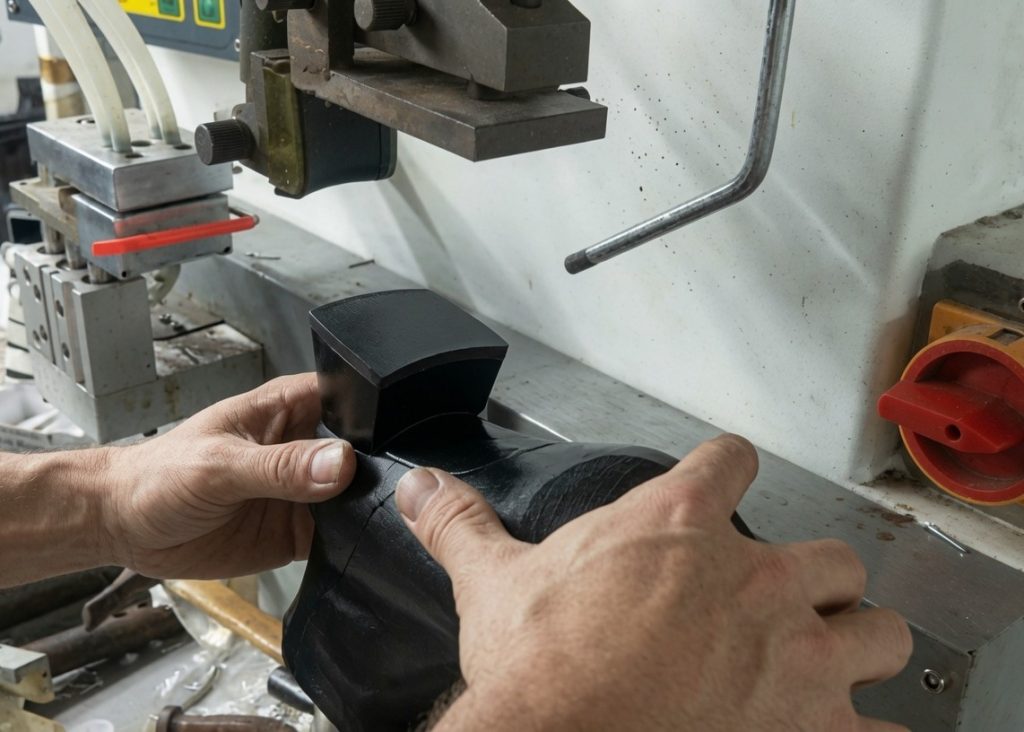
Expert Tip: Calibrate nail length and driving force at the beginning of every shift

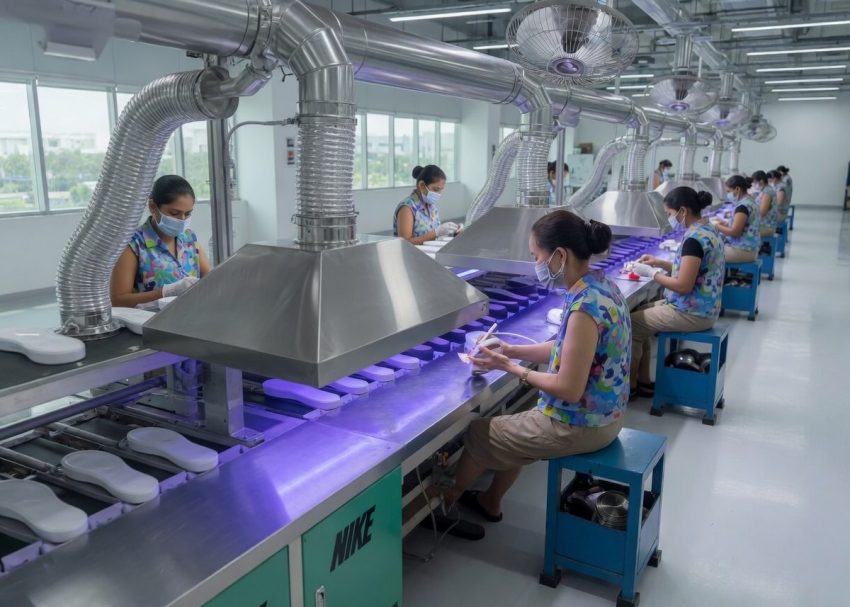
Footwear Categories Using Heel Nailing
Heel nailing is commonly used in footwear constructions requiring high structural reinforcement. However, the process parameters differ depending on product category, heel material, outsole rigidity, and wearer usage conditions.
Formal leather footwear frequently uses heel nailing because stacked heels and rigid bottom constructions require additional holding strength. Women’s fashion footwear also depends heavily on mechanical fastening due to elevated heel geometry and concentrated loading during walking.
Safety footwear uses heel nailing in heavy-duty applications where impact resistance and long-term durability are essential. Certain sports footwear constructions may also use mechanical fastening in rigid heel counter assemblies or specialized outdoor products. Factories usually customize nail quantity, penetration angle, nail spacing, and driving force according to construction engineering specifications.
Factories usually customize nail quantity, penetration angle, nail spacing, and driving force according to construction engineering specifications.
Common Applications
- Men’s formal footwear
- Women’s high-heel footwear
- Safety footwear
- Leather boots
- Outdoor heavy-duty footwear
- Specialty sports constructions
Key Control Points
- Match nail type with heel material density
- Validate heel base thickness before production
- Use approved nailing pattern for each SKU
- Confirm heel alignment before machine activation
Pro Tip: Conduct destructive pull-out testing on sample pairs daily
Heel Nailing Machine Construction and Working Principle
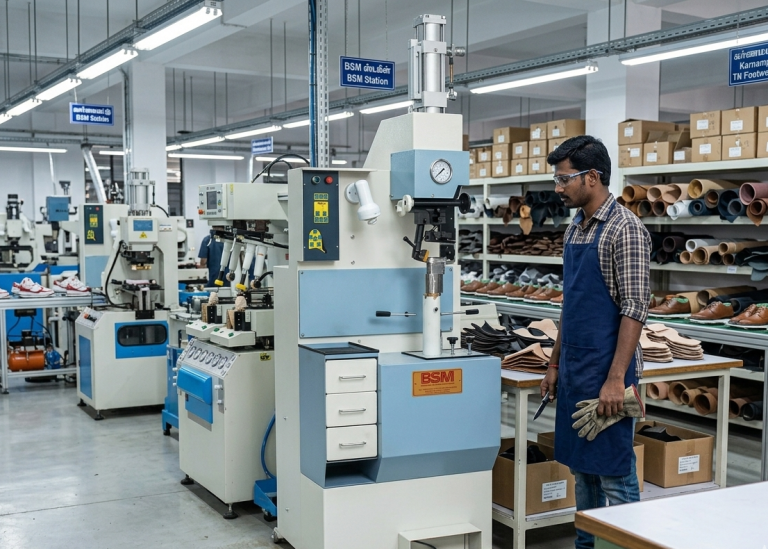
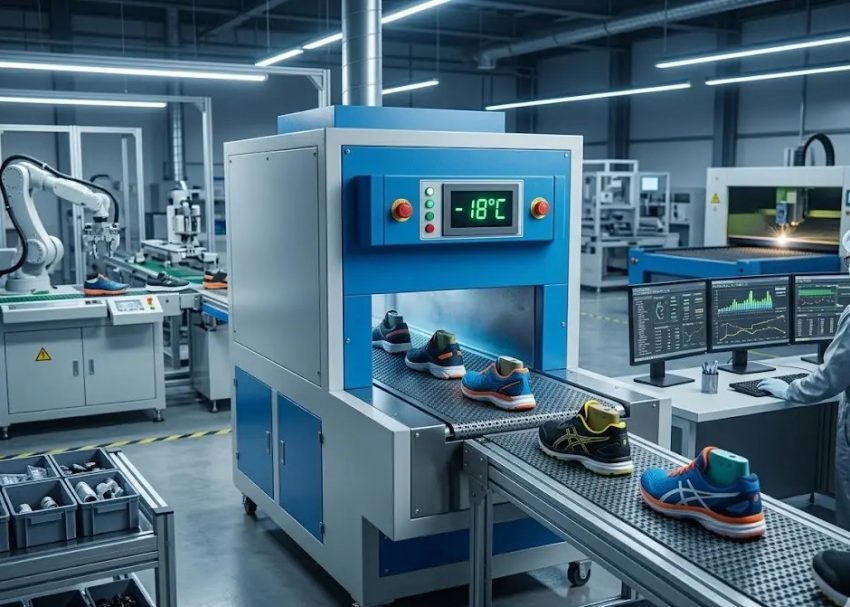
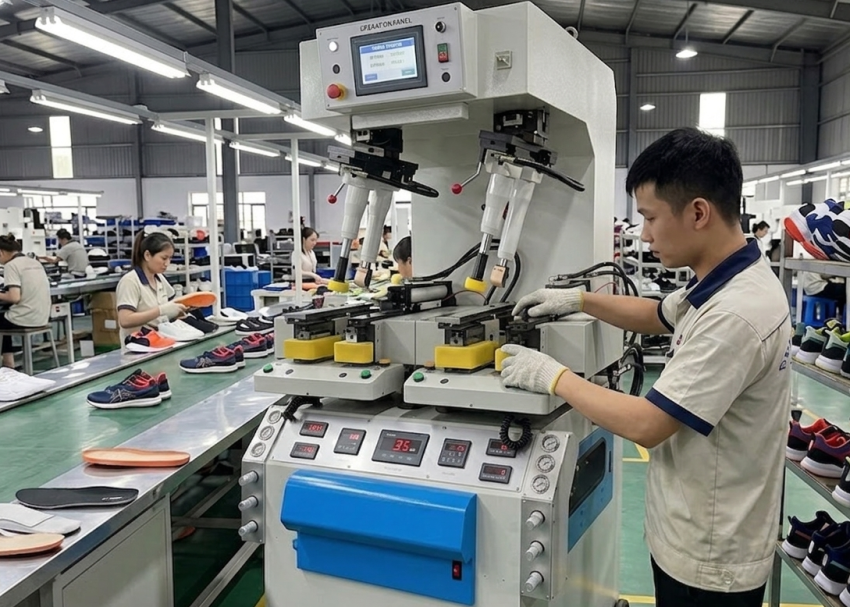
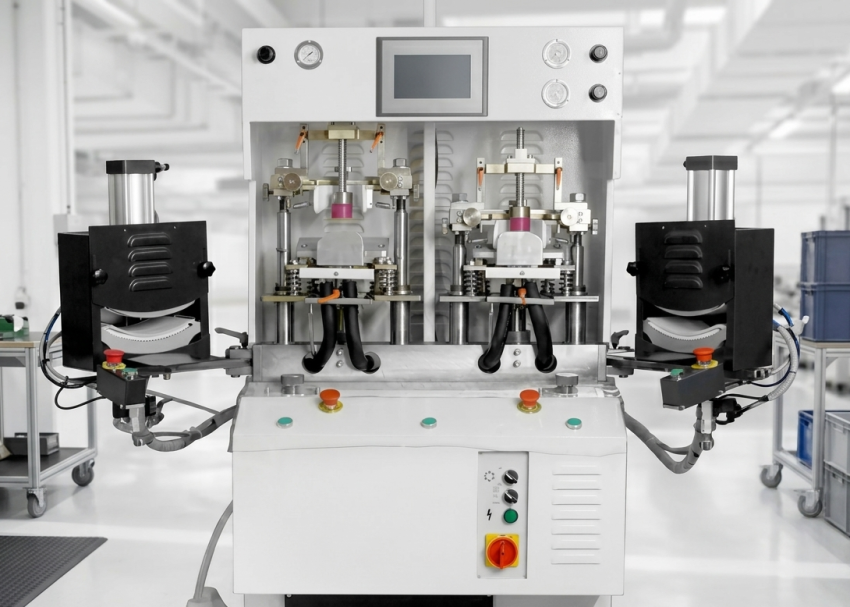
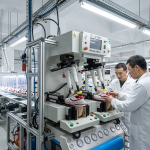
Modern heel nailing stations operate using CNC-controlled automation systems designed to ensure precision, repeatability, and production speed. Unlike manual nailing methods, automated systems minimize operator variation and improve consistency across large production volumes.
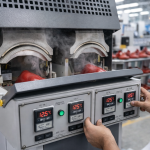
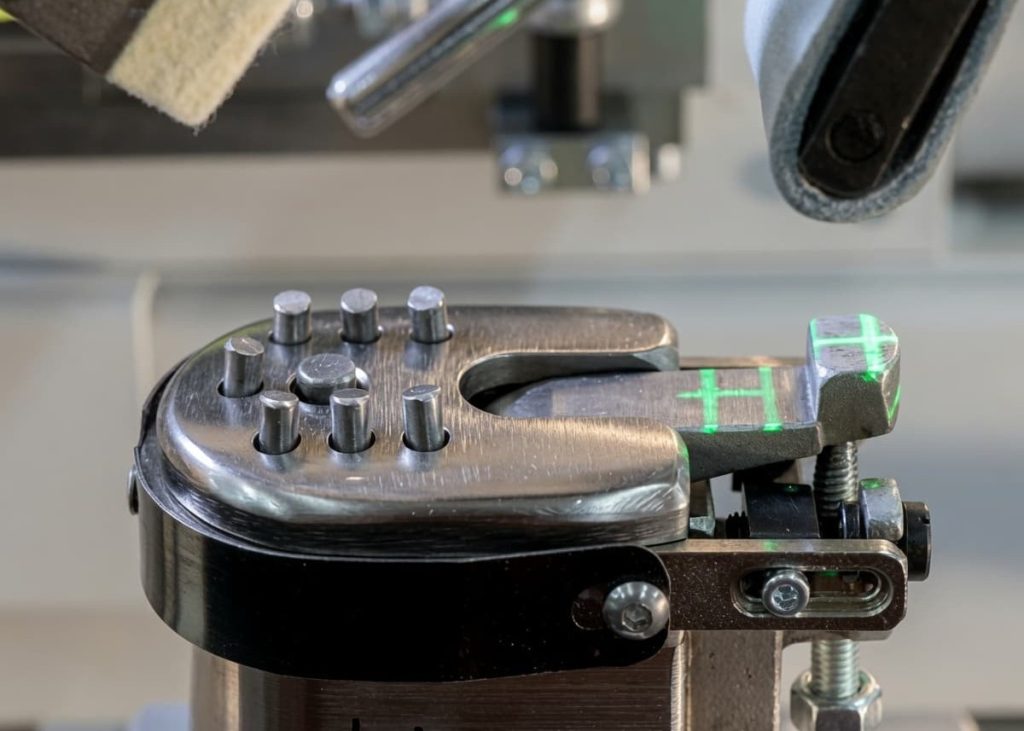
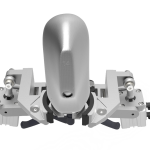
The machine typically includes automatic heel positioning fixtures, nail feeding systems, programmable driving heads, depth sensors, pressure regulators, and force-monitoring controls. Some advanced systems also integrate camera-based alignment verification.
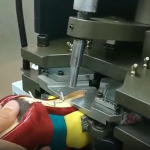
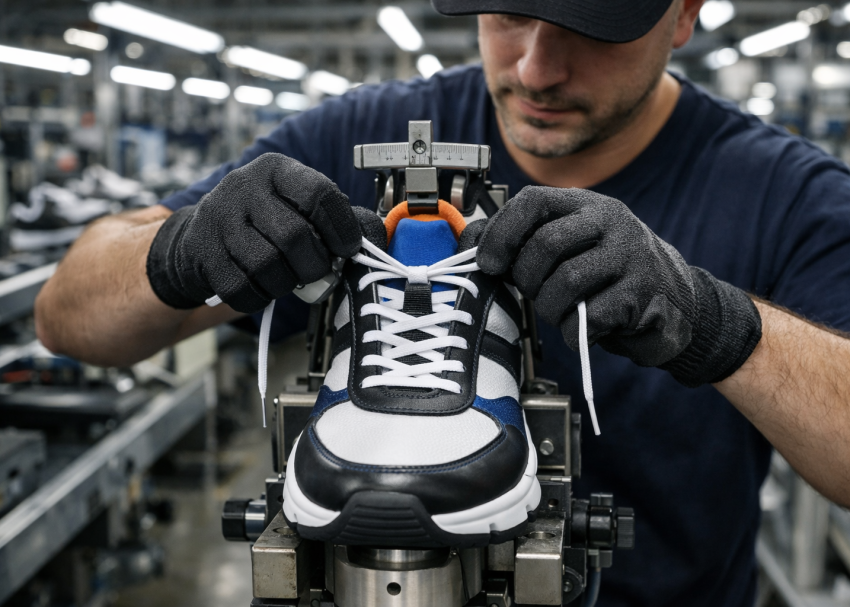
During operation, the operator places the shoe into the positioning fixture. The machine clamps the shoe securely to prevent movement during nail insertion. The automatic feeding mechanism supplies nails individually to the driving head according to the programmed sequence.
The driving head inserts nails through the insole, Outsole and into the heel base at controlled speed and force. Depth sensors continuously monitor penetration levels to prevent protrusion inside the shoe cavity or insufficient anchoring within the heel.
After completion, the machine releases the shoe for inspection and transfer to the next finishing operation.
Main Machine Components
- CNC control unit
- Automatic nail feeder
- Pneumatic or servo-driven hammer system
- Depth monitoring sensors
- Heel positioning fixture
- Force feedback monitoring system
- Safety guarding and emergency stop system
Key Control Points
- Calibrate nail feeding system daily
- Verify driving pressure at shift start
- Clean positioning fixtures regularly
- Inspect sensor response consistency
Pro Tip: Monitor heel material density variation between suppliers
Heel Positioning Before Nailing
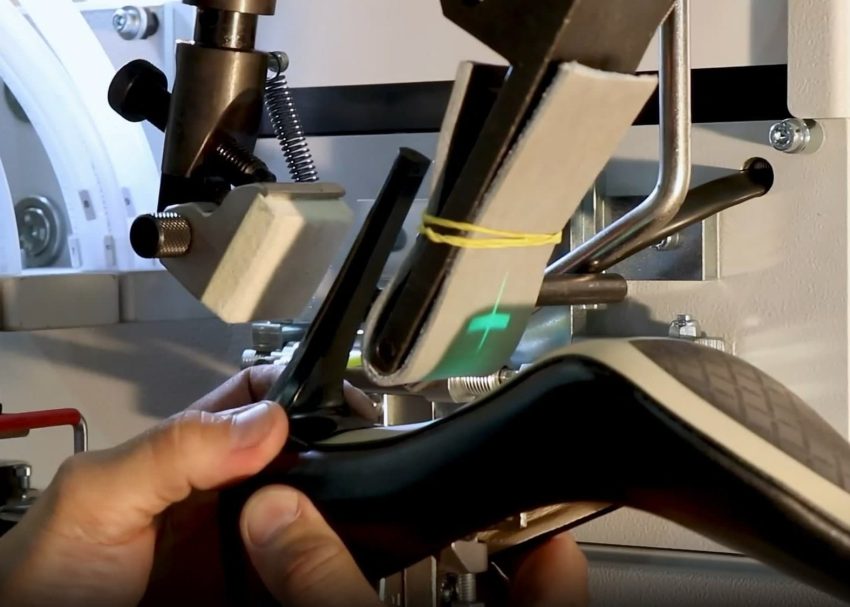
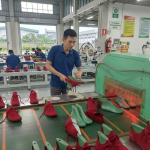
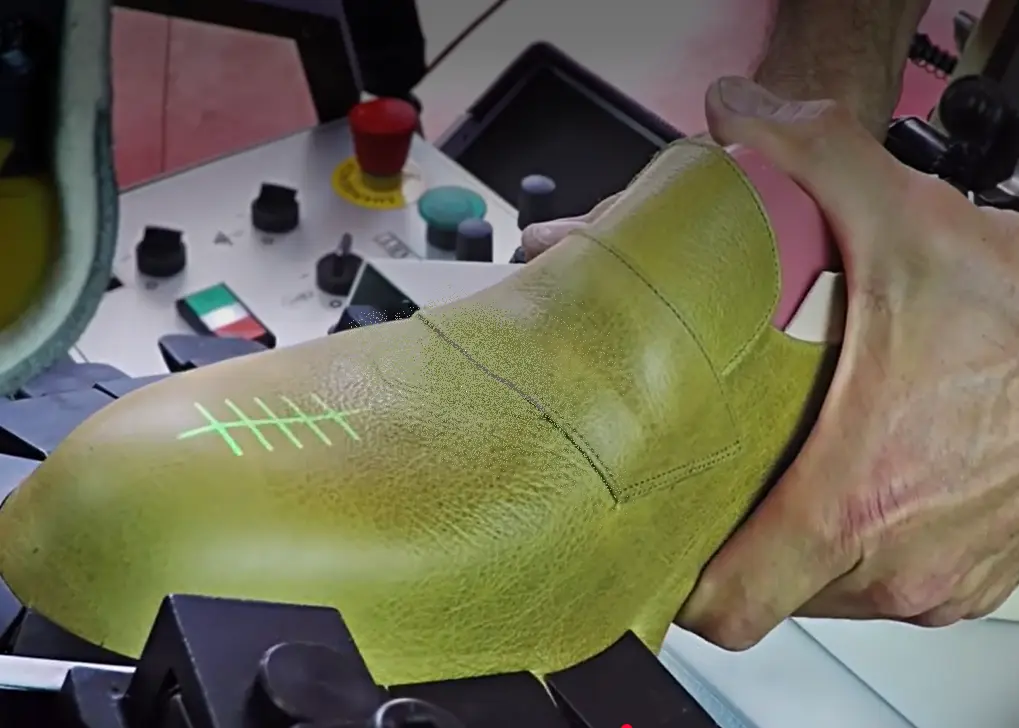
Accurate heel positioning directly determines reinforcement quality. Even small alignment errors create visible heel imbalance, uneven walking behavior, or structural weakness after prolonged usage. Before nailing begins, operators position the shoe carefully inside the machine fixture using predetermined alignment references. Most factories use centerline markings, laser guides, or mechanical locators to maintain consistent placement.
The heel base must sit flush against the shoe bottom without gaps or angular deviation. Misalignment during clamping may force nails into incorrect locations, reducing holding strength and creating asymmetric pressure distribution.
Factories producing multiple heel styles often use interchangeable fixtures to accommodate different heel geometries and bottom shapes. Proper fixture selection is therefore critical during style changeovers.
Common Positioning Errors
- Heel shifted laterally
- Angular heel misalignment
- Incomplete heel seating
- Fixture mismatch
- Shoe movement during clamping
Key Control Points
- Use heel centerline alignment references
- Confirm full heel seating before activation
- Lock fixtures securely during operation
- Validate setup during style changeovers
Pro Tip: Replace worn driving heads before quality deterioration begins
Nail Penetration Depth Control
Penetration depth is one of the most critical process parameters in heel nailing. Incorrect penetration immediately affects wearer comfort, structural integrity, and product safety. If nails penetrate too deeply, the nail tip or head may create internal pressure points beneath the insole. These defects often appear during wearer trials and generate severe comfort complaints. In extreme cases, the nail may become exposed inside the shoe.
Conversely, insufficient penetration reduces mechanical holding strength and increases the risk of heel loosening during product usage. Most factories maintain penetration depth approximately 1.5–2.0 mm below the insole surface to ensure adequate reinforcement without internal discomfort. Operators must also monitor variations in heel density, insole thickness, and bottom material hardness because these variables influence final penetration behavior.
Key Control Points
- Verify penetration depth every production hour
- Calibrate sensor response daily
- Inspect random pairs physically
- Adjust settings for material density variation
Pro Tip: Set nail penetration depth precisely 1.5–2.0 mm below the insole surface to eliminate internal pressure points frequently identified during wearer comfort evaluations.

Nail Pattern Engineering and Structural Reinforcement
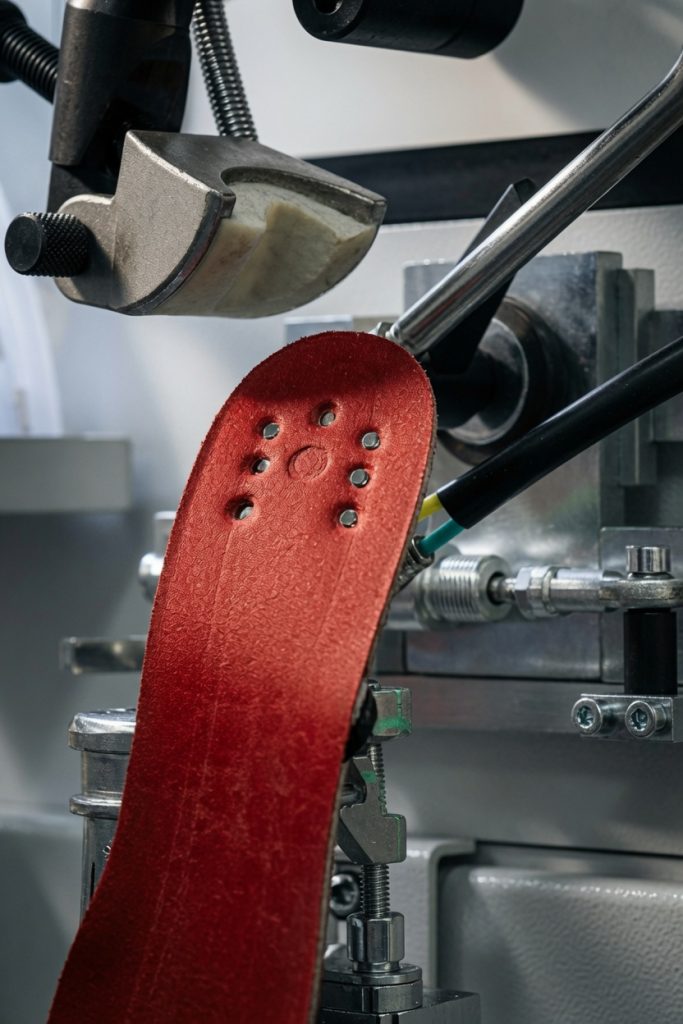
The nail arrangement pattern significantly influences heel stability and torsional rigidity. Factories therefore engineer specific nail layouts according to heel size, construction type, and expected product usage conditions. Smaller heels may require fewer nails positioned strategically to maximize anchoring efficiency.
Larger heel constructions typically require distributed reinforcement patterns to balance stress across the entire heel base. Improper nail spacing creates localized stress concentration, increasing the possibility of cracking, splitting, or uneven structural loading during walking.
Typical Pattern Considerations
- Heel width
- Heel height
- Material density
- Bottom rigidity
- Product usage category
- Torsional stress expectations
Key Control Points
- Follow approved engineering nail pattern
- Validate pattern after style conversion
- Avoid excessive nail concentration
- Monitor heel cracking after insertion
Pro Tip: Validate fixture alignment during every style conversion
Driving Force Calibration and Machine Pressure Control
Driving force determines how effectively nails penetrate the footwear bottom structure. Excessive force damages materials, while insufficient force weakens reinforcement. Factories therefore calibrate pneumatic or servo-driven pressure systems daily to maintain stable insertion quality. Machine pressure settings vary according to heel hardness, nail length, outsole density, and insole board construction.
Force feedback systems in advanced machines monitor resistance during insertion and automatically detect abnormal penetration behavior. This helps operators identify material inconsistencies or equipment malfunction early. Pressure instability commonly creates bent nails, incomplete insertion, or heel cracking. Consequently, preventive maintenance and calibration routines are essential for process stability.
Common Pressure-Related Defects
- Nail bending
- Heel cracking
- Incomplete insertion
- Excessive penetration
- Structural splitting
Key Control Points
- Check air pressure stability every shift
- Calibrate force settings daily
- Replace worn driving heads immediately
- Conduct periodic pressure verification tests
Pro Tip: Use standardized nail specifications across production lines whenever possible
Quality Inspection After Heel Nailing
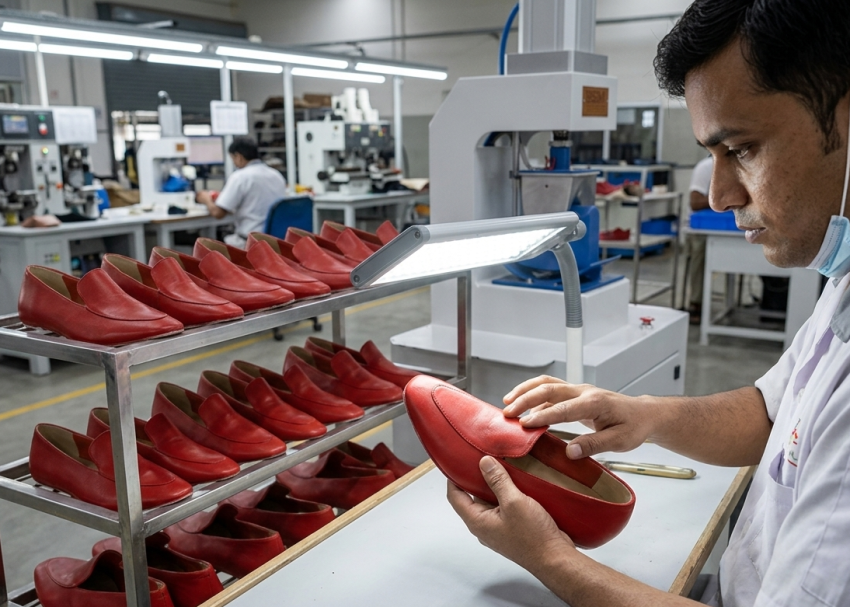
Post-nailing inspection ensures the shoe meets structural, visual, and comfort standards before entering final finishing operations. Inspectors first verify external heel alignment and seating condition. Any visible gap, angular deviation, or heel movement immediately indicates reinforcement failure.
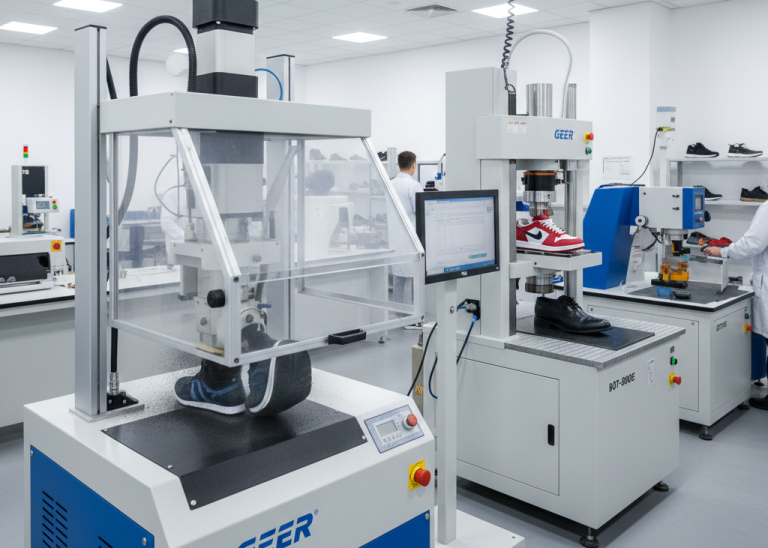
Internal inspection confirms that no nail protrusion or pressure point exists beneath the insole surface. Factories frequently use tactile inspection, flex testing, and manual pressing methods during quality evaluation. Additionally, production teams perform destructive testing on sample pairs to verify pull-out resistance and long-term mechanical strength. These tests validate process consistency and machine calibration effectiveness.
Inspection Activities
- Heel alignment verification
- Internal comfort inspection
- Heel wobble testing
- Pull-out resistance testing
- Nail penetration evaluation
- Structural flex assessment
Key Control Points
- Inspect first-off samples every shift
- Conduct random destructive testing
- Reject shoes with internal pressure points
- Verify heel rigidity before release
Pro Tip: Record defect trends digitally for preventive analysis
Common Heel Nailing Defects and Troubleshooting
Heel nailing defects usually originate from poor calibration, incorrect setup, operator handling issues, or inconsistent material conditions. Early defect detection is essential because many problems become irreversible after finishing. Heel wobbling commonly results from insufficient nail penetration or poor heel seating before insertion. Internal pressure complaints typically indicate excessive penetration depth or incorrect nail length selection.
Heel cracking often occurs when driving force exceeds material tolerance limits or when nail spacing creates excessive stress concentration. Bent nails generally indicate improper machine alignment or unstable fixture positioning. Factories minimize recurring defects through preventive maintenance, calibration routines, operator training, and standardized inspection systems.
Frequent Defects
- Heel loosening
- Nail protrusion
- Heel cracking
- Bent nails
- Uneven heel alignment
- Internal discomfort points
Troubleshooting Methods
- Recalibrate penetration depth
- Verify fixture alignment
- Adjust machine pressure
- Review nail specification
- Replace damaged tooling
- Improve operator setup training
Key Control Points
- Record recurring defect trends
- Monitor machine wear regularly
- Validate nail quality consistency
- Maintain preventive maintenance schedules
Pro Tip: Inspect internal comfort condition during pilot production trials
Worker Safety During Heel Nailing Operations
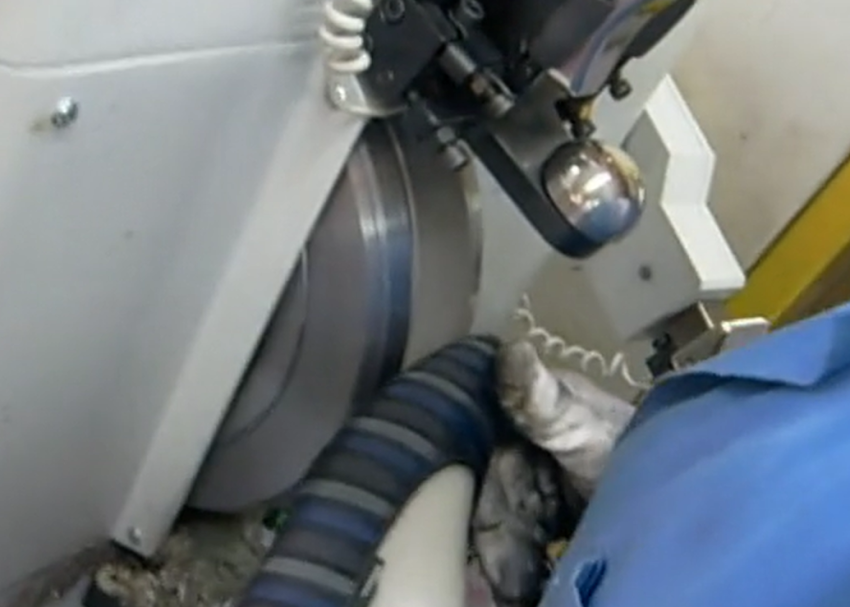
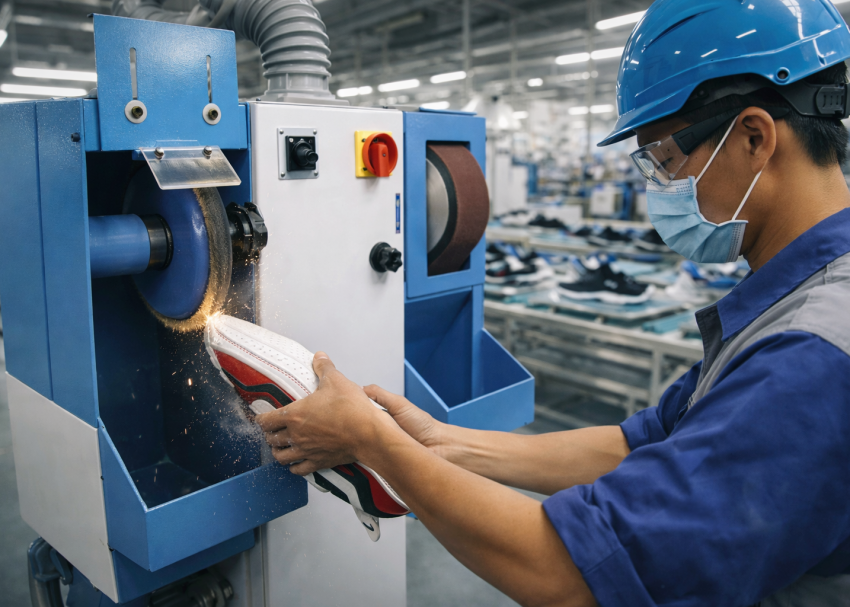
Heel nailing machines operate with high-speed mechanical driving systems capable of causing severe injury if safety controls fail. Therefore, factories must implement strict operational safety procedures. Operators should never place hands near the driving zone during machine activation. Modern machines include dual-hand activation systems, emergency stop buttons, and protective guarding to reduce accident risk.
Factories must also provide proper training on machine setup, jam removal, pressure adjustment, and emergency shutdown procedures. Additionally, hearing protection may be required in high-noise production environments where multiple nailing stations operate continuously, and Safety Googles required for Eye Protection.
Essential Safety Measures
- Use machine guarding systems
- Follow lockout procedures during maintenance
- Wear approved PPE
- Train operators on emergency shutdown protocols
- Inspect safety sensors regularly
Key Control Points
- Verify emergency stop functionality daily
- Never bypass safety interlocks
- Replace damaged guards immediately
- Maintain clean workstations
Pro Tip: Consistent heel nailing quality depends heavily on process discipline, machine calibration, and engineering validation. Small deviations often create major long-term durability problems in finished footwear.
Conclusion
Heel nailing remains one of the most important reinforcement operations in footwear manufacturing for formal, heeled, and heavy-duty constructions. Although adhesive systems provide the primary bond, mechanical fastening ensures long-term heel stability, torsional rigidity, and structural reliability under real-world wear conditions.
Successful heel nailing depends on accurate heel positioning, controlled penetration depth, calibrated driving force, engineered nail patterns, and disciplined inspection systems. Even minor deviations can create serious comfort problems or structural failures after product release.
In the next blog of TheFootwearEdge Full Shoe Assembly Series, we will discuss Side Wall / Littleway Stitching in Footwear Manufacturing, including stitching reinforcement methods, machine types, seam durability controls, and common industrial defects.
Pro Tip: Factories achieving stable performance usually implement strict preventive control systems instead of relying only on end-line inspection.
Frequently Asked Questions – FAQs
Why is heel nailing necessary in footwear manufacturing?
Heel nailing provides additional mechanical reinforcement that improves heel stability, durability, and long-term structural integrity beyond adhesive bonding alone.
Which footwear categories commonly use heel nailing?
Formal footwear, women’s heeled shoes, safety shoes, leather boots, and certain outdoor or specialty sports constructions commonly use heel nailing.
What happens if nail penetration depth is excessive?
Excessive penetration creates internal pressure points, discomfort, possible nail exposure, and wearer complaints.
What is the ideal nail penetration depth?
Most factories maintain penetration depth approximately 1.5–2.0 mm below the insole surface for balanced reinforcement and comfort.
What are common heel nailing defects?
Common defects include heel loosening, bent nails, heel cracking, nail protrusion, internal discomfort points, and uneven heel alignment.
How do factories verify heel reinforcement strength?
Factories perform pull-out resistance testing, flex testing, heel wobble inspection, and destructive testing on sample pairs.
Why are CNC-controlled heel nailing machines preferred?
CNC systems improve consistency, penetration accuracy, force control, repeatability, and production efficiency while reducing operator variation..