Carbon Paper Pressure Test for Outsole Pressing – Full Shoe Manufacturing
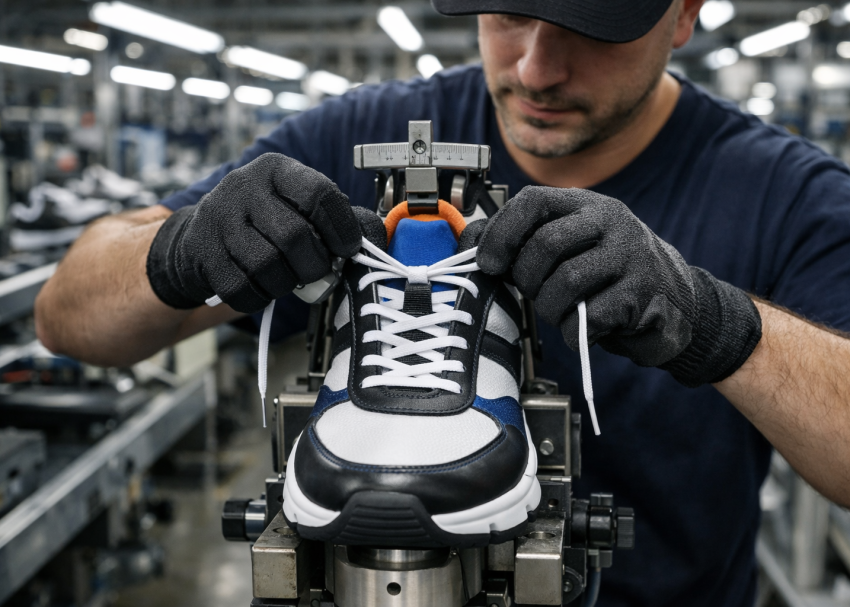
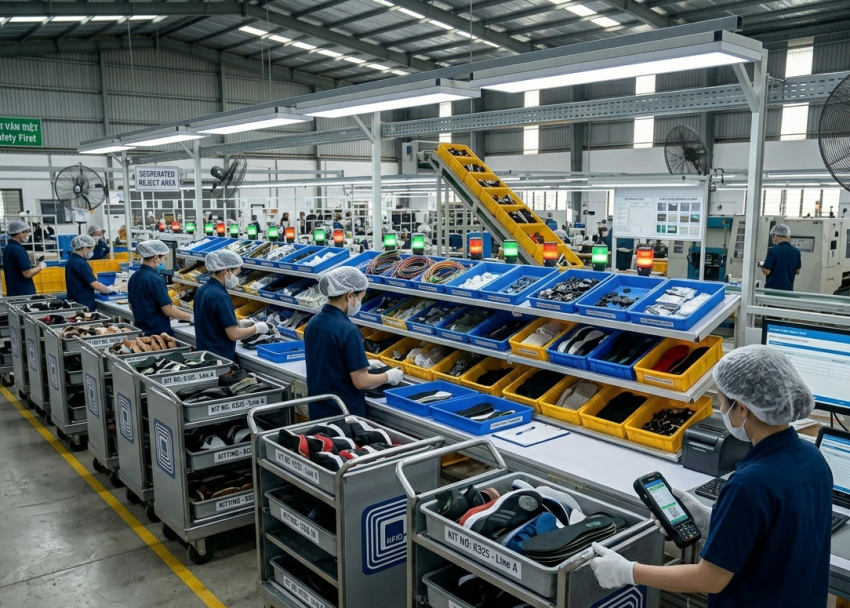
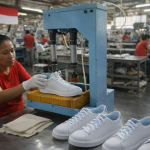
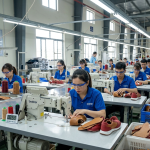
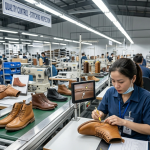
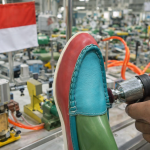
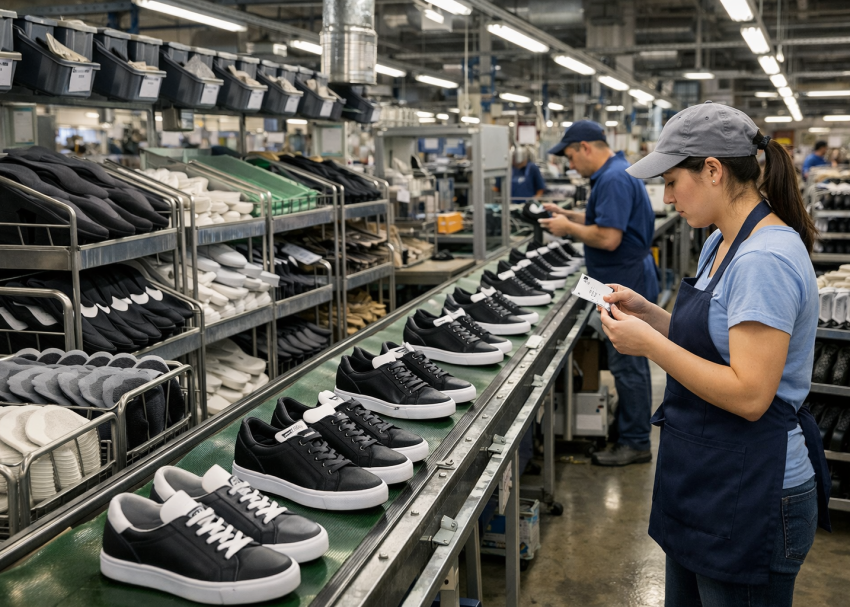
Outsole pressing is one of the most critical operations in footwear manufacturing because it directly influences bond strength between the upper assembly and outsole. Even when adhesive preparation, drying conditions, and activation parameters are correct, inadequate or uneven pressing pressure can still cause bonding failures. Consequently, manufacturers must verify that the pressing machine applies uniform pressure across the entire outsole surface.
The Carbon Paper Pressure Test is one of the most practical preventive quality assurance tools used in footwear factories to validate pressure distribution during outsole pressing. Instead of waiting for bond failures to appear during peel testing, wear trials, or customer usage, factories use this simple verification method to identify pressure-related issues before production defects occur.
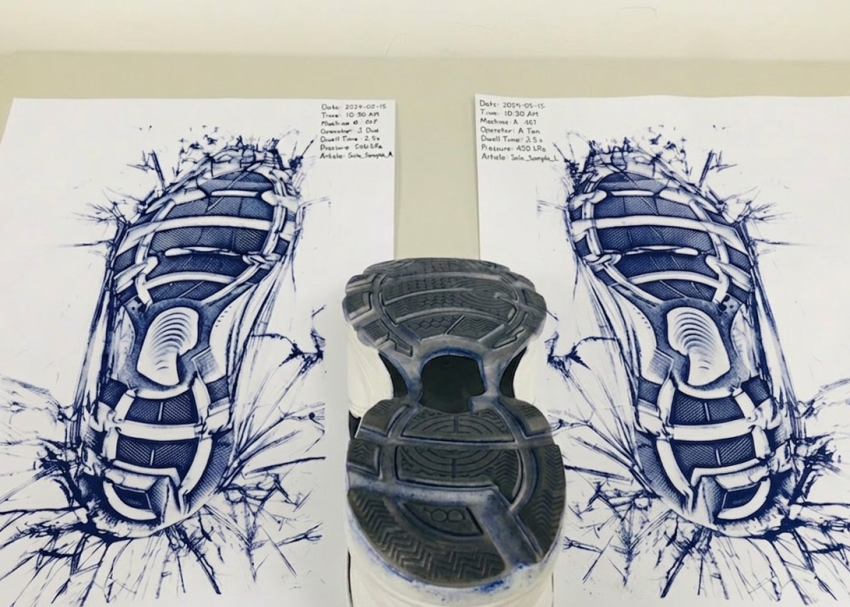
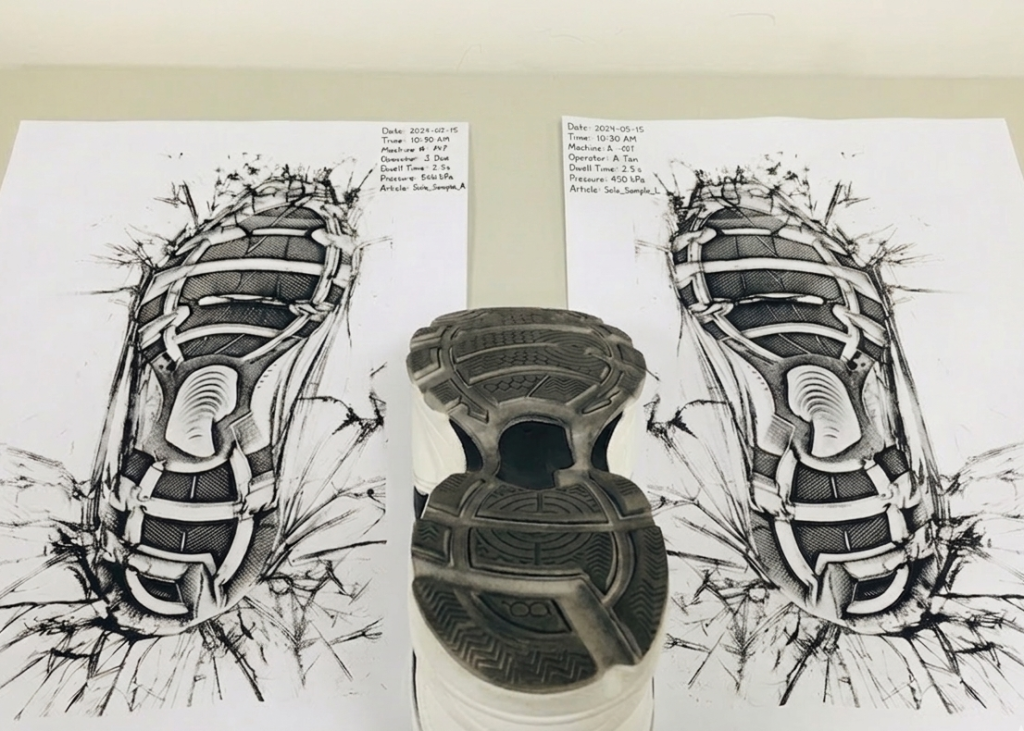
The test simulates actual production conditions by using the same pressing machine, pressure setting, dwell time, and silicone negative molds applied during normal manufacturing. After pressing, the carbon paper leaves an impression pattern that allows quality personnel to evaluate whether pressure was evenly distributed throughout the outsole contact area.
Because footwear styles differ in outsole geometry, bottom profile, heel shape, and mold configuration, pressure distribution can change significantly from one model to another. Therefore, the Carbon Paper Pressure Test serves as an important process validation activity that helps maintain stable bonding quality, reduce rework, prevent sole separation, and improve customer satisfaction.

Understanding the Carbon Paper Pressure Test
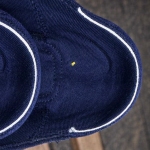
The Carbon Paper Pressure Test is a pressure mapping method used to verify that outsole pressing equipment delivers uniform force across the complete bonding surface. During the test, a carbon paper sheet is placed between two white sheets and positioned between the upper and outsole assembly before pressing.
When the assembly undergoes pressing, the carbon transfers its impression onto the white sheets. Areas receiving adequate pressure show a clear and consistent carbon mark. Conversely, light, incomplete, or missing impressions indicate insufficient pressure zones.
This method provides immediate visual evidence of pressure distribution without requiring complex measuring equipment. As a result, factories can quickly determine whether machine settings, silicone negatives, outsole profiles, or pressing conditions require adjustment.
Since outsole bonding quality depends heavily on proper pressure application, this test becomes an essential control point within the overall bonding process.
Key Control Points
- Use production-approved carbon paper.
- Position carbon sheet correctly across the bonding area.
- Conduct testing under actual production settings.
- Review impression patterns immediately after pressing.
Expert Tip: Use the same shoe size for routine validation whenever possible.

Why Pressure Distribution Matters in Outsole Pressing
Uniform pressure ensures intimate contact between adhesive-coated surfaces during bonding. Without adequate pressure, adhesive films cannot fully wet and engage the mating surfaces, which reduces bond strength.
Even minor pressure variations can create localized weak zones. Although the shoe may initially pass visual inspection, these weak areas often become failure points during flexing, walking, transportation, or consumer use.
Uneven pressure commonly results from worn silicone negatives, incorrect machine settings, outsole profile variations, machine misalignment, or improper shoe positioning. Therefore, pressure verification becomes necessary to maintain consistent bonding performance. Furthermore, pressure-related defects often generate costly rework and customer complaints. By identifying pressure issues before production continues, factories can significantly reduce quality risks.
Common Problems Caused by Uneven Pressure
- Sole opening
- Edge lifting / Lip Opening
- Poor adhesion
- Localized bonding failures
- Heel separation
- Toe area delamination
- Increased rework rates
- Customer returns and complaints
Key Control Points
- Verify pressure uniformity across the entire outsole.
- Investigate weak impression areas immediately.
- Monitor recurring pressure variation trends.
- Correct machine abnormalities before production resumes.
Pro Tip: Replace silicone negatives before visible deterioration affects results.
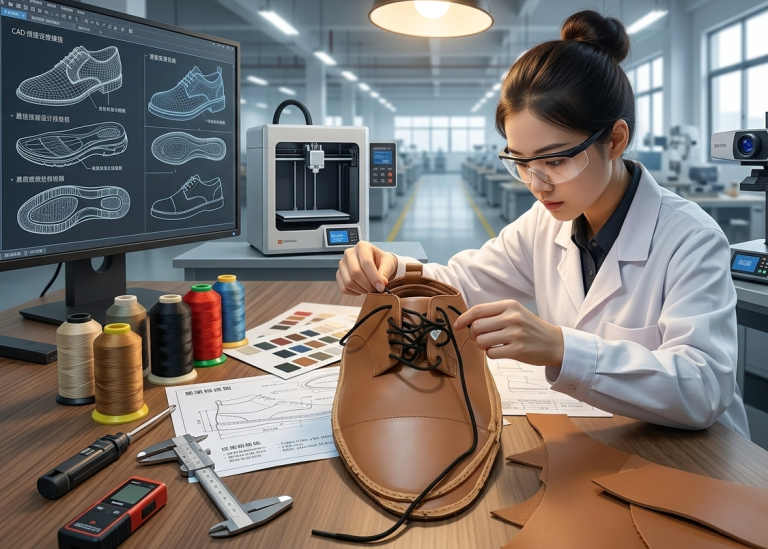
Materials Required for the Carbon Paper Pressure Test
Although the test is simple, proper materials ensure reliable results and repeatability. Each component contributes to accurate pressure visualization and process validation. The carbon paper must provide consistent transfer characteristics. White sheets should clearly capture impression patterns without smearing. The footwear sample should represent actual production conditions, including the correct upper, outsole, and component configuration.
Additionally, the same silicone negative mold used during production must be installed because pressure distribution is directly influenced by mold geometry. The testing materials should remain standardized throughout the factory to avoid interpretation differences between operators, supervisors, and quality personnel.
Materials List
- Carbon paper sheet
- Two white recording sheets
- Production shoe assembly
- Outsole component
- Standard silicone negative mold
- Outsole pressing machine
- Carbon test record sheet
- QC evaluation checklist
Key Control Points
- Use clean and undamaged carbon paper.
- Replace worn recording sheets.
- Confirm correct mold installation.
- Use representative production samples.
Pro Tip: Create approved reference impression samples for comparison.
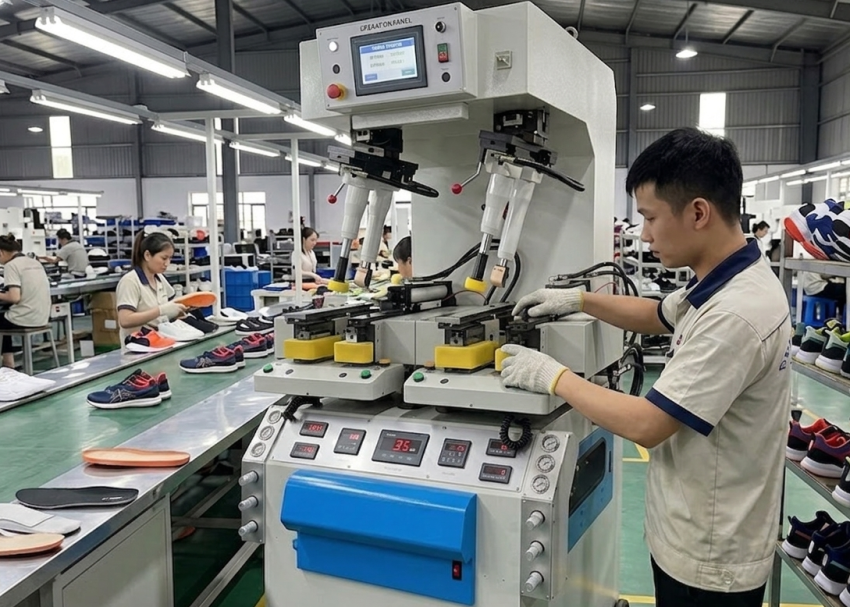
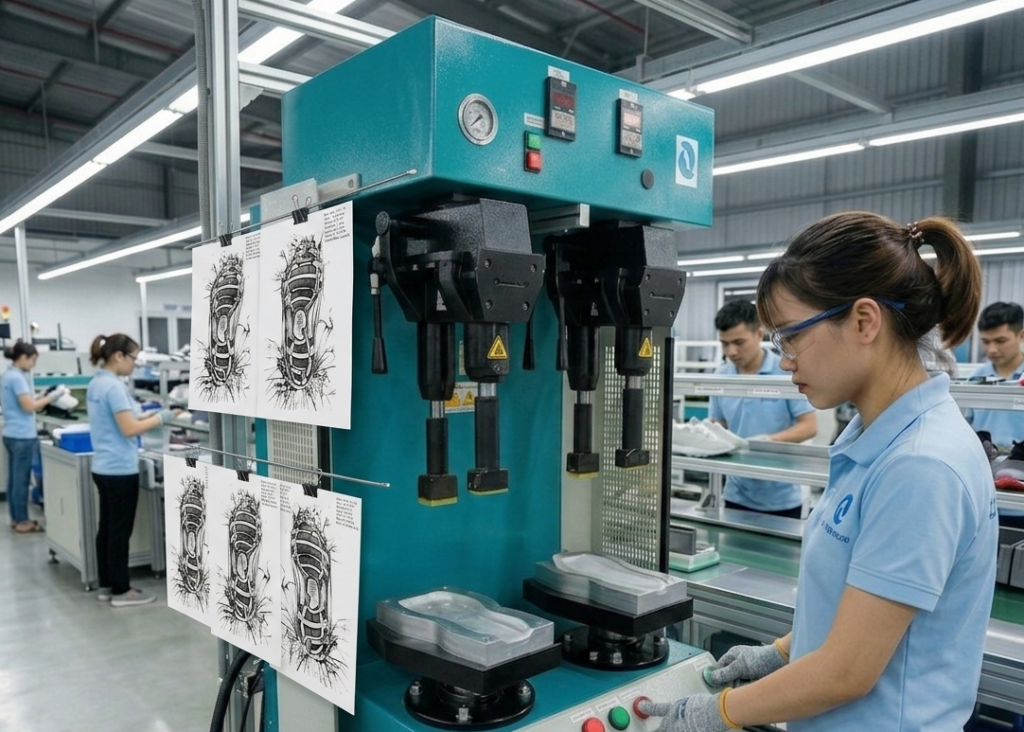
Step-by-Step Carbon Paper Pressure Test Procedure
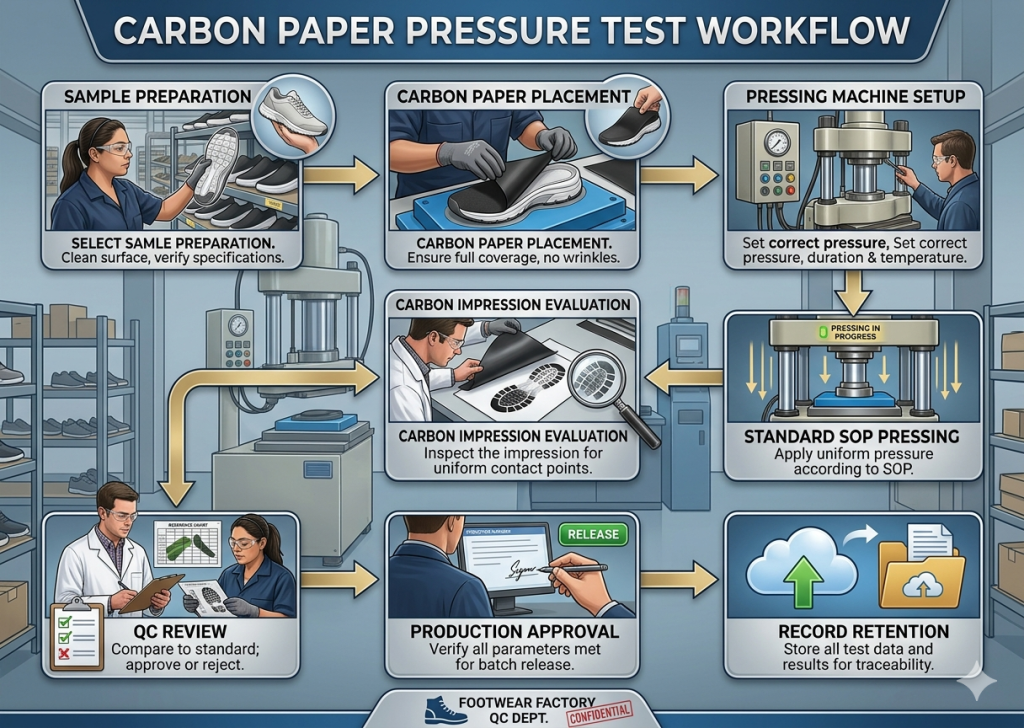
The Carbon Paper Pressure Test must replicate actual production conditions. Any deviation from standard operating parameters may produce misleading results and reduce test effectiveness.
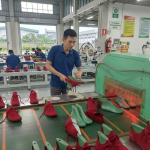
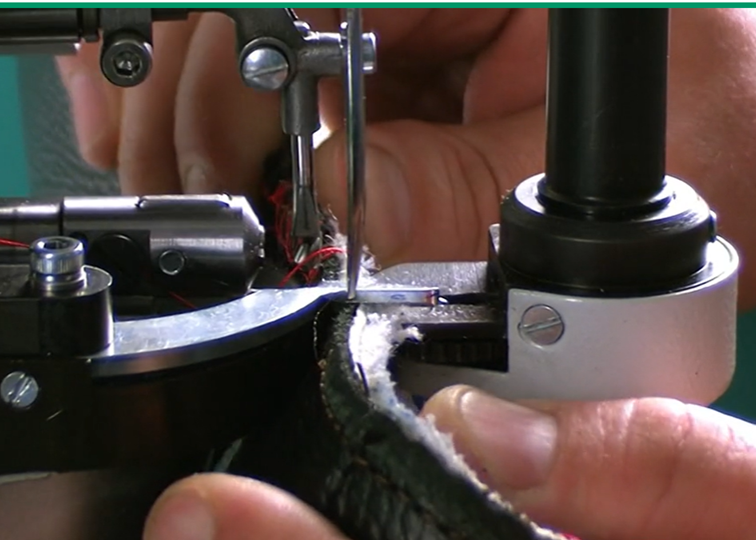
First, prepare the shoe assembly according to normal production requirements. Next, place one white sheet below the carbon paper and another white sheet above it, creating a sandwich arrangement. The prepared carbon paper package is then positioned between the upper and outsole assembly. Careful placement is important because incorrect positioning may distort pressure patterns.
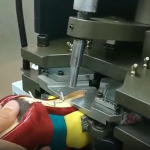
After setup, place the assembly into the outsole pressing machine equipped with the designated silicone negative mold. The operator then runs the machine using the approved production SOP parameters, including pressure setting and dwell time. Once pressing is complete, remove the white sheets and evaluate the carbon transfer pattern.
A uniform, continuous impression indicates satisfactory pressure distribution. However, missing, light, or inconsistent impressions indicate pressure deficiencies that require investigation.
Step Sequence
- Prepare production shoe assembly.
- Place carbon paper between two white sheets.
- Insert test package into bonding area.
- Position assembly in silicone negative mold.
- Apply standard production pressing cycle.
- Remove and inspect impression sheets.
- Record findings.
- Approve or reject machine condition.
Key Control Points
- Follow approved SOP settings.
- Maintain correct carbon sheet placement.
- Use production dwell time.
- Record results immediately.
Pro Tip: Train inspectors using acceptable and unacceptable examples.
Evaluating Carbon Impression Results
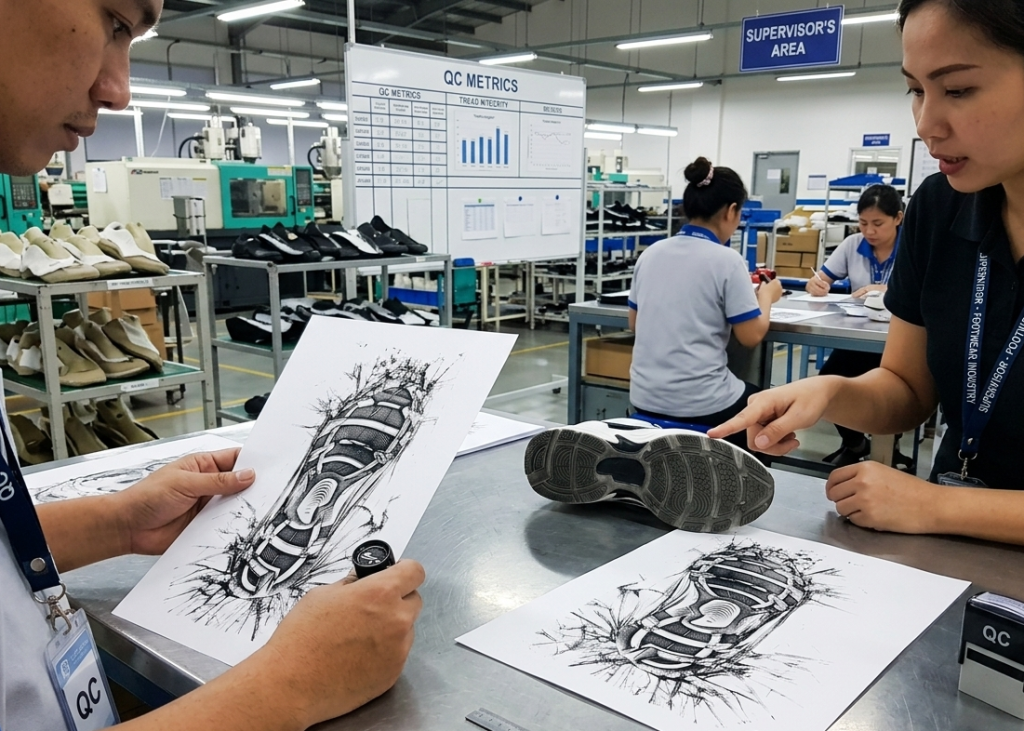
Interpretation of carbon impressions determines whether production can continue safely. Therefore, evaluation standards must be clearly defined and consistently applied. A good result displays uniform carbon transfer across all bonding zones. The impression should appear continuous and evenly distributed without significant blank areas.
Minor shade variation may occur because of outsole contours. However, complete gaps, faded regions, or isolated pressure zones typically indicate insufficient force transmission. Quality personnel should evaluate the toe area, waist area, forepart, lateral side, medial side, and heel section separately because pressure distribution often varies by region. When abnormal patterns appear repeatedly, the root cause must be identified before authorizing production.
Acceptable Impression Characteristics
- Continuous carbon transfer
- Full outsole coverage
- Balanced pressure appearance
- Consistent marking intensity
Unacceptable Impression Characteristics
- Blank zones
- Weak transfer areas
- Incomplete heel coverage
- Uneven edge impressions
- Localized pressure concentration
Key Control Points
- Evaluate all outsole regions.
- Compare with approved reference samples.
- Escalate abnormal results immediately.
- Document findings objectively.
Pro Tip: Verify machine calibration periodically.


Root Causes of Uneven Pressure Distribution
When carbon test results reveal non-uniform pressure, factories should investigate systematically rather than adjusting machine settings randomly. Silicone negatives often become worn after prolonged usage. Compression loss may prevent proper force transfer to specific outsole zones. Similarly, outsole profile variations can create gaps that reduce effective pressure.
Machine-related factors such as cylinder wear, alignment issues, pressure fluctuations, or calibration problems can also contribute to uneven distribution. In addition, operator positioning errors may affect pressure consistency. Therefore, factories should evaluate equipment, tooling, materials, and methods simultaneously.
Common Root Causes
- Worn silicone negative molds
- Incorrect mold selection
- Machine misalignment
- Pressure setting deviations
- Outsole geometry variation
- Upper lasting variation
- Improper shoe positioning
- Equipment maintenance deficiencies
Key Control Points
- Investigate before production continuation.
- Validate corrective actions with retesting.
- Monitor recurring defects.
- Maintain tooling condition records.
Pro Tip: Include carbon test review in daily production meetings.
Frequency of Carbon Paper Testing in Production
The Carbon Paper Pressure Test functions as a preventive control rather than a corrective activity. Therefore, testing frequency plays an important role in maintaining process stability. Most footwear factories require a minimum of two tests per day.
The first test occurs immediately at the beginning of the morning shift before production starts. This verifies machine readiness after downtime. The second test is conducted after the lunch break because temperature changes, machine usage, or tooling movement may affect pressure conditions.
When the same model continues throughout the day, these two verification tests generally satisfy the minimum requirement. However, additional testing may be conducted based on factory quality procedures.
More importantly, whenever a model or style changes, a fresh carbon paper test becomes mandatory. Different outsole profiles and mold configurations can significantly alter pressure distribution. Therefore, each style requires separate validation before production approval.
Minimum Testing Schedule
- Start of morning shift
- After lunch break
- After model change
- After mold replacement
- After major machine maintenance
- Anu Style/Model Cahnges
Key Control Points
- Never skip shift-start verification.
- Validate every style change.
- Conduct additional checks after adjustments.
- Maintain traceable records.
Pro Tip: Digitize records for long-term trend analysis.

Carbon Test Record Management and Traceability
Testing alone does not guarantee process control. Effective record management allows factories to monitor long-term performance and identify developing issues. A common industry practice is maintaining one week of carbon test records beside the pressing machine. This provides immediate visibility for operators, supervisors, auditors, and quality teams.
The records include test date, time, machine number, style number, operator name, pressure setting, dwell time, evaluation result, and approval signatures. Because the records remain accessible near the machine, abnormalities can be identified quickly. Repeated pressure deviations often become visible through trend analysis before major quality failures occur.
Information Included in Records
- Date and time
- Machine identification
- Style number
- Mold reference
- Pressure setting
- Dwell time
- Evaluation status
- Operator Details
- QC approval
- Supervisor approval
Key Control Points
- Store one week of records beside machine.
- Maintain complete traceability.
- Prevent missing documentation.
- Review trends regularly.
Pro Tip: Conduct immediate retesting after corrective actions.


Joint Validation by QC and Production Teams
The Carbon Paper Pressure Test becomes most effective when quality and production departments work together. Independent review by only one department may overlook process-related concerns. Typically, QC personnel evaluate impression quality while Production Supervisors verify machine settings, tooling conditions, and operational compliance.
This joint validation process improves accountability and promotes rapid corrective action when abnormalities occur. Furthermore, shared ownership strengthens process discipline throughout the production floor. When both departments sign the test record, they confirm that machine performance and pressure distribution satisfy established requirements.
Benefits of Joint Validation
- Faster issue detection
- Improved accountability
- Better communication
- Consistent decision making
- Reduced production risk
Key Control Points
- Review historical trends together.
- Require dual verification.
- Investigate discrepancies jointly.
- Maintain signed records.
Conclusion
The Carbon Paper Pressure Test remains one of the most effective preventive quality assurance tools in footwear manufacturing. Although the method is simple, it provides valuable insight into pressure distribution performance during outsole pressing.
By replicating actual production conditions and visually confirming force distribution, factories can identify pressure-related issues before bonding failures occur. Consequently, manufacturers reduce sole opening defects, improve adhesion consistency, minimize rework, and protect customer satisfaction.
Regular testing at the beginning of the morning shift, after lunch, and whenever style changes occur ensures that machine performance remains stable throughout production. Furthermore, maintaining one week of records beside the machine and requiring joint validation by QC and Production Supervisors strengthens traceability and process discipline.
Frequently Asked Questions – FAQs
What is the purpose of the Carbon Paper Pressure Test?
The test verifies whether outsole pressing machines apply uniform pressure across the entire bonding surface during outsole attachment.
Why is uniform pressure important in outsole bonding?
Uniform pressure ensures proper adhesive contact, resulting in stronger bonds and fewer bonding-related defects.
How often should the test be conducted?
At minimum, twice per day—before the morning shift and after lunch. Additional testing is required after style changes or major machine adjustments.
What indicates a failed carbon paper test?
Blank areas, weak impressions, incomplete coverage, or uneven pressure patterns indicate potential pressing problems.
Can the same test result be used for multiple shoe styles?
No. Different styles may have different outsole geometries and mold configurations, requiring separate validation.
Who should approve the carbon paper test?
Both Quality Control personnel and the Production Supervisor should jointly review and approve the results.
How long should carbon paper test records be retained beside the machine?
A minimum of one week of records should remain available beside the machine for monitoring and audit purposes.