Hammering in Footwear Upper Manufacturing – Stitching Process Series
Hammering is a critical manual and semi-skilled operation in upper preparation that directly affects appearance, bonding quality, thickness control, and stitching accuracy. Although simple in concept, improper hammering leads to visible defects, poor adhesion, and rejection at lasting or finishing stages.
Types of Hammering in Footwear Upper Manufacturing
Hammering in footwear uppers is executed using two primary methods: manual hammering and machine hammering. The selection depends on production scale, material type, consistency requirement, and labor skill availability.
Both methods serve the same objective—thickness control, bonding improvement, and surface leveling—but differ significantly in precision, repeatability, and productivity.
Manual Hammering (Operator-Controlled Process)
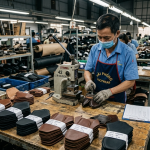
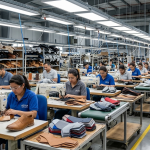
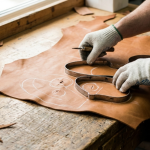
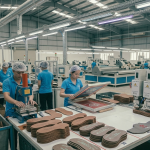
Manual hammering is the traditional method where a trained operator uses a hand hammer to compress and flatten upper components. This method is widely used in small to medium-scale factories, sample rooms, and areas requiring flexibility. The operator controls force, angle, and strike frequency based on material behavior.
Because of its adaptability, manual hammering is suitable for complex upper designs, varied materials, and low-volume production. However, the output quality depends heavily on operator skill. In practice, the operator places the upper on a steel plate or shaped anvil and applies controlled strokes depending on the operation—flat, edge, seam, or shaping.
Key Control Points:
- Ensure consistent operator training and skill grading
- Standardize hammer weight and type
- Monitor fatigue impact on quality consistency
- Maintain proper workstation ergonomics
Pro Tip :
Use manual hammering for sampling and complex designs
Use dedicated anvils for heel shaping instead of flat surfaces
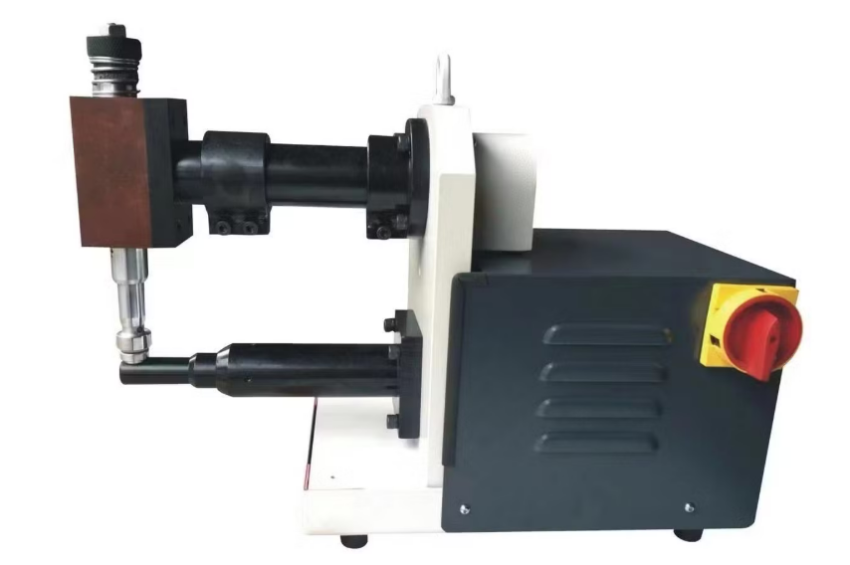
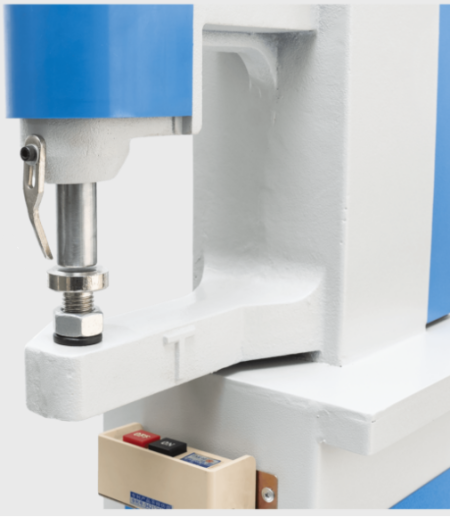
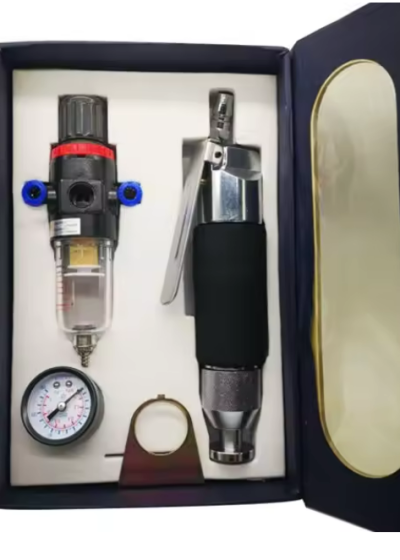
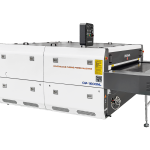
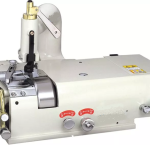
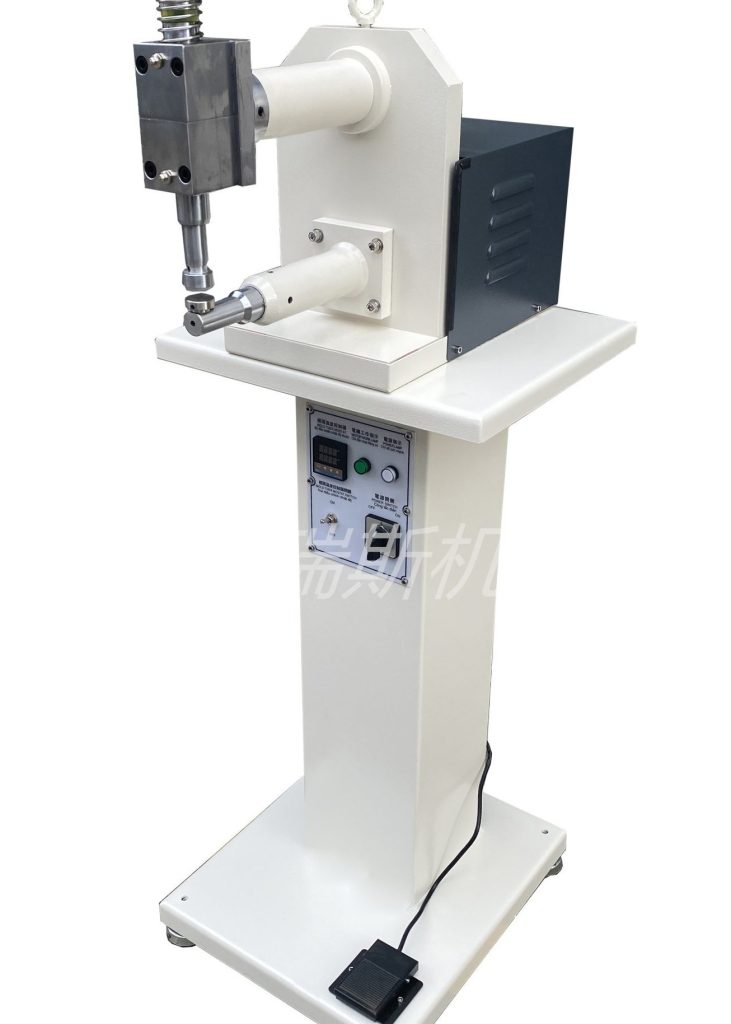
Machine Hammering (Pneumatic / Mechanical Process)
Machine hammering uses pneumatic or motor-driven systems to deliver controlled and repetitive hammering action. This method is ideal for mass production environments where consistency, speed, and reduced operator dependency are critical. Machines apply uniform pressure, ensuring standardized results across batches.
Operators guide the upper under the hammering head while the machine controls impact force and frequency. Some advanced machines allow adjustable pressure settings based on material type. Moreover, machine hammering significantly reduces operator fatigue and improves productivity.
Key Control Points:
- Set correct pressure based on material thickness
- Ensure proper machine calibration before production
- Avoid over-compression in synthetic materials
- Conduct routine maintenance to ensure consistency
Pro Tip :
Use machine hammering for repetitive high-volume operations
Monitor temperature and humidity impact on material behavior
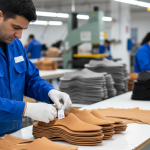
Flat Hammering (General Surface Leveling)
Flat hammering ensures that stitched or assembled upper components sit evenly without bulges or uneven thickness. It is widely applied after stitching operations where seams create localized thickness variation. This step prepares the upper for smooth downstream operations like folding, cementing, and lasting.
The operator places the stitched area on a steel plate or flat anvil surface and applies controlled hammer strokes. The force must be uniform and moderate to avoid damaging the material while effectively compressing the seam. Additionally, flat hammering improves aesthetic appearance by removing stitch impressions and material waviness. As a result, it enhances the final visual quality of the shoe.
Key Control Points:
- Maintain uniform hammering pressure across seam length
- Avoid excessive force that may damage material grain
- Ensure proper backing surface (flat steel/anvil)
- Check for surface smoothness after operation
Pro Tip :
Combine both methods strategically in production lines
Standardize hammer weight across operators
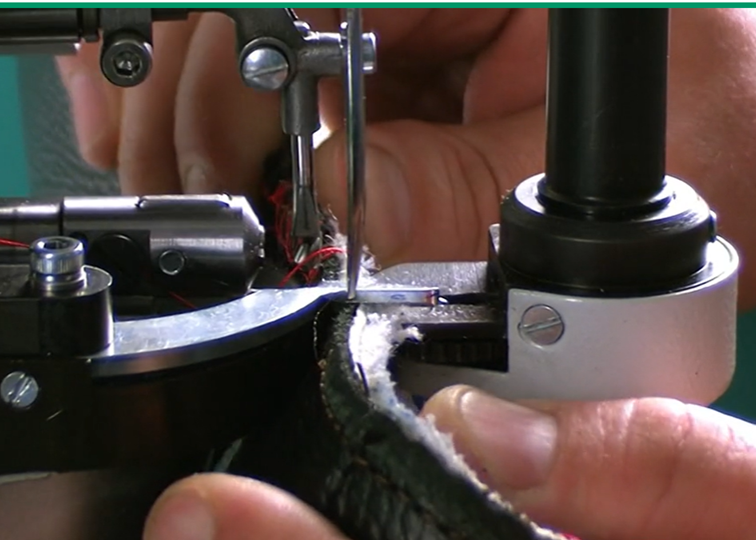
Edge Hammering (Edge Thickness Reduction)
Edge hammering focuses on reducing thickness at folded or stitched edges to improve bonding and finishing. This process is especially important for areas where multiple layers overlap, such as quarters, vamp edges, and collar joints. Without proper edge hammering, adhesives may fail, and edges may appear bulky.
The operator targets only the edge zone and applies directional hammer strokes along the edge line. Controlled compression helps achieve a flatter and thinner edge profile. Furthermore, this operation improves cement penetration during bonding processes and prevents edge lifting during product usage.
Key Control Points:
- Focus only on edge area, avoid unnecessary surface impact
- Maintain consistent edge thickness
- Prevent edge cracking due to over-hammering
- Inspect bonding surface readiness
Pro Tip :
Maintain separate SOPs for manual and machine processes
Conduct hourly quality checks for consistency
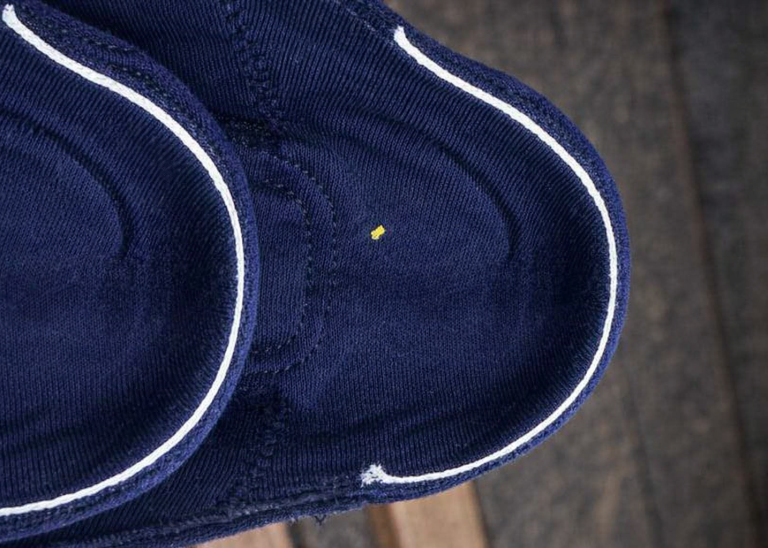
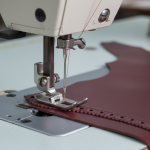
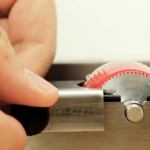
Seam Hammering (Stitch Line Compression)
Seam hammering is performed specifically on stitch lines to compress thread and material layers. During stitching, thread tension and material stacking create raised seams. If not controlled, these seams affect both appearance and downstream processes like lining attachment and lasting.
The operator carefully hammers along the stitch line using controlled force. This action embeds the thread slightly into the material, reducing seam prominence.
Moreover, seam hammering enhances flexibility in the stitched area and prevents discomfort in finished footwear.
Key Control Points:
- Follow stitch line accurately without deviation
- Avoid damaging stitching thread integrity
- Maintain consistent seam flattening
- Verify visual seam appearance post-process
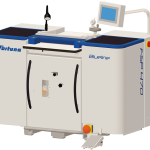
Courtesy : Jetshine Shoe Machine
Pro Tip :
Always align hammering direction with material grain to avoid wrinkles
Use rubber hammer for sensitive materials
Back Part Hammering (Heel Area Shaping)
Back part hammering shapes and compresses the heel area to ensure proper structure and fitting. This process is crucial in areas where stiffeners or reinforcements are used. Without proper hammering, the back part may remain bulky or improperly shaped, affecting fit and comfort.
The operator places the heel area on a curved or shaped anvil and applies controlled hammering to mold the structure. This ensures better conformity during lasting. Additionally, it helps in setting the shape memory of the material before final assembly.
Key Control Points:
- Use appropriate shaped support/anvil
- Control force to avoid stiffener damage
- Ensure symmetrical shaping on both sides
- Check heel contour consistency
Pro Tip :
Use lighter strokes for synthetic materials compared to leather
Implement random peel tests for validation
Decorative Hammering (Aesthetic Enhancement)
Decorative hammering is applied to improve the visual finish and create uniformity in premium footwear. This technique is often used in leather uppers where natural grain variation or minor wrinkles appear after stitching. Controlled hammering enhances the aesthetic appeal by flattening and smoothing the surface.
Operators apply light and uniform strokes across visible areas without altering design intent. This requires higher skill compared to functional hammering processes. As a result, decorative hammering contributes significantly to premium product perception.
Key Control Points:
- Use minimal and controlled force
- Avoid altering design patterns
- Maintain uniform surface finish
- Inspect under proper lighting conditions
Pro Tip :
Train operators on force control rather than speed
Synchronize hammering timing with adhesive curing cycle
Post-Cement Hammering (Bonding Strength Enhancement)
Post-cement hammering ensures proper adhesion between bonded layers after adhesive application. After cementing operations, air pockets or uneven bonding may exist. Hammering helps in pressing the layers together and improving adhesive contact.
The operator performs light hammering over bonded areas using controlled strokes. This improves bonding strength and reduces the risk of delamination. Additionally, it ensures better durability during wear conditions.
Key Control Points:
- Perform hammering within adhesive open time
- Avoid excessive force that may break bond
- Ensure full surface coverage
- Verify adhesion strength after process
Pro Tip :
Introduce sample-based approval before bulk hammering
Train operators on adhesive behavior awareness
Common Defects in Hammering Process
Hammering defects mainly arise due to improper force control, incorrect technique, or lack of operator training. Over-hammering can cause material damage, surface cracks, or shine marks. On the other hand, under-hammering leads to uneven thickness and poor bonding.
Incorrect targeting may distort stitching lines or alter component shape. Therefore, consistent training and supervision are essential. Moreover, defect detection should be integrated within inline quality inspection systems.
Key Control Points:
- Monitor operator technique regularly
- Use visual and tactile inspection methods
- Implement defect reference samples
- Maintain standard operating procedures
Pro Tip :
Introduce skill grading system for hammering operators
Use training boards with good vs bad samples
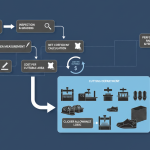
Inline Quality Inspection in Hammering
Inline inspection ensures that hammering quality meets process and product standards before moving to the next stage. Inspectors check for surface smoothness, edge thickness, seam flattening, and bonding readiness. This helps in early detection of defects and reduces rework.
Additionally, standardized checklists and visual guides improve inspection consistency. As a result, inline quality control enhances overall production efficiency and product quality.
Key Control Points:
- Use standardized inspection checklist
- Perform 100% inspection for critical areas
- Compare with approved samples
- Record and track defects
Pro Tip :
Rotate operators to reduce fatigue errors
Maintain proper lighting at workstation
Hammering Process Flow (Operational Sequence)
Hammering follows a structured sequence within upper preparation to ensure consistency and efficiency. Typically, it starts after stitching operations and continues through multiple stages depending on product design.
The sequence includes surface leveling, edge thinning, seam compression, shaping, and bonding enhancement. Proper integration with adjacent processes like skiving, folding, and cementing is essential for optimal results.
Key Control Points:
- Follow standardized process sequence
- Avoid skipping intermediate steps
- Align with stitching and cementing operations
- Ensure process timing synchronization
Frequently Asked Questions – FAQs
1. Why is hammering important in footwear manufacturing?
Hammering improves surface smoothness, bonding strength, and overall appearance.
2. Can hammering damage the upper material?
Yes, excessive force can cause cracks, shine marks, or deformation.
3. Which materials require careful hammering?
Synthetic and coated materials require lighter force compared to leather.
4. When is hammering performed in the process?
Primarily after stitching and during bonding stages.
5. Is hammering manual or automated?
Mostly manual, but pneumatic hammering tools are also used.
6. What is the role of hammering in bonding?
It ensures better adhesive contact and reduces air gaps.
7. How is hammering quality controlled?
Through inline inspection, operator training, and standard procedures.
Explore other Stitching Process Series
- Stitching Process in Footwear Manufacturing: From Cutting to Closing Assembly in Shoe Production
- Cut Component inspection after cutting/clicking – Stitching Process Series
- Component Marking After Cutting/Clicking–Stitching Process Series
- Component Embroidery in Footwear Manufacturing–Stitching Process Series
- Component Skiving in Footwear Manufacturing–Stitching Process Series
- Component Splitting in Footwear Manufacturing–Stitching Process Series
- Reinforcement (Backers & Tapes) Process in Footwear Manufacturing – Stitching Process Series
- Upper Component Edge Polishing in Footwear Manufacturing – Stitching Process Series
- Component Printing in Footwear Manufacturing – Stitching Process Series
- Nosew Application in Footwear Manufacturing – Stitching Process Series