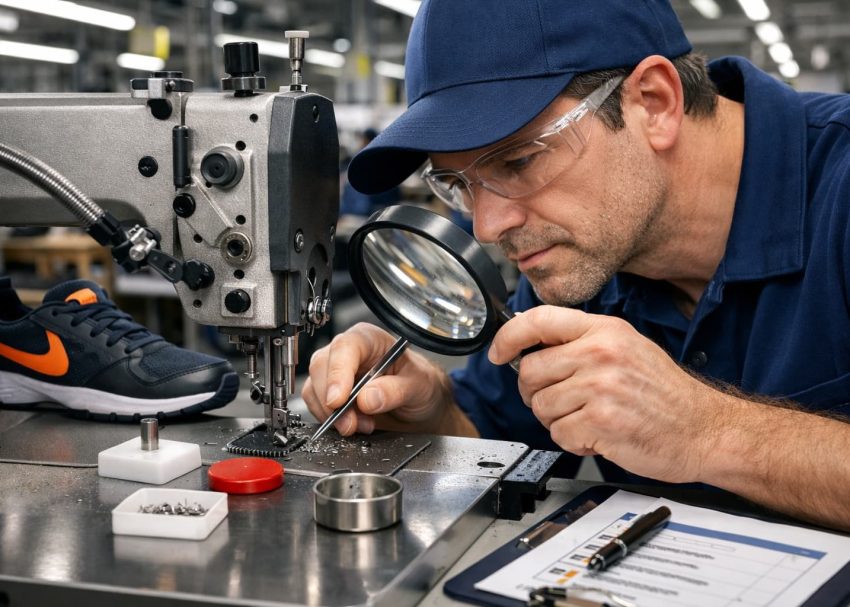
Broken Needle Policy in Footwear Manufacturing
Preventing Metal Contamination and Ensuring Product Safety
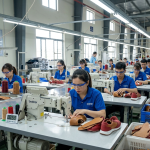
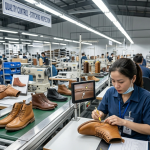
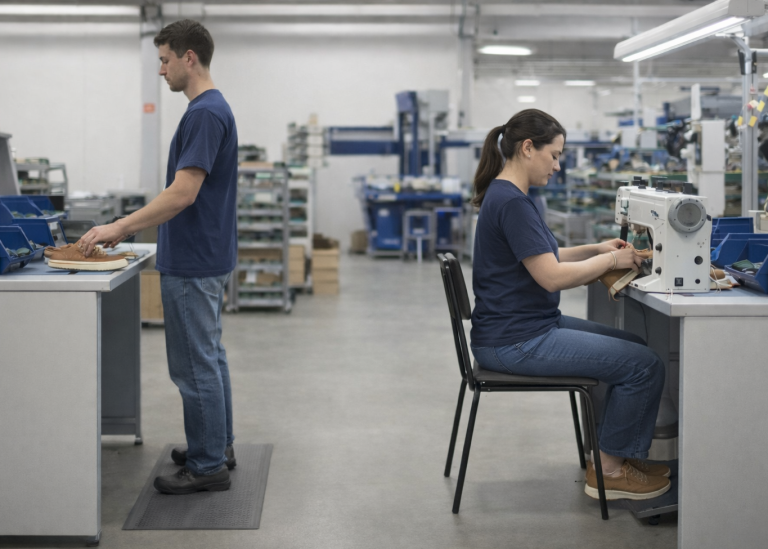
Footwear manufacturing relies heavily on stitching operations. Every shoe upper passes through multiple sewing processes before final assembly. As a result, thousands of sewing needles are used daily in a typical footwear factory.
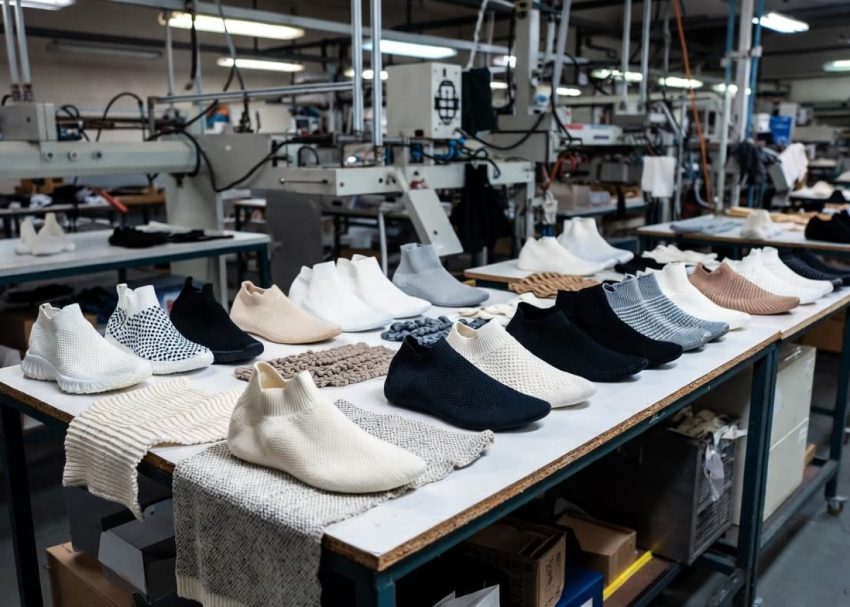
However, sewing needles occasionally break during production. When this happens, small metal fragments can remain inside the product structure. Because footwear contains multiple layers—such as linings, foam padding, reinforcements, toe puffs, counters and outsoles—these fragments may remain hidden inside the shoe.
If a broken needle piece reaches the consumer, it can cause injury and serious product safety issues. Consequently, global footwear brands enforce strict Broken Needle Policies to eliminate the risk of metal contamination.
In this article, we will explore the Broken Needle Control System in footwear manufacturing, including procedures, documentation, metal detector usage, and best practices followed by leading global brands.

What is a Broken Needle Policy in Footwear Manufacturing?
A Broken Needle Policy is a quality control procedure designed to prevent metal fragments from remaining inside footwear products.
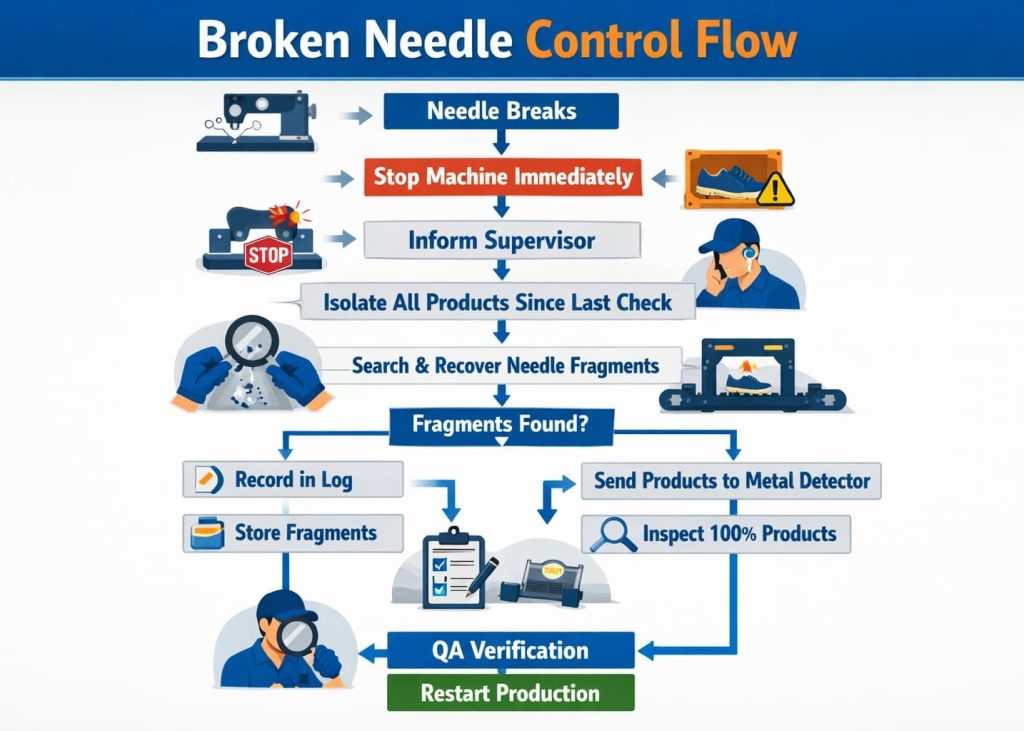
Whenever a sewing needle breaks during production, the factory must immediately follow a controlled process to:
- Stop the sewing operation
- Recover all needle fragments
- Isolate affected products
- Record the incident
- Verify safety before restarting production
This system ensures that every broken needle is accounted for and that no metal fragments remain inside the finished footwear.
Therefore, a well-implemented broken needle control system is not just a factory rule. Instead, it is an essential consumer safety requirement.
Expert Tip: Replace sewing needles every shift or every 8 hours.

Why Broken Needle Control Is Critical in Footwear Production
Footwear products are structurally more complex than garments. A typical shoe contains many internal components that can hide small metal fragments. These components include: Upper materials, Foam padding, Toe puff, Heel counter, Linings, Sock liners, Adhesive layers, Insoles, Outsoles, Strobel.
Because of this layered construction, a broken needle fragment can easily become trapped inside the product during stitching. If such fragments remain undetected, several risks may occur.
Consumer Injury
A sharp needle fragment inside a shoe can pierce through the insole or lining during use and injure the wearer’s foot.
Brand Reputation Damage
Consumer safety issues damage brand trust and credibility in the global market.
Product Recalls
Brands may recall thousands of products if metal contamination is suspected. These recalls can cost millions of dollars.
Legal Liability
In severe cases, companies may face lawsuits or compensation claims.
Therefore, footwear brands maintain zero tolerance for missing needle fragments.
Pro Tip: Train operators regularly on needle breakage procedures.



Common Operations Where Needle Breakage Occurs
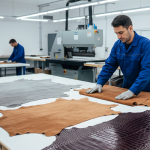
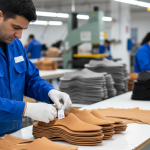
Needle breakage usually occurs in upper stitching departments, where materials are thick and multiple layers are sewn together. Several operations increase the risk of needle breakage.
Heavy Stitching Areas
These areas require high needle penetration force.
Examples include:
- Toe cap stitching
- Quarter joining
- Heel counter attachment
- Reinforcement stitching
Thick Materials
Certain materials place greater stress on sewing needles.
These materials include:
- Leather
- Synthetic leather
- Heavy textiles
- Webbing
- Reinforced laminates
Machine-Related Causes
Needle breakage also occurs due to machine issues such as:
- Incorrect needle size
- Poor machine maintenance
- Incorrect thread tension
- Worn or damaged needles
Proper machine maintenance significantly reduces needle breakage incidents.
Pro Tip: Install needle control boards near stitching lines.
Standard Broken Needle Control Procedure in Footwear Factories
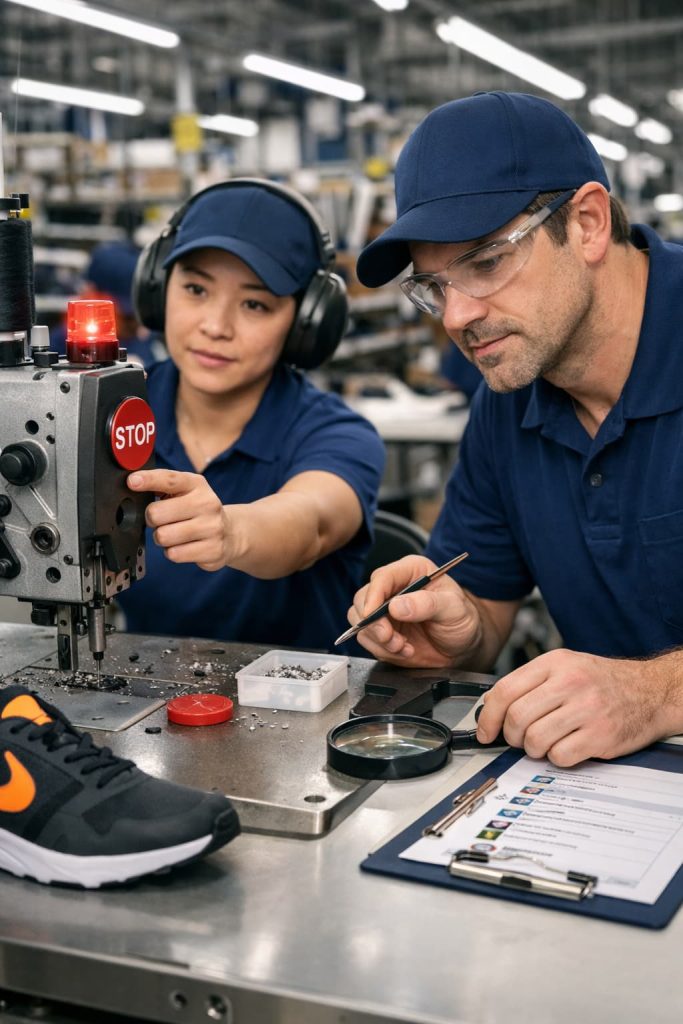
When a needle breaks, factories must follow a strict procedure to ensure product safety. This procedure typically involves several controlled steps.
Step 1 – Immediate Machine Stop
The sewing operator must stop the machine immediately after noticing a needle break.
At the same time:
- The operator informs the line supervisor.
- Production must not continue until the issue is resolved.
Stopping the machine prevents additional contamination.
Step 2 – Isolation of Affected Products
Next, the factory isolates all products produced since the last needle inspection.
This may include:
- Upper components
- Semi-assembled uppers
- Shoes already moved to the next process
These items are placed in a quarantine box or designated area.
Isolation ensures that potentially contaminated products do not move further in the production line.
Pro Tip: Use magnetic sweepers to locate fragments quickly.
Posts you make Like

Troubleshooting Adhesive Bond Failures in Footwear Manufacturing…
Step 3 – Needle Fragment Recovery
After isolation, workers search for the broken needle fragments. Typically, a sewing needle breaks into two parts:
- Needle body
- Needle tip
Both fragments must be located and collected. Factories usually search in several areas:
- Sewing machine area
- Operator table
- Product components
- Floor around the workstation
Magnetic tools often help locate small fragments.
Step 4 – Broken Needle Log Entry
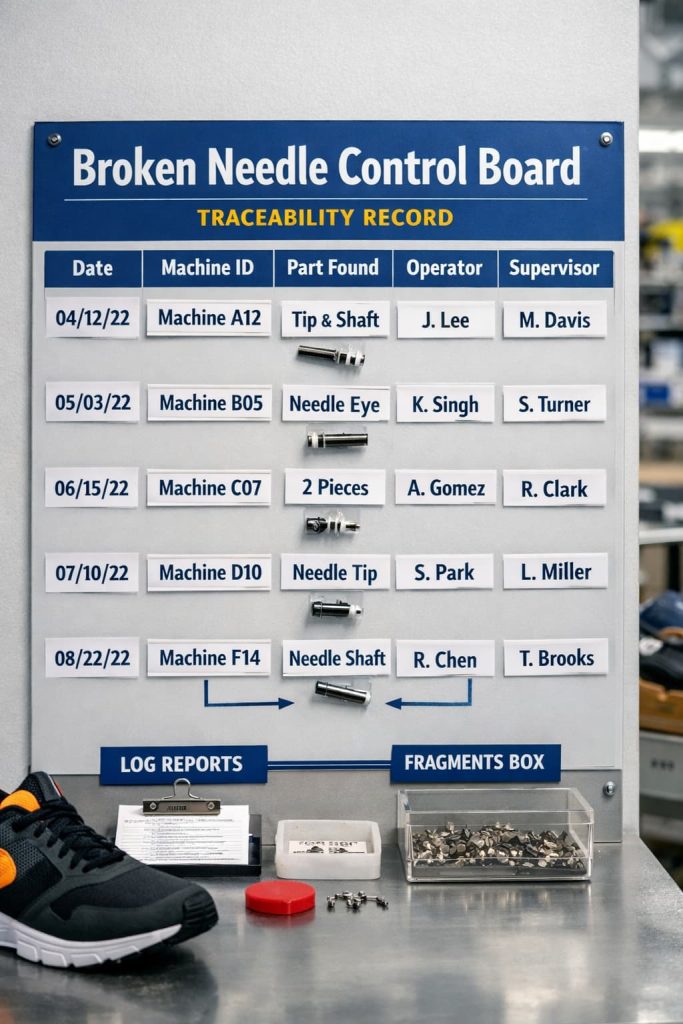
Once fragments are recovered, the incident must be recorded. Factories maintain a Broken Needle Register to track these incidents.
Typical log information includes:
- Date and time
- Machine number
- Operator name
- Needle size
- Number of fragments recovered
- Supervisor signature
- QA approval
This documentation provides traceability during audits.
Pro Tip: Conduct random QA audits on stitching lines.
Step 5 – Needle Fragment Storage
Recovered fragments must be stored on a Broken Needle Control Board. These boards usually contain labeled compartments. Workers attach the fragments with tape or transparent covers. This system ensures:
- Visual traceability
- Audit compliance
- Proof of fragment recovery
Auditors frequently inspect these boards during factory visits.
Step 6 – QA Verification and Production Restart
Finally, the Quality Assurance team verifies the incident.
QA must confirm that:
- All fragments are recovered
- Log records are complete
- Isolated products are safe
Only after QA approval can the operator restart the sewing machine.
Pro Tip: Maintain proper machine maintenance schedules.
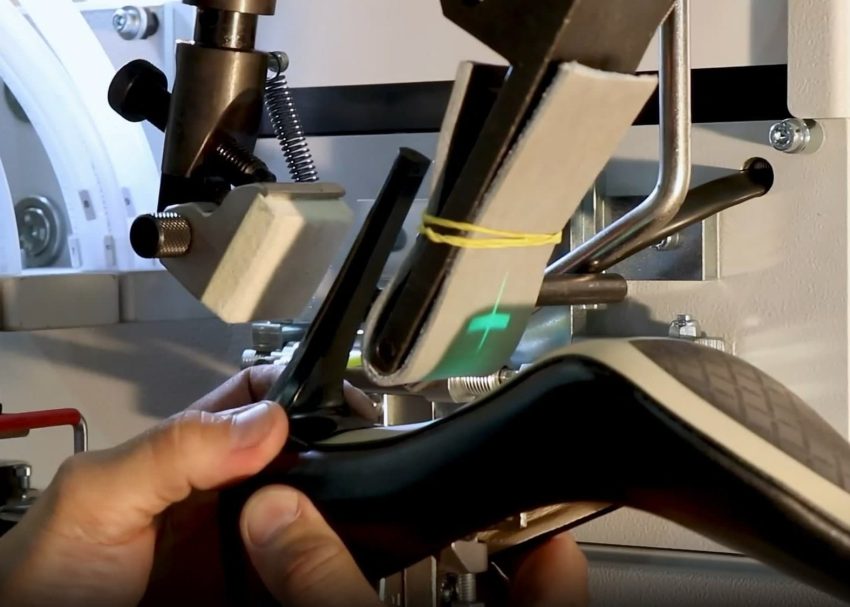
What Happens if Needle Fragments Cannot Be Found?
Sometimes one or more fragments cannot be located. In such cases, factories must perform additional safety checks. Typical actions include:
- 100% inspection of isolated products
- Metal detector scanning
- Re-opening products for inspection
If fragments still cannot be found, the factory may destroy the affected batch. Therefore, strict fragment recovery procedures are extremely important.
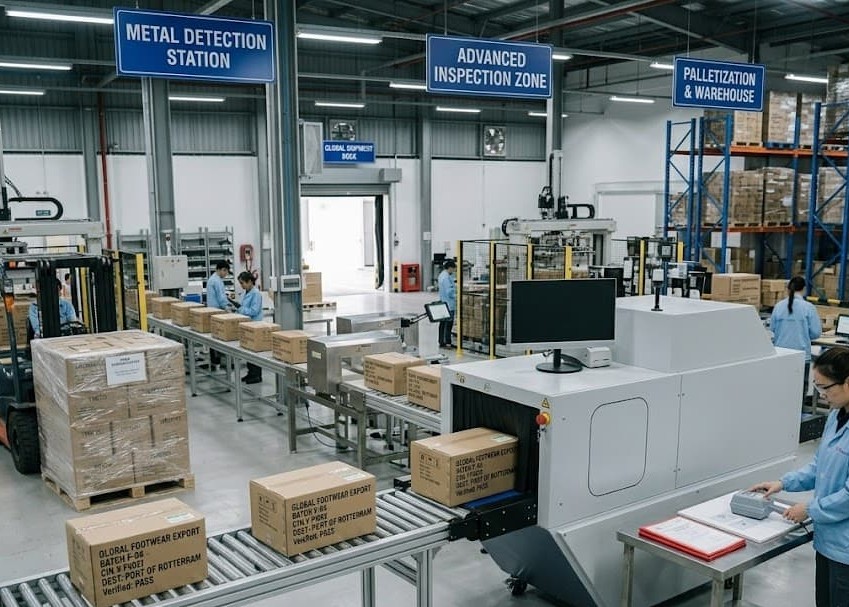
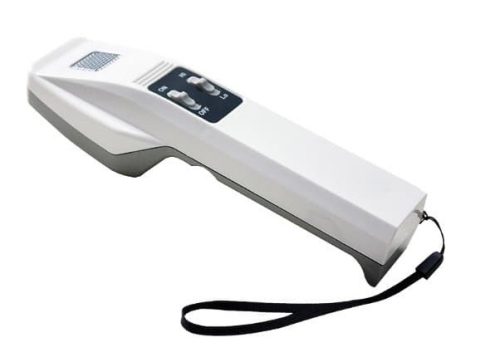
Handheld Metal Detectors (Manual Type)
Handheld detectors allow operators to scan individual products manually. Factories usually use them for:
- Checking isolated products
- Inspecting suspicious items
- Small production batches
Advantages include:
- Portable design
- Lower cost
- Easy operation
However, manual scanning depends heavily on operator accuracy.
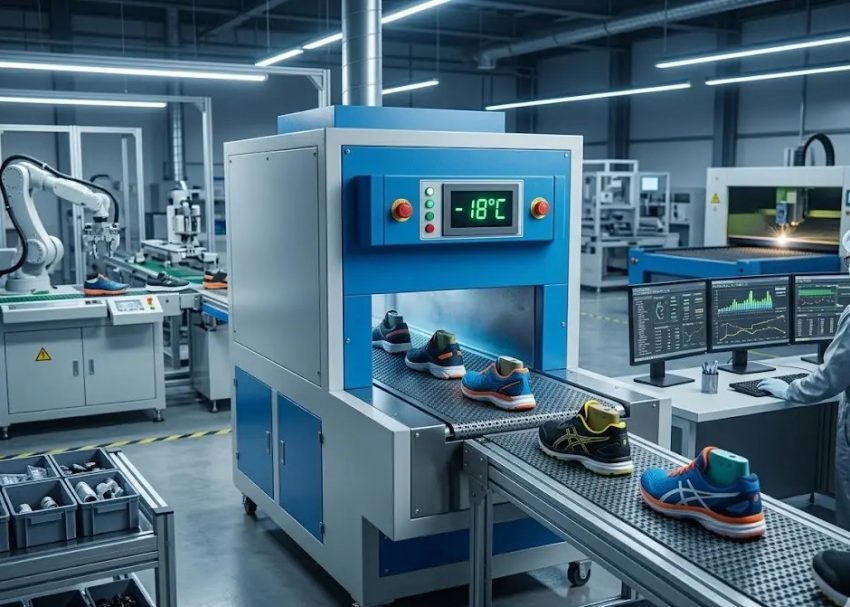
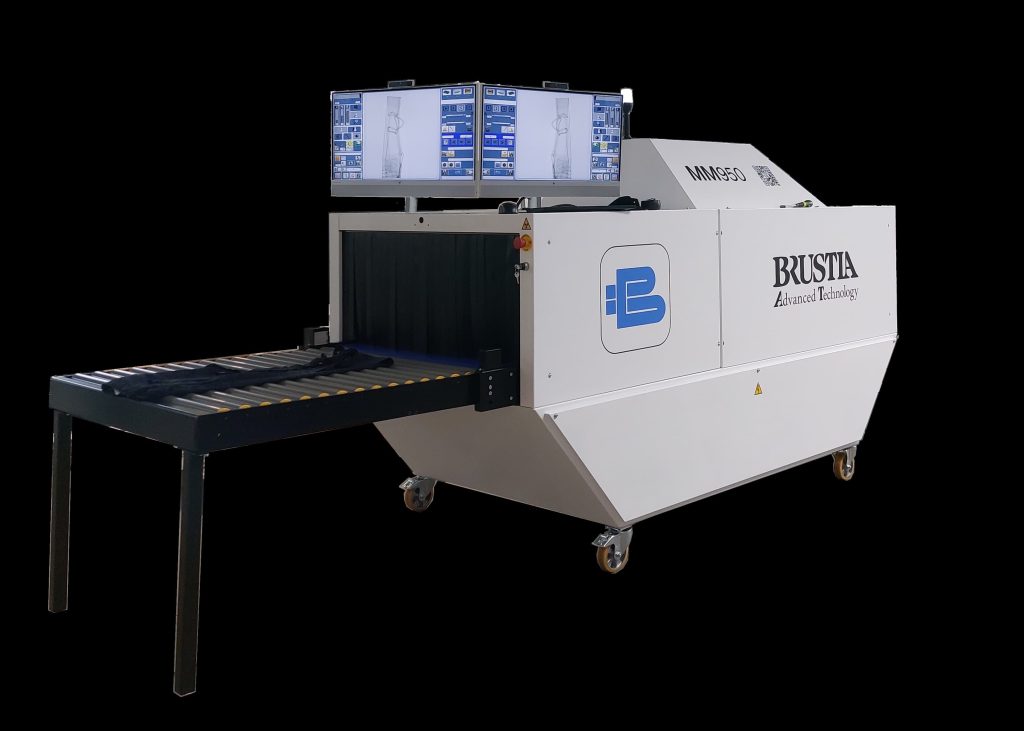
Conveyor Metal Detectors (Through-Feed Type)
Conveyor metal detectors inspect products automatically as they move along a belt. These systems are typically installed before final packing. Key benefits include:
- High detection accuracy
- Fast inspection speed
- Automatic rejection systems
When metal is detected:
- An alarm sounds
- The conveyor stops
- The product is rejected for inspection
How to Calibrate a Through-Feed Metal Detector
Metal detector calibration ensures that machines can detect very small metal fragments. Factories usually perform calibration daily or at the start of each shift.
Step 1 – Prepare Standard Test Pieces
Calibration uses metal test samples representing different materials:
- Ferrous metal
- Non-ferrous metal
- Stainless steel
Common test sizes used in footwear factories include:
- 1.0 mm
- 1.2 mm
- 1.5 mm
Step 2 – Pass Test Pieces Through the Detector
The test card is placed on the conveyor and passed through the machine.
If the detector works correctly:
- The alarm activates
- The machine rejects the product
Step 3 – Test All Metal Types
Each metal type must trigger detection.
Factories test:
- Ferrous metal
- Non-ferrous metal
- Stainless steel
Step 4 – Record Calibration Results
Factories maintain a Metal Detector Calibration Log. Typical record details include:
- Date
- Machine ID
- Test piece size
- Detection result
- Operator signature
- QA verification
Production can only continue after successful calibration.

Conclusion
Broken needle control is one of the most critical safety systems in footwear manufacturing. Although sewing needles are small components, a single missing fragment can cause serious injury and costly product recalls. Therefore, footwear factories must implement strict procedures that ensure every broken needle fragment is recovered and documented.
By combining strong operational procedures, metal detection systems, proper documentation, and operator training, factories can effectively prevent metal contamination in footwear products. For global footwear manufacturers and brands, broken needle control is not simply a compliance requirement. It is a fundamental responsibility to protect consumer safety.