Edge Scouring Operations in Outsole Process: Outsole (Stock Fitting) Assembly Series
Premium footwear is recognised not only by its design but also by the quality of its finishing. Even when outsole moulding, trimming, heel nailing, and bonding operations are completed correctly, an uneven outsole edge immediately reduces the perceived quality of the finished shoe. Therefore, edge scouring plays a vital role in achieving the clean, smooth, and premium appearance expected in high-quality footwear.
In the previous blog, Heel Nailing Operations in Outsole Process, we discussed how heel nails improve mechanical fastening and ensure long-term heel stability. Once heel nailing is completed, the outsole edge often contains minor unevenness, trimming marks, mould parting lines, adhesive residue, and surface irregularities. These imperfections must be removed before colouring, polishing, or filler application.
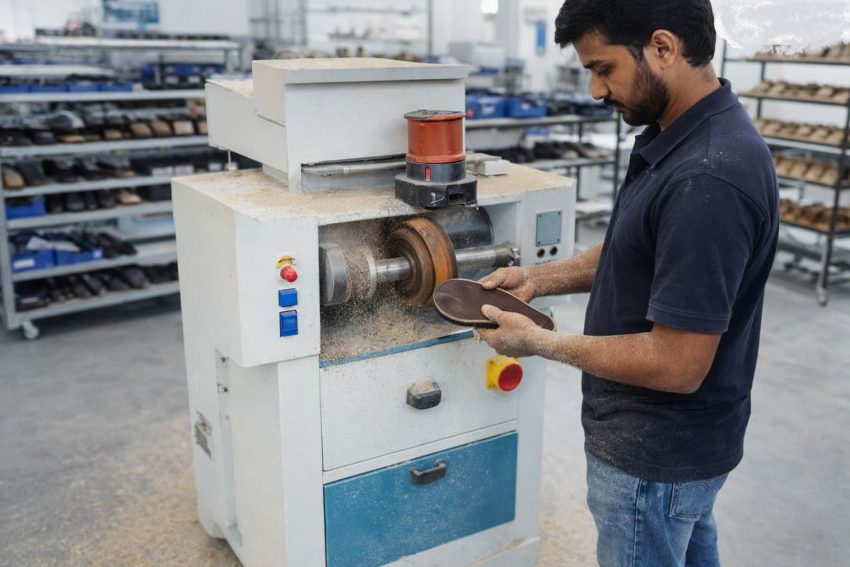
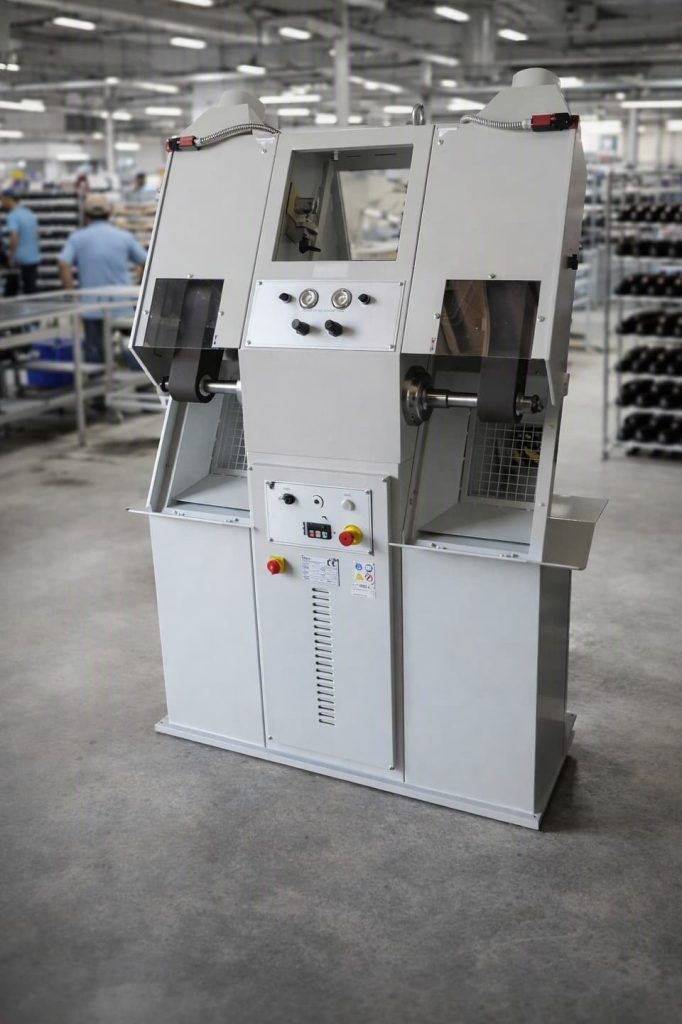
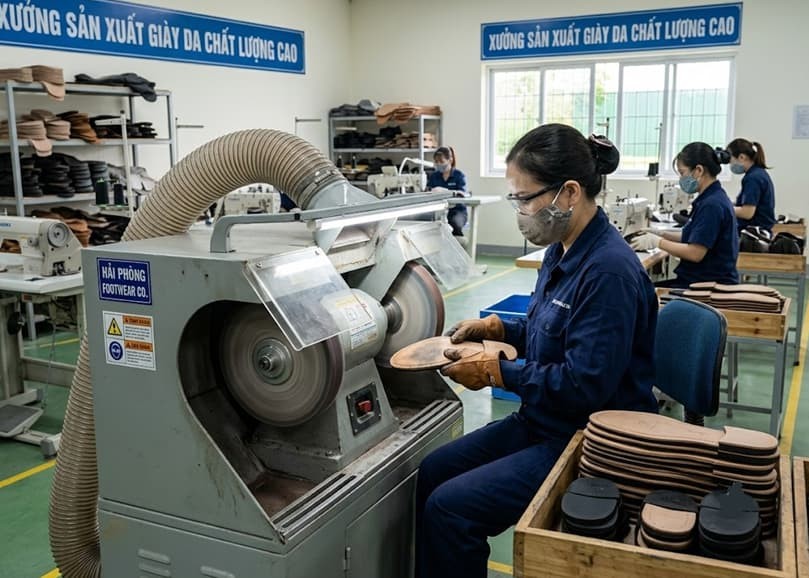
Edge scouring is the controlled abrasion of outsole edges using specialized scouring wheels, abrasive belts, or sanding equipment. Instead of removing large amounts of material, the process gradually refines the edge profile through multiple stages to obtain dimensional accuracy and a premium finish. Most premium footwear factories divide edge scouring into three separate stages:
- Rough Scouring
- Medium Scouring
- Fine Scouring
Each stage uses different abrasive grades, machine settings, and inspection criteria to progressively improve surface quality.
Expert Tip: Train Operators on Pressure Control : Most scouring defects result from excessive pressure rather than incorrect machine settings.

Why Edge Scouring Is Critical in Premium Footwear Manufacturing
Customers frequently judge footwear quality by its finishing before examining its comfort or construction. Consequently, even a perfectly bonded outsole may appear defective if its edges are rough or inconsistent.
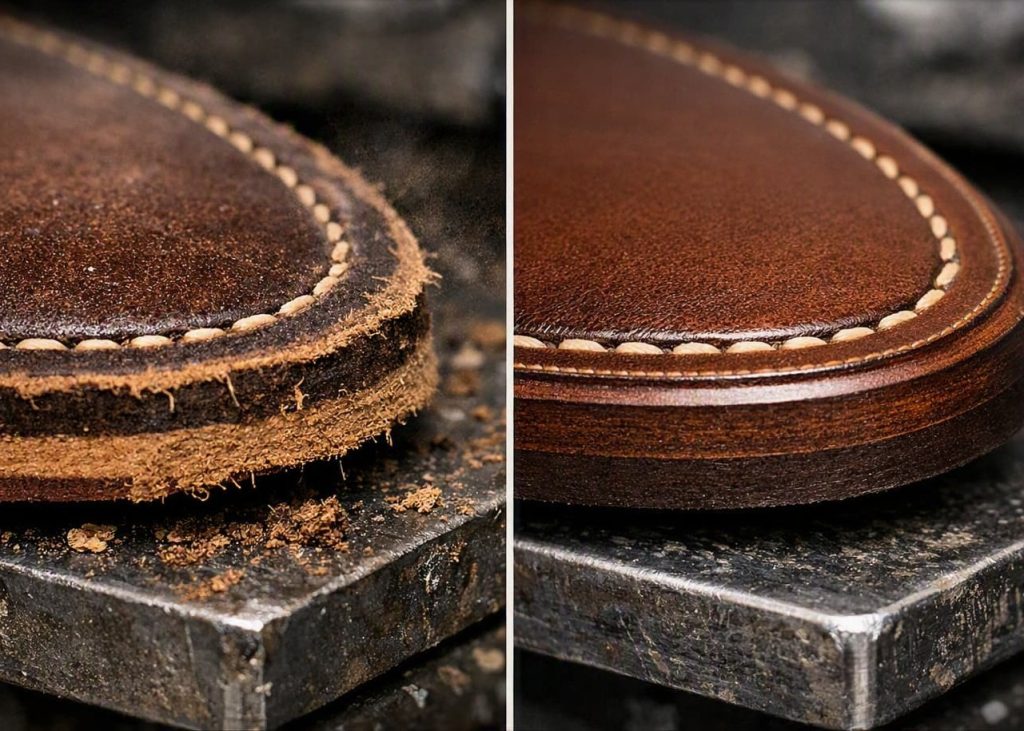
Proper edge scouring creates a uniform edge profile that enhances both product appearance and subsequent finishing operations. Smooth edges accept edge ink, wax, polish, and finishing chemicals more uniformly, producing a richer and more durable appearance.
Furthermore, controlled scouring removes mould mismatch, trimming marks, and small imperfections without affecting outsole dimensions. This allows every shoe pair to maintain consistent visual quality throughout production. Factories manufacturing leather outsoles, rubber outsoles, TPR, TPU, and certain EVA constructions all incorporate edge scouring, although machine settings and abrasive selection vary according to material hardness.
Key Control Points
- Inspect outsole after trimming and heel nailing before scouring.
- Confirm outsole material before selecting abrasives.
- Maintain uniform pressure throughout the operation.
- Verify edge profile before transferring to the next process.
Expert Tip: Replace abrasive wheels before they become glazed. A worn wheel generates heat instead of cutting efficiently, reducing finish quality and increasing operator fatigue.
Rough Scouring Operations
Removing Major Edge Irregularities
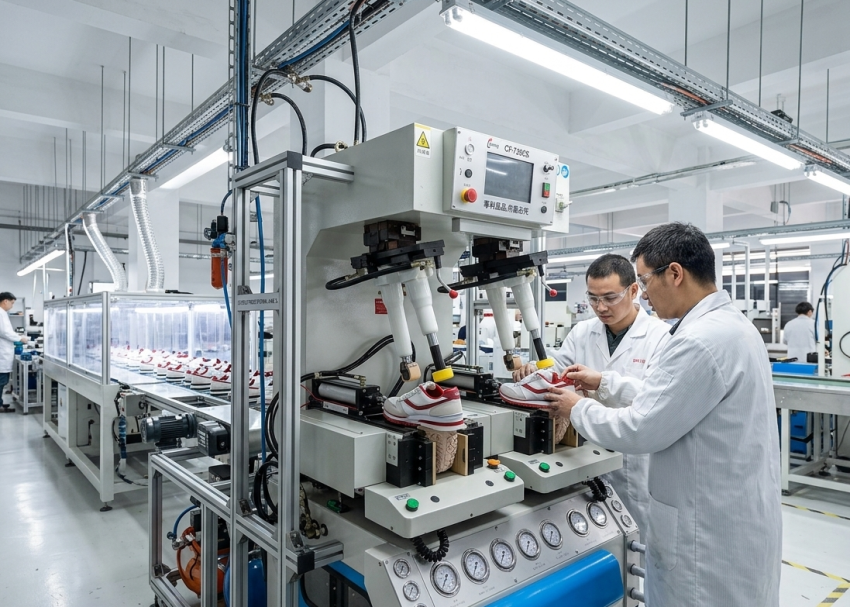
Rough scouring is the first stage of edge finishing. Its primary purpose is to eliminate major surface irregularities created during moulding, trimming, routing, heel attachment, or outsole preparation.
At this stage, operators intentionally remove relatively larger amounts of material compared with subsequent scouring operations. However, material removal must remain controlled to preserve outsole dimensions and design features.
Typical defects removed during rough scouring include: Trimming knife marks, Flash remnants, Mould parting lines, Edge mismatch, Uneven heel-to-sole transitions, Minor routing marks, Surface burrs. Instead of creating the final finish, rough scouring prepares a uniform foundation for medium scouring.
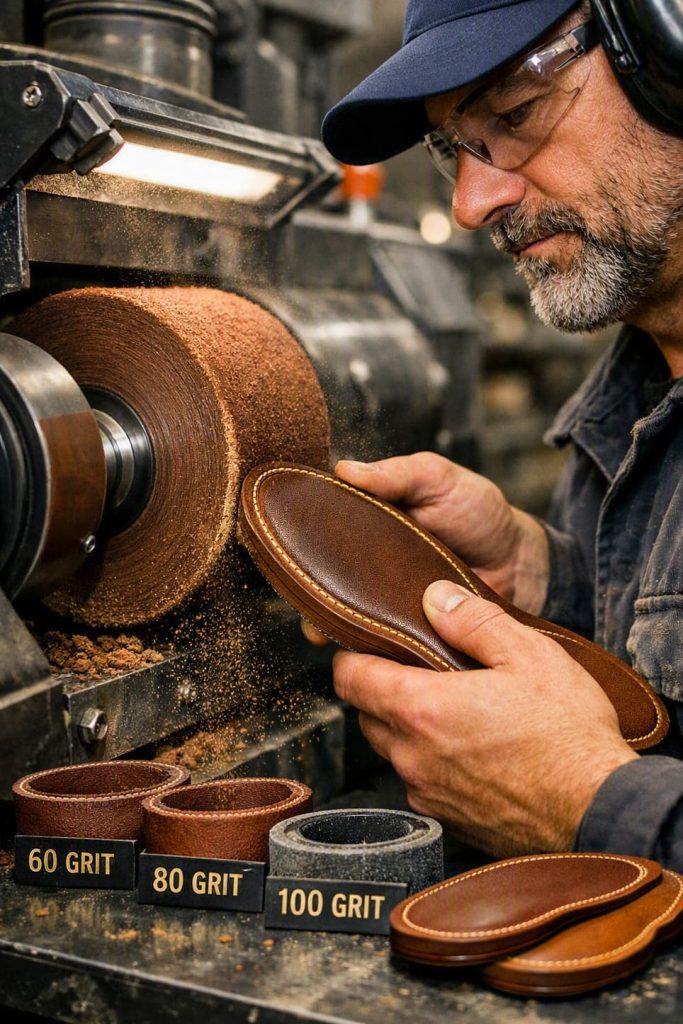
Expert Tip: Train operators to rotate the shoe smoothly rather than changing direction abruptly. Consistent movement produces a more uniform edge profile and reduces visible waviness after colouring.
Process Execution
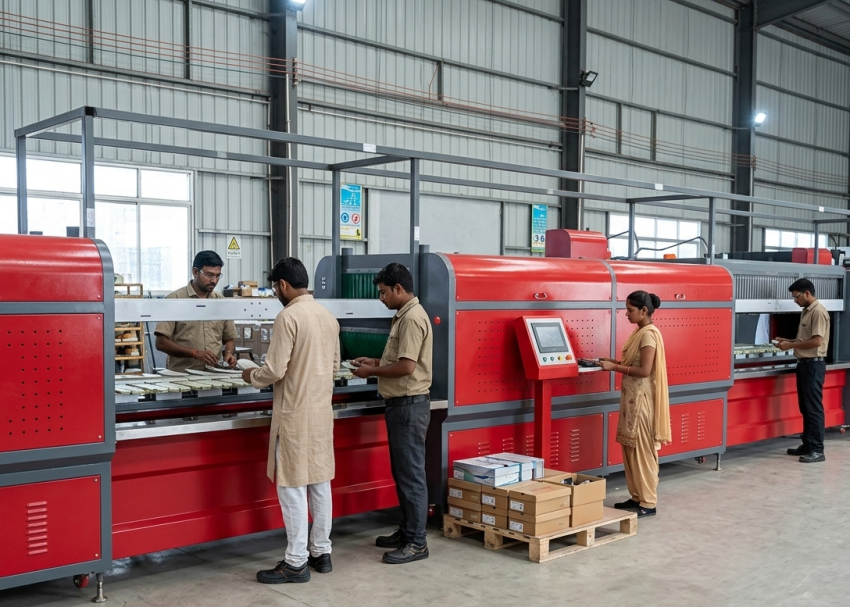
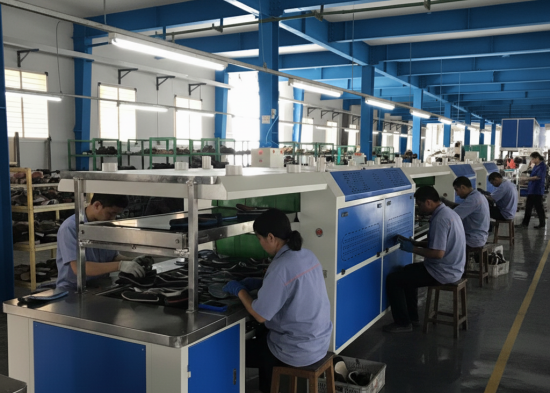
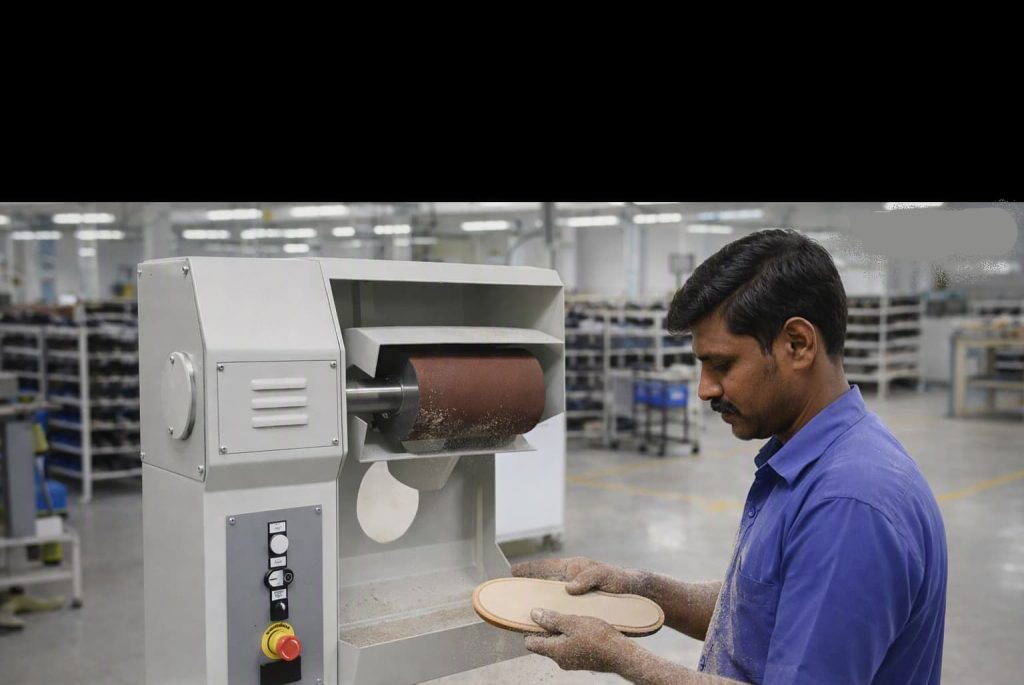
The operator first checks the outsole for loose fibres, adhesive contamination, excessive flash, and dimensional defects. Defective outsoles requiring repair are segregated before entering the machine. The outsole edge is then presented to the rotating abrasive wheel at a controlled angle. Consistent movement is essential because remaining in one location generates excessive heat and uneven abrasion.
Operators continuously rotate the shoe while maintaining uniform contact pressure. Excessive pressure causes flat spots, edge burning, excessive material removal, and dimensional variation. Insufficient pressure leaves trimming marks and mould lines that become difficult to remove during later stages.
Special attention is required around: Toe area, Waist section, Heel breast, Sharp edge transitions & Curved profiles. These areas experience frequent shape variation and therefore require greater operator skill. After rough scouring, the outsole edge should appear uniformly level without deep scratches, trimming marks, or visible flash. However, the surface will still exhibit a relatively coarse texture that is intentionally refined during medium scouring.
Expert Tip: Always inspect the outsole edge under bright white LED lighting after each scouring stage. Early detection of scratches prevents costly rework after colouring.
Recommended Abrasive Grit Range
Although grit selection depends on outsole material and factory standards, rough scouring commonly uses:
| Outsole Material | Typical Rough Grit |
|---|---|
| Leather | 60–80 |
| Rubber | 60–80 |
| TPR | 80 |
| TPU | 80–100 |
| EVA | 100–120 |
Coarser grits remove material quickly but require experienced operators to avoid over-scouring.
Expert Tip: Use dedicated abrasive wheels for leather, rubber, TPU, and EVA. Cross-using abrasives can contaminate surfaces and reduce finish consistency.


Common Quality Defects During Rough Scouring
Several quality problems originate from poor operator technique rather than machine performance.
Over-scouring
Excessive material removal alters outsole dimensions and creates an uneven profile.
Flat Edge Formation
Holding the outsole against the abrasive for too long removes the natural contour.
Heat Marks
High friction causes surface burning, particularly on TPU and rubber outsoles.
Uneven Contours
Inconsistent operator movement results in irregular edge thickness.
Visible Deep Scratch Lines
Using excessively coarse abrasives or worn wheels produces deep grooves that remain visible after colouring.
Key Control Points
- Use the correct coarse grit for the outsole material.
- Maintain continuous Outsole movement during scouring.
- Avoid excessive pressure against the abrasive wheel.
- Inspect all curves and heel areas before proceeding to medium scouring.
Expert Tip: Dress abrasive wheels regularly to maintain their cutting profile. A properly dressed wheel cuts cooler, produces a more uniform finish, and extends abrasive life.

Medium Scouring Operations
Refining the Outsole Edge for Uniformity
After rough scouring removes the major imperfections, the outsole enters the medium scouring stage. This operation bridges the gap between material removal and final finishing by refining the edge profile while eliminating the coarse scratch marks left by the previous abrasive.
Medium scouring focuses on producing a smooth, consistent contour around the entire outsole. Instead of aggressively removing material, it gradually reduces surface roughness and blends all edge transitions into a continuous profile. Consequently, this stage largely determines the visual consistency of the finished shoe.
Factories producing premium leather dress shoes, formal footwear, boots, and luxury casual shoes place particular emphasis on medium scouring because any unevenness remaining at this stage becomes highly visible after edge colouring.
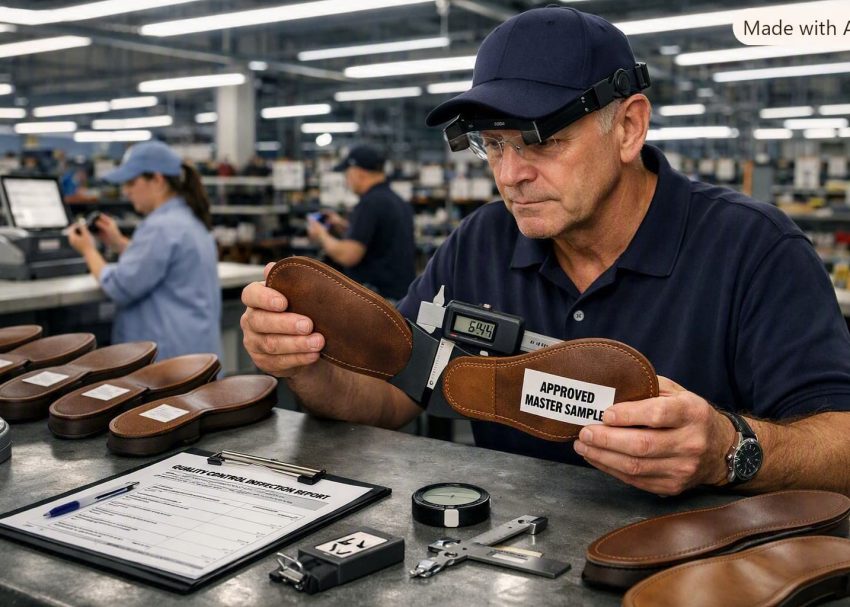
Expert Tip: Implement standard samples showing acceptable edge finish after rough, medium, and fine scouring. These visual references help operators and inspectors maintain consistent quality across production batches.
Process Execution
Before starting, the operator confirms that rough scouring has removed all trimming marks, flash, and mould mismatch.
Large defects should never be corrected during medium scouring because doing so increases the risk of dimensional variation.
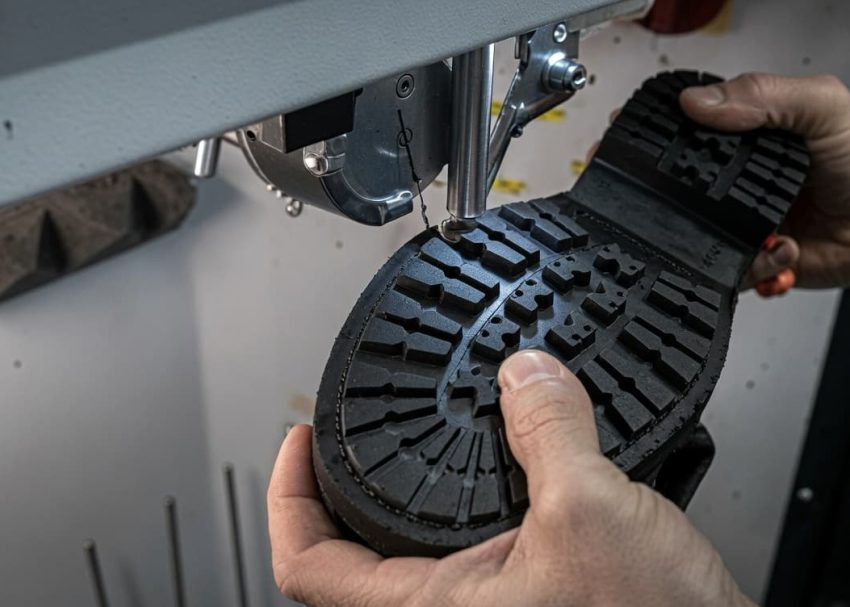
The shoe is guided against a finer abrasive wheel using lighter pressure than during rough scouring. The operator maintains continuous movement around the entire perimeter of the outsole while paying particular attention to transitions between: Toe and forepart, Waist and arch, Heel breast, Heel seat, Joint between outsole and heel.
These areas require consistent blending to achieve a symmetrical appearance. Unlike rough scouring, the objective is not rapid stock removal. Instead, the operator carefully removes only the scratch pattern left by the coarse abrasive while preserving the original outsole design.
Upon completion, the outsole edge should appear smooth, uniform, and free from visible sanding grooves, although a satin finish rather than a polished appearance is still expected.
Expert Tip: Use Progressive Grits : Never skip directly from coarse to fine abrasives. Progressive grit changes produce a smoother surface and reduce finishing time.


Recommended Abrasive Grit Range
Medium scouring generally uses medium-grade abrasives.
| Outsole Material | Typical Medium Grit |
|---|---|
| Leather | 120–180 |
| Rubber | 120–150 |
| TPR | 120–180 |
| TPU | 150–180 |
| EVA | 150–220 |
The exact grit selection depends on outsole hardness, customer requirements, and the finishing process that follows.
Common Quality Defects During Medium Scouring
Remaining Scratch Marks
Coarse scratches remain visible because insufficient material has been removed.
Wavy Edge Profile
Inconsistent movement causes alternating high and low spots along the edge.
Rounded Design Features
Excessive scouring softens sharp design lines that should remain clearly defined.
Uneven Surface Finish
Different pressure applied around the shoe creates inconsistent texture.
Expert Tip: Replace Worn Abrasives Early: Glazed abrasive wheels generate heat instead of cutting efficiently, leading to poor finish quality and increased rework.
Fine Scouring Operations
Creating a Premium Edge Finish
Fine scouring is the final abrasive finishing operation before edge colouring, waxing, polishing, or filler application. This stage produces the smooth, premium-quality edge expected on high-end footwear.
Unlike previous operations, fine scouring removes very little material. Instead, it improves the surface texture by replacing medium abrasive scratches with an extremely fine finish that enhances the final appearance after colouring. Premium footwear brands often differentiate product quality by the consistency achieved during this stage.
Process Execution
The operator selects a fine abrasive wheel suitable for the outsole material and desired finish. The Outsole is presented to the abrasive using minimal pressure while maintaining a constant rotational movement. Heat generation must be carefully controlled because excessive friction can burn leather or melt thermoplastic materials. During fine scouring, particular attention is given to: Heel corners, Toe tip, Waist curvature, Decorative edge profiles, Layer transitions & Edge angle.
The operator performs a final visual inspection immediately after scouring. Any remaining defects should be corrected before moving to edge colouring because subsequent operations cannot hide surface irregularities.
A correctly finished outsole should exhibit: Smooth edge texture, Uniform contour, Consistent colour absorption capability, No visible sanding marks, Premium appearance
Recommended Abrasive Grit Range
| Outsole Material | Typical Fine Grit |
|---|---|
| Leather | 220–400 |
| Rubber | 180–240 |
| TPR | 220–320 |
| TPU | 220–320 |
| EVA | 240–400 |
Some luxury footwear manufacturers perform an additional buffing operation after fine scouring to achieve an exceptionally smooth edge.
Common Quality Defects During Fine Scouring
Burnished or Burnt Edges
Excessive heat creates dark marks or glazing.
Gloss Variation
Uneven abrasion causes inconsistent surface reflectivity after colouring.
Fine Circular Scratch Marks
A worn abrasive leaves visible swirl patterns.
Excessive Edge Rounding
Over-finishing removes crisp edge geometry.
Expert Tip: Standardise Machine Speed: Maintain consistent spindle speeds for each outsole material. Standard machine settings reduce variation between operators.
Selecting the Correct Abrasive Grit
Matching Abrasives to Each Scouring Stage
Abrasive grit selection directly influences productivity, finish quality, and outsole appearance. Using an incorrect grit may either remove material too slowly or damage the outsole by producing deep scratches.
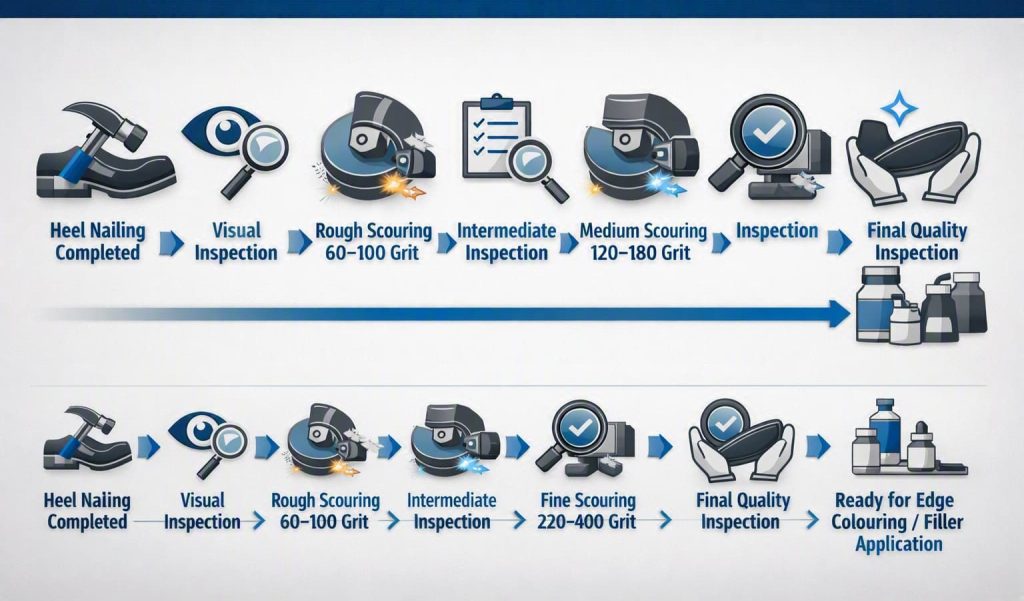
The three-stage scouring system follows a progressive refinement approach:
| Stage | Purpose | Typical Grit |
|---|---|---|
| Rough Scouring | Remove unevenness | 60–100 |
| Medium Scouring | Refine surface | 120–180 |
| Fine Scouring | Premium finish | 220–400 |
Operators should never skip grit levels. Jumping directly from a coarse abrasive to a very fine abrasive leaves deep scratches that remain visible after colouring.
Factories should also establish abrasive replacement schedules because worn wheels reduce cutting efficiency and increase heat generation.
Key Control Points
- Verify surface quality before changing grit.
- Select grit according to outsole material.
- Replace glazed abrasives promptly.
- Progress gradually from coarse to fine.
Expert Tip: Monitor Dust Extraction: Effective dust removal improves visibility, extends abrasive life, enhances worker safety, and maintains finish quality.
Common Edge Scouring Defects and Troubleshooting
| Defect | Possible Cause | Corrective Action |
|---|---|---|
| Uneven edge | Irregular operator movement | Maintain constant shoe rotation |
| Deep scratches | Coarse grit or worn wheel | Progress through correct grit sequence |
| Burn marks | High pressure or overheating | Reduce pressure and improve cooling |
| Flat spots | Holding shoe stationary | Keep continuous movement |
| Rounded profile | Excessive scouring | Reduce material removal |
| Poor colour absorption | Surface still rough | Repeat fine scouring before colouring |
| Dimension variation | Over-scouring | Follow dimensional inspection standards |
Expert Tip: Inspect Under Bright Lighting : Use white LED inspection lights immediately after each scouring stage to identify scratches before colouring.
Conclusion
Edge scouring is far more than a cosmetic finishing operation. It establishes the foundation for premium edge colouring, polishing, and the overall appearance of the finished shoe. By dividing the process into rough, medium, and fine scouring, manufacturers can systematically remove imperfections, refine contours, and achieve a uniform surface that meets both customer expectations and brand quality standards.
In the next blog of TheFootwearEdge Outsole (Stock Fitting) Assembly Series, we will explore Filler Application Operations in Outsole Process, where we discuss filler materials, application techniques, drying requirements, quality control, and common defects before final outsole finishing.
Expert Tip: Separate Abrasives by Material : Use dedicated abrasive wheels for leather, rubber, TPU, and EVA to prevent contamination and inconsistent finishing.
Frequently Asked Questions (FAQs)
Heel nailing and trimming may leave slight unevenness or marks around the outsole edge. Edge scouring removes these imperfections before colouring and polishing.
Each stage has a specific role:
– Rough scouring removes major irregularities.
– Medium scouring refines the contour.
– Fine scouring creates a premium surface ready for finishing.
Leather, rubber, TPR, TPU, EVA, and several composite outsole materials require edge scouring, although the abrasive grit and machine settings vary by material.
Burn marks are typically caused by excessive pressure, prolonged contact with the abrasive wheel, worn abrasives, or high machine speed, which generate excessive heat.
Replacement depends on production volume and outsole material. Wheels should be replaced when they become glazed, lose cutting efficiency, or produce inconsistent finishes.
Inspect the outsole edge for:
Uniform contour
Smooth surface
Absence of deep scratches
No burn marks
Consistent edge dimensions
Readiness for colouring or filler application
Yes. Uneven or poorly scoured edges can result in inconsistent edge colouring, visible scratches, poor polish quality, and an overall reduction in the perceived quality of the finished footwear.
Expert Tip: Use Master Samples: Maintain approved reference samples at every workstation so operators and inspectors have a consistent quality benchmark.