Repairing and Cleaning Operations in Outsole Process: Outsole (Stock Fitting) Assembly Series
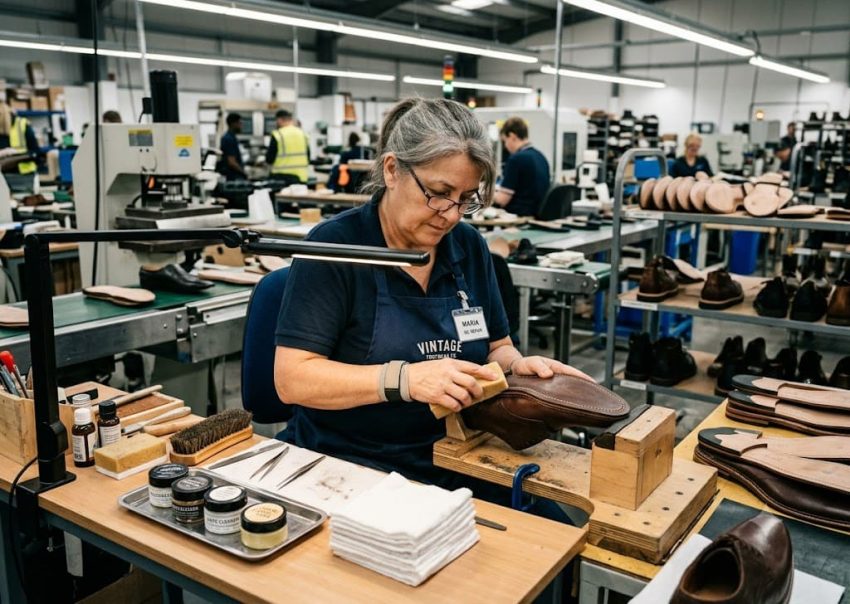
Before final brushing, every completed outsole passes through repairing and cleaning operations. These activities remove adhesive residue, stains, dust, fingerprints, handling marks, polishing residue, and other minor cosmetic defects created during outsole assembly and finishing.
In the previous blog, Padding Operations in Outsole Process, we covered how outsole edge is padded to seal and enhance the outsole edge surface to improve outsole appearance. Repairing and cleaning provide the final cosmetic correction before the outsoles moves to final brushing.
The objective is not to hide manufacturing defects. Instead, operators should remove only approved cosmetic defects while protecting the original material, colour, texture, and finish.
Repairing Operations
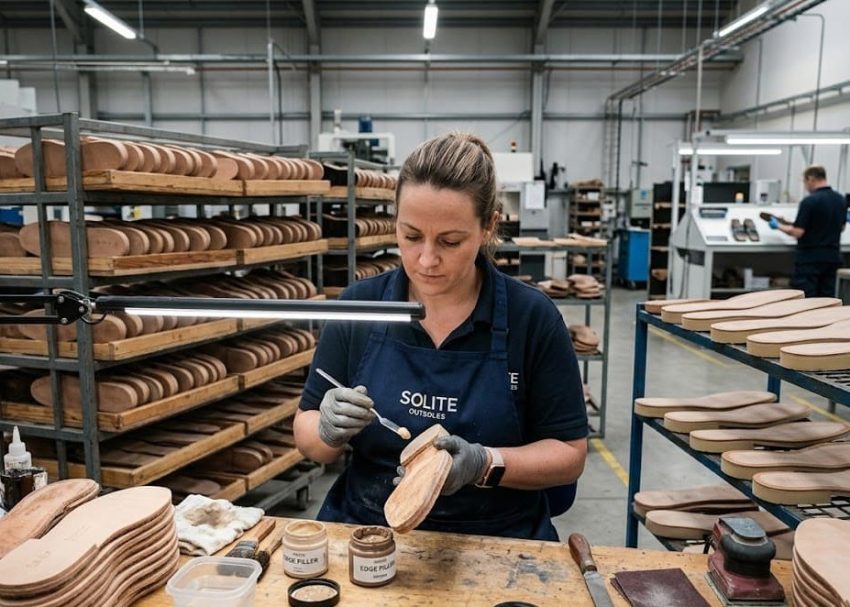
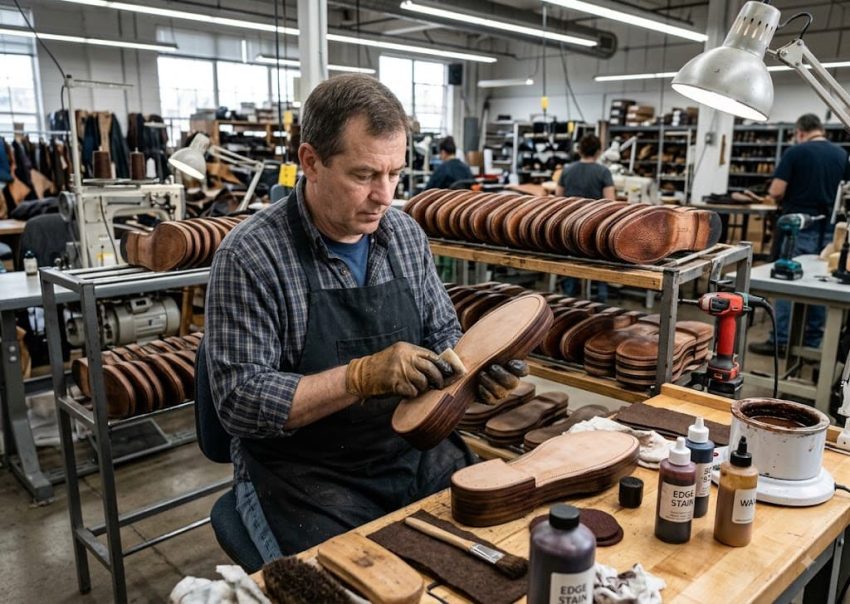
Repairing focuses on correcting minor appearance defects that occur during production, handling, cementing, pressing, brushing, or polishing.
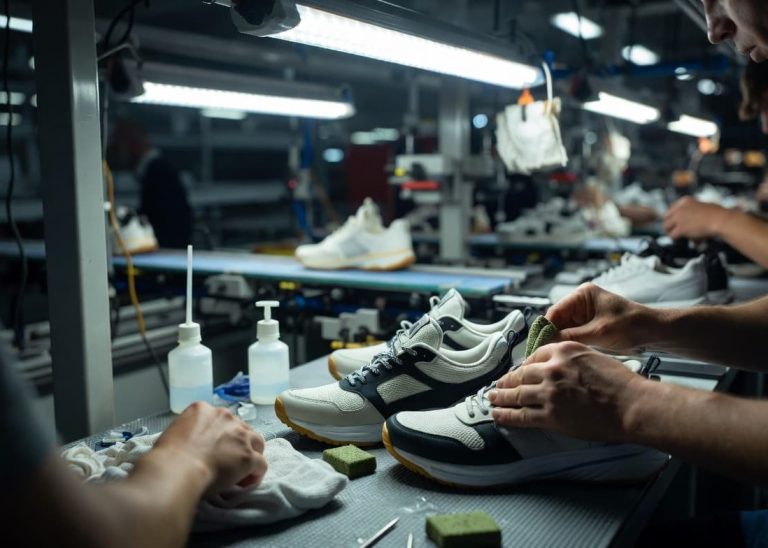
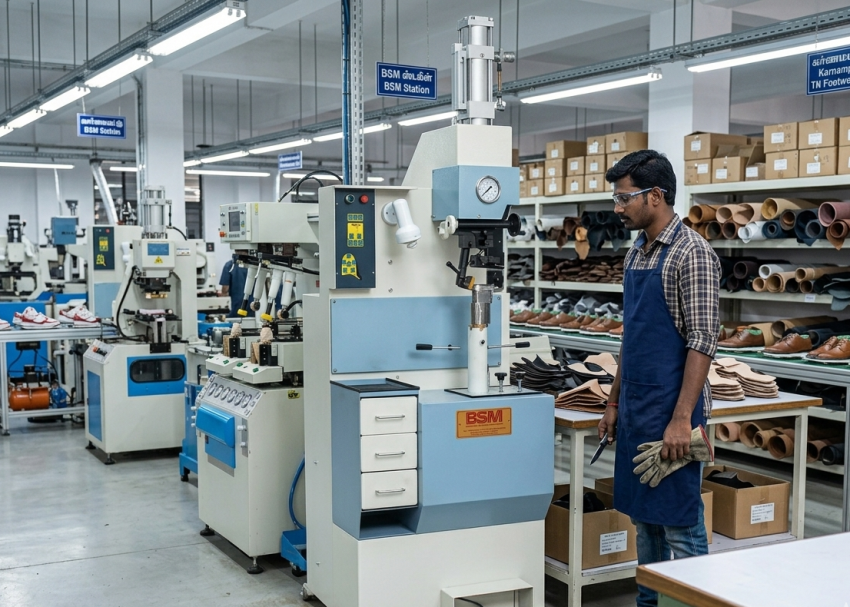
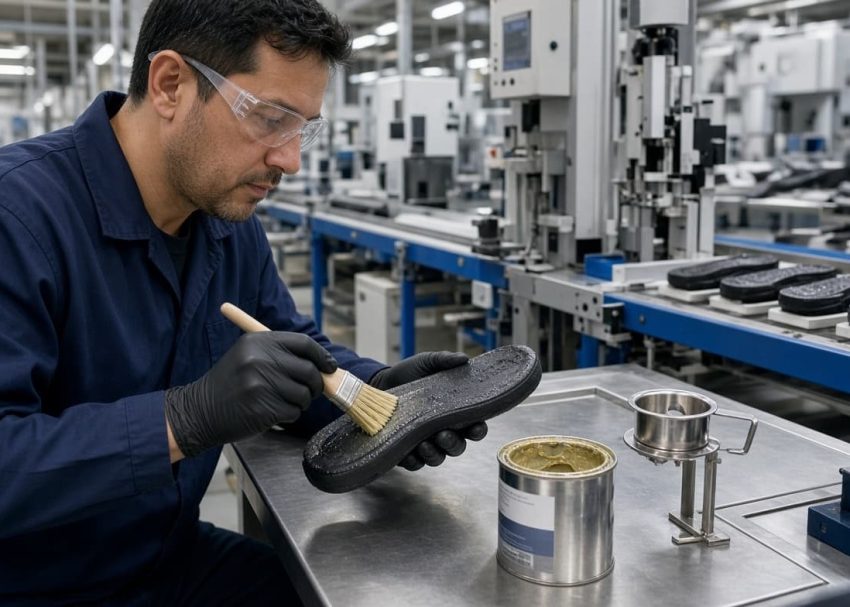
Common defects include excess adhesive around the outsole, light scuff marks, polishing residue, ink marks, fingerprints, and surface contamination. Operators first inspect the shoe and identify whether the defect can be safely repaired. They then select the appropriate cleaning method according to the material and defect type. For example, light adhesive marks may require a rubber block, while a suitable mild cleaner may remove fingerprints or handling stains.
However, operators should never use aggressive rubbing or scraping simply to save a defective outsole. If repair changes the original colour, gloss, texture, or coating, the shoe should be segregated for quality evaluation.
Key Control Points
- Repair only approved cosmetic defects.
- Do not damage the original material finish.
- Use material-specific repair methods.
- Escalate non-repairable defects to Quality.
Expert Tip: Always start with the least aggressive cleaning method.
Cleaning Materials
The cleaning material must match both the outsole material and the type of contamination. Using an unsuitable chemical or excessive mechanical force can create a new defect while removing the original one.
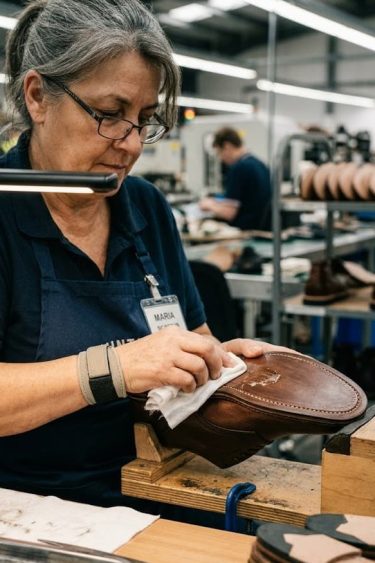
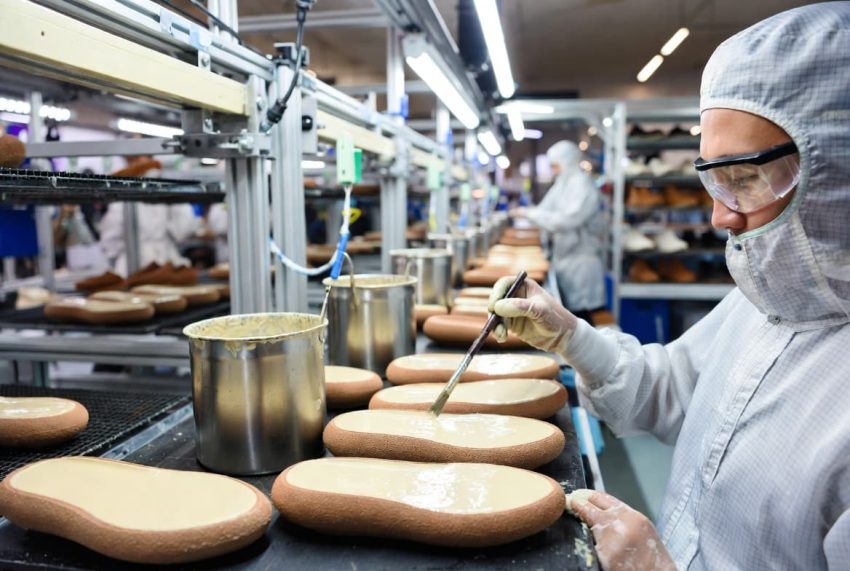
Mild cleaners are suitable for light stains, fingerprints, adhesive marks, and handling contamination. Operators should apply a small quantity to a clean lint-free cloth rather than directly onto the shoe.
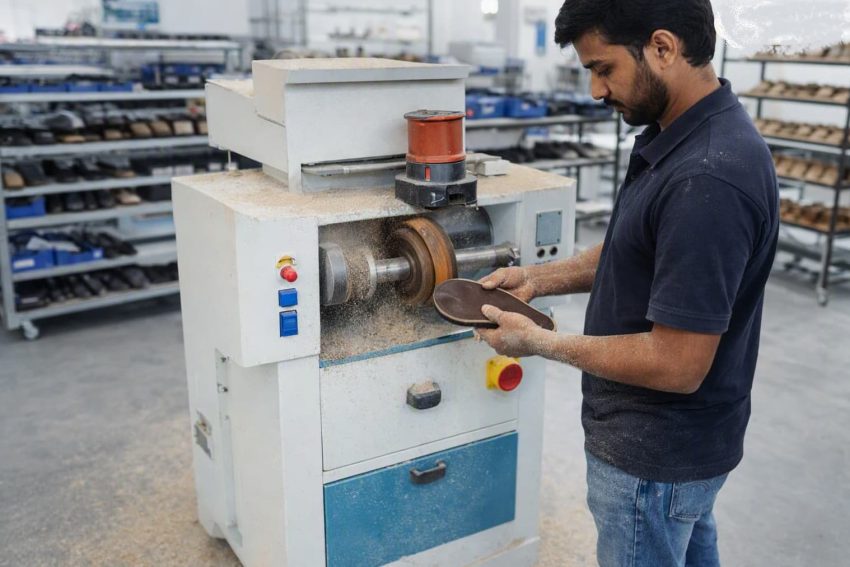
Crepe rubber provides a gentle mechanical cleaning method for removing light adhesive residue, dirt, and polishing marks. It works particularly well where chemical cleaning could affect the surface.
Rubber cleaning blocks provide stronger mechanical action and can remove stubborn residue from suitable outsole and upper materials. Operators must control rubbing pressure to prevent gloss variation or surface damage.
Specialized cleaning agents are used for difficult contamination such as ink, paint transfer, heavy adhesive residue, or specific industrial stains. These products should only be used when approved for the particular material.
Key Control Points
- Use only approved cleaning materials.
- Verify material compatibility before application.
- Apply controlled pressure during mechanical cleaning.
- Keep cleaning cloths and tools clean.
Expert Tip: Replace contaminated cloths instead of repeatedly reusing them.
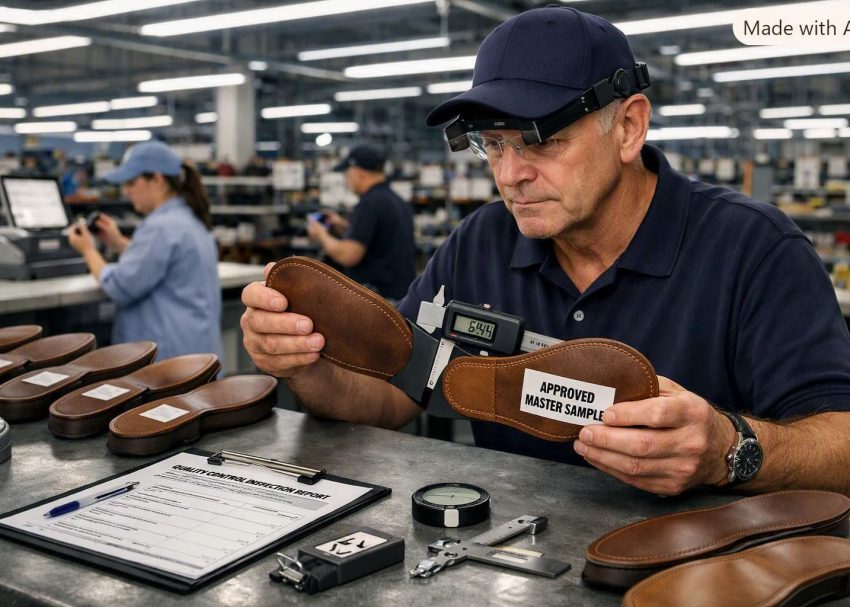
Material Compatibility
Different outsole materials react differently to cleaning methods. Full-grain leather, coated leather, suede, nubuck, synthetic materials, rubber, EVA, PU, and TPU require different levels of cleaning control.
Leather may tolerate mild cleaning when correctly applied, while suede and nubuck require greater care because moisture or aggressive rubbing can change the nap and appearance. Similarly, painted midsoles, decorative edges, printed logos, and coated synthetic materials can lose their finish when exposed to unsuitable solvents.
Therefore, factories should maintain material-specific cleaning instructions and train operators to recognize acceptable cleaning limits.
Key Control Points
- Follow material-specific cleaning instructions.
- Avoid strong solvents on coated surfaces.
- Protect printed and painted components.
- Train operators before assigning cleaning work.
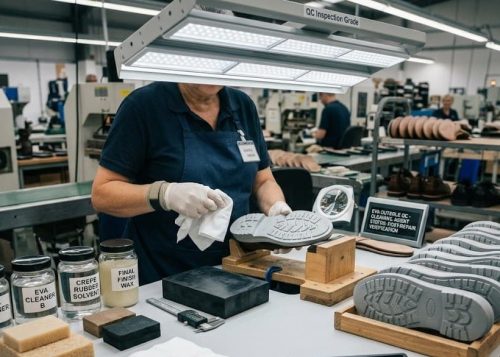
Expert Tip: Use bright, standardized lighting for appearance checks.
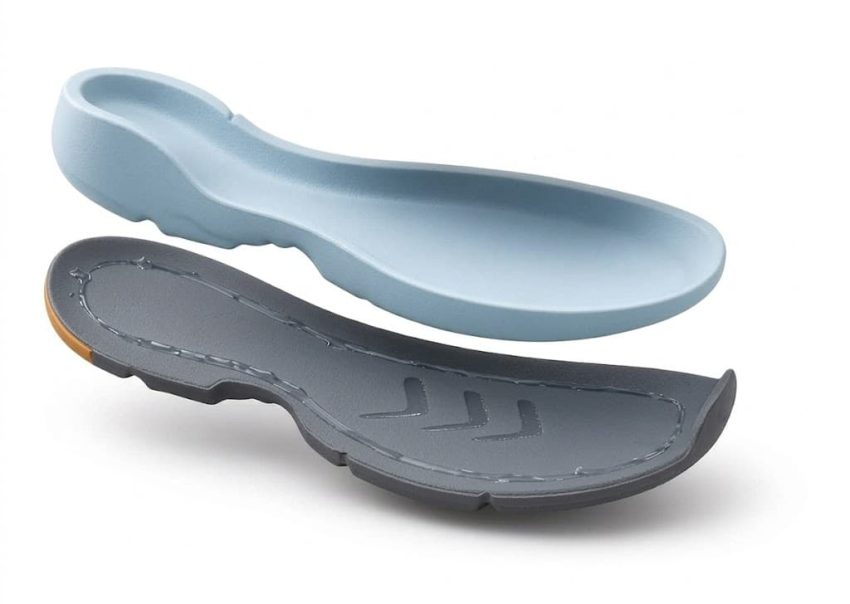
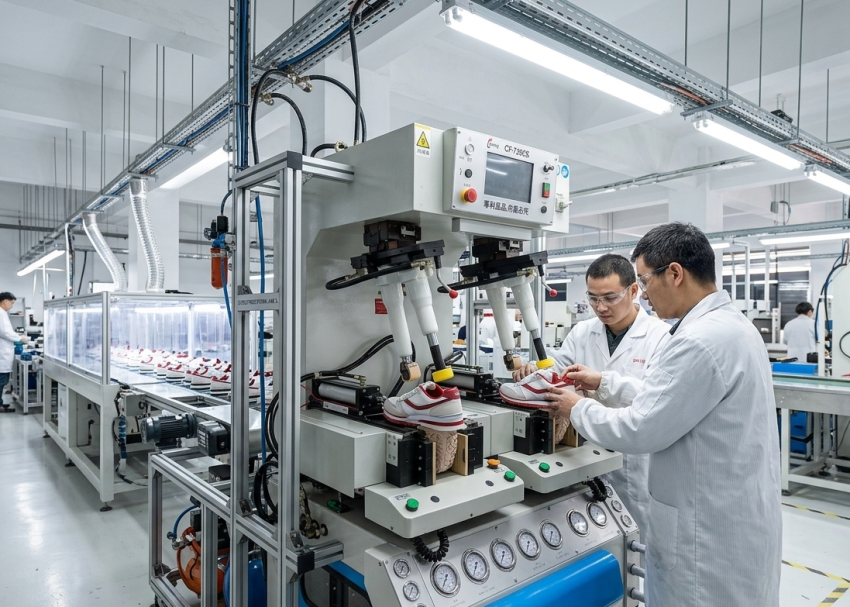
Appearance Verification
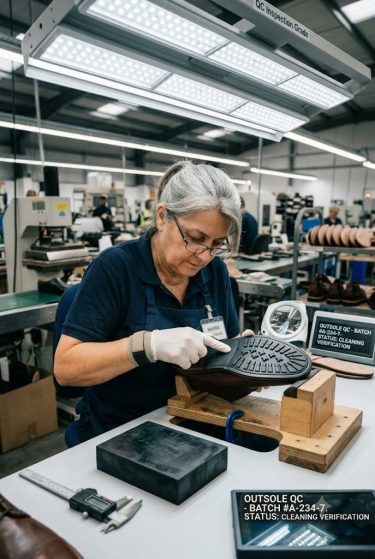
After cleaning, the operator should inspect the entire outsole rather than checking only the repaired area. Adhesive residue, colour variation, gloss differences, and handling marks may become visible from different viewing angles.
Standardized white lighting provides better defect visibility. Comparing the repaired outsole with its matching pair also helps identify differences in colour, texture, and finish. If the defect remains after an approved cleaning attempt, the operator should stop further treatment and send the shoe for quality evaluation.
Key Control Points
- Inspect the complete shoe after cleaning.
- Use consistent inspection lighting.
- Compare both shoes as a pair.
- Stop excessive repair attempts.
Expert Tip: Never mix cleaning chemicals unless specifically approved.
Workstation Control
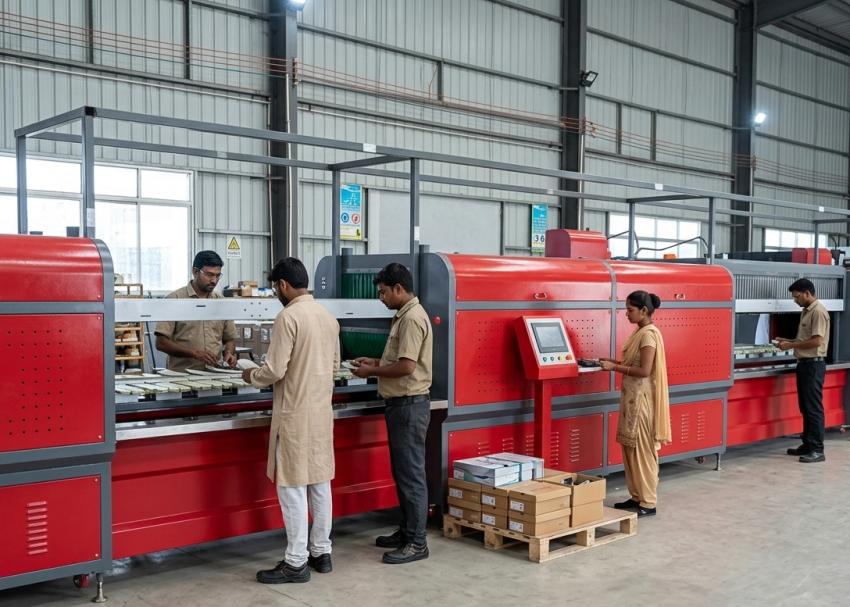
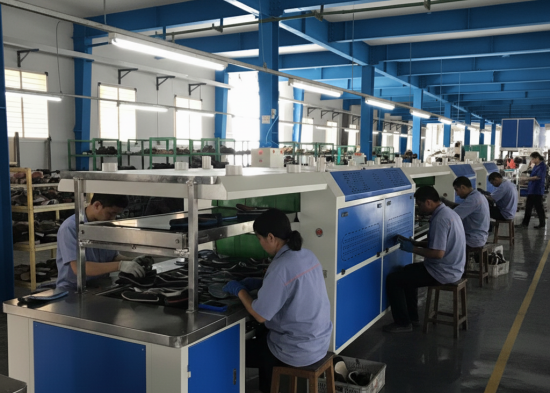
A clean workstation directly supports cleaning quality. Used cloths, contaminated rubber blocks, open chemical containers, and dusty worktables can recontaminate finished outsole.
Operators should separate clean and used materials, replace contaminated cloths regularly, keep chemicals in labelled containers, and place cleaned shoes only on protected surfaces. Good housekeeping also improves operator productivity because the required cleaning materials remain easily accessible.
Key Control Points
- Maintain clean work surfaces.
- Separate clean and used cleaning materials.
- Store chemicals in labelled containers.
- Prevent recontamination after cleaning.
Expert Tip: Compare the repaired pair side by side before releasing it.
Conclusion
Repairing and cleaning provide the final cosmetic preparation before outsole enters final inspection. When operators use approved materials, controlled techniques, and material-specific procedures, they can remove common appearance defects without damaging the shoe.
The next article, Brushing and Polishing Operations in Outsole Process, will cover the final brushing and polishing stages used to enhance gloss, remove surface residue, and complete the outsole finishing process.
Expert Tip: Escalate difficult defects rather than over-cleaning the material.

Frequently Asked Questions (FAQs)
It removes cosmetic defects such as adhesive residue, fingerprints, dirt, and stains so that only visually acceptable footwear proceeds to final quality inspection.
No. Only customer-approved cosmetic defects may be repaired. Structural defects, bonding failures, or dimensional problems require rejection or major rework.
Leather, suede, PU, TPU, EVA, rubber, and textile materials respond differently to cleaning chemicals. Using the wrong cleaner may permanently damage the product.
Crepe rubber safely removes light adhesive marks, polishing residue, and dirt without damaging delicate footwear surfaces.
A clean workstation prevents recontamination of finished shoes and improves overall repair consistency
The outsole should be segregated for supervisor or quality evaluation instead of attempting aggressive cleaning that could damage the material.
Using excessive force or excessive cleaning chemicals, which may change the colour, gloss, texture, or finish of the footwear.