Stage Inspection II – Assembly Inspection Operations in Outsole Process: Outsole (Stock Fitting) Assembly Series
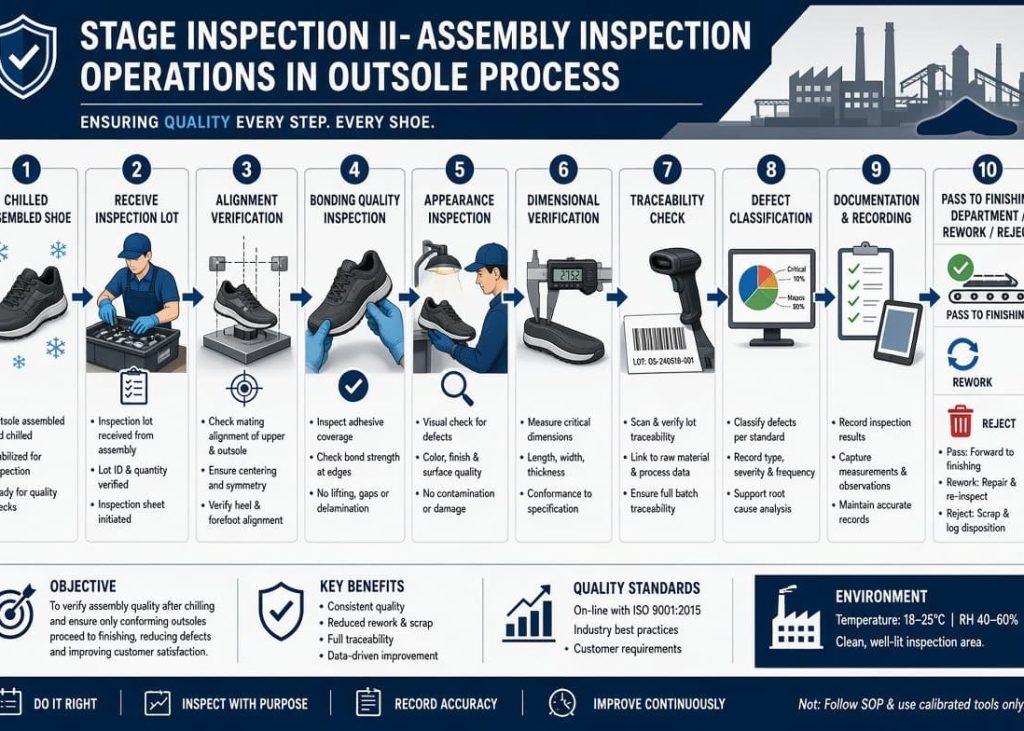
In the previous blog, Chilling Operations in Outsole Process, we discussed how controlled chilling stabilises the assembled outsole after pressing. Once chilling is completed, the product must pass an important quality gate before moving to finishing. This stage is known as Stage Inspection II – Assembly Inspection.
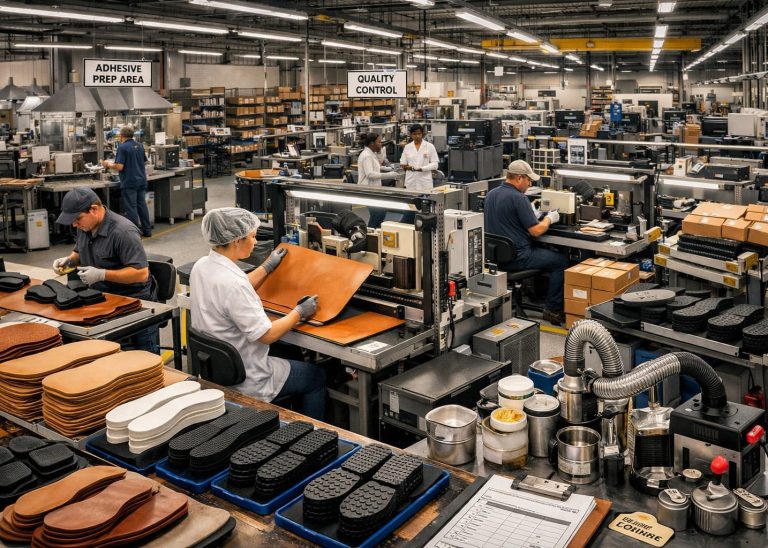
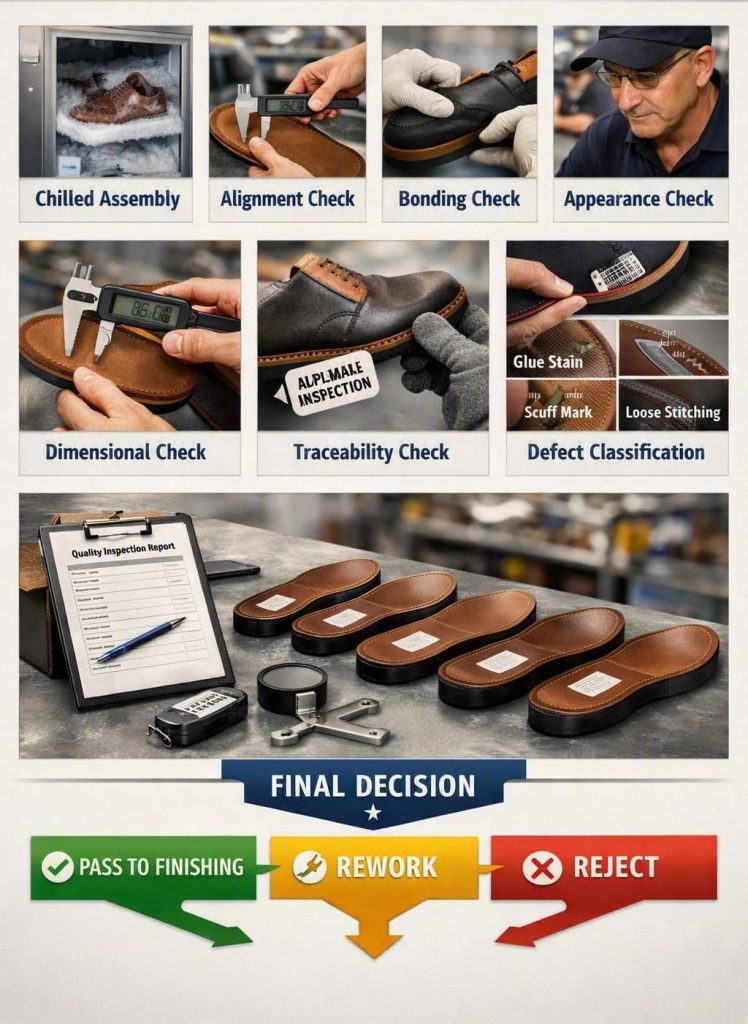
The inspector evaluates the completed outsole assembly for alignment, bonding quality, appearance, dimensions and traceability. Detecting defects at this point prevents additional finishing work from being performed on defective products.
Therefore, Stage Inspection II does not simply check the finished appearance. It verifies whether the preceding stock fitting operations have produced an assembly that satisfies the approved quality standard.
Assembly Inspection After Chilling
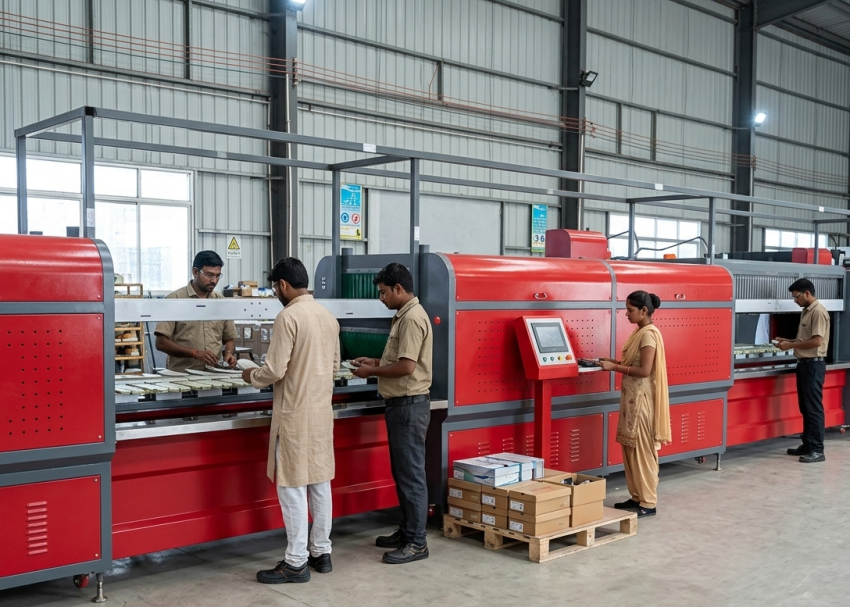
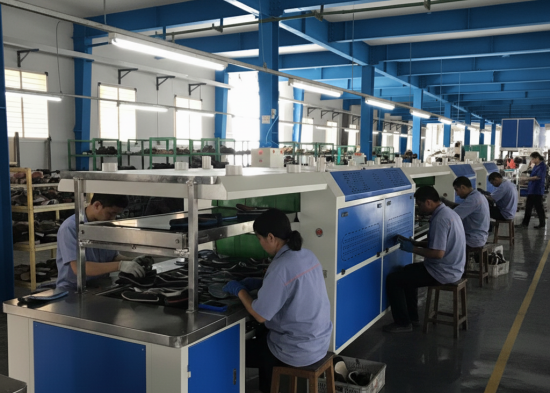
Stage Inspection II evaluates the condition of the assembled outsole after pressing and chilling. Since the product has already passed several operations, this inspection provides an overall assessment of assembly workmanship.
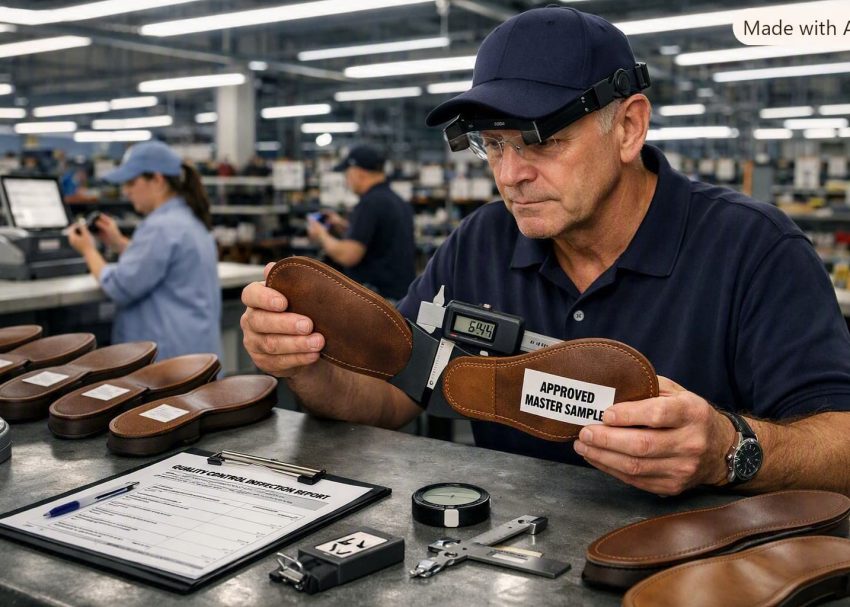
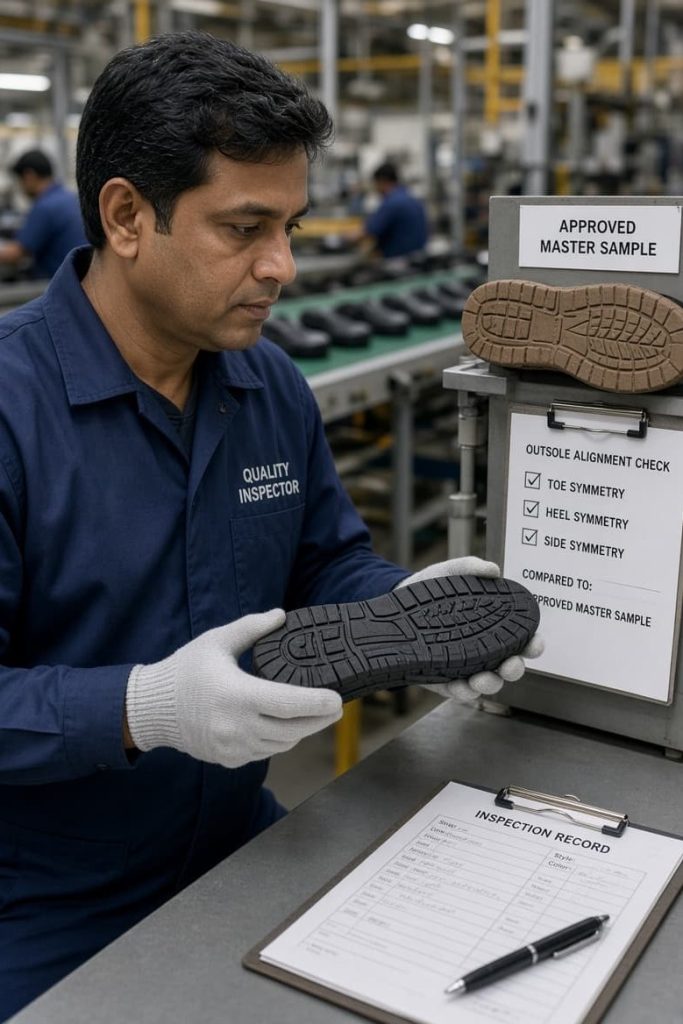
The inspector compares the shoe with the approved reference sample and customer specifications. At the same time, the inspection should follow standard lighting, measuring methods and defect classifications to ensure consistent decisions between operators and shifts. A defective pair should immediately move to the designated rework, repair or rejection area rather than returning to normal production flow.
Key Control Points
- Record significant or recurring defects.
- Inspect the assembled outsole before finishing.
- Use the latest approved reference sample.
- Separate accepted and defective products.
Expert Tip: Feed inspection results back to assembly supervisors immediately.
Alignment Verification
Correct alignment confirms that the outsole has been positioned accurately during assembly and pressing. The inspector checks the toe, waist, heel and side areas for excessive offset or uneven positioning.
Particular attention should be given to outsole edge exposure. Uneven projection around the upper can indicate incorrect positioning, mould movement or pressing problems. The left and right shoes should also be compared as a pair. A visually balanced pair provides a better indication of correct assembly than inspecting only one shoe. Typical Defects are toe offset, Heel misalignment, Medial or Lateral Shift, Uneven Outsole exposure, left-right asymmetry.
Key Control Points
- Follow approved alignment tolerances.
- Check toe and heel alignment.
- Inspect the complete outsole perimeter.
- Compare both outsoles as a pair.
Expert Tip: Use standard lighting and inspection conditions across all shifts.
Bonding Quality Inspection
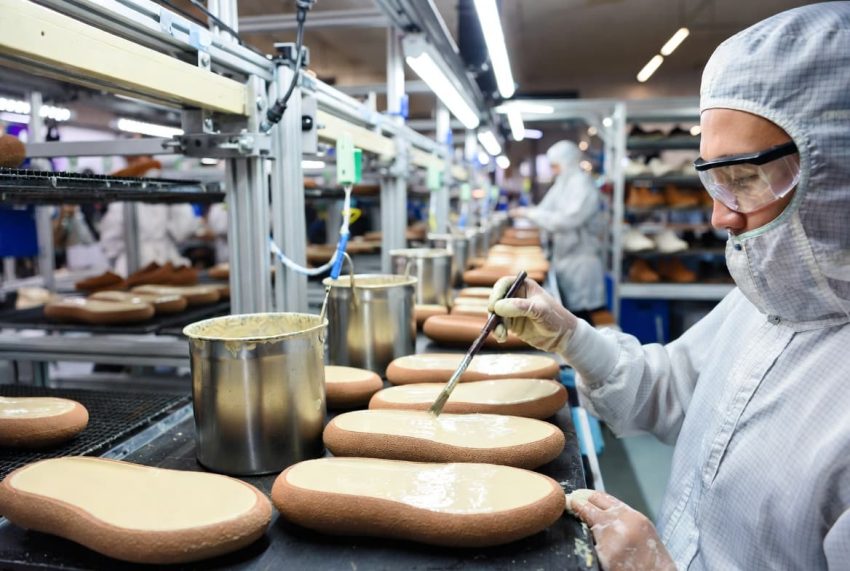
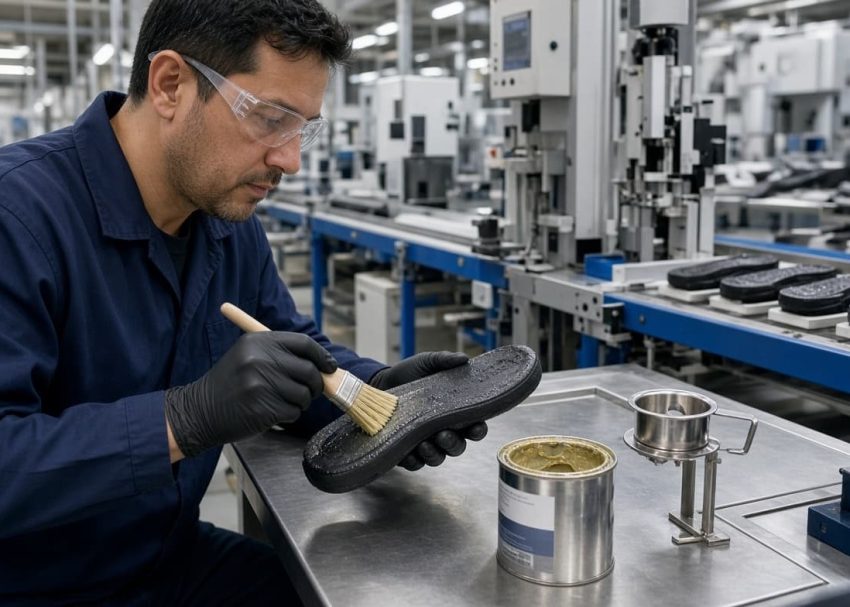
Bonding inspection verifies that the outsole remains properly attached after pressing and chilling. The inspector examines the complete bonding perimeter, especially high-stress areas such as the toe, ball, waist and heel.
Visible gaps, lifted edges, adhesive skips or partial separation indicate possible bonding problems. Depending on the defect severity, the product may require rework or rejection.
Recurring bonding defects should not simply be repaired repeatedly. Production teams should investigate the upstream process, including surface preparation, adhesive application, drying, activation, pressing and chilling.
Expert Tip: Keep approved master samples at the inspection station.

Appearance Inspection
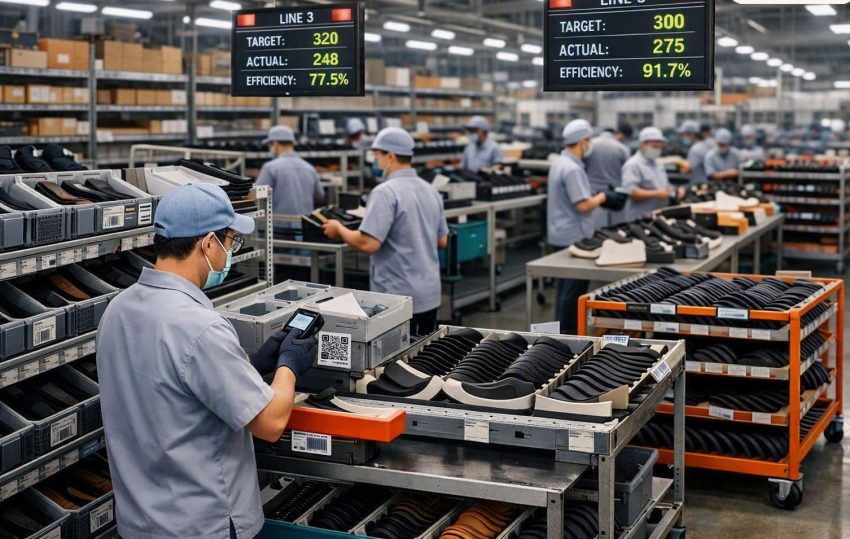
Appearance inspection ensures that the assembled outsole meets the approved visual standard before finishing. Inspectors examine the outsole, bonding edge, heel area, bottom finish and visible upper surfaces for defects created during assembly.
Common issues include adhesive stains, scratches, pressure marks, contamination, damaged logos and uneven edges. Inspection should take place under controlled lighting because poor lighting can cause inspectors to miss small but visible defects.
Key Control Points
- Classify cosmetic defects according to customer standards.
- Use standard inspection lighting.
- Compare against the approved sample.
- Check both shoes for visual consistency.
Expert Tip: Inspect the complete outsole perimeter rather than only the visible toe area.
Dimensional Verification
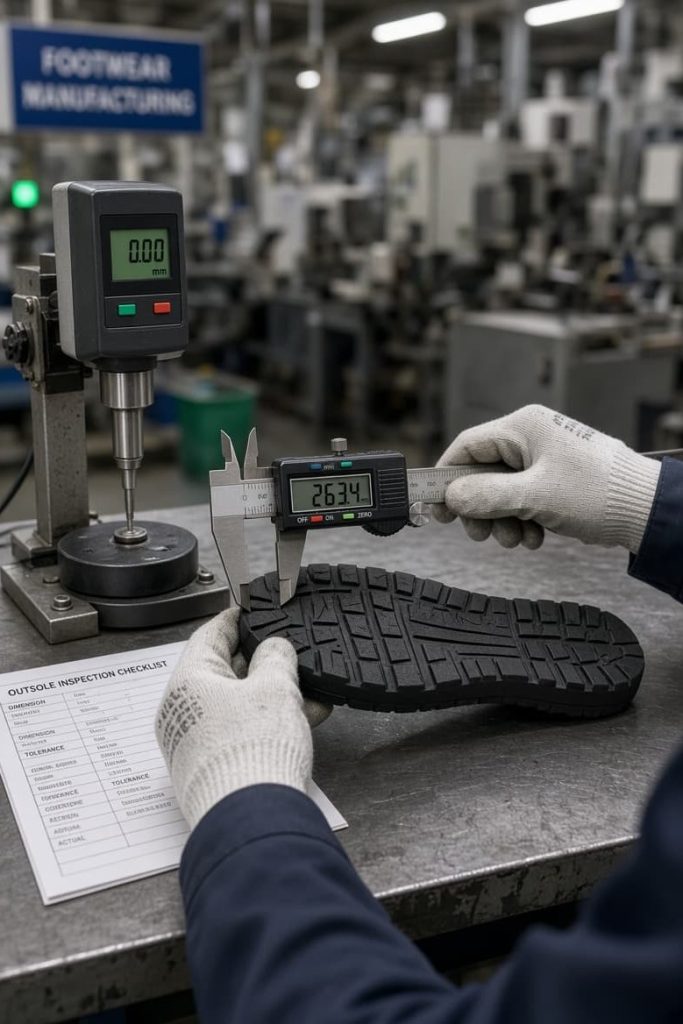
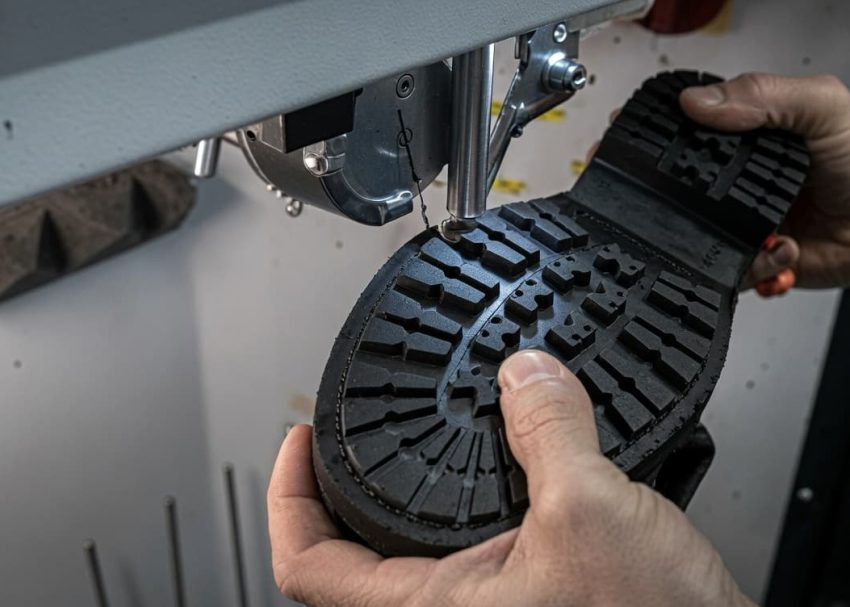
Dimensional inspection confirms that the assembled outsole remains within specified tolerances. Depending on the product and customer requirements, inspectors may verify outsole length, width, heel position, edge projection and other critical dimensions.
Digital calipers, steel rules, templates and Go/No-Go gauges can support this inspection. Measurement equipment should remain calibrated so that decisions are based on reliable data.
Key Control Points
- Monitor repeated dimensional deviations.
- Measure critical dimensions specified by the customer.
- Use calibrated instruments.
- Record out-of-tolerance results.
Expert Tip: Use defect photographs to improve inspector training.
Traceability Verification
Traceability allows the factory to connect an assembled product with its production history.
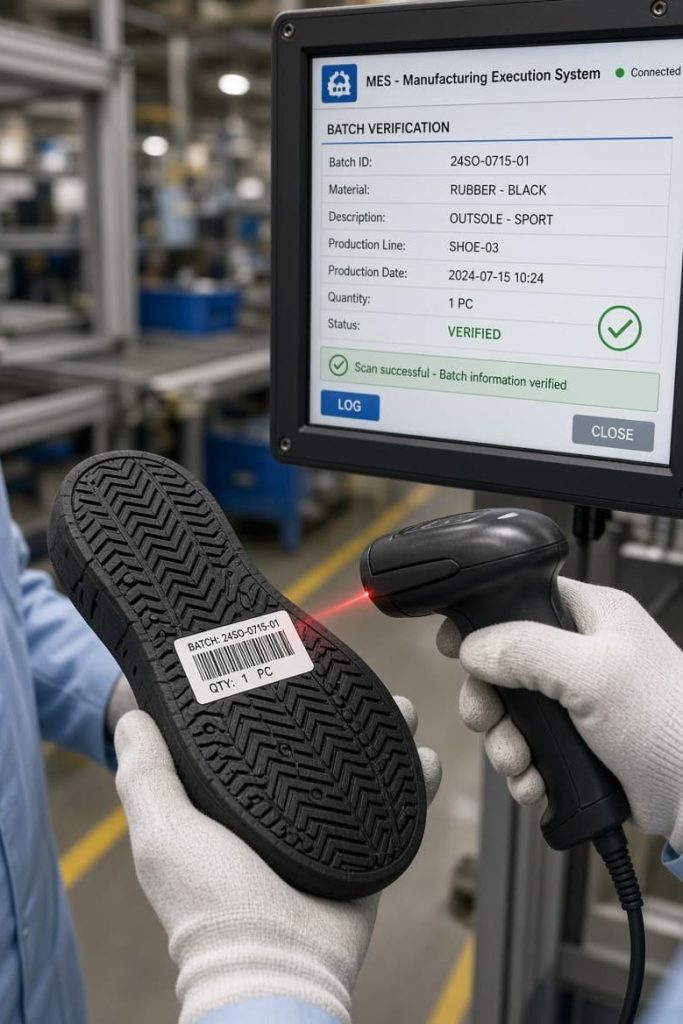
Inspectors verify that required batch numbers, production codes, barcodes, QR codes or inspection markings remain present and legible.
If traceability information is missing or incorrect, the product should not proceed until the identification issue is resolved.
Digital production systems can further connect inspection results with production batches, machines and operators, making defect investigation faster and more accurate.
Expert Tip: Calibrate dimensional gauges regularly.

Defect Classification and Documentation
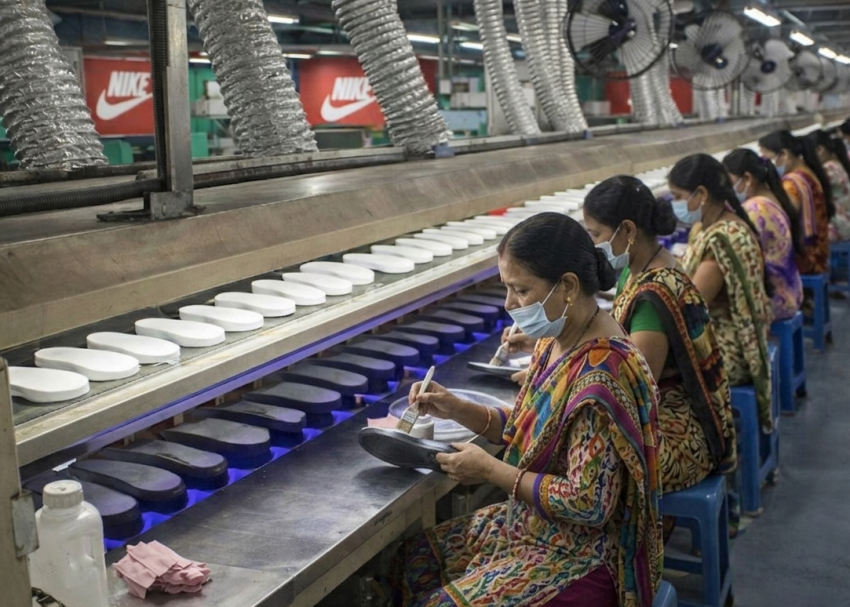
A consistent defect classification system helps inspectors make objective decisions. Factories commonly divide defects into reject & rework.
Rejects normally require immediate escalation. Reworks require repair and put into the accepted outsoles when they remain within approved limits.
Inspection results should be documented because the data provides feedback to production. If the same alignment, bonding or appearance defect appears repeatedly, the team can identify the process responsible and implement corrective action.
Conclusion
Stage Inspection II is the quality gate between outsole assembly and finishing. It confirms that the assembled product meets requirements for alignment, bonding, appearance, dimensions and traceability before additional operations are performed.
In the next article, we will continue with Heel Nailing Operation – Assembly Inspection Operations in Outsole Process, covering heel nailing methods, equipment, nail positioning, process controls, common defects and quality requirements.
Frequently Asked Questions (FAQs)
It is the inspection performed after outsole assembly and chilling to verify alignment, bonding, appearance, dimensions and traceability before finishing.
Incorrect alignment can affect appearance, symmetry and potentially product performance. Early detection allows correction before finishing.
Edge lifting, adhesive gaps, incomplete bonding, localized separation, cleanliness and adhesive skips are common examples.
Yes, Being stage inspections, Outsoles are inspected 100% online.
It allows the factory to identify the production batch, process history and other relevant information when investigating quality problems.
Depending on the defect, the outsole may be repaired, reworked, accepted under an approved concession, or rejected.
Inspection prevents defective products from reaching later operations, reduces rework and provides production data for corrective and preventive actions.