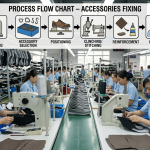
Cleaning in Footwear Upper Manufacturing – Stitching Process Series
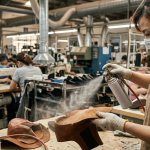
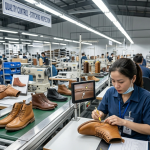
Cleaning is a critical finishing step in upper manufacturing. Even if stitching and assembly are perfect, poor cleaning leads to visible defects, rejection, and brand quality issues. Therefore, factories must follow controlled, standardized cleaning methods for consistent output.
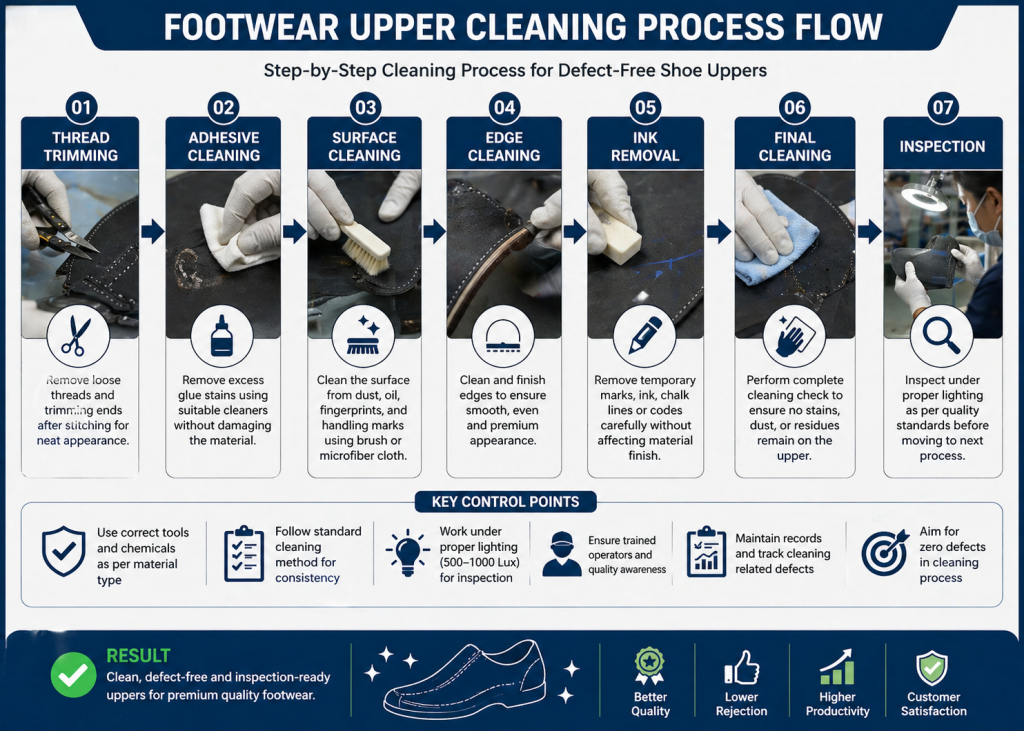
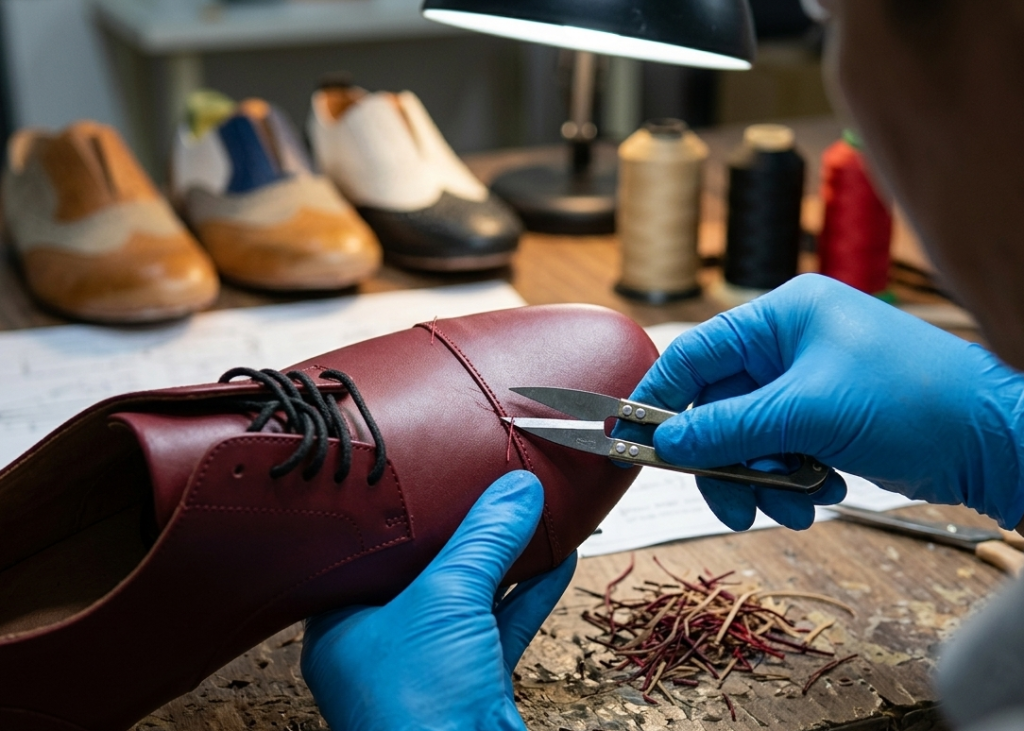
Thread Residue Cleaning (Loose Thread & Trimming Cleanup)
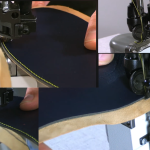
Thread residue cleaning removes loose threads, trimming ends, and stitching leftovers after sewing operations. It ensures the upper looks neat and production-ready before moving to the next stage. This step is essential because visible thread ends directly impact product appearance and perceived quality. Moreover, leftover threads can interfere with bonding during lasting or create uneven surfaces under lining and components.
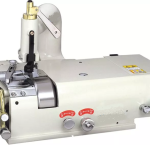
In practice, operators use thread snips or electric thread trimming tools immediately after stitching.
Additionally, compressed air or soft brushes are used to remove micro thread dust. As a result, the upper surface remains clean and inspection-ready.
Key Control Points:
- Ensure no loose thread longer than 1–2 mm remains
- Avoid cutting into stitch line during trimming
- Use proper lighting for visibility
- Maintain consistent trimming across all pairs
Pro Tip :
Always standardize cleaning chemicals by material type to avoid confusion on the floor
Maintain defect library for cleaning issues
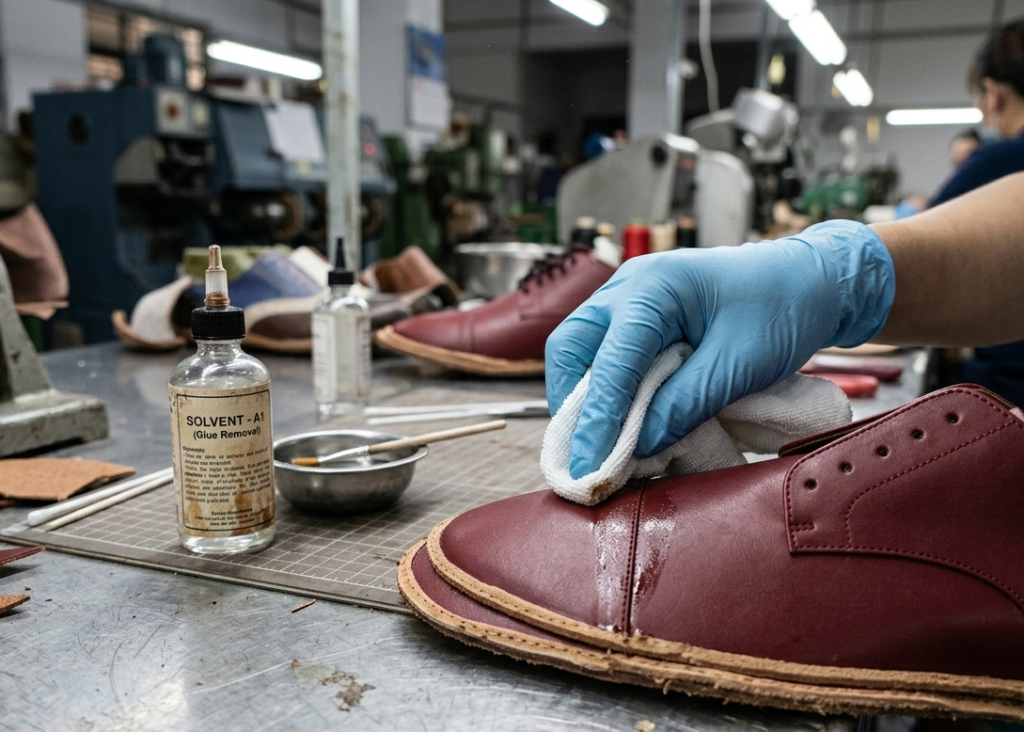
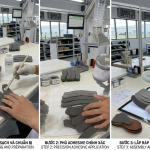
Adhesive Stain Cleaning (Glue Removal Process)
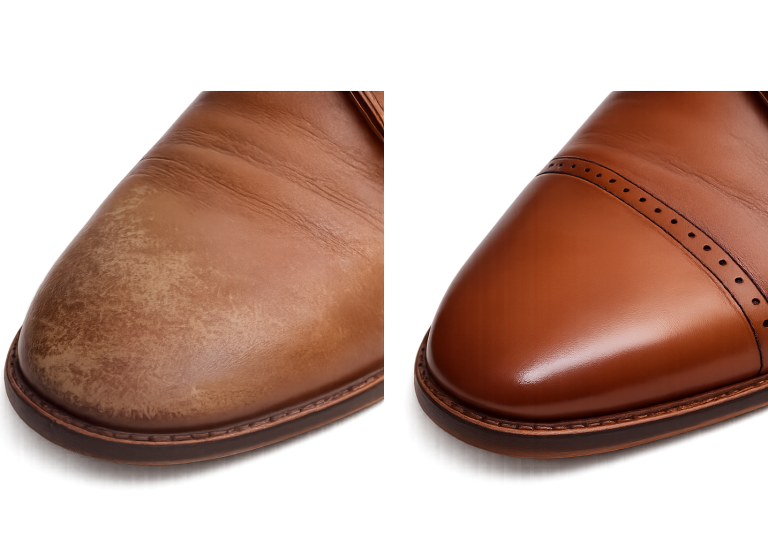
Adhesive stain cleaning removes excess glue marks from upper materials, especially visible on leather, synthetic, and light-colored components. This process is important because glue stains are one of the top rejection reasons in footwear inspection. Furthermore, improper cleaning can damage surface finish or discolor materials.
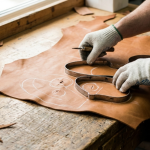
Operators typically use solvent-based cleaners, mild chemical agents, or rubber erasers depending on material type. First, the stain is identified. Then, the correct cleaning agent is applied using cloth or sponge. Finally, the surface is wiped uniformly to avoid patch marks.
Key Control Points:
- Select cleaning chemical based on material compatibility
- Avoid over-application causing discoloration
- Use lint-free cloth to prevent residue
- Test chemical on hidden area before use
Pro Tip :
Implement sample-approved cleaning standards for operators
Maintain MSDS for all cleaning chemicals on shop floor
Surface Cleaning (Dust, Oil & Handling Marks Removal)
Surface cleaning focuses on removing dust, oil stains, fingerprints, and handling marks generated during stitching and assembly. This step is necessary because handling contamination reduces bonding strength and affects visual quality. Additionally, dust particles can cause defects during finishing or lamination.
Typically, operators use air blow guns, microfiber cloths, or mild cleaning solutions. First, dust is removed using compressed air.
Then, cloth wiping ensures removal of oils and marks. As a result, the upper becomes clean and ready for further processing.
Key Control Points:
- Use clean, dry compressed air (no moisture)
- Replace cloth regularly to avoid contamination
- Clean before inspection and next process
- Avoid excessive rubbing on delicate materials
Pro Tip :
Use color-coded cloths for different materials to prevent contamination
Implement first-piece approval after cleaning process
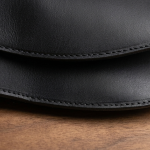
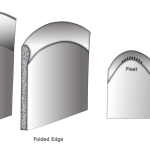
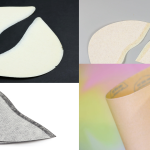
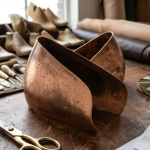
Edge Cleaning (Burnishing & Edge Finishing Cleanup)
Edge cleaning ensures that cut edges of leather or synthetic materials are clean, smooth, and free from residues after trimming and stitching. This is important because unfinished edges reduce product aesthetics and may cause fraying or peeling. Moreover, edge cleanliness directly impacts premium product perception.
Operators perform manual wiping, edge burnishing, or light heat treatment to smooth edges. In some cases, edge paint correction is also done. Consequently, edges appear uniform and professional.
Key Control Points:
- Ensure no glue or dust remains on edges
- Maintain uniform edge finish across panels
- Avoid overheating during edge treatment
- Inspect edges under proper lighting
Pro Tip : Introduce inline QC checkpoints after cleaning stage
Ink & Marking Removal (Temporary Mark Cleaning)
Ink and marking removal eliminates temporary guidelines, pen marks, chalk lines, or coding marks used during stitching. This process is essential because visible markings are considered major defects in final inspection. In addition, improper removal can leave shadow marks on light-colored uppers.
Operators use specialized ink removers, erasers, or mild solvents. First, identify the type of marking. Then apply the correct removal method carefully without spreading the mark. As a result, the upper regains its original clean appearance.
Key Control Points:
- Use correct remover based on ink type
- Avoid spreading ink during cleaning
- Clean immediately after marking process
- Check under bright light for invisible residues
Pro Tip : Use standard cleaning stations instead of random operator cleaning

Final Cleaning Before Upper Inspection
Final cleaning is the last cleaning stage before quality inspection and dispatch to lasting or assembly.This step ensures that all previous process residues are eliminated, providing a defect-free upper for inspection. Moreover, it improves consistency and reduces rejection at final QC.
Operators perform a complete visual and physical cleaning check, including thread removal, stain cleaning, and dust removal. Additionally, air blow and cloth wiping are repeated for perfection.
Key Control Points:
- Follow checklist-based cleaning verification
- Ensure uniform cleanliness across pair
- Inspect high-risk zones (toe, vamp, collar)
- Perform cleaning under inspection lighting
Pro Tip : Train operators on material sensitivity awareness
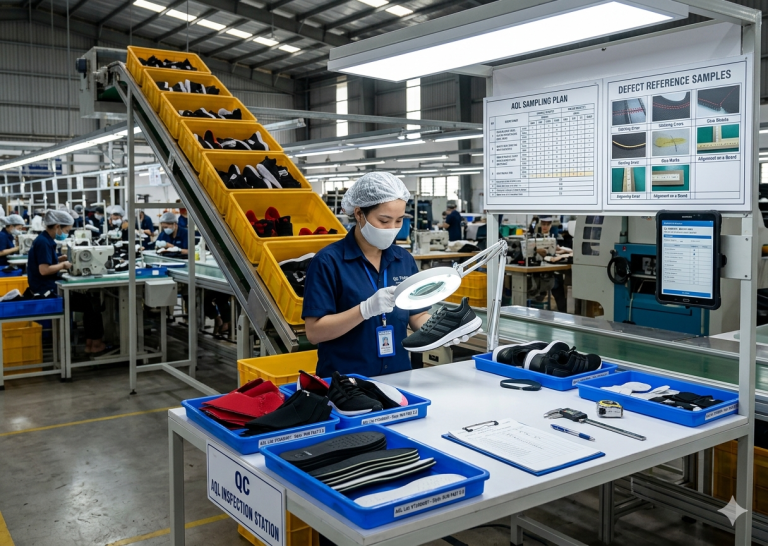
Cleaning Quality Inspection Standards
Cleaning quality inspection defines acceptable and non-acceptable conditions for upper cleanliness. This is important because subjective judgment leads to inconsistency between inspectors. Therefore, standard criteria ensure uniform quality across production lines.
Inspection involves visual checking under standard lighting conditions, comparison with approved samples, and defect classification. Consequently, only clean and defect-free uppers proceed further.
Key Control Points:
- Define acceptable stain size limits
- Use standard lighting (lux-controlled environment)
- Train inspectors with visual samples
- Record and track cleaning defects
Pro Tip : Conduct weekly rejection analysis for cleaning defects
Frequently Asked Questions – FAQs
1. What is the most common cleaning defect in footwear uppers?
Adhesive stains and ink marks are the most common defects leading to rejection.
2. Can the same cleaning chemical be used for all materials?
No. Different materials require specific cleaning agents to avoid damage.
3. When should cleaning be performed in the process?
Cleaning should be done inline after stitching and before final inspection.
4. How to avoid discoloration during cleaning?
Always test chemicals on hidden areas and avoid over-application.
5. Is manual cleaning sufficient for all cases?
Manual cleaning is standard, but controlled processes and tools improve consistency.
6. Why is final cleaning critical before inspection?
It ensures defect-free appearance and reduces rejection rate at QC.
Pro Tip : Use Kaizen approach to reduce repetitive cleaning issues
Explore other Stitching Process Series
- Nosew Application in Footwear Manufacturing – Stitching Process Series
- Component Folding in Footwear Manufacturing – Stitching Process Series
- Stitching Assembly Process in Upper Manufacturing (Part 1)– Stitching Process Series
- Stitching Assembly Defects, Line Balancing & Productivity (Part 2)– Stitching Process Series
- Cementing in Upper Manufacturing (Stitching Support Process)– Stitching Process Series
- Toe Puff (Box Toe) Attaching Process in Footwear Upper Manufacturing – Stitching Process Series
- Counter Stiffener Attaching in Footwear Upper Manufacturing – Stitching Process Series
- Upper & Lining Lamination in Footwear Upper Manufacturing – Stitching Process Series
- Bottom Stitching (Upper Feather Edge) in Footwear Upper Manufacturing
- Lacing in Footwear Upper Manufacturing – Stitching Process Series