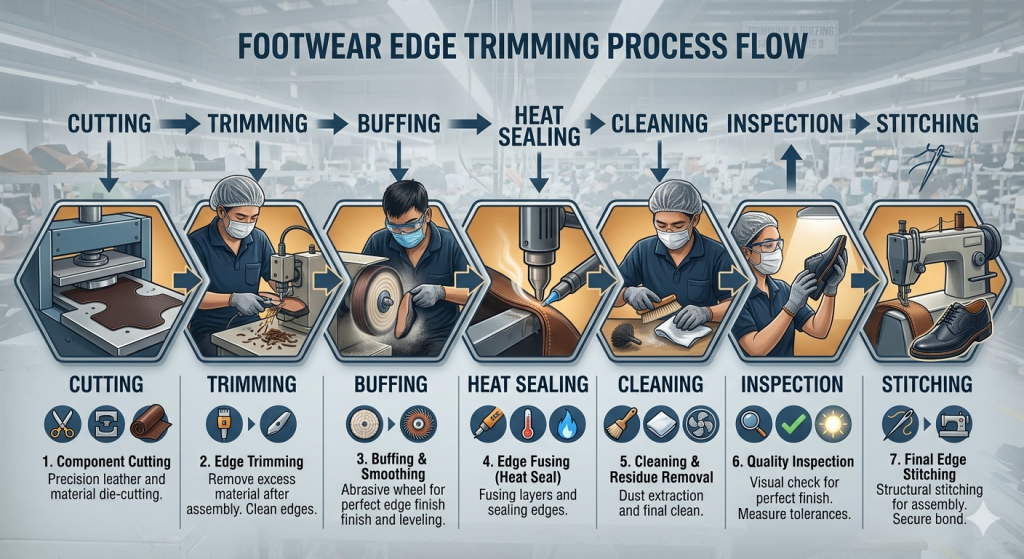
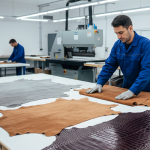
Component Edge Trimming After Cutting/Clicking – Stitching Process Series
In continuation of the stitching preparation processes, it is important to understand what happens after material cutting, skiving, and splitting. In the previous blogs—Component Skiving in Footwear Manufacturing – Stitching Process Series and Component Splitting in Footwear Manufacturing – Stitching Process Series—we discussed thickness reduction and edge preparation.
However, even after these processes, component edges are not always clean. Leather and synthetic materials often develop burrs, frayed fibers, or uneven edges. These imperfections typically arise due to:
- Blunt cutting dies
- Worn-out or improper cutting boards
- Material behavior (especially synthetics and textiles)
- Improper cutting pressure or alignment
As a result, edge trimming or edge burning becomes a critical corrective operation. This process ensures smooth, uniform edges, which are essential for achieving high-quality stitching, folding, and final product aesthetics.
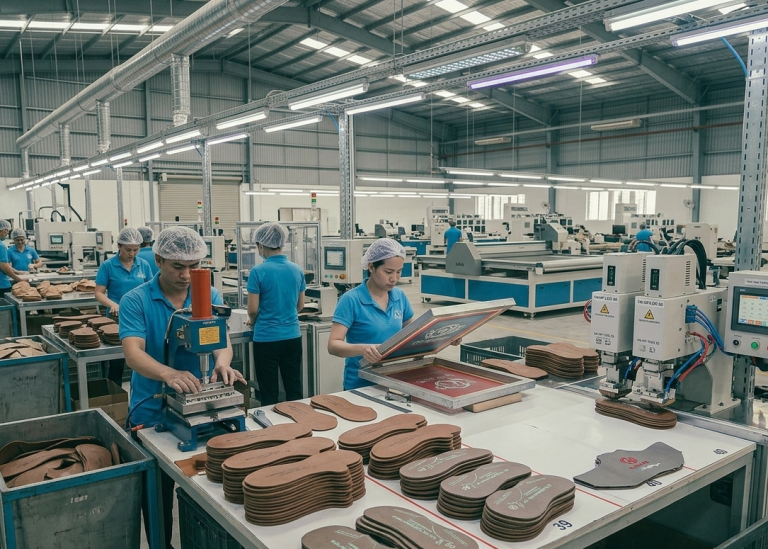
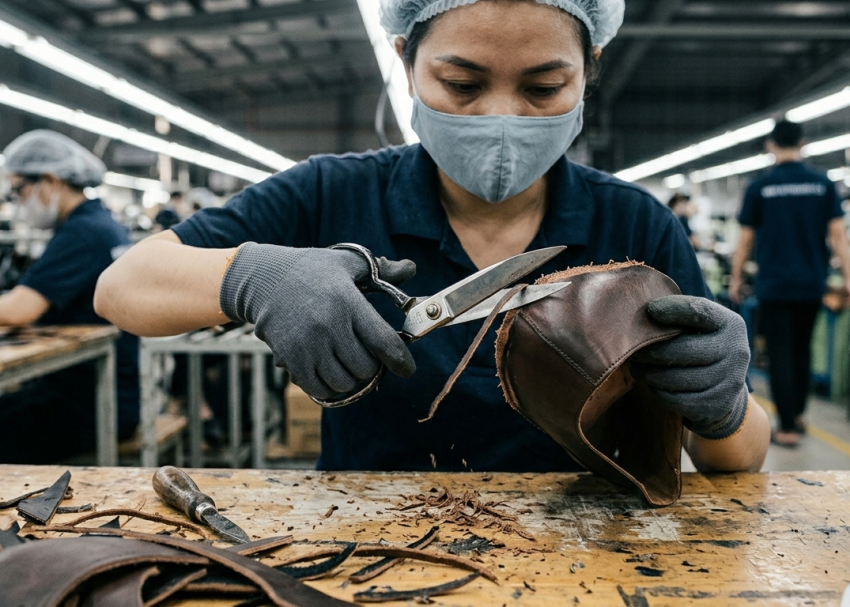
Manual Edge Trimming
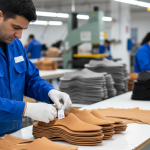
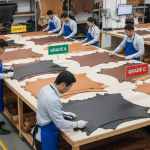
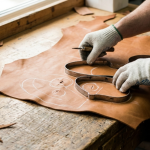
Manual edge trimming involves removing excess fibers, burrs, or uneven edges using hand tools such as scissors, knives, or trimming blades. Operators perform this process after cutting or skiving to refine component edges before stitching.
This method is widely used in small-scale production, sampling rooms, and for complex shapes where machine trimming is not feasible. It provides flexibility and allows operators to control trimming precision based on visual inspection.
In execution, operators hold the component firmly and carefully trim along the edge contour. They remove loose fibers and correct irregularities without altering the component shape. Skilled handling is critical to avoid over-trimming, which can affect component dimensions.
Key Control Points:
- Maintain sharp blades to ensure clean cuts
- Avoid excessive trimming that alters component size
- Ensure consistent edge finish across pairs
- Train operators for controlled hand movement
Pro Tip : Avoid machine trimming for uppers; use skilled manual trimming for better control
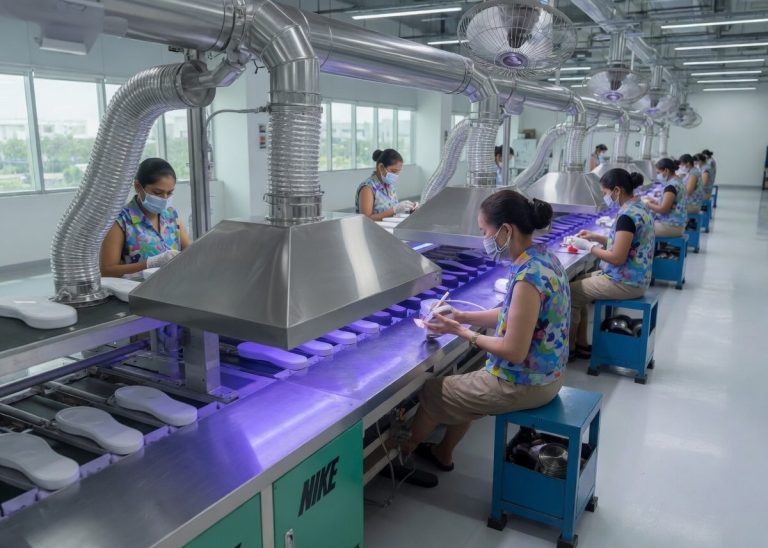
Hot Edge Burning
Hot edge burning or heat sealing is used to smooth and seal edges by controlled heat application. While commonly associated with synthetic materials, it is also applied in leather processing under controlled conditions.
For synthetic materials, heat melts fibers to prevent fraying. In leather, hot air or controlled flame is used to burn loose fibers and flatten the edge surface, improving smoothness and visual appeal. This process becomes important when:
- Leather edges are fibrous after splitting or skiving
- High aesthetic finish is required
- Edges need slight sealing before folding or stitching
In execution, operators pass hot air or flame along the edge. The heat slightly burns protruding fibers, creating a compact and smoother edge. However, this requires high skill because leather reacts differently depending on type and finish. A key risk is overheating, which can:
- Blacken the edge
- Create rough or brittle surfaces
- Damage finished leather
Therefore, this process is used selectively, mainly in premium or controlled finishing environments.
Key Control Points:
- Maintain controlled heat exposure (avoid direct burning)
- Test on sample before bulk production
- Avoid prolonged heating to prevent black edges
- Ensure uniform movement during application
Pro Tip : Use hot air lightly on leather—over-burning reduces product quality instantly
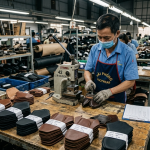
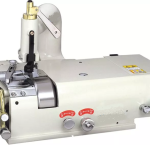
Buffing / Edge Grinding
Buffing or edge grinding is a mechanical abrasion process used to smooth edges using abrasive wheels. In footwear manufacturing, this process is primarily applied in sandal uppers and open-edge constructions, especially for leather components.
Unlike closed shoes where edges are folded or stitched inside, sandals and open footwear expose edges. Therefore, achieving a smooth, refined edge becomes critical for both comfort and aesthetics.
This process is especially important for:
- Sandal straps
- Open upper designs
- Thick leather edges
- Decorative exposed edges
In execution, the operator guides the component edge against a rotating abrasive wheel. The friction removes uneven fibers and smoothens the edge surface. Depending on the finish requirement, multiple passes or different grit levels may be used. Buffing is rarely applied to fabric or synthetic uppers because:
- It may damage material structure
- It does not provide effective finishing
Thus, its application remains leather-focused and design-specific.
Key Control Points:
- Use correct abrasive grit based on leather thickness
- Avoid excessive pressure to prevent edge rounding
- Maintain consistent movement for uniform finish
- Ensure dust extraction for operator safety
Pro Tip : Buffing is essential for sandals—define grit standard per product category
Edge Cleaning (Dust & Fiber Removal)
After trimming or buffing, components often retain dust, loose fibers, or debris. Edge cleaning ensures that components are free from contaminants before stitching or bonding.
This step is essential because residual dust can affect stitching quality, adhesive bonding, and overall product cleanliness.
Operators use air blowers, brushes, or vacuum systems to clean edges. In automated setups, inline cleaning systems are integrated with trimming machines.
Key Control Points:
- Ensure complete removal of dust and loose fibers
- Use clean air supply to avoid contamination
- Inspect edges visually after cleaning
- Maintain housekeeping standards in the work area
Pro Tip : Combine light trimming + buffing for premium exposed leather edges

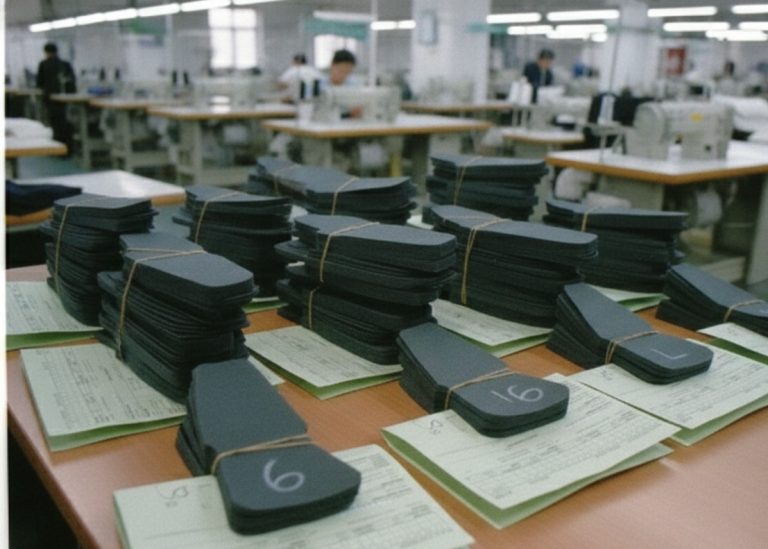
Edge Quality Inspection
Edge quality inspection verifies that all trimming and finishing processes meet required standards. This step ensures that only acceptable components move to stitching.
Inspection is crucial because poor edge quality directly affects seam strength, folding accuracy, and product aesthetics.
Inspectors check for smoothness, uniformity, absence of fraying, and dimensional accuracy. Components with defects are either reworked or rejected.
Key Control Points:
- Check edge smoothness and uniformity
- Verify no fraying or loose fibers
- Ensure component dimensions are intact
- Maintain inspection standards and records
Pro Tip : Introduce inline inspection instead of end-line to reduce rework
Frequently Asked Questions – FAQs
1. Why is edge trimming necessary after cutting?
Cutting often leaves uneven edges or fibers, especially in leather and synthetics, which must be removed for proper stitching and aesthetics.
2. Can trimming affect component size?
Yes, improper trimming can reduce component dimensions, so controlled trimming is essential.
3. Which materials require heat sealing?
Synthetic materials, mesh, and textiles require heat sealing to prevent fraying.
4. Is buffing required for all components?
No, buffing is mainly used for leather components where fibrous edges are present.
5. What causes rough edges after cutting?
Blunt dies, worn cutting boards, improper pressure, and material characteristics.
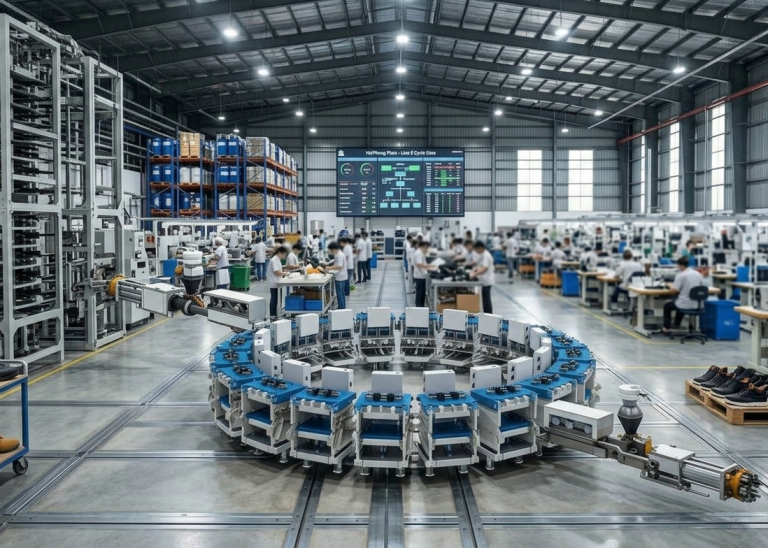
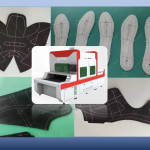
6. Can trimming be automated completely?
Partially. Machine trimming handles bulk, but manual correction is still needed for precision.
7. How to control trimming quality?
Through proper tool maintenance, operator training, and inline inspection.
Pro Tip : Use visual standards or sample boards for consistent judgment
Explore other Stitching Process Series
- Stitching Process in Footwear Manufacturing: From Cutting to Closing Assembly in Shoe Production
- Cut Component inspection after cutting/clicking – Stitching Process Series
- Cut Component Pairing & Match Marking After Cutting / Clicking-Stitching Process Series
- Cut Component Stamping After Cutting / Clicking – Stitching Process Series
- Component Marking After Cutting/Clicking–Stitching Process Series
- Component Branding in Footwear Manufacturing–Stitching Process Series
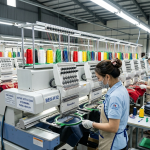
- Component Embroidery in Footwear Manufacturing–Stitching Process Series
- Component Skiving in Footwear Manufacturing–Stitching Process Series
- Component Splitting in Footwear Manufacturing–Stitching Process Series
- Reinforcement (Backers & Tapes) Process in Footwear Manufacturing – Stitching Process Series