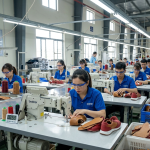
Upper Final Inspection in Footwear Upper Manufacturing – Stitching Process Series
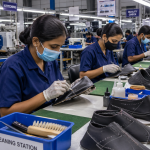
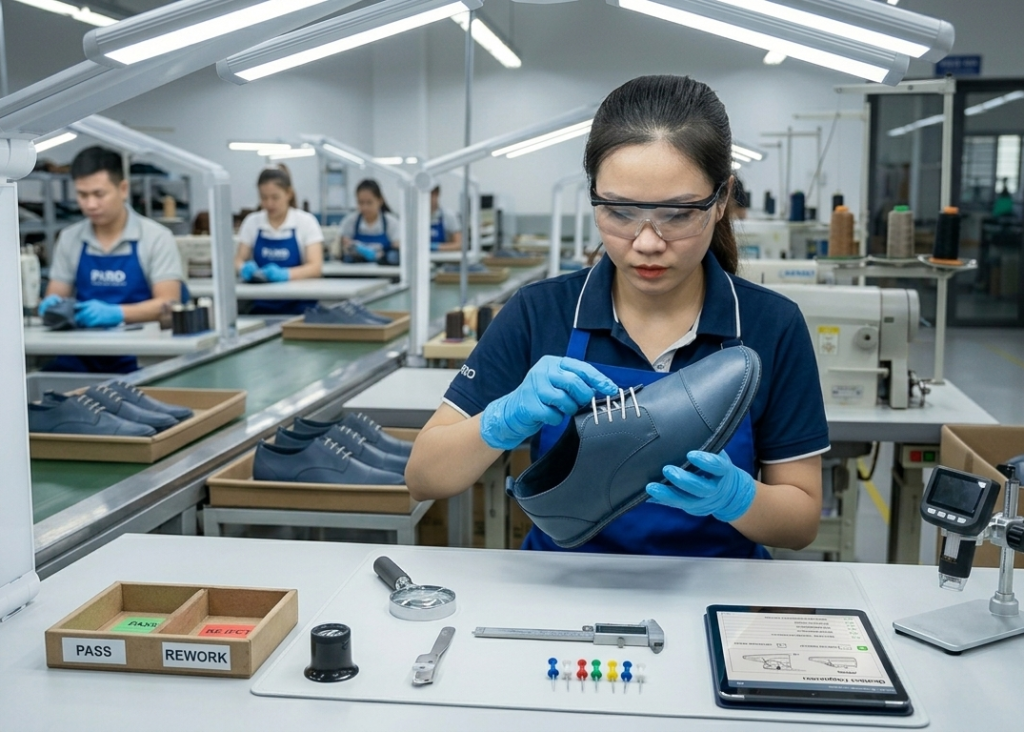
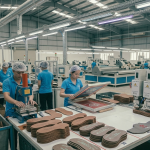
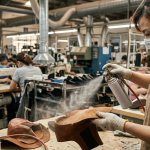
Upper final inspection is the last quality gate before uppers move to lasting or assembly. At this stage, the focus shifts from process control to defect detection, ensuring only approved uppers proceed further. Therefore, this stage directly impacts product appearance, brand quality perception, and rejection costs.
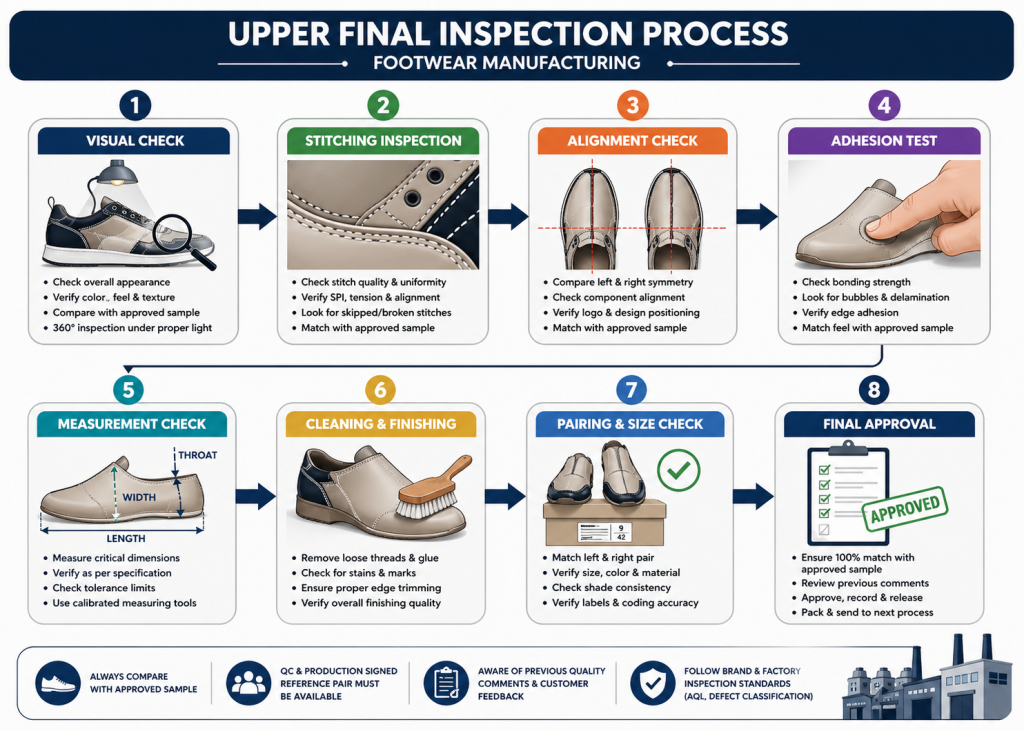
Visual Inspection of Upper Appearance
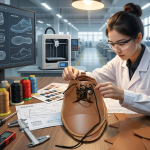
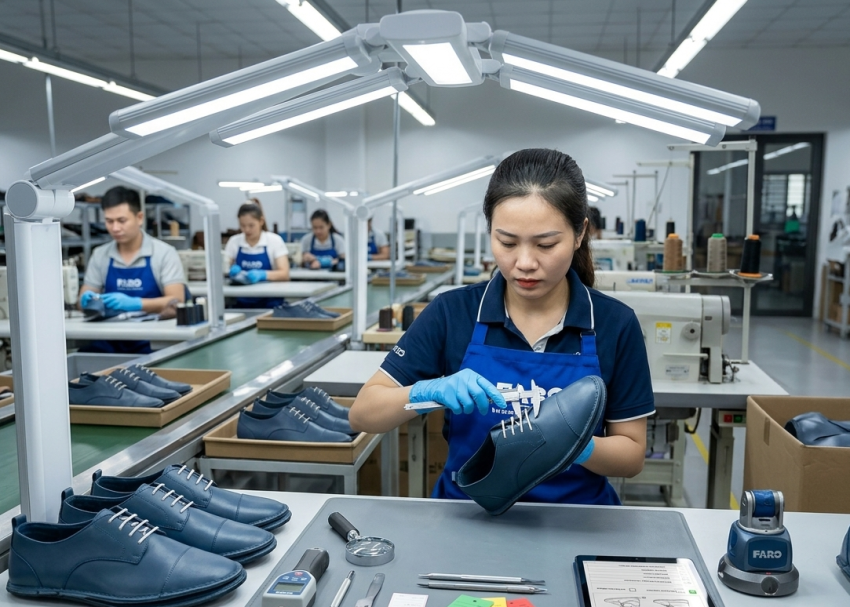
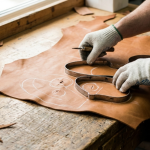
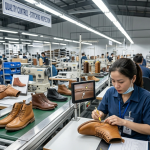
Visual inspection ensures the upper meets aesthetic and workmanship standards before dispatch to the next stage. It focuses on identifying visible defects such as stitching irregularities, material damage, and finishing issues.
In practice, inspectors check the upper under proper lighting conditions. They rotate the upper to examine all angles, including vamp, quarters, tongue, and collar areas. Additionally, they must always compare production uppers against approved samples provided by Development or Customer to ensure alignment with expectations.
Moreover, inspectors verify color, material feel, and overall appearance consistency with the approved sample. This step is critical because visual mismatch—even without defects—can lead to rejection. Furthermore, one sealed reference pair (signed by QC and Production) must be available at the inspection area.
This ensures a clear benchmark for inspection teams and eliminates subjective judgement.
Key Control Points:
- Maintain consistent lighting (1000–1500 lux)
- Compare with approved Development/Customer sample
- Verify color, feel, and appearance consistency
- Keep signed reference pair at inspection station
Pro Tip :
Always maintain a sealed, signed reference pair at inspection
Conduct pre-inspection briefing on past defects & customer feedback
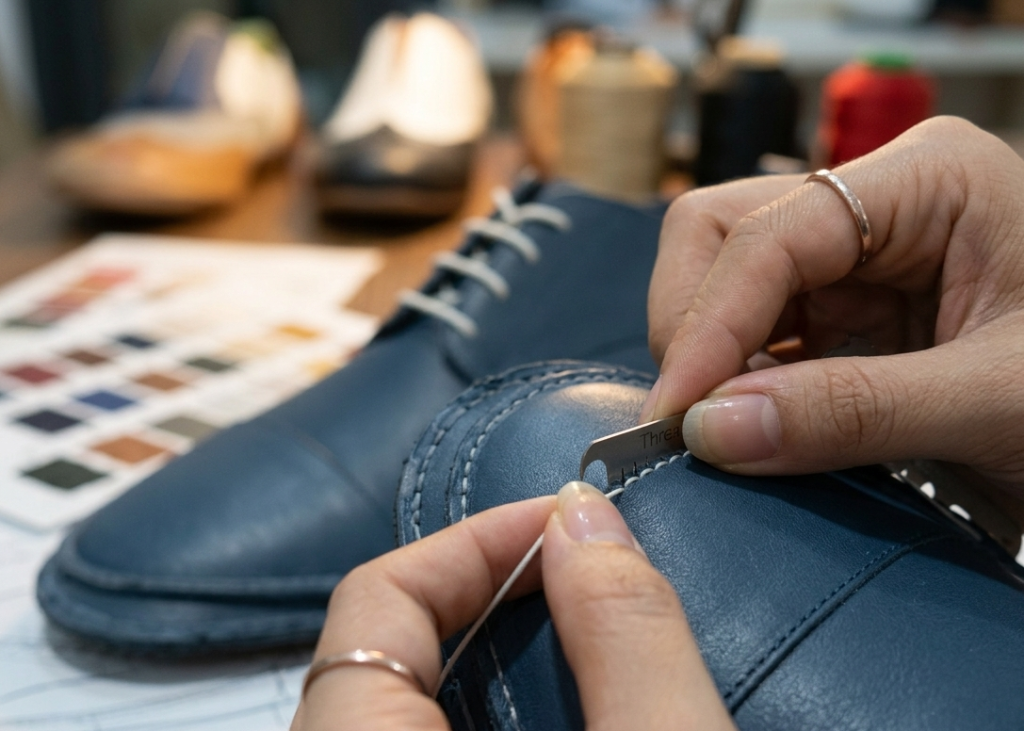
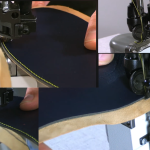
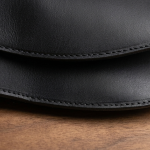
Stitching Quality Verification
Stitching quality verification ensures that all stitched components meet strength, alignment, and appearance standards. Since stitching defines both structure and aesthetics, this check is critical. Inspectors evaluate stitch density (SPI), seam alignment, thread tension, and stitch uniformity. In addition, they must cross-check stitching execution with the approved sample to ensure exact replication of stitch type, margin, and visual appearance.
For example, even if stitching meets technical parameters, deviation from approved aesthetics (top stitch margin, decorative stitch pattern) is considered a defect. Therefore, approved samples act as the final reference. Additionally, previous production quality issues and customer complaints related to stitching must be reviewed before inspection.
This ensures inspectors focus on known risk areas.
Key Control Points:
- Verify SPI and stitch parameters as per spec
- Match stitch appearance with approved sample
- Check known defect zones from past feedback
- Ensure seam alignment within tolerance
Pro Tip :
Align QC and Production teams using approved sample benchmarking
Never rely only on specs—sample comparison is mandatory
Component Alignment & Symmetry Check
Component alignment ensures all upper parts are assembled correctly and symmetrically. Poor alignment directly affects shoe fitting and appearance. Inspectors compare left and right pairs to confirm symmetry. They check alignment of vamp, eyestay, tongue position, and quarter panels. Additionally, alignment must strictly match the approved development sample, including logo placement and design orientation.
Moreover, inspectors must consider historical alignment issues reported during production or customer audits.
This allows focused inspection on recurring problem areas. Using templates or guides aligned with the approved sample helps eliminate variation and ensures consistency across bulk production.
Key Control Points:
- Compare left vs right pair symmetry
- Match alignment with approved sample
- Focus on past alignment-related defects
- Use templates for critical positioning
Pro Tip :
Introduce defect trend boards near inspection area
Ensure brand QC checklist compliance before approval
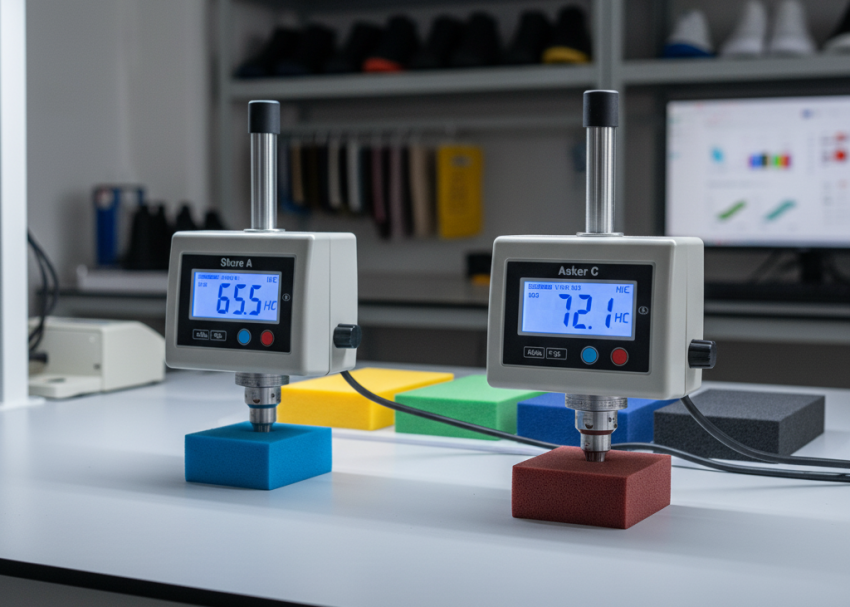
Adhesion & Lamination Check
Adhesion inspection ensures all laminated or bonded components are securely attached. This includes foam, lining, reinforcements, and decorative overlays. Inspectors manually press bonded areas to check for delamination or bubbles. Additionally, they must verify that bonding quality and finish match the approved sample, especially in nosew or laminated constructions.
Inconsistent feel (too hard/too soft) compared to approved samples indicates incorrect process parameters. Therefore, inspectors must physically assess the feel and flexibility of bonded areas. Also, previous adhesion-related failures (from production or customer feedback) must be reviewed to prioritize inspection focus.
Key Control Points:
- Check for bubbles, gaps, and weak bonding
- Match bonding feel with approved sample
- Inspect critical adhesion zones from past issues
- Verify edge bonding consistency
Pro Tip :
Train inspectors on feel evaluation (softness, bonding, flexibility)
Perform random re-check by senior QC for validation consistency
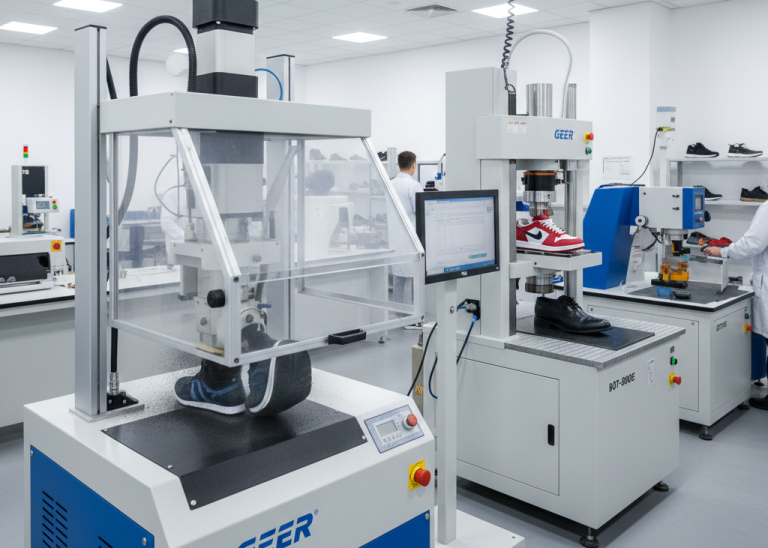
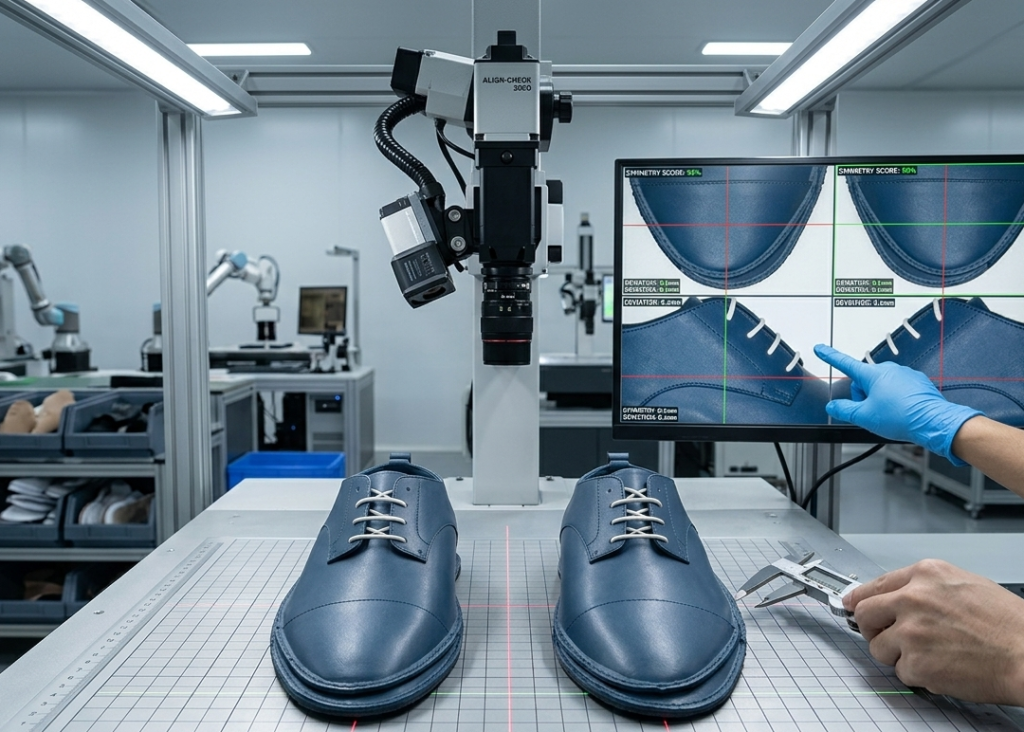
Measurement & Dimension Verification
Measurement verification ensures the upper meets dimensional specifications required for proper lasting and fitting. Inspectors measure key points such as upper length, width, throat opening, and collar height using gauges or measuring tools. In addition, measurements must be validated against both specification sheets and approved samples to ensure real-world accuracy.
Sometimes, specifications alone are insufficient due to material variation. Therefore, the approved sample acts as a practical reference benchmark. Inspectors must also consider feedback from assembly or lasting teams, especially if dimensional issues were previously reported.
Key Control Points:
- Measure dimensions as per spec and sample
- Follow tolerance limits strictly
- Use calibrated tools only
- Check known dimensional risk areas
Pro Tip :
Always use a golden sample updated with latest buyer approval
Implement AQL-based random inspection for bulk control
Cleanliness & Finishing Inspection
Cleanliness inspection ensures the upper is free from stains, glue marks, dust, and loose threads. This step directly impacts product presentation.
Inspectors remove loose threads, clean adhesive marks, and check for material stains. Additionally, finishing quality must match the approved sample in terms of edge trimming, folding quality, and overall neatness. Even when technically correct, poor finishing compared to the approved sample is unacceptable. Therefore, inspectors must align finishing standards with sample expectations.
Key Control Points:
- Remove loose threads and glue marks
- Match finishing quality with approved sample
- Check for stains or discoloration
- Maintain clean inspection environment
Pro Tip :
Train inspectors with defect libraries (visual boards)
Use LED shadow-free lighting for better defect visibility
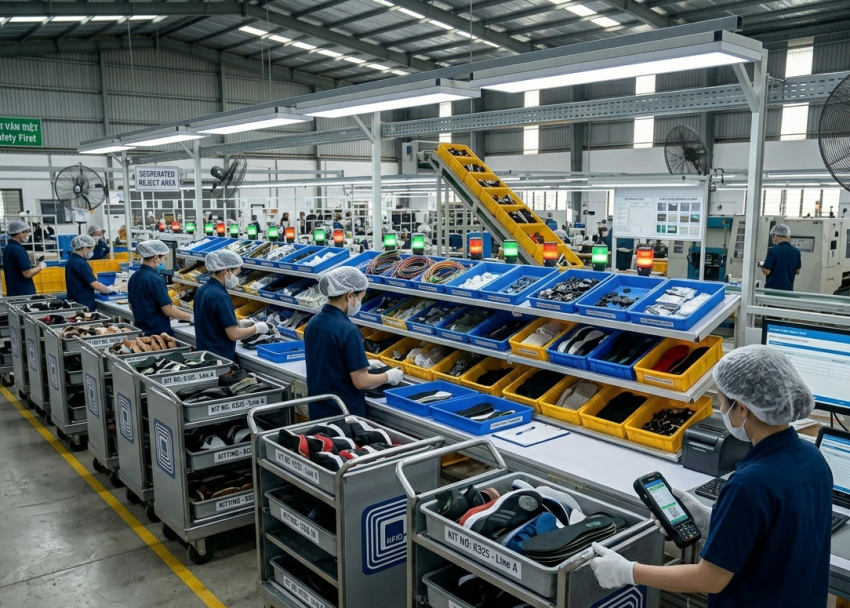
Pairing & Size Verification
Pairing ensures that left and right uppers match correctly in size, color, and material. Inspectors verify size markings, color shade consistency, and material matching between pairs. In addition, they must ensure that pairing matches the approved sample standard for shade, texture, and appearance.
Color variation within a pair—even within tolerance—must be evaluated against the approved sample. This ensures consistent visual presentation.
Key Control Points:
- Match left-right size, color, and material
- Compare pairing with approved sample
- Verify labeling and coding accuracy
- Ensure shade consistency within pair
Pro Tip :
Standardize inspection time per pair to avoid rushed checks
Final Approval & Packing Release
Final approval confirms that inspected uppers meet all quality standards and are ready for dispatch to the next process. Inspectors approve only those uppers that meet specifications, visual standards, and match 100% with the approved development or customer sample. A reference pair signed by QC and Production must be used as the final decision benchmark.
Additionally, all previous production feedback and customer comments must be reviewed and closed before granting approval. This ensures continuous improvement and avoids repeat defects. Finally, inspectors must follow brand-specific and factory-defined upper inspection protocols, including AQL standards, defect classification, and reporting formats.
Key Control Points:
- Approve only uppers matching approved sample
- Use signed reference pair for final validation
- Ensure closure of past quality issues
- Follow brand and factory QC standards
Pro Tip :
Maintain defect trend analysis for continuous improvement
Frequently Asked Questions – FAQs
1. What is the purpose of upper final inspection?
It ensures only defect-free uppers move to lasting, preventing downstream quality issues.
2. What are common defects found in upper inspection?
Skipped stitches, misalignment, glue marks, poor adhesion, and size mismatch.
3. What lighting is required for inspection?
Typically 1000–1500 lux standardized lighting for consistent visibility.
4. Why is symmetry important in uppers?
It ensures proper fit and visual consistency between left and right shoes.
5. How is stitching quality checked?
By verifying SPI, tension, seam alignment, and absence of defects.
6. What happens to rejected uppers?
They are sent for rework or scrapped based on defect severity.
Pro Tip : Introduce inline + final inspection linkage to reduce rejections
Explore other Stitching Process Series
- Nosew Application in Footwear Manufacturing – Stitching Process Series
- Component Folding in Footwear Manufacturing – Stitching Process Series
- Stitching Assembly Process in Upper Manufacturing (Part 1)– Stitching Process Series
- Stitching Assembly Defects, Line Balancing & Productivity (Part 2)– Stitching Process Series
- Cementing in Upper Manufacturing (Stitching Support Process)– Stitching Process Series
- Toe Puff (Box Toe) Attaching Process in Footwear Upper Manufacturing – Stitching Process Series
- Counter Stiffener Attaching in Footwear Upper Manufacturing – Stitching Process Series
- Upper & Lining Lamination in Footwear Upper Manufacturing – Stitching Process Series
- Bottom Stitching (Upper Feather Edge) in Footwear Upper Manufacturing
- Lacing in Footwear Upper Manufacturing – Stitching Process Series