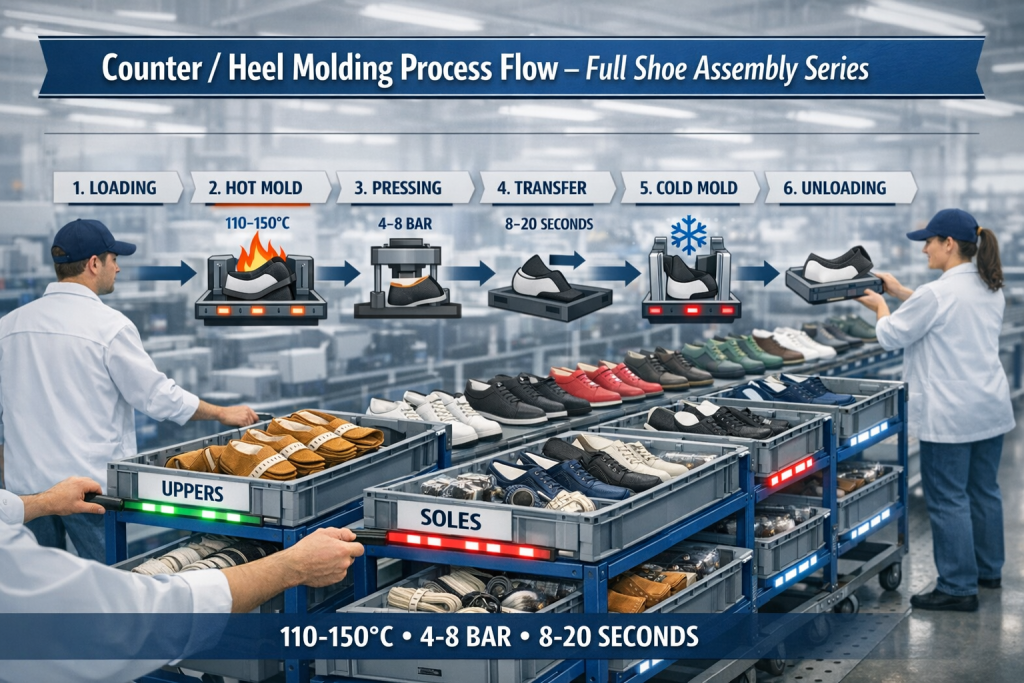
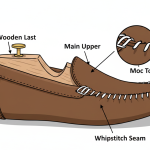
Counter / Heel Molding in Full Shoe Manufacturing – Full Shoe Assembly Series
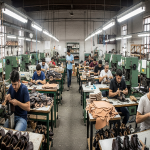
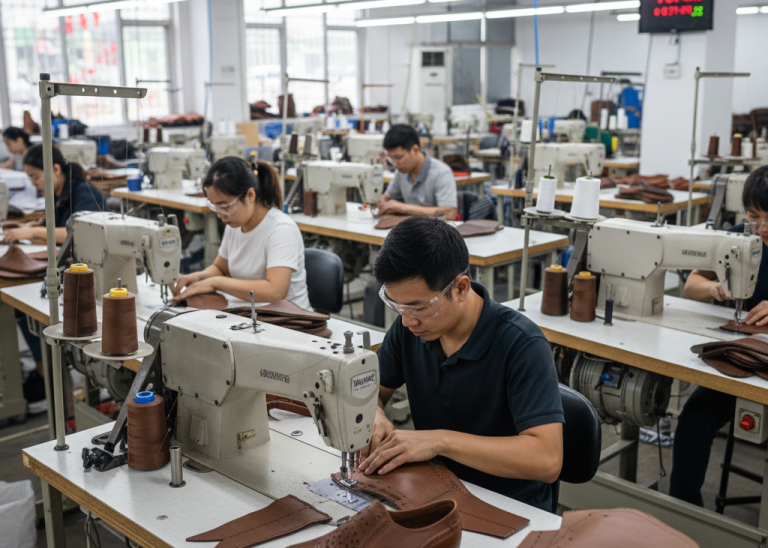
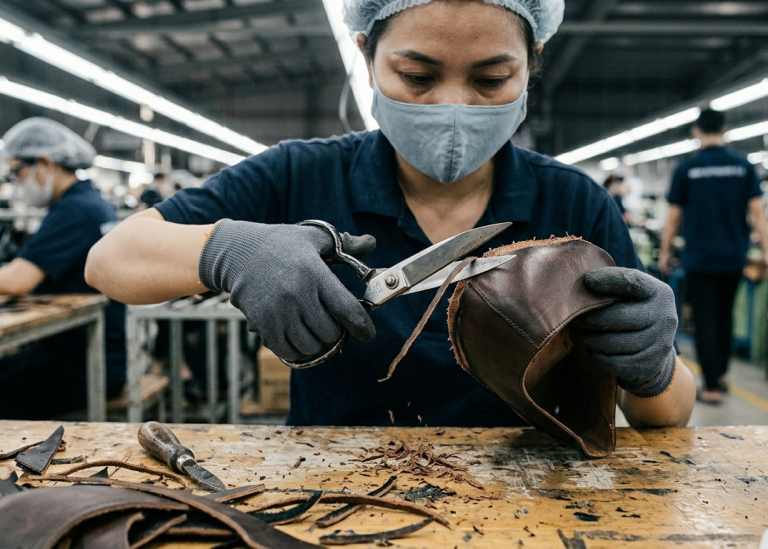
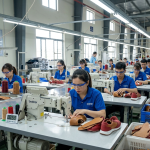
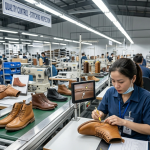
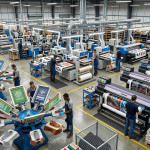
Following the efficient Kitting (Component Bundling and Sequencing) in Full Shoe Manufacturing – Full Shoe Assembly Series stage, where all upper components including the pre-inserted thermoplastic or fiber counter stiffener arrive perfectly prepared and sequenced, operators move directly into counter / heel molding. This critical step transforms the flat heel section into a precisely contoured, rigid structure that matches the last exactly. Factories performing this operation achieve consistent heel shape, collapse resistance, and long-term support that directly impacts the final shoe fit and durability.
In full shoe assembly lines, counter / heel molding activates the stiffener while setting the heel curve under controlled heat, pressure, and cooling. The result delivers the necessary rigidity without compromising flexibility at the lasting margin. This process integrates seamlessly after kitting and prepares the upper for subsequent lasting and blocking operations.
Counter / Heel Molding Process Overview
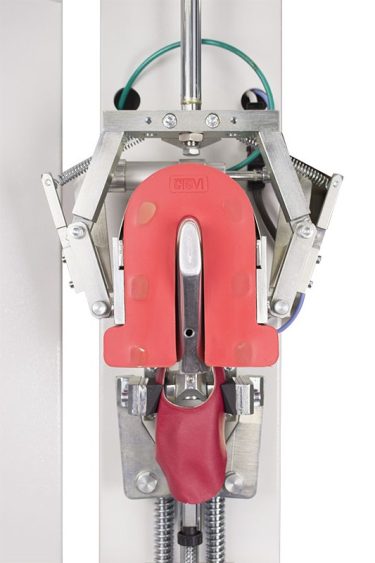
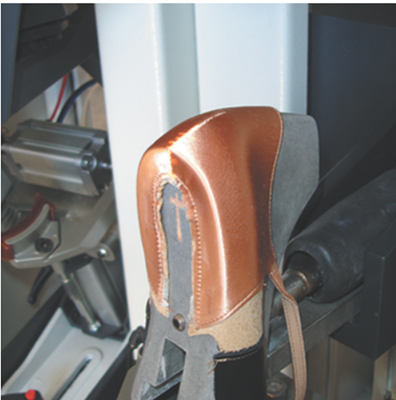
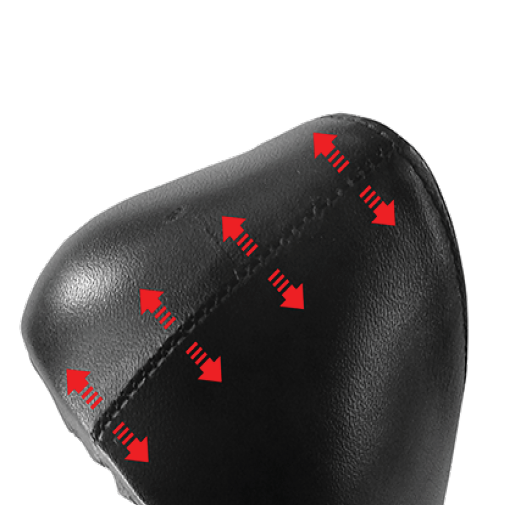
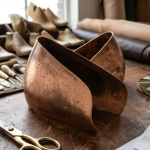
Counter / heel molding shapes the heel section of the shoe upper, complete with its pre-inserted thermoplastic or fiber counter stiffener, using matched hot and cold molds. These molds replicate the exact heel contour of the designated last.
This operation activates the stiffener material, sets the heel curve permanently, and provides the rigidity required for heel support, collapse resistance, and shape retention throughout the shoe’s service life.
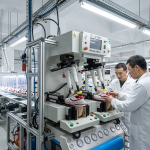
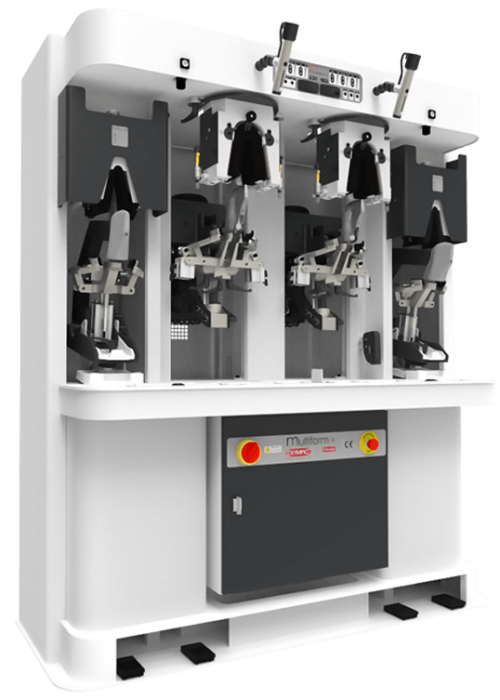
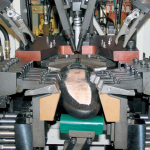
Technicians execute it on hydraulic or pneumatic presses equipped with dual-station rotary tables for continuous production flow.
Factories rely on this process because it ensures dimensional accuracy and structural integrity at the heel, which prevents heel slippage during wear and maintains the shoe’s silhouette after repeated flexing. Without proper molding, uppers distort easily during lasting or in final use, leading to rejects and customer complaints.
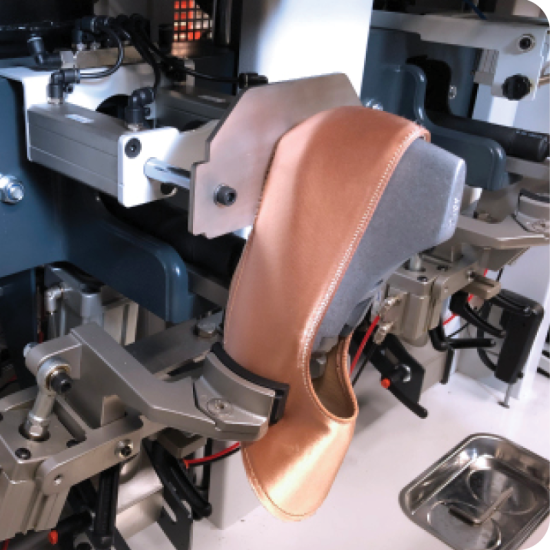
Operators position the heel section of the prepared upper onto the mold. The hot mold activates the stiffener at 110–150°C while pressure reaches 4–8 bar. The cold mold then sets the shape at 10–25°C. Dwell time ranges from 8–20 seconds depending on material thickness and type. Dual-station rotary tables allow one station to mold while the operator loads the next, eliminating bottlenecks in medium-to-high volume lines.
Courtesy : OLYMPIC LIMITED
Key Control Points:
- Maintain exact mold geometry calibrated to the specific last, preferably via 3D scanning for repeatability.
- Monitor hot mold temperature directly at the interface surface with a contact probe instead of relying only on machine displays.
- Control dwell time and pressure precisely to avoid scorching or insufficient activation that causes poor shape memory.
- Keep the lasting margin beyond the counter edge at 2–4 mm in strobel constructions to ensure proper subsequent lasting.
Expert Tip: Always verify actual mold surface temperatures with a calibrated contact probe rather than depending solely on digital displays — small deviations cause major quality swings.
Machine Setup and Mold Preparation
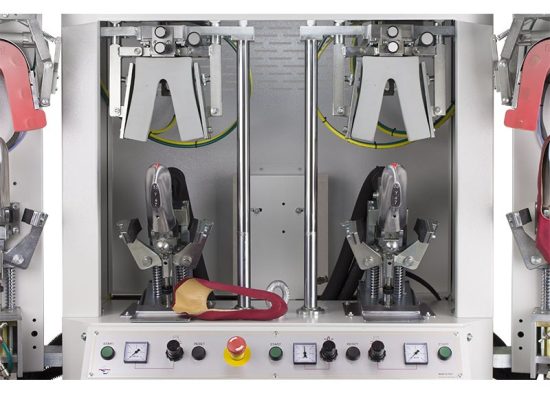
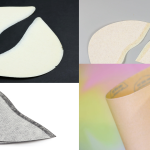
Technicians prepare the heel molding press by installing matched aluminum or composite molds designed for the specific last. Hot molds incorporate heating elements, while cold molds connect to chilled water circulation.
Proper setup matters because inaccurate mold alignment or temperature variation directly affects heel contour consistency across batches. Factories that calibrate molds accurately reduce rework and achieve higher first-pass yield in assembly.
Operators mount the molds securely on the press stations. They connect heating and cooling systems, then run a test cycle with scrap uppers to verify temperature uniformity and pressure distribution. Dual-station rotary or linear tables enable one side to heat while the other cools, supporting continuous operation.
Key Control Points:
- Verify mold temperature at the actual contact surface before production starts each shift.
- Align molds precisely to the last contour using alignment pins or laser guides.
- Check hydraulic or pneumatic pressure gauges and calibrate to 4–8 bar range.
- Inspect mold surfaces for wear or residue that could imprint defects on the upper.
Expert Tip: For high-volume lines, implement quick-change mold systems with pre-heated spares to minimize downtime during style changes.
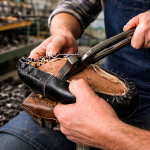
Loading and Pre-Positioning the Upper
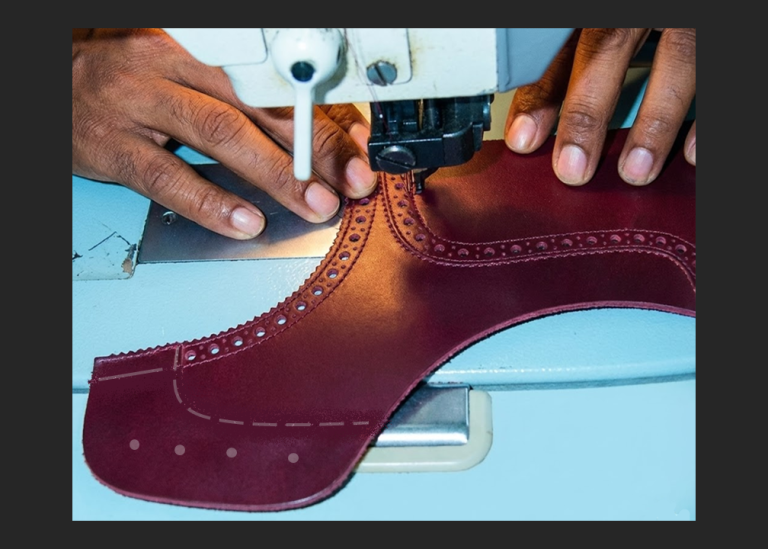
Operators load the kitted heel section of the upper onto the mold, ensuring the pre-inserted counter stiffener sits flat and centered. They smooth any wrinkles and align the back seam or center mark with mold references.
This step is essential because correct positioning prevents distortion and guarantees the stiffener activates uniformly. Misalignment creates uneven heel curves that cause fit issues or visual defects in the finished shoe.
Workers use locating pins, guides, or vacuum assistance on modern presses to hold the upper securely during closure. For leather uppers, light steaming or conditioning may precede loading to improve moldability without excess moisture.
Courtesy – OLYMPIC LIMITED
Key Control Points:
- Center the heel section exactly on the mold using printed reference lines or mechanical stops.
- Remove any excess folds or pleats manually before press closure.
- Confirm the lasting margin extends 2–4 mm beyond the counter edge where required.
- Avoid over-stretching the material during loading to preserve grain integrity.
Pro Tip: Store molded uppers in controlled humidity conditions immediately after processing to stabilize the set shape before lasting.
Hot Mold Activation and Pressure Application
The press closes the hot mold against the upper at 110–150°C. Pressure builds to 4–8 bar for the programmed dwell time of 8–20 seconds, activating the thermoplastic or fiber stiffener and forming the heel contour.
This phase delivers importance through reliable stiffener activation that creates “memory” in the material, ensuring the heel holds its shape under foot pressure and maintains structural support.
Consistent activation reduces heel collapse in wear and improves overall shoe stability.
The hydraulic or pneumatic system applies even pressure across the mold surface.
Key Control Points:
- Set and verify hot mold temperature within material-specific range to prevent brittleness or scorching.
- Apply pressure gradually to avoid material crushing or uneven forming.
- Record dwell time for each batch and adjust based on stiffener thickness.
- Monitor for any steam or gas release that indicates overheating.
Expert Tip: Train operators to recognize subtle signs of insufficient activation, such as soft heel feel or slight spring-back during manual flex testing.
Cold Mold Setting and Shape Fixation
After hot activation, the upper transfers to the cold mold station at Minus 10 – 0°C. The press applies pressure again for the required dwell, rapidly cooling and fixing the heel shape permanently.
Cold setting locks the contour and stiffener memory, delivering long-term shape retention and resistance to deformation. This step directly impacts the shoe’s ability to maintain heel grip and appearance after multiple wear cycles.
The chilled mold extracts heat quickly while maintaining pressure, solidifying the formed heel. Dual-station design ensures the next upper enters the hot mold simultaneously for maximum throughput.
Key Control Points:
- Maintain cold mold temperature consistently with chilled water flow monitoring.
- Apply sufficient pressure during cooling to prevent spring-back of the material.
- Allow full dwell time to achieve complete shape fixation before unloading.
- Inspect for condensation on cold molds and manage humidity to avoid water marks on uppers.
Expert Tip: Use 3D-scanned last data to create or adjust molds digitally, reducing fitting trials and improving first-article approval speed.
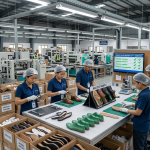
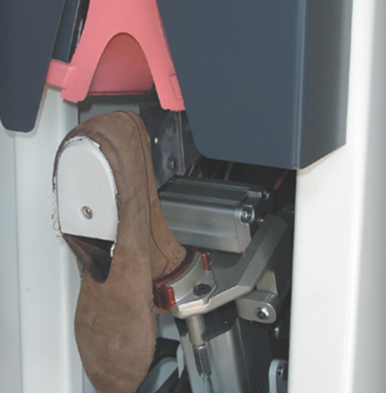
Unloading, Inspection, and Quality Assurance
Operators open the press and carefully remove the molded upper. They inspect the heel contour for uniformity, check stiffener activation, and verify no scorching, wrinkles, or distortion occurred.
Inspection ensures every upper meets standards before moving forward, preventing downstream defects in lasting or finishing. Consistent quality at this stage maintains high throughput and reduces material waste.
Workers use go/no-go gauges or compare against master samples. They cool the uppers naturally or with air flow if needed, then transfer them to the next station in sequence.
Courtesy: OLYMPIC LIMITED
Key Control Points:
- Visually and tactilely check heel contour symmetry and rigidity immediately after unloading.
- Measure counter height and curvature against specifications.
- Reject or rework pieces showing scorching, incomplete activation, or margin inconsistencies.
- Log temperature, pressure, and dwell data for each batch to enable traceability and process optimization.
Expert Tip: Schedule regular mold surface polishing and anti-stick coating renewal to maintain clean release and prevent upper damage
Conclusion
Counter / heel molding establishes the foundational rigidity and contour that supports the entire shoe structure after kitting. Mastering temperature, pressure, dwell, and mold accuracy at this stage directly elevates consistency in downstream operations. Next in the Full Shoe Assembly Series, explore Upper Blocking (Primarily for Leather Uppers), which further refines the shaped upper for lasting and final assembly.
Expert Tip: In mixed material runs, group similar stiffener types together to simplify temperature and dwell settings across stations.
Frequently Asked Questions – FAQs
What temperature range is typically used for the hot mold in counter / heel molding?
Hot mold temperatures range from 90–150°C depending on the thermoplastic or fiber stiffener material to ensure proper activation without damage.
Why is the cold mold station essential in heel molding?
The cold mold rapidly sets and fixes the heel contour, locking in shape memory and preventing spring-back for long-term stability.
How long does a typical dwell time last in counter molding?
Dwell time usually ranges from 10–30 seconds, adjusted according to material thickness, stiffener type, and desired rigidity.
What pressure level should operators apply during heel molding?
Apply 4–8 bar of pressure to form the material evenly without crushing or distorting the upper.
Can the same molds be used for different shoe styles?
No — molds must be specific to the last contour; 3D scanning helps create accurate, style-specific molds.
What happens if the lasting margin is not maintained?
Incorrect margin leads to poor adhesion or distortion during lasting, causing fit and durability issues in the finished shoe.
How often should mold temperatures be verified with a contact probe?
Verify at the start of each shift and after any style change or prolonged stoppage for consistent results.
Expert Tip: Integrate inline temperature logging sensors for real-time alerts on out-of-spec conditions.