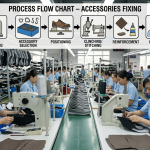
Bottom Stitching (Upper Feather Edge) in Footwear Upper Manufacturing – Stitching Process Series
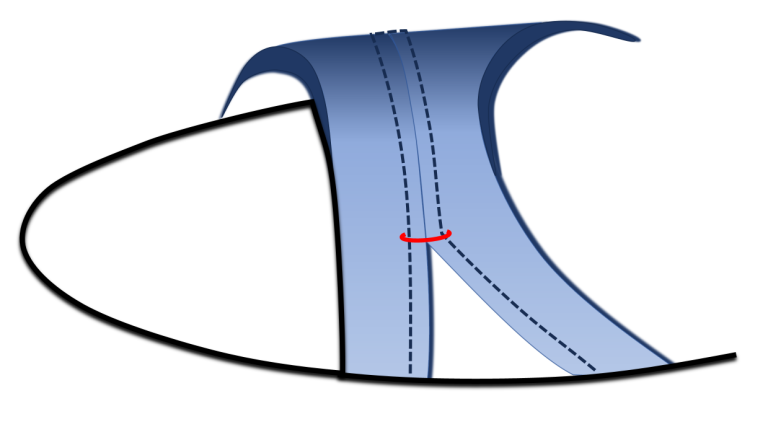
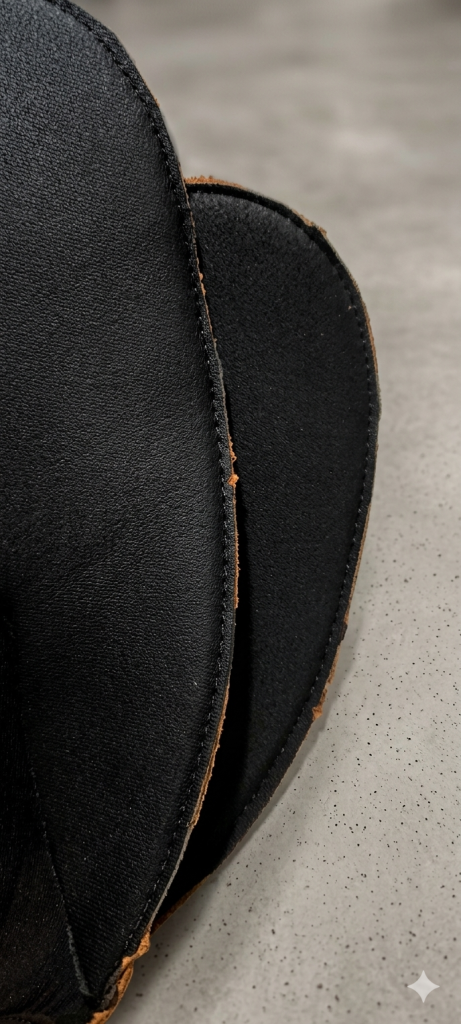
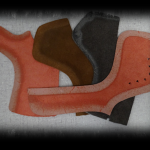
Bottom stitching (Upper Feather Edge / Lasting Margin Stitching) secures the lower edge of the upper by stitching the upper material with the lining at the feather edge. This operation is critical before lasting because it locks both layers and prevents separation during pulling and shaping.
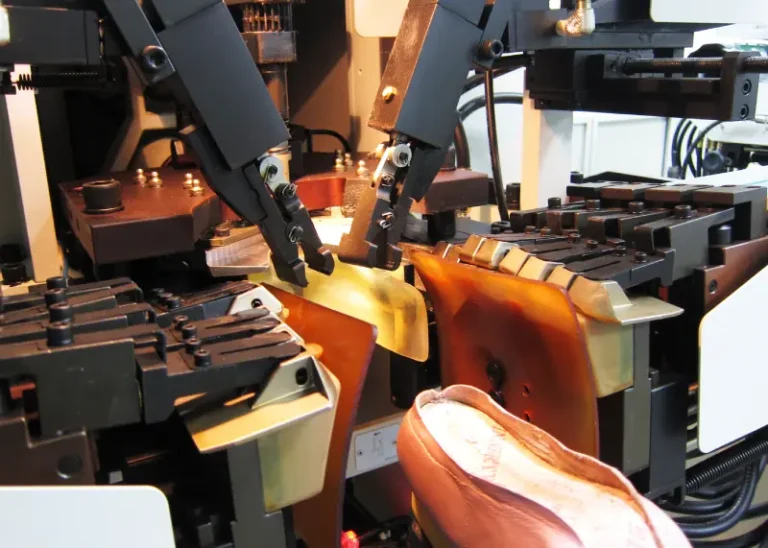
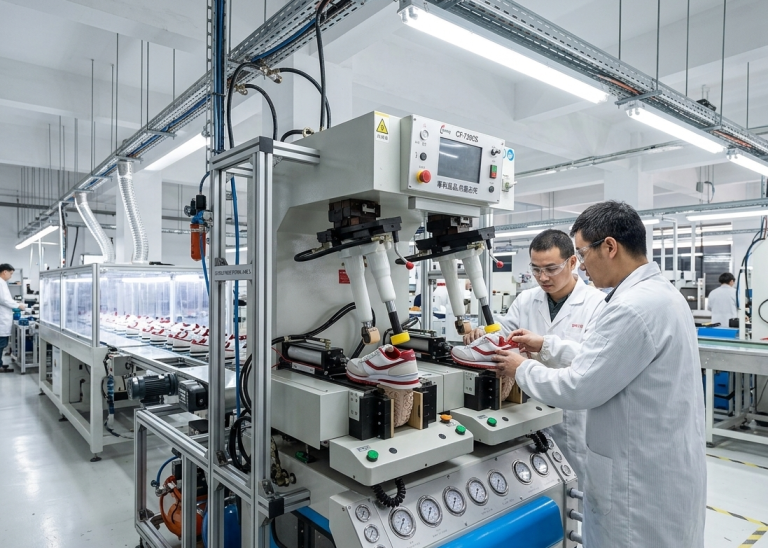
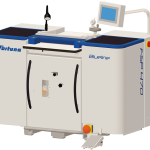
In factory conditions, this stitching is always executed using a post-bed machine, which allows better control of the curved bottom edge. Since this stitching sits close to the outsole attaching area, margin control becomes extremely critical.

Bottom Stitching (Feather Edge Stitching)
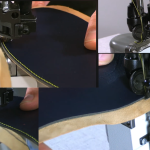
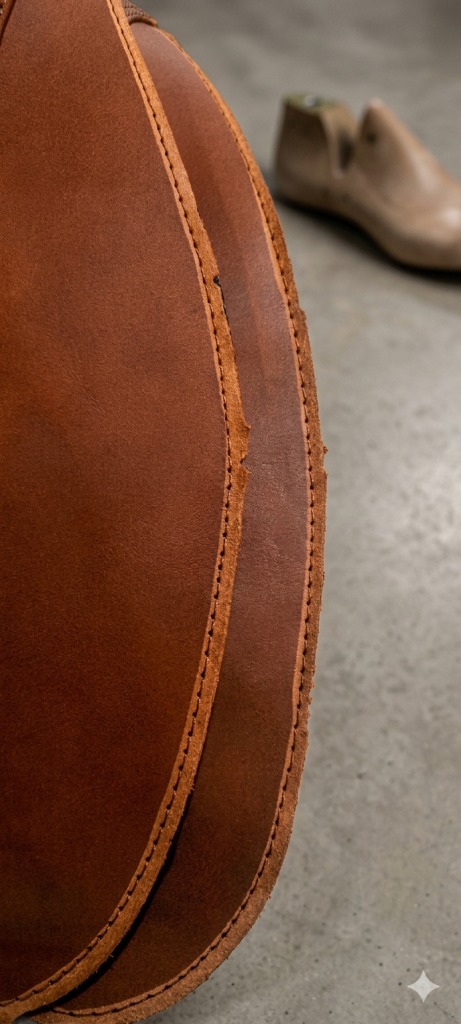
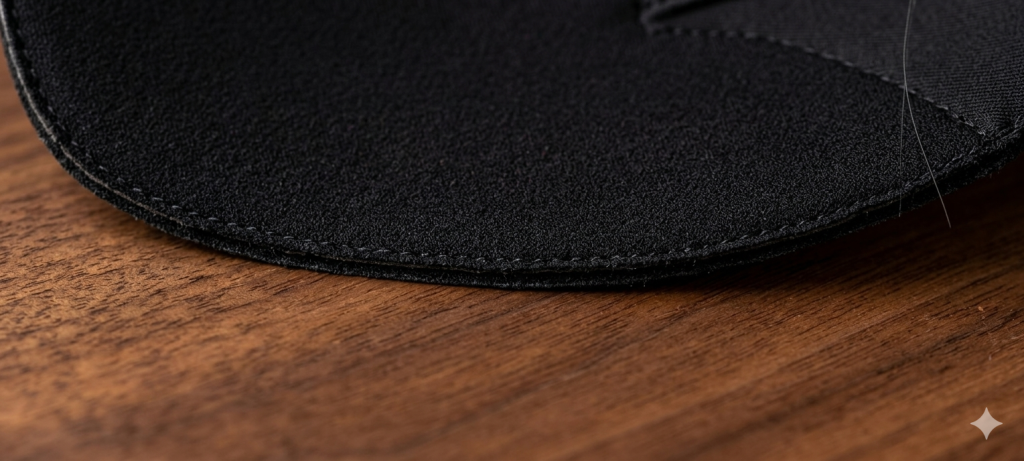
Bottom stitching (Feather Edge or Lasting Margin Stitching) is performed along the lower edge of the upper to secure the upper material and lining together. The stitch must always catch the lining completely; otherwise, the lining will open during lasting. This operation plays a key role in preparing the upper for lasting. Once stitching is completed, the upper behaves as a single unit, which improves shape control and durability.
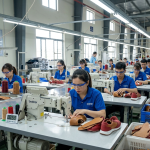
In execution, the operator feeds the upper through a post-bed machine using an edge guide. The guide ensures consistent stitching distance from the edge without the need for marking lines. Stitch length is generally kept slightly longer compared to visible stitching because the primary function is holding, not aesthetics. In some cases, factories may use obsolete or non-aesthetic threads since this stitching remains hidden under the outsole.
Key Control Points
- Stitch must fully catch the lining across entire edge
- Maintain consistent margin using machine guide
- Use longer stitch length for flexibility and holding strength
- Ensure smooth feeding without twisting the upper
Pro Tip :
Always set guide using a confirmed sample before bulk production
Mark and lock machine settings to avoid operator variation


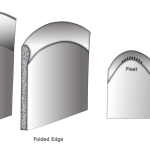
Stitch Margin Control (Critical for Construction Type)
Stitch margin is the most critical parameter in bottom stitching. It directly impacts both product quality and final appearance after outsole attachment. Different constructions require different stitch margins:
- Strobel Construction: ~3 mm from edge
- Cemented Construction: ~6 mm from edge
If stitching is done above the specified margin, the stitch line will become visible after outsole attachment. This is considered a major defect because it affects appearance and brand quality standards.
On the other hand, if stitching is too close to the edge, the needle may miss the lining. As a result, the lining will not be secured and may open during lasting, causing rejection. Since no marking lines are used, consistency depends entirely on machine guide setting and operator control.
Key Control Points
- Maintain exact margin as per construction requirement
- Avoid stitching above margin (visible after outsole)
- Avoid stitching too close (lining not caught)
- Regularly verify guide setting during production
Pro Tip :
Train operators specifically on margin importance (not speed)
Use trial stitching on first 2–3 pairs before line start
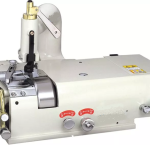
Machine Setup and Execution (Post-Bed Only)
Bottom stitching is always carried out using a post-bed sewing machine. This machine allows better visibility and control, especially along curved feather edges. The edge guide attached to the machine is the main control tool. It ensures uniform stitching distance throughout production. Therefore, correct guide setting is essential before starting bulk production.
Operators must feed the upper steadily without pulling or pushing excessively. Uneven feeding can cause variation in margin, which leads to defects that cannot be corrected later. Additionally, stitch length is set slightly higher to avoid excessive perforation and to allow flexibility during lasting.
Key Control Points
- Use post-bed machine only for this operation
- Set and lock edge guide before production
- Maintain consistent feeding speed
- Check stitch length setting before start
Pro Tip : Keep stitch length slightly higher to avoid stiffness

Defects in Bottom Stitching
Bottom stitching has very limited but highly critical defect points. Since this area is hidden after outsole attachment, functional defects are more important than visual ones. The most critical defect is when the stitch does not catch the lining. This leads to lining separation during lasting, which results in rejection.
The second major issue is incorrect stitch margin. If stitching is done above the specified margin, it becomes visible after outsole attachment. This is unacceptable in finished footwear. If stitching is too close to the edge, it fails to secure the lining properly. Both conditions directly affect product quality and cannot be corrected later.
Key Control Points
- Ensure stitching catches lining throughout
- Maintain correct margin as per construction
- Reject uppers with visible stitch above margin
- Monitor consistency across pairs
Pro Tip : Do not compromise margin for speed or ease of stitching
Inspection and Quality Control
Inspection of bottom stitching focuses on functional accuracy rather than appearance. Since this stitching is hidden, the focus is on whether the stitching performs its purpose. Inspectors must check if the stitching consistently catches the lining. Random checks should include slightly pulling layers to confirm proper locking.
Margin consistency must also be verified. Any deviation from the specified margin should be identified immediately and corrected at machine level. Inline inspection is critical because defects cannot be corrected after lasting.
Key Control Points
- Verify lining is fully secured
- Check margin consistency randomly
- Stop production if deviation is observed
- Ensure approval before lasting
Pro Tip : Replace needle regularly to avoid missing lining


Frequently Asked Questions – FAQs
1. What is bottom stitching in footwear?
It is stitching along the lower edge of the upper to secure the upper and lining before lasting.
2. Why must bottom stitching catch the lining?
If lining is not caught, it will open during lasting and cause rejection.
3. What machine is used for bottom stitching?
Only post-bed sewing machines are used for better control.
4. What is the stitch margin for bottom stitching?
Typically 3 mm for Strobel and 6 mm for cemented construction.
5. What happens if stitching is above the margin?
It becomes visible after outsole attachment and is considered defective.
6. Can bottom stitching defects be corrected later?
No, defects must be corrected before lasting.
Pro Tip : Ensure proper lighting for edge visibility
Explore other Stitching Process Series
- Component Marking After Cutting/Clicking–Stitching Process Series
- Component Splitting in Footwear Manufacturing–Stitching Process Series
- Reinforcement (Backers & Tapes) Process in Footwear Manufacturing – Stitching Process Series
- Nosew Application in Footwear Manufacturing – Stitching Process Series
- Component Folding in Footwear Manufacturing – Stitching Process Series
- Stitching Assembly Process in Upper Manufacturing (Part 1)– Stitching Process Series
- Stitching Assembly Defects, Line Balancing & Productivity (Part 2)– Stitching Process Series
- Cementing in Upper Manufacturing (Stitching Support Process)– Stitching Process Series
- Toe Puff (Box Toe) Attaching Process in Footwear Upper Manufacturing – Stitching Process Series
- Counter Stiffener Attaching in Footwear Upper Manufacturing – Stitching Process Series