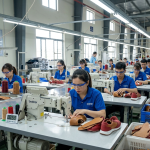
Cementing in Upper Manufacturing (Stitching Support Process)– Stitching Process Series
Role of Cementing in Upper Assembly
Cementing in upper manufacturing supports both temporary positioning and selective permanent bonding depending on the operation. Unlike bottom construction, the focus here is process stability and component control before stitching, not full structural bonding.
In most cases, adhesive is applied to hold components such as overlays, reinforcements, or linings in place until stitching secures them. However, certain areas require permanent bonding even before stitching, especially where shape retention or aesthetics are critical. Therefore, understanding where to use temporary versus permanent bonding is essential for maintaining upper quality and consistency.
Key Control Points:
- Maintain alignment before stitching
- Identify bonding type based on operation
- Avoid over-application for temporary joints
- Ensure correct adhesive selection per use
Temporary vs Permanent Bonding Applications
Upper cementing is broadly divided into temporary bonding and permanent bonding, each serving a distinct purpose in the process flow.
Temporary bonding is used when components only need to stay in position until stitching. For example, attaching two panels or overlays before sewing requires light adhesive, typically latex-based, allowing repositioning if needed.
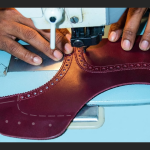
Permanent bonding is required in operations where adhesive must hold the structure even after stitching. Folding is a critical example. During folding, edges are turned and bonded using neoprene or hot melt adhesives.
If bonding is weak, folding may open during stitching, leading to uneven edges and poor appearance.
Additionally, in premium constructions like blind seam, bonding replaces stitching. In this method, PU adhesive is used with proper surface preparation to achieve clean, stitch-free aesthetics.
Another important permanent bonding area is the feather edge (lasting margin). This area must be firmly bonded to withstand pulling forces during lasting
Key Control Points:
- Use latex for temporary positioning
- Use neoprene or hot melt for folding
- Use PU adhesive for blind seam applications
- Ensure strong bonding at feather edge area
Pro Tip : Clearly define bonding zones in SOPs—temporary and permanent areas should never be mixed or confused on the shop floor

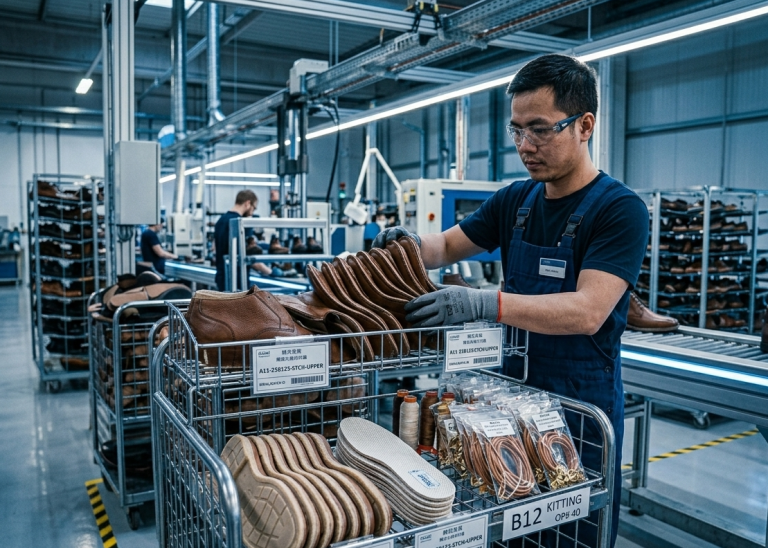
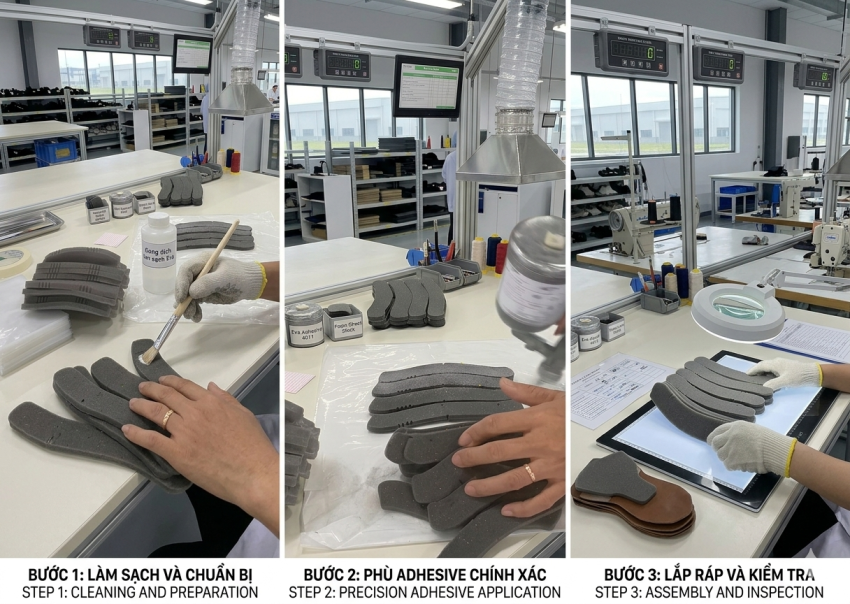
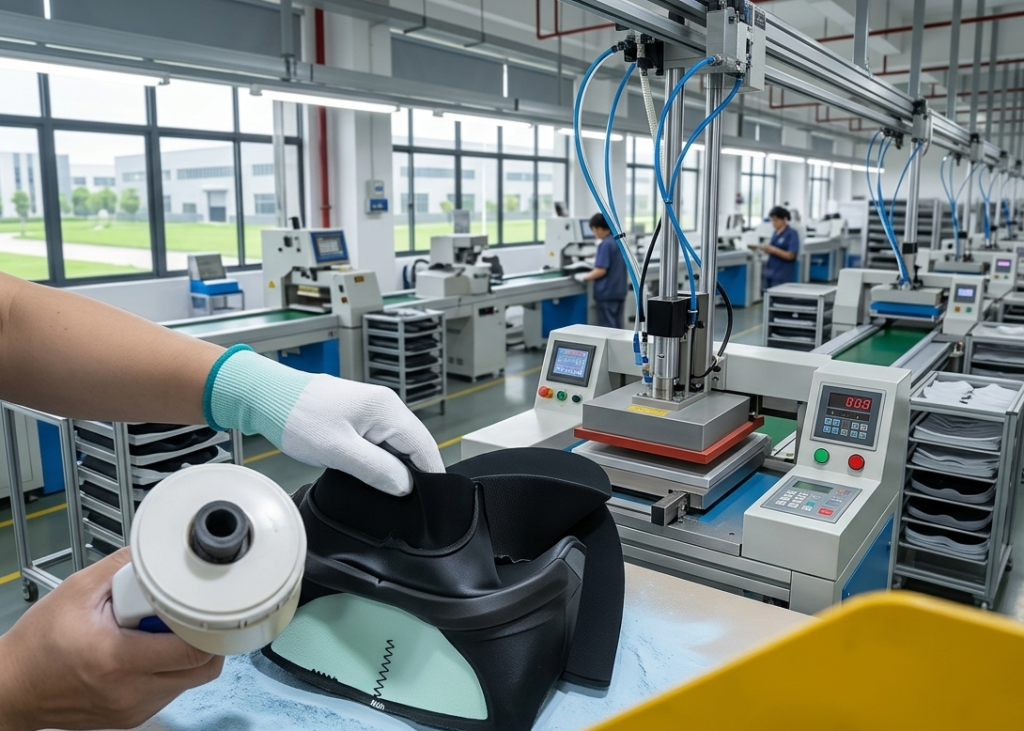
Cement Application in Upper Components
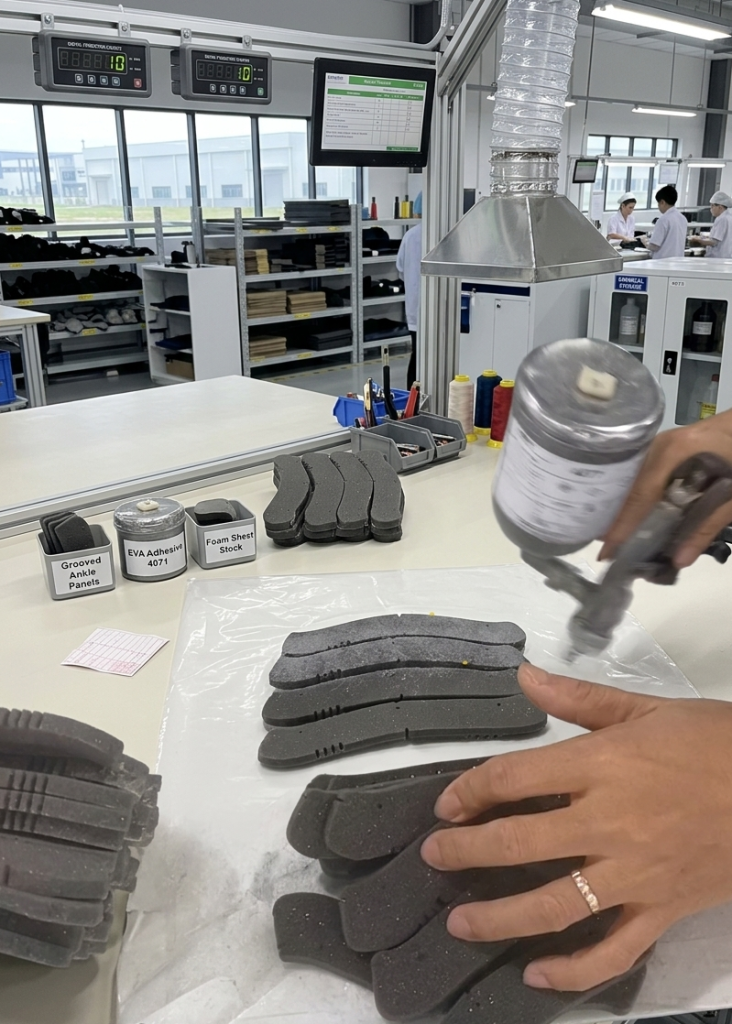
Cement application in uppers is always controlled and localized, depending on bonding purpose. Operators apply adhesive only in required zones such as overlays, folded edges, lining attachment, or reinforcement areas.
For temporary bonding, a light and thin layer is sufficient. However, permanent bonding areas like folding or lasting margin require slightly stronger and more uniform application. Care must be taken to avoid adhesive entering stitching paths. Excess cement can cause needle gumming, stitching difficulty, and surface stains. Therefore, precision in application is critical.
Key Control Points:
- Apply minimum adhesive for temporary bonding
- Increase consistency for permanent bonding zones
- Avoid adhesive in stitch line
- Prevent seepage to visible areas
Pro Tip : Always use dedicated drying racks or hangers—stacking is one of the most common causes of hidden upper contamination.

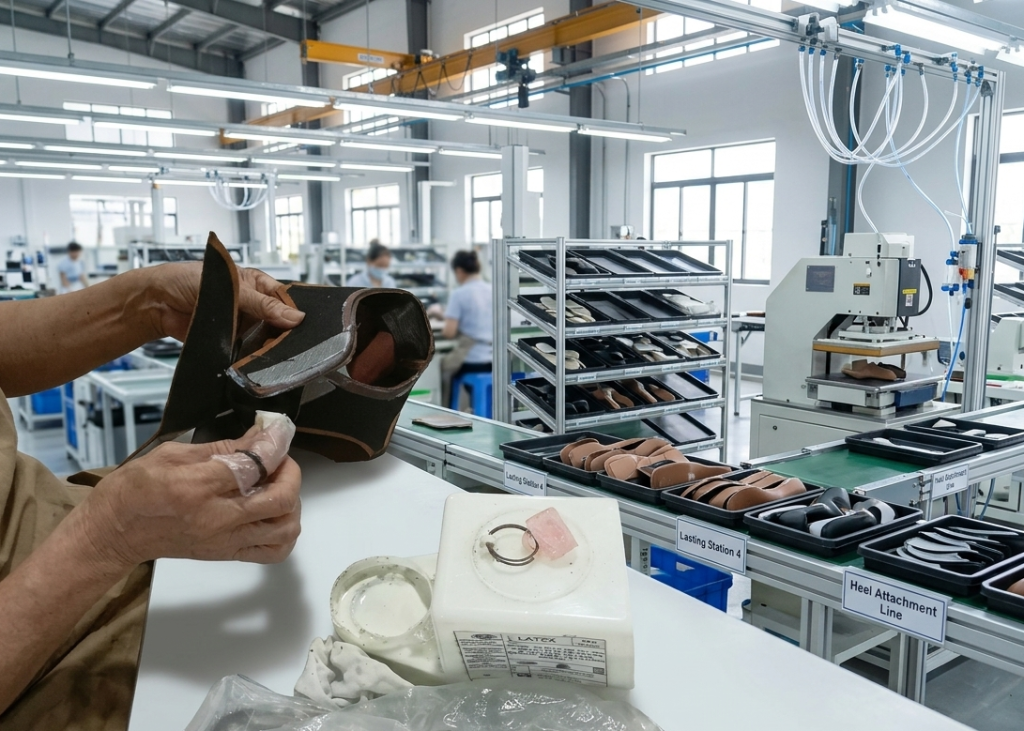
Lamination of Upper and Lining
Lamination between upper and lining is a sensitive operation where adhesive selection directly impacts final product feel and performance. If excessive cement is used, the upper becomes stiff and loses its natural softness, especially in leather materials. This stiffness leads to discomfort and can cause heavy wrinkles or early break during wear.
Therefore, selecting the right adhesive type and applying it in controlled quantity is essential. Flexible adhesives should be preferred to maintain material characteristics. Balanced lamination ensures proper bonding without compromising flexibility or aesthetics.
Key Control Points:
- Use flexible adhesive for lamination
- Avoid excess cement application
- Maintain uniform thin layer
- Preserve natural material softness
Pro Tip : Always validate laminated panels with a hand-feel check—stiffness indicates over-cementing.


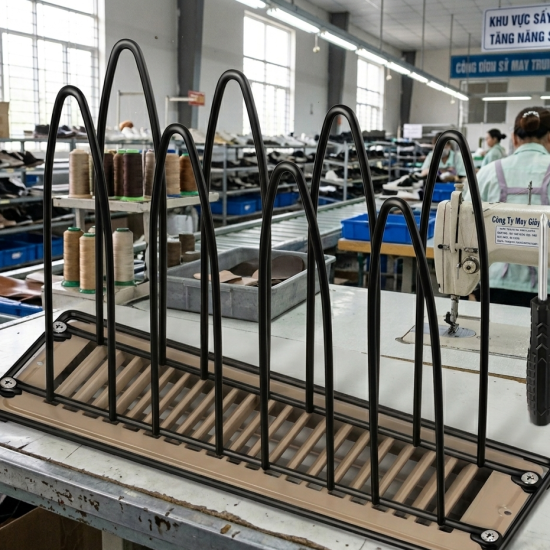
Drying and Handling Before Stitching
After cement application, components require a short drying period to achieve the correct tack level. Since upper cementing is mostly supportive, drying time is shorter but still critical. For temporary bonding, slight tack is enough to hold components. For permanent bonding, especially folding or blind seam, proper drying ensures strong adhesion before further handling.
At the same time, storage and handling after adhesive application play a critical role in maintaining cleanliness and quality. If components are stacked improperly, wet or semi-dry adhesive can transfer to adjacent uppers or linings. This results in stains, surface marks, and contamination, which are often difficult to remove, especially on light-colored materials or leather.
Therefore, components must be stored using drying hangers, racks, or separated trays to avoid contact between adhesive-applied surfaces. Proper spacing ensures clean drying and prevents rework. Operators must also handle bonded components carefully to avoid shifting or bond failure before stitching.
Key Control Points:
- Maintain correct tack level before bonding
- Avoid stacking cemented components directly
- Use drying hangers or racks for separation
- Prevent adhesive transfer and contamination
- Adjust drying based on adhesive type
Pro Tip : For folding operations, always perform a pre-stitch visual check—any opening in fold must be corrected immediately.
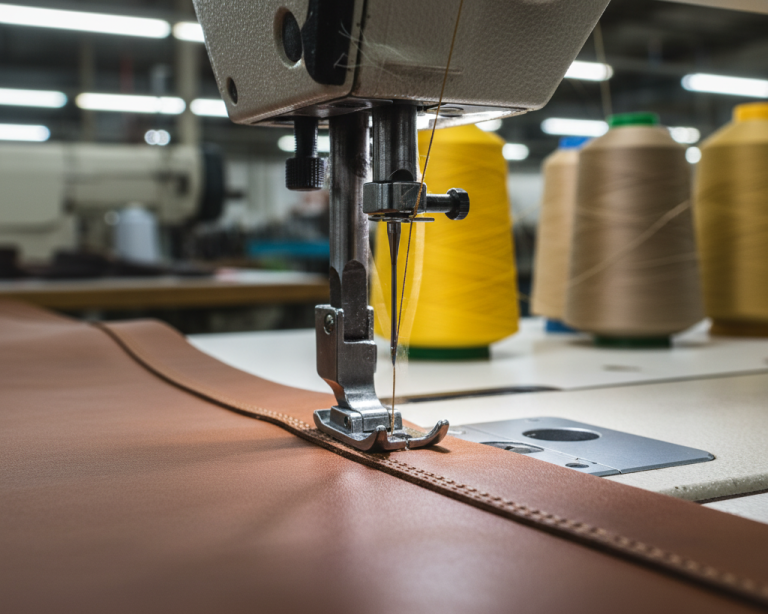
Integration with Stitching Process
Cementing directly influences stitching efficiency and quality. Properly bonded components feed smoothly into sewing machines, reducing operator effort and improving seam accuracy.
In contrast, poor bonding leads to shifting layers, uneven stitching margins, and increased rejection rates. Therefore, cementing must be synchronized with stitching operations. Inline cementing before stitching ensures optimal tack condition and minimizes waiting time.
Key Control Points:
- Align cementing timing with stitching
- Ensure stable component positioning
- Avoid adhesive interference with needle
- Maintain smooth material feeding
Pro Tip : Introduce bond strength checks for folding and lasting margin areas—these are critical failure points.
Common Issues in Upper Cementing
Even though cementing is a support process, improper control can create significant quality issues.
1. Folding Opening
- Cause: Weak permanent bonding
- Remedy: Use correct adhesive and application
2. Component Shifting
- Cause: Insufficient temporary bonding
- Remedy: Adjust adhesive quantity and tack
3. Upper Stiffness / Hard Feel
- Cause: Excess cement during lamination
- Remedy: Optimize adhesive selection and quantity
4. Needle Gumming
- Cause: Adhesive in stitch path
- Remedy: Maintain clean stitching zones
Key Control Points:
- Monitor adhesive usage carefully
- Standardize bonding zones
- Train operators on application control
- Conduct inline inspection
Pro Tip : Display this table near cementing stations—visual standards improve operator consistency more than written SOPs alone.
Cementing Do’s and Don’ts in Upper Manufacturing
In upper cementing, small mistakes can directly impact stitching quality and final appearance. Therefore, following standard practices ensures consistency and reduces rework.
| Do’s | Don’ts |
|---|---|
| Apply minimal adhesive for temporary bonding | Do not over-apply cement, especially in lamination |
| Select adhesive based on application (temporary vs permanent) | Do not use the same adhesive for all operations |
| Use drying racks or hangers after application | Do not stack cemented components directly |
| Keep adhesive away from stitching path | Do not allow adhesive in needle penetration area |
| Ensure proper bonding in folding and lasting margin | Do not ignore weak bonding in critical areas |
| Maintain clean and controlled application zones | Do not allow seepage to visible upper surfaces |
| Check tack level before bonding | Do not bond too early or too late |
| Train operators on adhesive control | Do not rely on operator judgment without standards |

Frequently Asked Questions – FAQs
1. What is the difference between temporary and permanent bonding?
Temporary bonding holds components until stitching, while permanent bonding maintains structure even after stitching.
2. Which adhesive is used for folding?
Neoprene or hot melt adhesives are commonly used.
3. What is blind seam bonding?
It is a stitch-free bonding method using PU adhesive for premium appearance.
4. Why is feather edge bonding important?
It ensures strength during lasting and prevents failure.
5. How does excess cement affect uppers?
It causes stiffness, wrinkles, and loss of softness.
6. Can cementing impact stitching quality?
Yes, improper cementing leads to shifting and stitching defects.


Explore other Stitching Process Series
- Stitching Process in Footwear Manufacturing: From Cutting to Closing Assembly in Shoe Production
- Component Marking After Cutting/Clicking–Stitching Process Series
- Component Embroidery in Footwear Manufacturing–Stitching Process Series
- Component Splitting in Footwear Manufacturing–Stitching Process Series
- Reinforcement (Backers & Tapes) Process in Footwear Manufacturing – Stitching Process Series
- Component Printing in Footwear Manufacturing – Stitching Process Series
- Nosew Application in Footwear Manufacturing – Stitching Process Series
- Component Folding in Footwear Manufacturing – Stitching Process Series
- Stitching Assembly Process in Upper Manufacturing (Part 1)– Stitching Process Series
- Stitching Assembly Defects, Line Balancing & Productivity (Part 2)– Stitching Process Series