Stitching Assembly Defects, Line Balancing & Productivity (Part 2)– Stitching Process Series
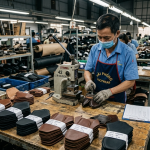
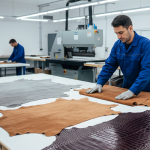
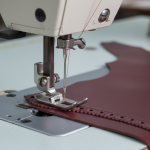
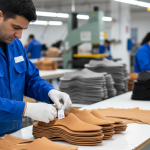
Stitching Defects in Upper Manufacturing
Stitching defects directly impact product quality, rejection rate, and customer perception. Unlike cutting defects, stitching defects are often cumulative, meaning a small deviation early in the process becomes a major issue at final inspection.
From a factory standpoint, defects originate from interaction between machine settings, material behavior, and operator handling. Therefore, defect control requires a systematic approach rather than isolated correction.
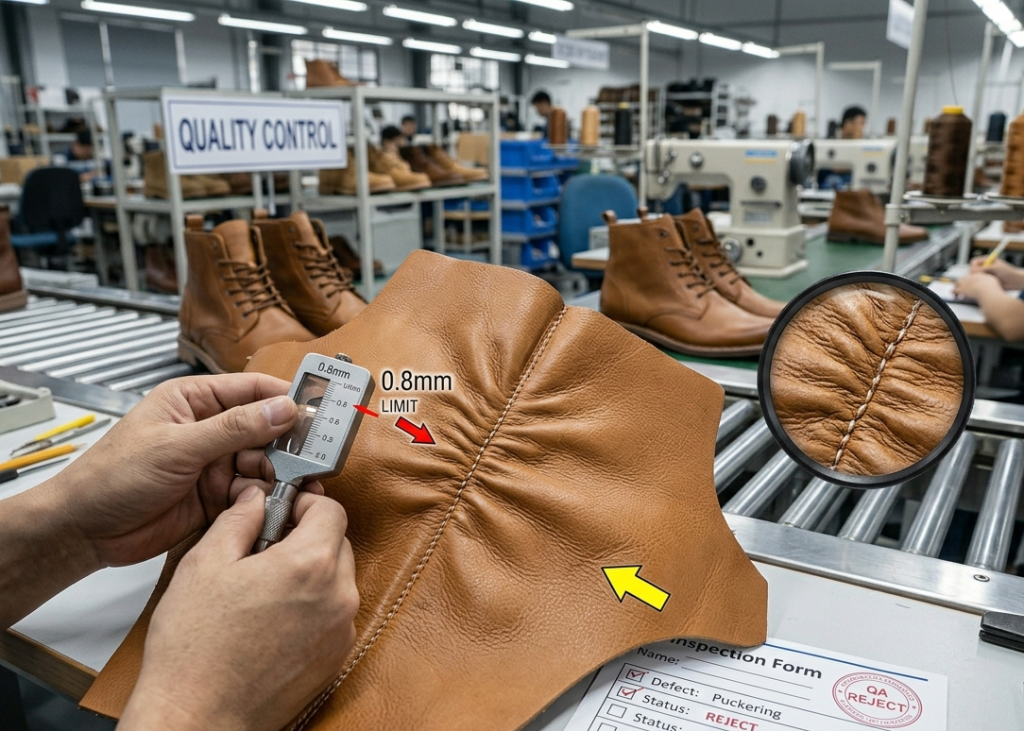
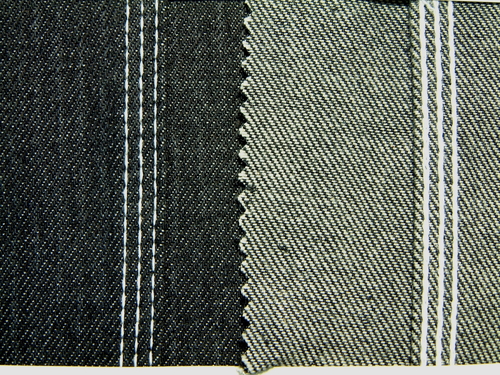
Seam Puckering
Seam puckering appears as wrinkles along the stitch line, especially visible on thin leather or synthetic materials. It reduces visual quality and may also affect fitting during lasting. This issue occurs due to uneven tension, differential feeding, or mismatch between thread and material elasticity.
In many cases, excessive stitch density compresses the material, leading to puckering.In production, operators must adjust both machine parameters and handling technique to control this defect.
Key Control Points
- Balance top and bobbin thread tension
- Reduce stitch density for soft materials
- Use differential feed where applicable
- Avoid pulling material during stitching
Pro Tip : Always identify top 3 defects weekly (Pareto focus)
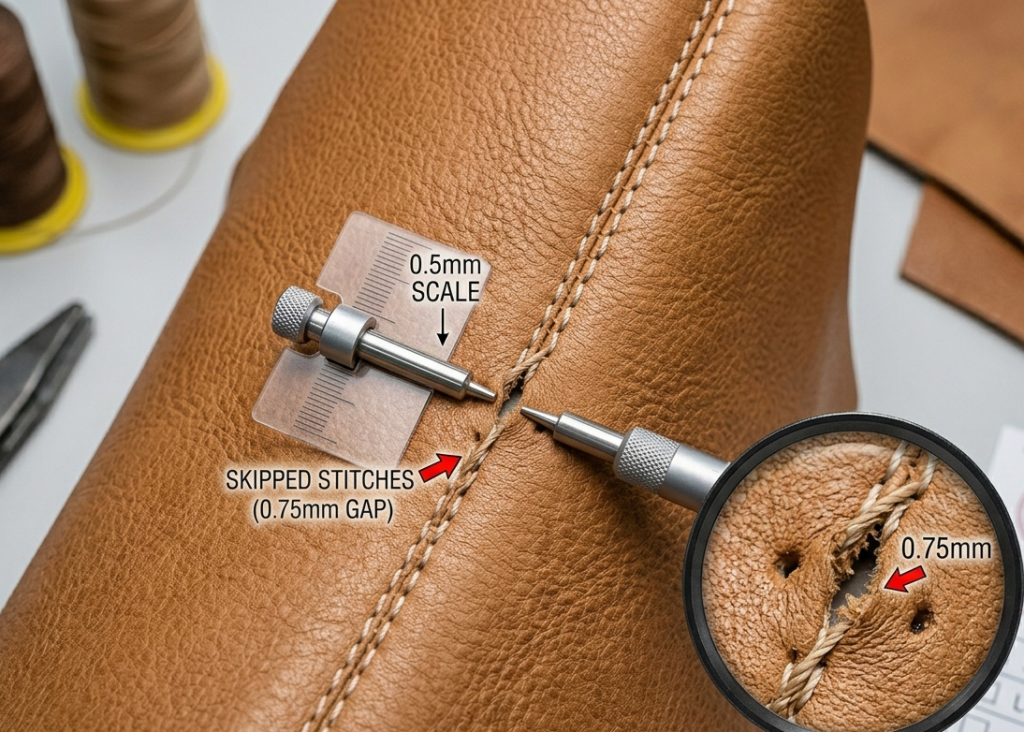
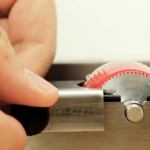
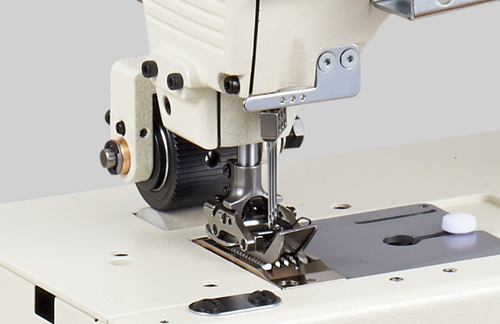
Skipped Stitches
Skipped stitches occur when the needle fails to form a loop with the bobbin thread, resulting in gaps in the seam.This defect weakens the seam and can lead to failure during usage. It is often caused by worn needles, incorrect needle size, or improper machine timing.
In high-speed production, skipped stitches may go unnoticed unless proper inline inspection is implemented.
Key Control Points
- Replace needles regularly
- Use correct needle size and type
- Check hook timing and alignment
- Monitor stitch formation during initial runs
Thread Breakage
Thread breakage interrupts production flow and reduces efficiency. It also leads to inconsistent seam quality if not corrected immediately. The root causes include high thread tension, poor thread quality, damaged needle eye, or excessive machine speed. From a factory perspective, frequent thread breakage indicates poor parameter standardization.
Key Control Points
- Maintain optimal thread tension
- Use high-quality thread
- Reduce machine speed if required
- Check needle condition and alignment
Uneven Stitch Length
Uneven stitch length creates inconsistent seam appearance and affects product aesthetics.
It is usually caused by inconsistent feeding or operator handling.
This defect is more common in curved stitching areas where control is difficult.
Key Control Points
- Maintain consistent machine speed
- Ensure proper feed mechanism functioning
- Use guides for better control
- Train operators for curved stitching
Pro Tip : Use video analysis for operator training
Needle Marks / Hole Damage
Needle marks appear as visible holes or damage on leather surfaces. This is critical for premium footwear where surface quality is important. This occurs due to incorrect needle type, oversized needle, or repeated stitching on the same line.
Key Control Points
- Use correct needle type (cutting/round)
- Avoid re-stitching on same holes
- Maintain needle sharpness
- Use proper needle size
Pro Tip : Maintain standard machine parameter sheet
Misalignment / Asymmetry
Misalignment leads to mismatch between left and right pairs or uneven seam positioning. This defect affects both aesthetics and fit. It is mainly caused by improper marking, poor operator control, or lack of guiding tools.
Key Control Points
- Use alignment markings or templates
- Implement guides or jigs
- Ensure pair matching checks
- Train operators on symmetry control
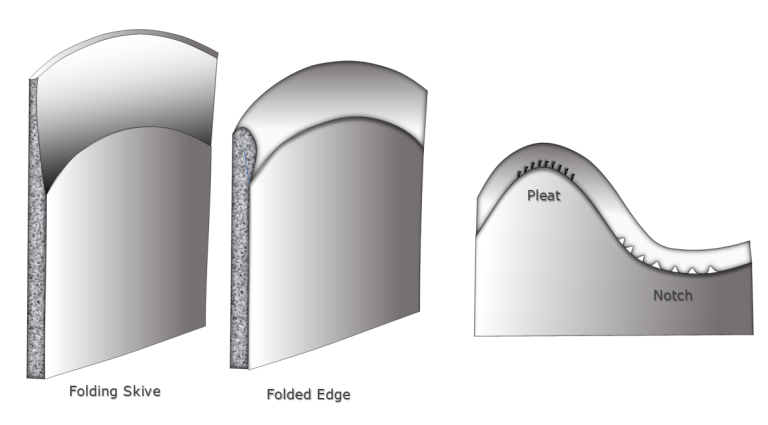
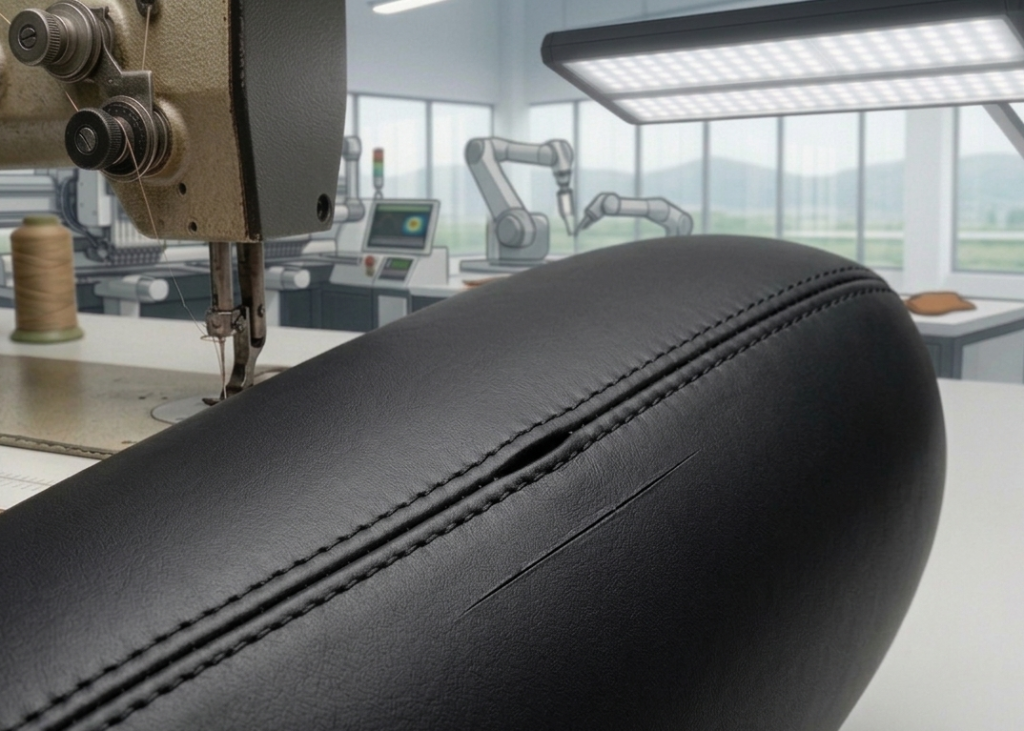
Thread Looping / Loop Stitching (Top & Bottom Loop Formation)
Thread looping is a critical stitching defect where loose loops of thread appear either on the top surface or the bottom side of the seam. This defect not only affects appearance but also significantly reduces seam strength and durability.
In practical production, looping indicates imbalance in stitch formation, where the interlocking of top thread and bobbin thread does not occur at the correct position within the material. This defect is categorized into two types based on where the loop appears.
Top Side Looping (Loose Loops on Upper Surface)
Top looping occurs when the bobbin thread fails to pull the top thread into the material, resulting in visible loops on the upper surface.
This is commonly observed in leather uppers where improper tension setting causes the stitch to sit above the material instead of locking within it. The primary reason is low top thread tension or high bobbin tension, which prevents proper stitch tightening.
Causes
- Insufficient top thread tension
- Excessive bobbin tension
- Incorrect threading path
- Worn tension discs
- Low-quality or inconsistent thread
Remedies
- Increase top thread tension gradually
- Reduce bobbin tension to balance stitch
- Re-thread machine correctly
- Clean and maintain tension discs
- Use consistent quality thread
Pro Tip : Introduce inline repair station to reduce WIP movement
Bottom Side Looping (Loose Loops Underneath Seam)
Bottom looping appears on the underside of the seam when the top thread fails to pull the bobbin thread upward into the material.
This defect is usually visible only during inspection, but it severely weakens seam integrity and may lead to seam opening during flexing. The main reason is excessive top thread tension or low bobbin tension, causing improper stitch locking.
Causes
- Excessive top thread tension
- Low bobbin tension
- Improper bobbin winding
- Damaged bobbin case
- Incorrect needle-thread combination
Remedies
- Match needle and thread size correctly
- Reduce top thread tension
- Increase bobbin tension carefully
- Ensure proper bobbin winding
- Inspect and replace bobbin case if required
Factory Insight
Looping defects are often misdiagnosed as thread quality issues, but in most cases, the root cause lies in tension imbalance and machine condition.
A practical approach in factories is:
- Always adjust one parameter at a time
- Test stitch on scrap material before production
- Maintain a standard tension setting chart per material type
Key Control Points
- Maintain correct balance between top and bobbin tension
- Check stitch lock position (should be inside material)
- Monitor initial production output carefully
- Standardize tension settings for each material
Pro Tip : Use LED lighting for better stitch visibility
Root Cause Analysis in Stitching
Defect correction without identifying root cause leads to repeated failures. Therefore, a structured approach is required. In footwear stitching, root causes are broadly classified into four categories:
Machine Factors
Incorrect tension, worn components, poor maintenance, and timing issues directly impact stitch quality.
Material Factors
Variation in leather thickness, softness, coating, and stretch behavior affects stitching performance.
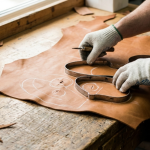
Operator Factors
Skill level, fatigue, and handling technique influence consistency and defect occurrence.
Method Factors
Improper sequence, lack of standardization, and incorrect operation bulletin lead to cumulative errors.
Key Control Points
- Use 4M analysis (Man, Machine, Material, Method)
- Track defects using Pareto analysis
- Implement corrective action at root level
- Standardize machine settings across line
Pro Tip : Implement needle change log system
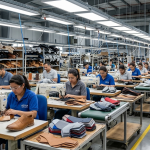
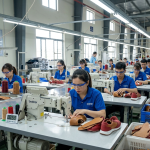
Stitching Line Balancing & SMV
Line balancing is critical for achieving production targets without bottlenecks. In stitching, operations vary significantly in complexity, making balancing more challenging.
SMV (Standard Minute Value) defines the time required to complete each operation under standard conditions. Based on SMV, operations are distributed among operators to ensure smooth flow. In practice, imbalance leads to:
- Work-in-progress accumulation
- Operator idle time
- Reduced line efficiency
A well-balanced line ensures continuous flow and maximum utilization.
Key Control Points
- Calculate SMV accurately for each operation
- Identify bottleneck operations
- Redistribute workload to balance line
- Monitor line efficiency regularly
Pro Tip : Conduct hourly production tracking
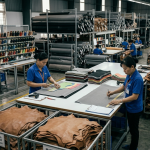
Productivity Improvement in Stitching Line
Improving productivity requires a combination of engineering and operational strategies.
Optimizing layout reduces unnecessary movement, while proper workstation design improves operator efficiency. Additionally, skill-based allocation ensures that complex operations are handled by experienced operators. Material handling is another major factor—delays between operations reduce overall efficiency.
Key Control Points
- Optimize line layout for smooth flow
- Reduce material handling time
- Implement skill-based operator allocation
- Monitor output per operator
Pro Tip : Use mock trials before bulk production
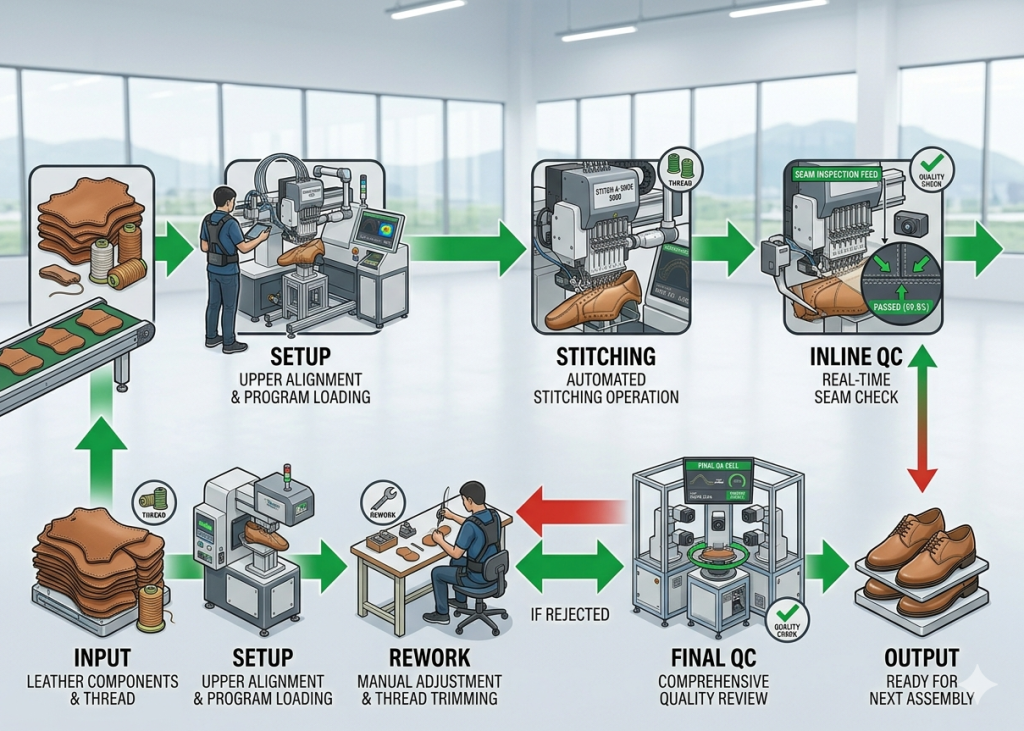
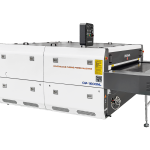
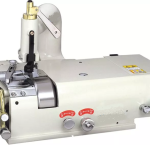
Automation in Stitching Assembly
Automation in stitching assembly is no longer optional for large-scale or high-consistency footwear production. It is increasingly used to reduce operator dependency, improve repeatability, and control defect variation.
In practical factory implementation, automation is introduced selectively—based on operation repeatability, production volume, and ROI feasibility.
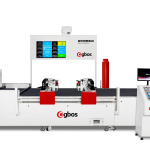
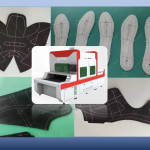
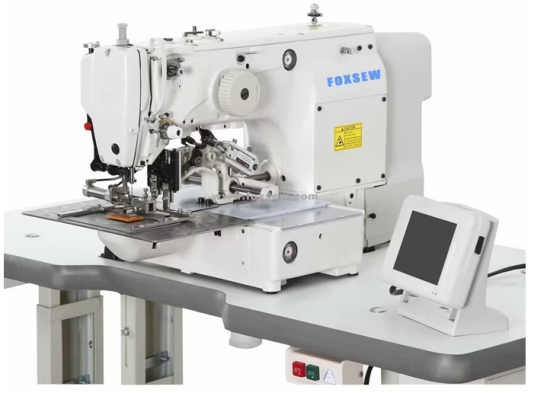
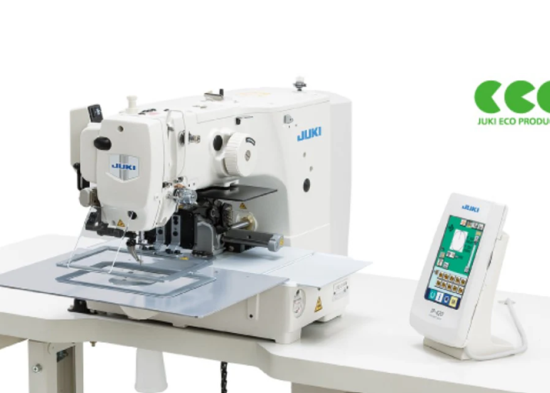
Programmable Pattern Sewing Machines
Programmable pattern machines are used for executing predefined stitch patterns such as logos, reinforcement stitching, and complex decorative seams.
The process involves creating a digital stitch program, followed by fixing the component in a clamp or jig. The machine then executes the stitching cycle automatically with consistent precision. These machines are widely used in sports footwear and branded products where repeatability is critical.
Auto Thread Trimming Machines
Auto thread trimming systems reduce manual intervention by cutting thread automatically at the end of stitching cycles. This improves efficiency and reduces operator fatigue. In high-volume production, this feature saves significant time per operation and ensures consistent finishing quality.
Sensor-Based Smart Sewing Machines
Sensor-based machines automatically adjust parameters such as thread tension, speed, and stitch length based on material thickness and resistance.
These machines reduce operator errors and improve consistency across different materials. They are particularly useful in factories handling multiple styles with varying material combinations.
Computer-Controlled Multi-Needle Systems
Multi-needle automated systems are used for high-speed decorative and functional stitching where multiple stitch lines are required simultaneously. These machines ensure consistent spacing and reduce operation time significantly compared to manual multi-pass stitching.

Semi-Automatic Stitching Units (Clamp-Based Systems)
Semi-automatic machines use fixtures or clamps to hold components, reducing operator dependency for positioning and alignment.
The operator loads the component, and the machine executes stitching with minimal manual control. These systems are ideal for repetitive operations such as reinforcement patches and logo stitching.
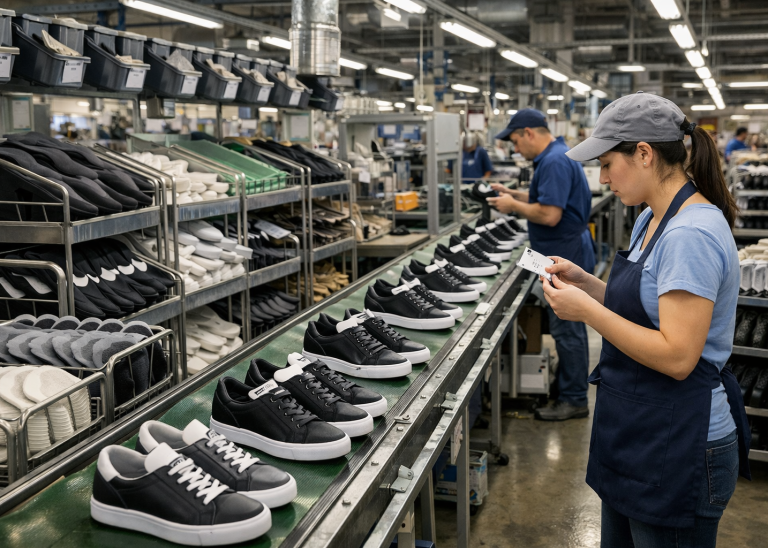
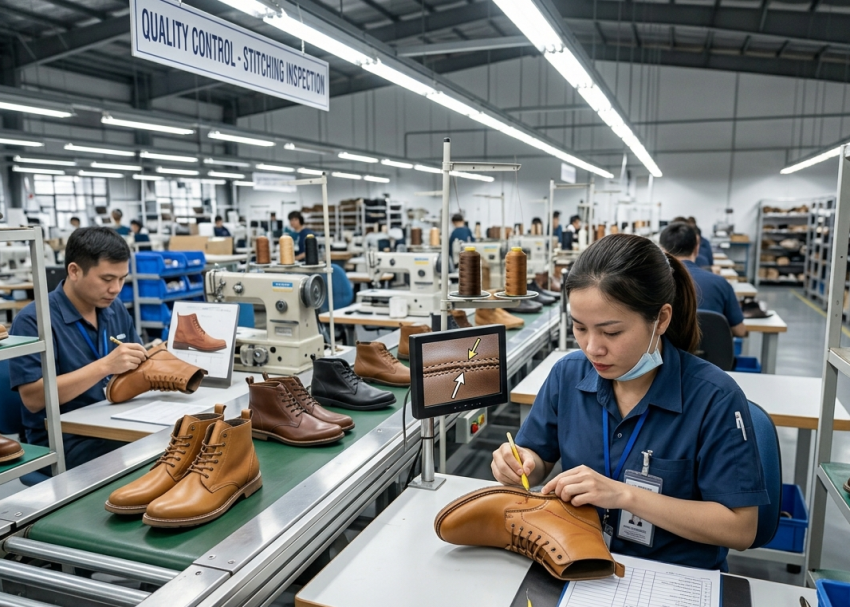
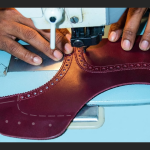
Quality Control System in Stitching
Quality control in stitching must be proactive rather than reactive. Inline inspection ensures defects are detected early, preventing accumulation.
First-piece approval validates machine setup before bulk production.
End-line inspection verifies final quality before passing to lasting. A strong QC system reduces rejection and improves customer satisfaction.
Key Control Points
- Ensure feedback loop to production
- Implement inline inspection at critical operations
- Conduct first-piece approval
- Track defects using data
Frequently Asked Questions – FAQs
1. How to reduce stitching rejection in factory?
By controlling root causes, implementing inline QC, and standardizing machine settings.
2. What is the biggest cause of stitching defects?
Improper machine settings combined with operator handling variation.
3. How to improve stitching line efficiency?
Through proper line balancing, SMV calculation, and layout optimization.
4. When should automation be introduced?
For high-volume, repetitive operations with consistent design.
5. How to control operator variation?
By training, standardization, and using guides/jigs.
6. What is Pareto analysis in stitching?
A method to identify the most frequent defects contributing to rejection.
Explore other Stitching Process Series
- Stitching Process in Footwear Manufacturing: From Cutting to Closing Assembly in Shoe Production
- Component Marking After Cutting/Clicking–Stitching Process Series
- Component Embroidery in Footwear Manufacturing–Stitching Process Series
- Component Skiving in Footwear Manufacturing–Stitching Process Series
- Component Splitting in Footwear Manufacturing–Stitching Process Series
- Reinforcement (Backers & Tapes) Process in Footwear Manufacturing – Stitching Process Series
- Component Printing in Footwear Manufacturing – Stitching Process Series
- Nosew Application in Footwear Manufacturing – Stitching Process Series
- Component Folding in Footwear Manufacturing – Stitching Process Series
- Stitching Assembly Process in Upper Manufacturing (Part 1)– Stitching Process Series