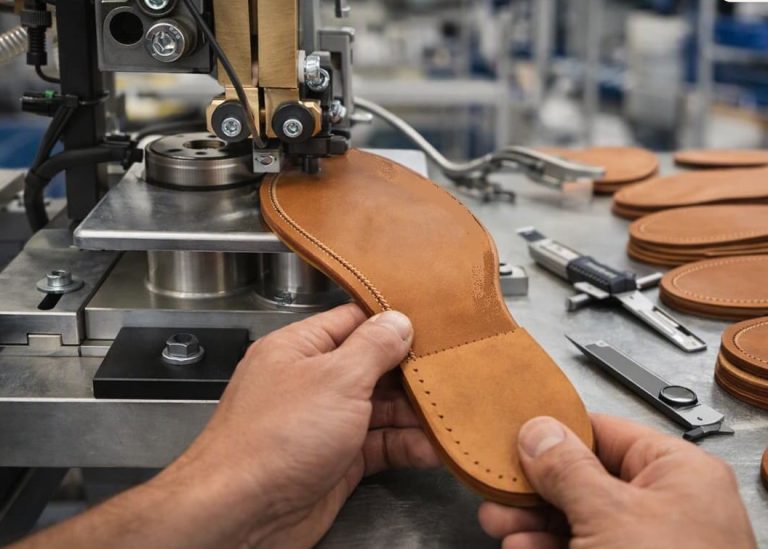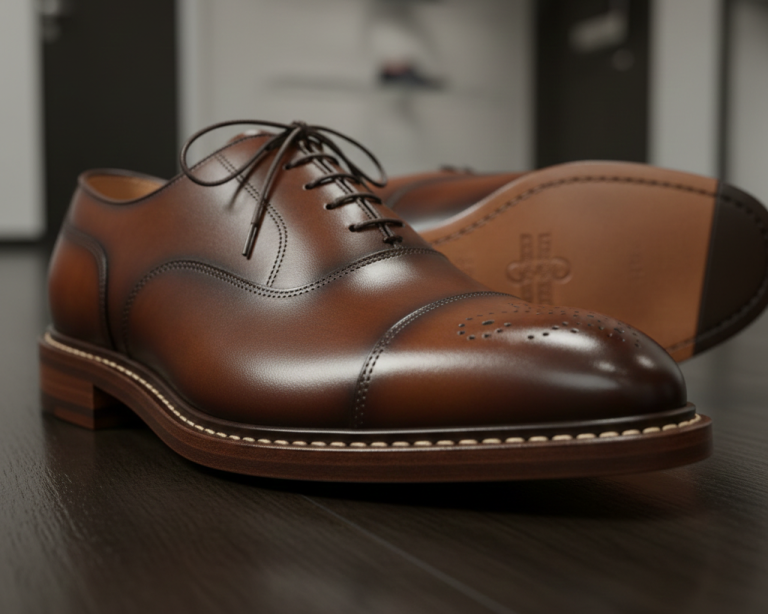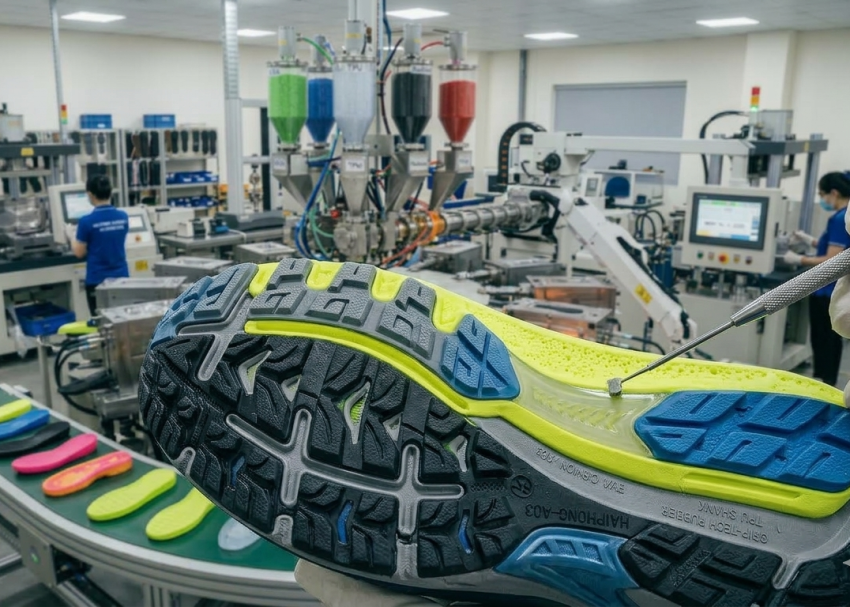
Final Inspection Operations in Outsole Process: Outsole (Stock Fitting) Assembly Series
In our previous blog, Brushing and polishing improve shine, lustre, colour depth and overall appearance. The operation becomes especially important for premium and formal footwear, where even small differences in gloss can affect final appearance approval.
Therefore, the manufacturing process moves to Final Inspection, which serves as the last quality gate before packing and shipment. At this stage, inspectors carefully verify every critical requirement, including dimensions, appearance, branding, functionality, workmanship, and documentation. Any outsole that fails inspection is segregated for repair or rejection, preventing defective products from reaching customers.
A well-planned final inspection process improves customer satisfaction, reduces complaints, minimizes costly returns, and ensures consistent factory quality standards.
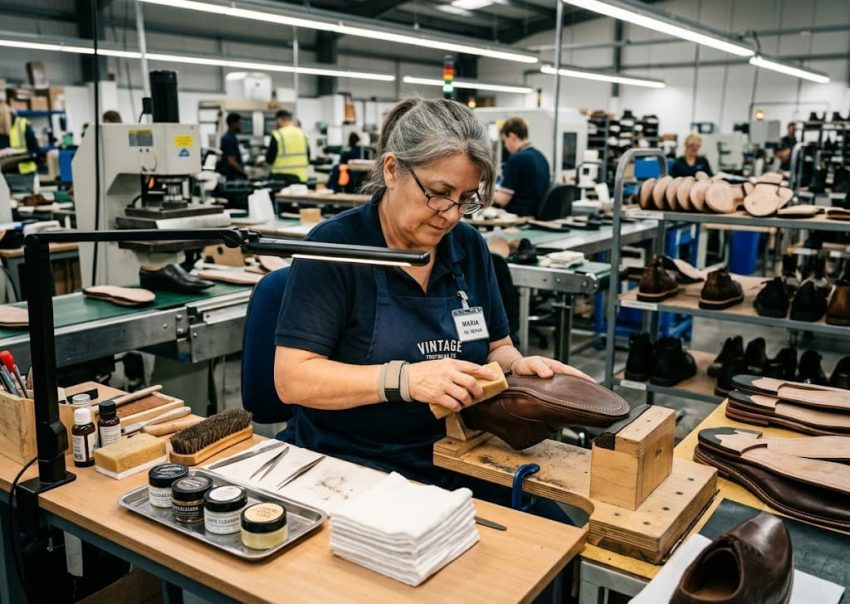
Final Inspection – The Last Quality Gate Before Shipment
Every outsole leaving the production line represents the manufacturer’s quality commitment. Final inspection confirms that the completed outsole satisfies customer specifications, internal quality standards, and shipment requirements before it enters the packing department.
Unlike in-process inspections that focus on individual operations, final inspection evaluates the outsole as a complete product. Inspectors assess dimensions, visual appearance, functional features, molded details, markings, color consistency, logos, finishing quality, and documentation. The inspection outcome determines whether the outsole is approved for packing, sent for repair, or rejected.
Factories typically establish standardized inspection criteria based on customer-approved samples, technical specifications, inspection manuals, and quality acceptance limits. This standardized approach ensures that every inspector evaluates products using the same requirements, reducing variation between inspection shifts.
A robust final inspection system not only protects product quality but also strengthens customer confidence and minimizes warranty claims.
Key Control Points
- Verify every outsole against approved customer specifications.
- Separate accepted, repairable, and rejected products immediately.
- Use calibrated inspection tools throughout the inspection process.
- Record inspection results accurately for complete traceability.
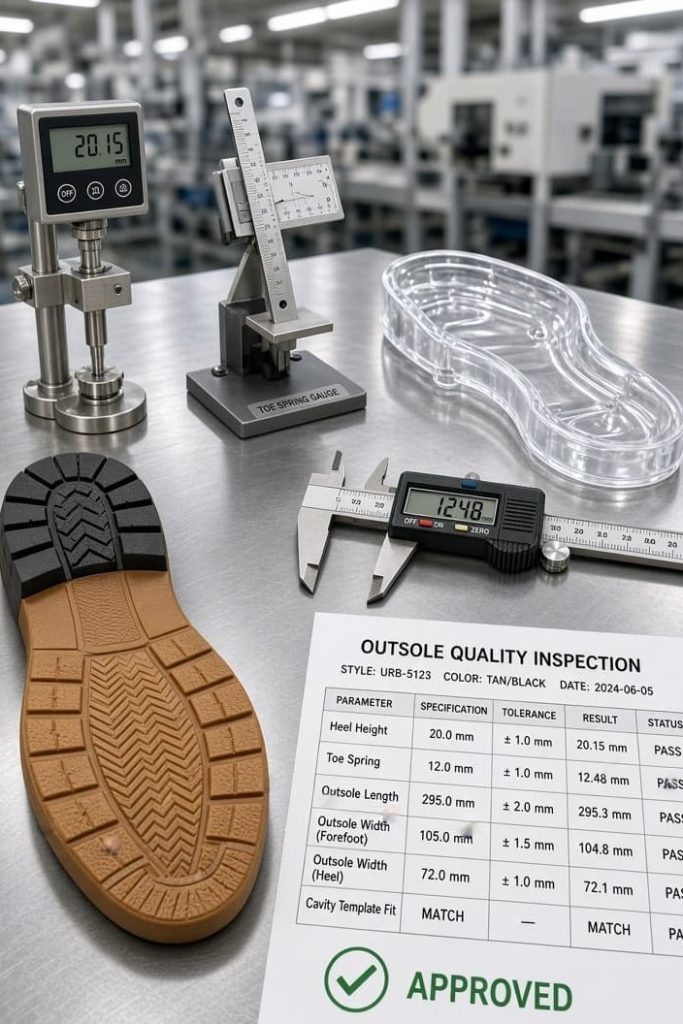
Expert Tip: Never rely solely on visual inspection. Always verify critical dimensions using calibrated gauges and templates.
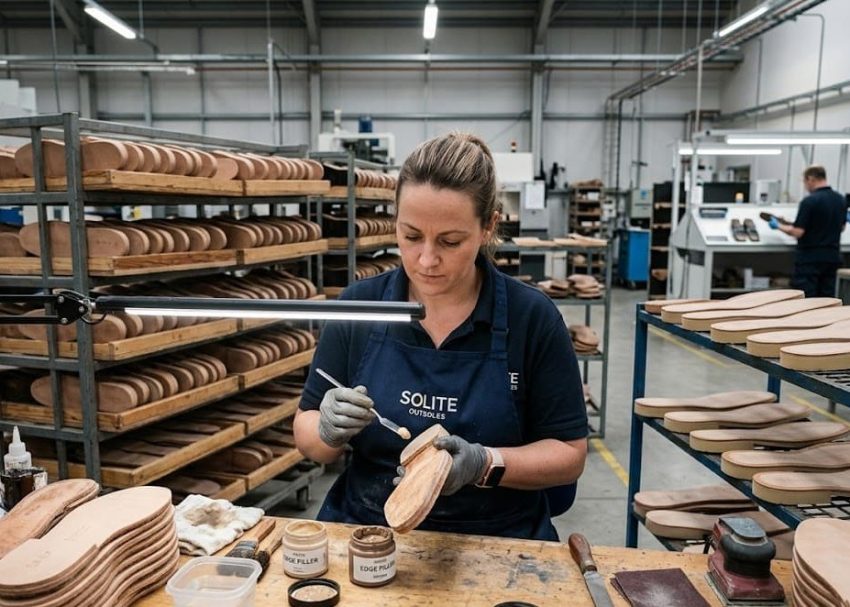
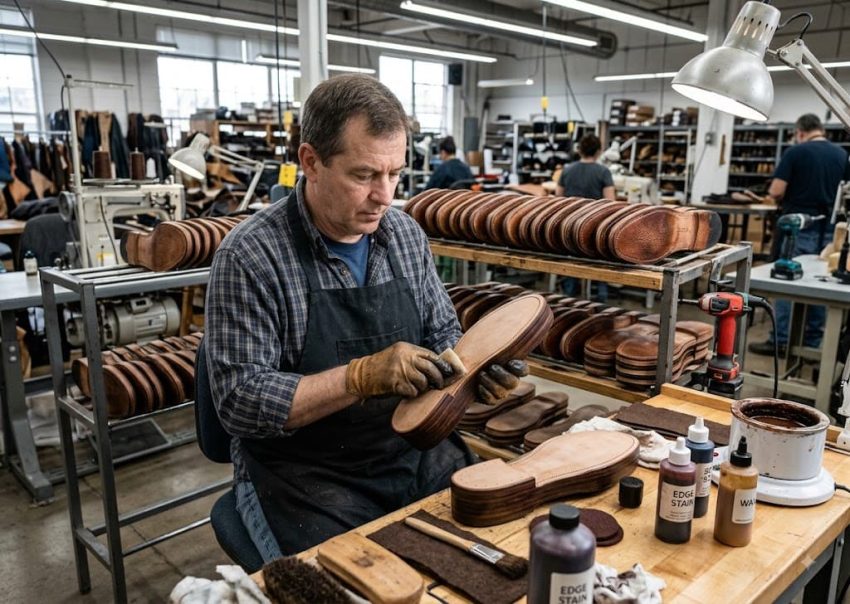
Inspection Tools Used During Final Inspection
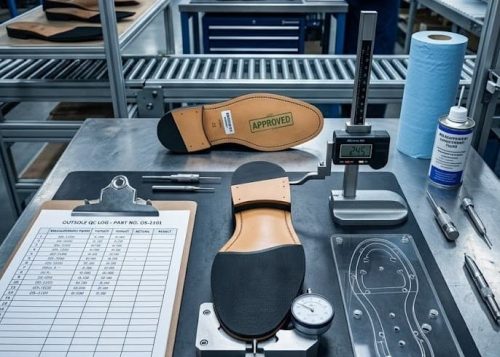
Accurate inspection depends on reliable measuring equipment. Even experienced inspectors cannot consistently detect dimensional variations without proper gauges and templates. Standardized inspection tools eliminate subjective judgment and improve consistency between inspectors.
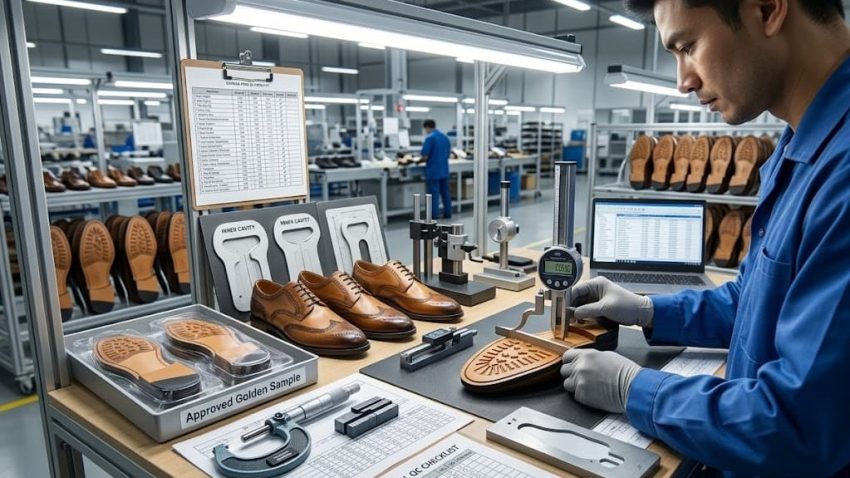
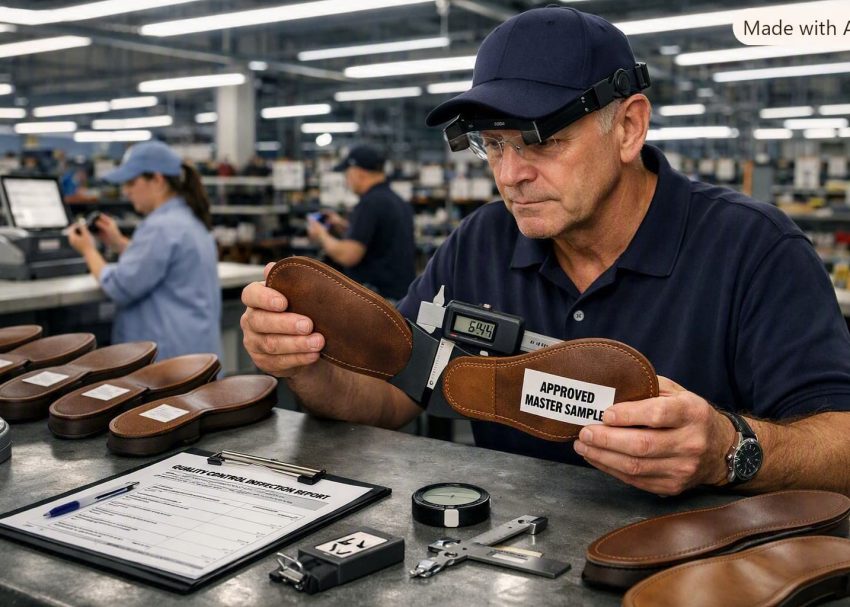
Factories normally maintain dedicated inspection stations equipped with calibrated gauges, approved master samples, specification sheets, lighting systems, and inspection records. Every measuring instrument should undergo regular calibration to maintain measurement accuracy. The following tools are commonly used during outsole final inspection.
Measurement Charts
Measurement charts provide the official dimensional specifications for every outsole size and model.
Inspectors use these charts to verify outsole length, width, heel dimensions, cavity dimensions, thickness, and other critical measurements. Standardized measurement charts ensure that every inspector follows identical inspection criteria regardless of production shift.
Updated charts should always reflect the latest customer-approved specifications.
Inner Cavity Templates
Inner cavity templates verify whether the outsole cavity matches the approved shoe last dimensions. Inspectors insert the template into the outsole cavity to confirm correct size, shape, and fit.
An oversized cavity may create loose shoe fitting during assembly, while an undersized cavity can prevent proper lasting. Regular template verification helps maintain consistent fitting performance across production batches.
Heel Height Gauges
Heel height gauges measure the finished heel height and ensure compliance with customer specifications.
Even small heel height variations can affect shoe balance, walking comfort, appearance, and customer acceptance. Since heel dimensions directly influence footwear performance, factories establish strict inspection tolerances for every model.
Digital gauges provide higher measurement accuracy, although mechanical gauges remain common in many footwear factories.
Expert Tip: Keep one approved “Golden Sample” at every inspection station to eliminate differences in quality interpretation.
Toe Spring Gauges
Toe spring gauges confirm the curvature of the outsole toe area. Proper toe spring supports walking comfort, flexibility, and overall footwear appearance.
Insufficient toe spring may reduce walking efficiency, while excessive toe spring can alter shoe aesthetics and affect assembly with the upper.
Factories usually compare the outsole against approved toe spring gauges or master reference samples
Logo Verification Standards
Customer branding is one of the most visible quality requirements. Logo verification standards ensure that all molded, embossed, engraved, or printed logos match the approved artwork.
Inspectors verify logo position, font style, depth, clarity, orientation, spelling, and overall appearance. Incorrect branding may result in immediate rejection by customers, even when the outsole meets all dimensional requirements.
Factories usually maintain approved logo reference cards or golden samples at each inspection station for comparison.
Expert Tip: Replace worn templates and gauges immediately, as damaged inspection tools can create false acceptance or unnecessary rejection.

Appearance Quality Verification
Before an outsole is approved for packing, inspectors carefully evaluate its overall appearance. Although dimensional accuracy is essential, customers also expect every outsole to be visually flawless. Even a minor cosmetic defect can result in shipment rejection, especially for premium footwear brands.
The inspection begins under standardized lighting conditions using the approved customer sample as the reference. Inspectors examine the outsole from multiple angles, including the top surface, bottom tread, sidewall, heel, toe area, logo, and bonding surface. They look for defects such as scratches, discoloration, contamination, flash remnants, sink marks, dents, bubbles, poor trimming, repair marks, and inconsistent finishing.
Colour consistency is another critical requirement. Every outsole should match the approved colour standard without noticeable shade variation. Surface texture must also remain uniform across the entire production batch.
When inspectors identify cosmetic defects beyond acceptable quality limits, they classify the outsole as repairable or reject it entirely, depending on the defect severity.
Expert Tip: Train inspectors using actual production defects rather than photographs alone to improve defect recognition accuracy.
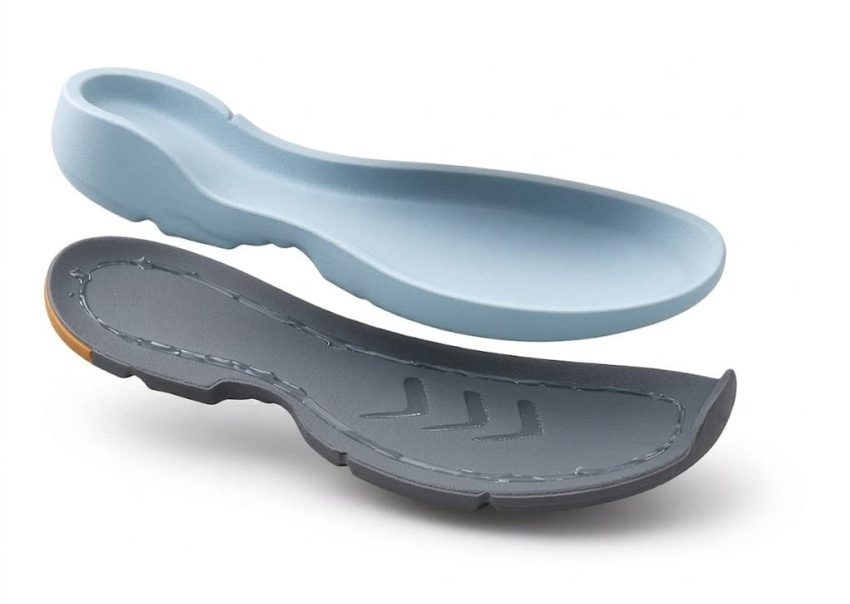
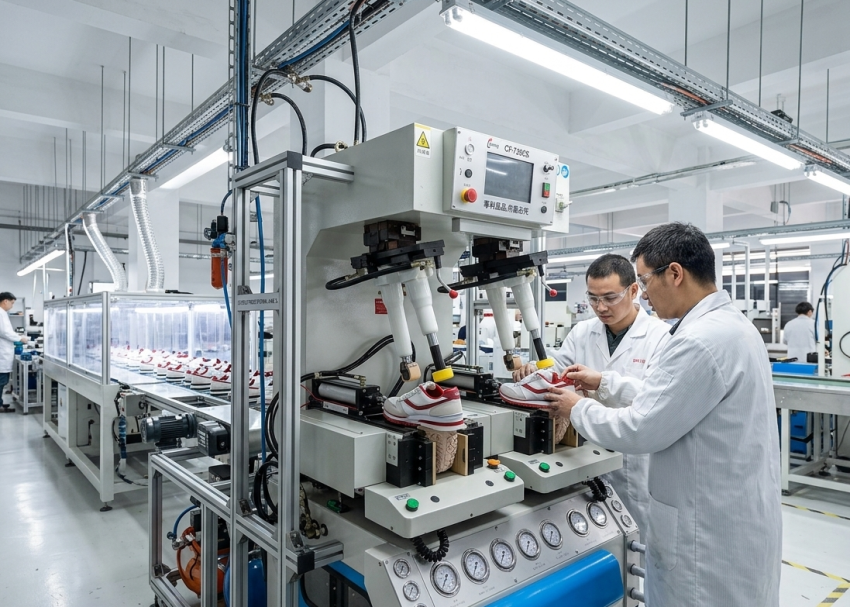
Functional Requirement Verification
A visually attractive outsole still cannot be approved unless it satisfies all functional requirements. Functional inspection confirms that the outsole will perform correctly during shoe assembly and throughout its service life.
Inspectors verify that the bonding surface is properly prepared and free from contamination, oil, dust, moisture, loose particles, or excessive repair compounds. They also confirm that all functional features, such as locating holes, alignment marks, drainage channels, grooves, or moulded inserts, are complete and undamaged.
Depending on customer requirements, inspectors may also perform simple fit verification using approved lasts or assembly fixtures. This helps identify dimensional deviations that could create assembly problems during lasting or outsole attachment.
Functional verification prevents production interruptions in later manufacturing stages and reduces customer complaints related to poor fit or assembly failures.
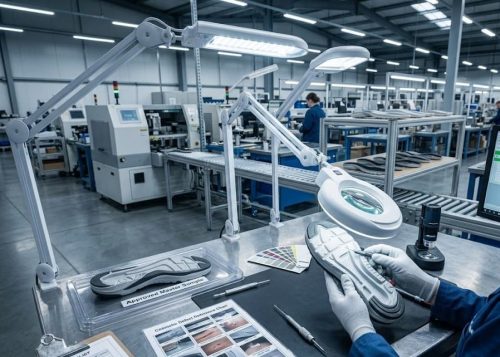
Expert Tip: Rotate inspectors periodically to reduce inspection fatigue and maintain high defect detection accuracy.
Documentation Accuracy
Final inspection is not complete until all inspection records are properly documented. Accurate documentation provides complete product traceability and demonstrates compliance with customer quality requirements.
Inspectors record inspection results on approved quality forms or digital inspection systems. Typical records include production date, shift, mould number, size, quantity inspected, inspection results, defect classification, inspector identification, and corrective actions.
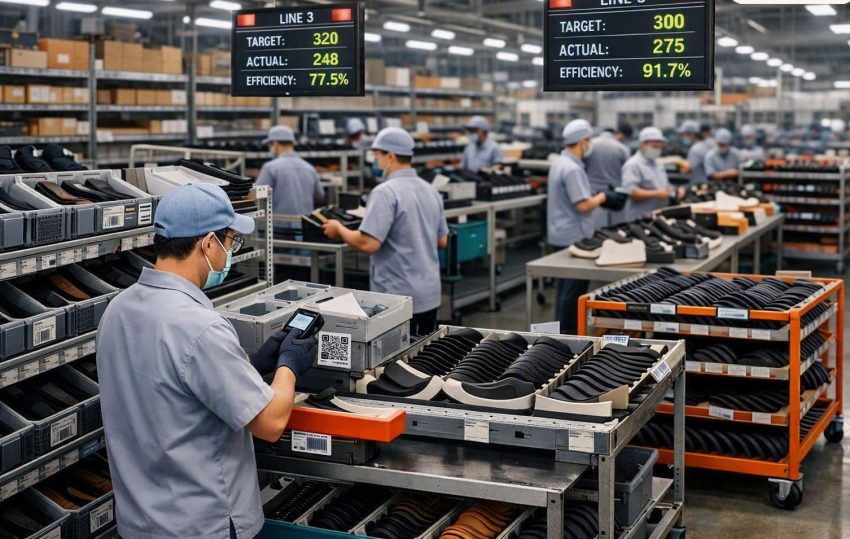
Modern footwear factories increasingly use barcode systems, QR codes, tablets, and Manufacturing Execution Systems (MES) to reduce manual recording errors and improve traceability.
Accurate documentation allows quality teams to identify recurring defects, monitor process capability, investigate customer complaints, and implement continuous improvement initiatives.
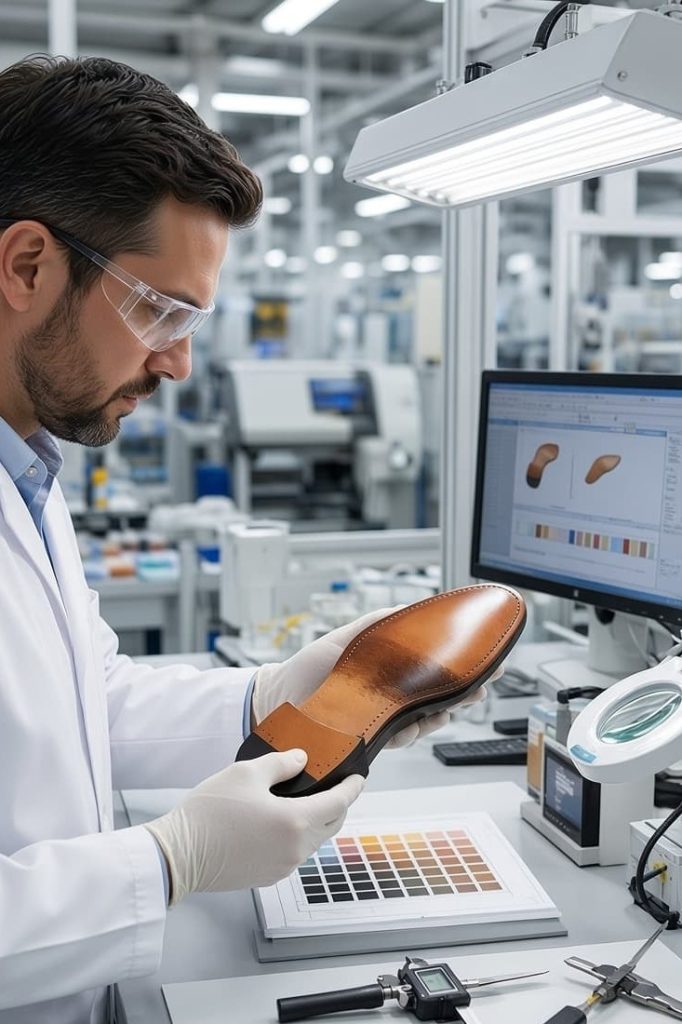
Expert Tip: Use defect samples during daily quality meetings to calibrate inspection standards across all inspectors.
Final Inspection Workflow
A standardized inspection workflow helps maintain consistency across all production shifts and minimizes human error.
Although individual factories may adapt the sequence, the overall process remains similar throughout the footwear industry. A typical workflow includes:
- Receive completed outsoles from the cleaning and repairing section.
- Verify production batch, model, and size.
- Prepare approved specifications, master samples, and inspection tools.
- Perform dimensional verification.
- Inspect overall appearance.
- Verify functional features and bonding surface.
- Check customer logos and markings.
- Record inspection findings.
- Segregate Accepted, Repair, and Rejected products.
- Release approved outsoles to the packing department.
Following a standardized workflow reduces inspection variation and ensures that no critical quality checkpoint is overlooked.
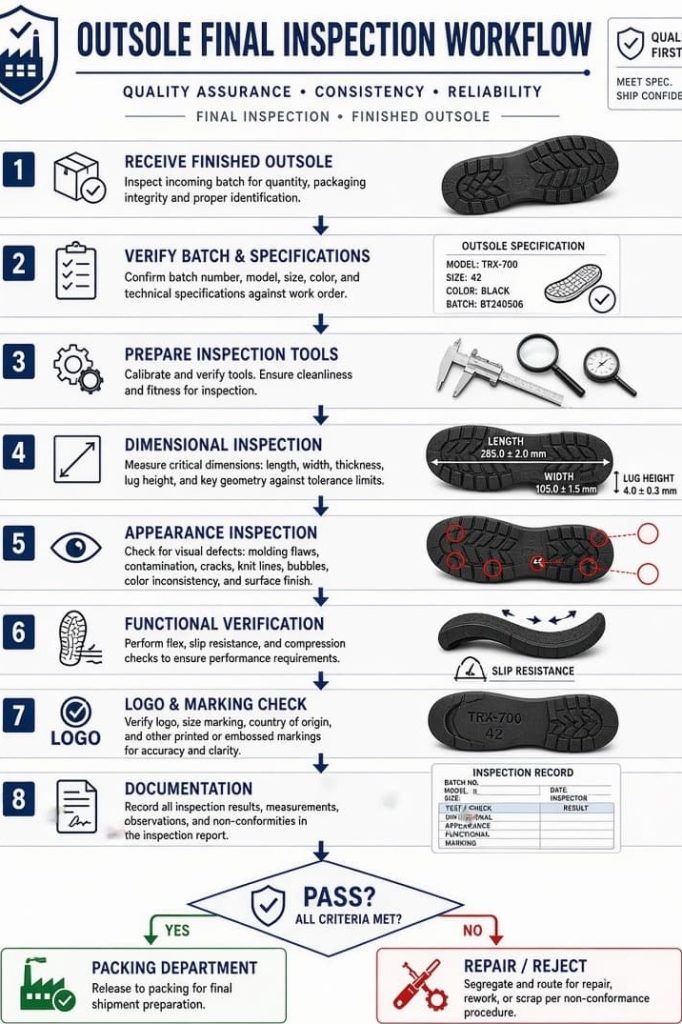
Expert Tip: Follow the same inspection sequence for every outsole to avoid overlooking critical checkpoints.
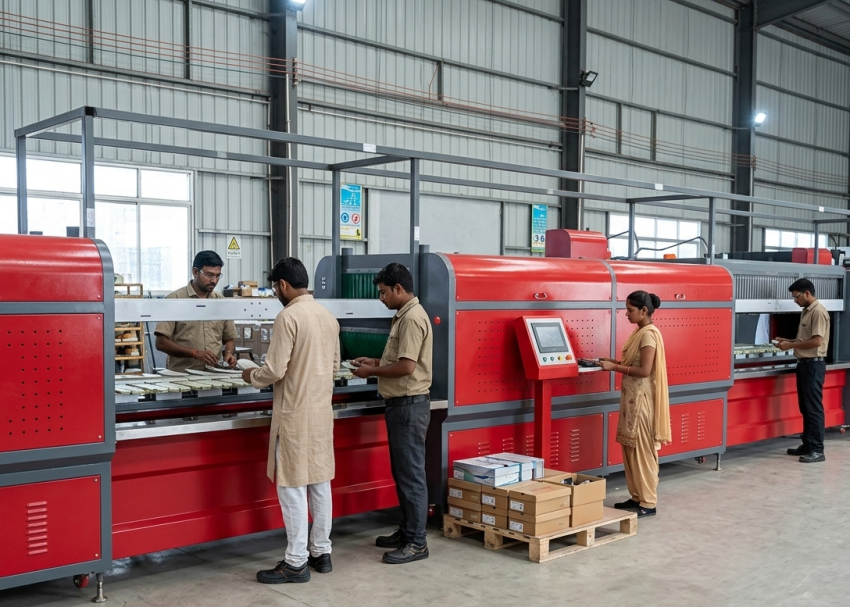
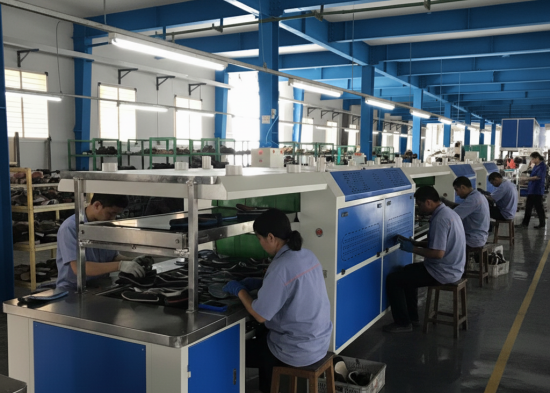
Common Final Inspection Defects
Although many defects are detected earlier during production, some may only become evident during final inspection. Early identification prevents defective products from reaching customers.
| Defect | Possible Cause | Inspection Action |
|---|---|---|
| Incorrect dimensions | Mould wear or process variation | Measure against specification |
| Colour variation | Material batch inconsistency | Compare with approved colour standard |
| Flash remaining | Poor trimming | Send for repair |
| Surface scratches | Improper handling | Classify according to severity |
| Incomplete logo | Mould issue | Reject or repair if possible |
| Uneven texture | Mould contamination | Reject affected pieces |
| Contamination | Poor cleaning process | Return for cleaning |
| Bonding surface damage | Mishandling | Reject if bonding is affected |
Expert Tip: Maintain clean inspection tables and adequate LED lighting, as poor housekeeping can hide surface defects.

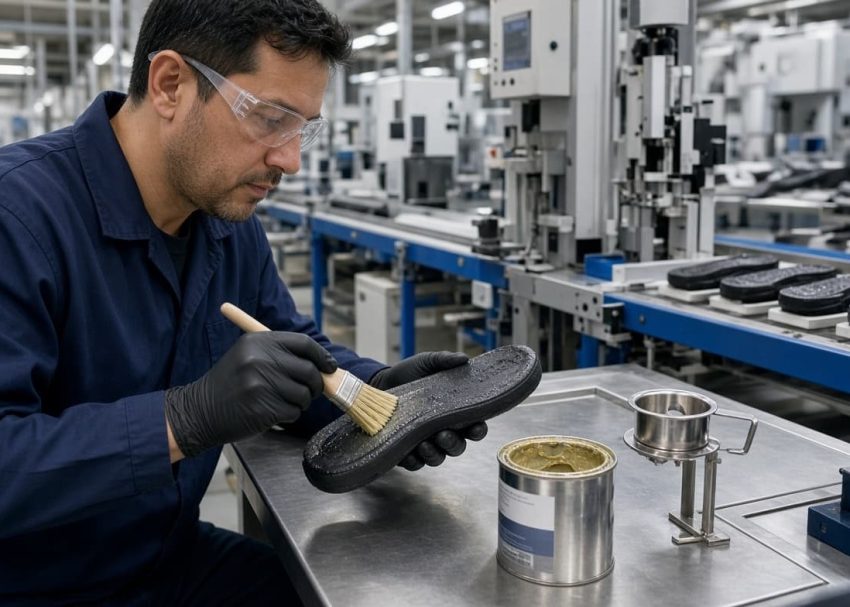
Conclusion
Final inspection is far more than a routine quality check. It is the final decision point that determines whether an outsole is ready for shipment or requires further action. Every inspection performed at this stage protects the manufacturer’s reputation, reduces customer complaints, and ensures that only compliant products reach the market.
In the next article of this Outsole (Stock Fitting) Assembly Series, we will cover Packing Operations in Outsole Process, where we discuss packing standards, carton preparation, labeling requirements, quantity verification, storage practices, and shipment readiness before dispatch.

Frequently Asked Questions (FAQs)
Final inspection is the last opportunity to identify dimensional, cosmetic, functional, and documentation issues before products are packed and shipped to customers.
Common tools include inner cavity templates, heel height gauges, toe spring gauges, digital calipers, logo reference standards, specification sheets, and measurement charts.
Depending on the defect severity, the outsole is either sent for repair, rework, or permanently rejected according to the factory’s quality procedures
Calibration frequency depends on the factory’s quality management system, but most precision gauges are verified periodically according to scheduled calibration plans.
A Golden Sample is the customer-approved reference product used by inspectors to compare appearance, dimensions, colour, texture, and workmanship throughout production.
Typical records include inspection reports, batch numbers, mould identification, production date, inspector details, measurement results, defect records, and acceptance status.
No. Final inspection confirms finished product quality, while in-process inspections prevent defects from progressing through manufacturing. Both are essential for an effective quality system.