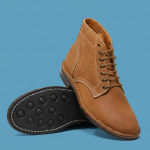
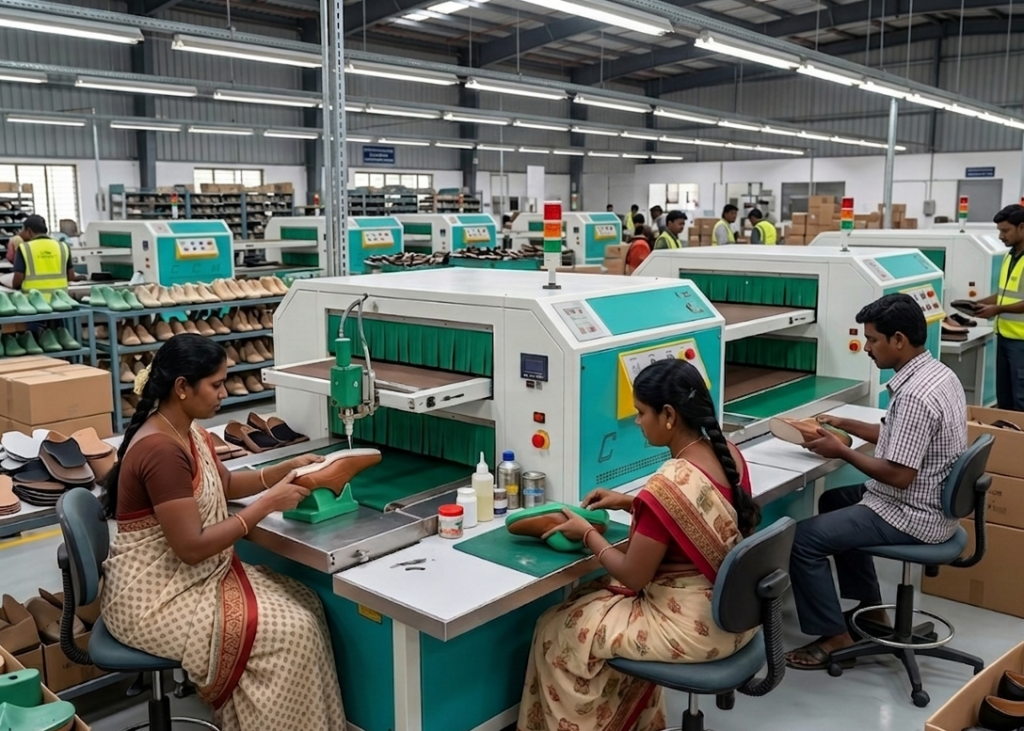
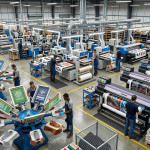
Full Shoe Assembly Process (Part 3): Assembly, Finishing & Packing – From Line to Shipment – Full Shoe Assembly Series
With the upper now fully lasted and the shoe silhouette locked into its final geometry on the plastic last which we discussed on our previous Blog Full Shoe Assembly Process (Part 2): Lasting Operations – Full Shoe Assembly Series, the manufacturing journey enters its decisive endgame. At this stage, the post-lasting phases—assembly, finishing, and warehouse handling—transform a shaped component into a market-ready, export-compliant footwear product.
Every subsequent operation plays a critical role. For example, outsole marking, adhesive bonding, hydraulic pressing, controlled chilling, accelerated ageing, and de-lasting directly influence:
- Final bond integrity
- Cosmetic perfection
- Long-term durability under repeated flex
- Resistance to moisture exposure
As a result, these processes determine whether the product will perform successfully in real-world conditions. In high-output footwear factories, these stages act as the last line of defense. If teams lose control here, defects such as delamination, shape distortion, visible surface issues, and shipment rejection during AQL inspection or at the buyer’s warehouse will occur.

Assembling
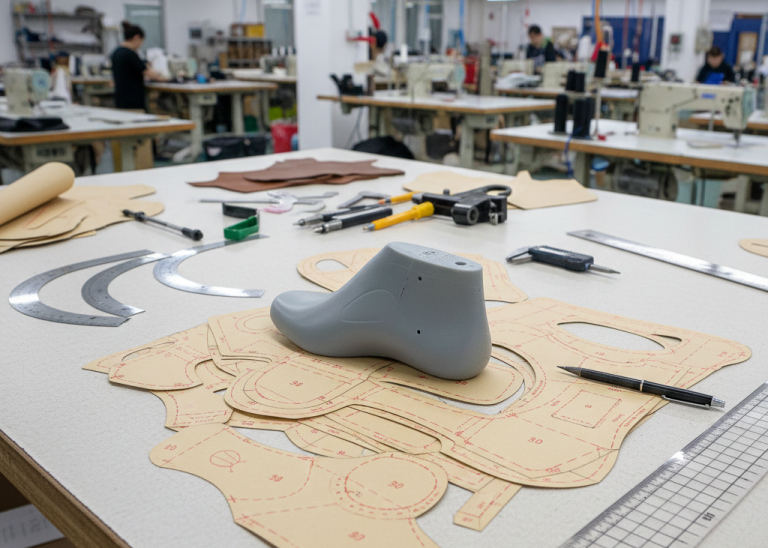
Outsole Marking
Accurate outsole marking establishes the precise reference geometry required for perfect alignment between the lasted upper and the outsole profile. Even a minor deviation at this stage will propagate downstream. As a result, it leads to visible asymmetry, functional imbalance, or mismatched tread positioning. Since operators cannot correct these issues later, such defects often trigger automatic rejection during final AQL audits.
To achieve precision, factories use different marking methods depending on material and design complexity. For instance, operators apply refill pens for standard visibility and UV-reactive pens for darker materials. In addition, some lines use custom negative-mold jigs, which transfer full contour lines in a single operation.
Expert Tip: For multi-density or translucent outsoles, always perform a test mark on a sacrificial pair under full-spectrum production lighting. Otherwise, UV ink may remain invisible until activation. Early validation prevents carton-level misalignment issues later in the process.
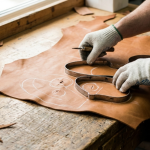
Roughing / Buffing (Upper & Outsole)
Surface roughing forms the foundation of a strong bond. It creates controlled micro-abrasions that enable both mechanical keying and chemical interlocking between the upper and outsole materials. If teams skip or incorrectly execute this step, smooth surfaces will reduce the effective bonding area. Consequently, the shoe will fail during peel testing, repeated flex cycles, or accelerated ageing.
To avoid such failures, factories use automated roughing machines with variable RPM control or dedicated manual roughing stations. Operators select tools such as emery wheels, silicon carbide belts, or stainless-steel wire brushes based on the material combination. Material compatibility remains critical. For example:
- PU requires controlled abrasion without melting
- Rubber needs deeper surface activation
- EVA demands softer handling to avoid tearing
In addition, grit size must match the material precisely. Excessively coarse grit damages fibers and creates weak boundary layers. On the other hand, very fine grit fails to generate sufficient surface energy for proper adhesive wetting.
Key Technical Parameters
- Surface roughness (Ra value) verified using profilometer spot checks
- Grit specification aligned with PU, rubber, EVA, and leather matrix
Pro Tip: Implement a mandatory adhesion test strip protocol for every shift. If peel strength drops by even 10%, immediately recalibrate grit, RPM, or pressure settings.
Washing / Priming
Immediately after roughing, the washing and priming stage removes contaminants and activates the surface chemically. At this point, the surface contains dust, oils, mold-release agents, and plasticizers. If these remain, they will block adhesive penetration and weaken the bond. Therefore, proper cleaning is essential.
At the same time, primers increase surface energy. As a result, they improve adhesive wetting and long-term cross-linking performance. Operators apply primers using spray booths or controlled brush stations. The selection depends on the material combination, including PU, rubber, EVA, or leather.
However, incorrect primer selection remains one of the leading causes of delayed bond failure. In many cases, defects appear only after 48-hour humidity or hydrolysis ageing tests. Timing also matters. Teams must apply primer within minutes of roughing. Otherwise, contamination reduces effectiveness.
Expert Tip: Maintain strict FIFO control for primer batches and record lot numbers for each production shift. Even small variations in viscosity or flash-off time can lead to bond-line weakness.

Primary & Secondary Cementing
Cementing follows a dual-coat system designed to maximize bond strength and durability. First, the primary coat penetrates deep into the roughed surface. It creates a strong chemical bridge with the substrate. Then, the secondary coat builds the required adhesive film thickness and tack layer.
This combination ensures both shear strength and peel resistance. Factories select adhesive chemistry based on the material matrix. Common systems include:
- Solvent-based polyurethane
- Neoprene adhesives
- Latex systems
- Reactive hot-melt adhesives
Uniform application is critical. Excess cement causes squeeze-out, contamination, and visual defects. In contrast, insufficient application creates weak bonding zones.
Key Process Controls
- Viscosity and solids content checked using viscometer
- Primary coat penetration time monitored closely
- Secondary coat weight controlled per square centimeter
Drying & Activation
After cementing, the components move into drying and activation. During drying, the system removes solvents without forming a surface skin. Then, activation restores adhesive tack within the defined open-time window. Factories use either manual activation guns or conveyorized tunnel dryers. Most high-volume lines prefer multi-zone dryers with infrared or hot-air systems. Precise control is essential here.
- Over-activation can burn adhesive and distort materials
- Under-activation leaves insufficient tack
Therefore, teams must control both temperature and dwell time according to the adhesive TDS1.
Key Process Window
- Activation temperature defined for each material combination
- Dwell time controlled through conveyor speed
Expert Tip: Install infrared pyrometers at the dryer exit. If temperature deviates by more than 3°C, stop the line and quarantine affected pairs.
Outsole Attaching
Outsole attaching occurs within a narrow open-time window, typically between 30 and 60 seconds. During this step, operators manually align the outsole with the marking lines and apply initial pressure. Since adhesive tack is at its peak, timing becomes critical.
Once contact is established, correction is almost impossible. Therefore, operator accuracy directly determines product quality. Although some factories use alignment jigs or laser guides, human consistency remains essential.
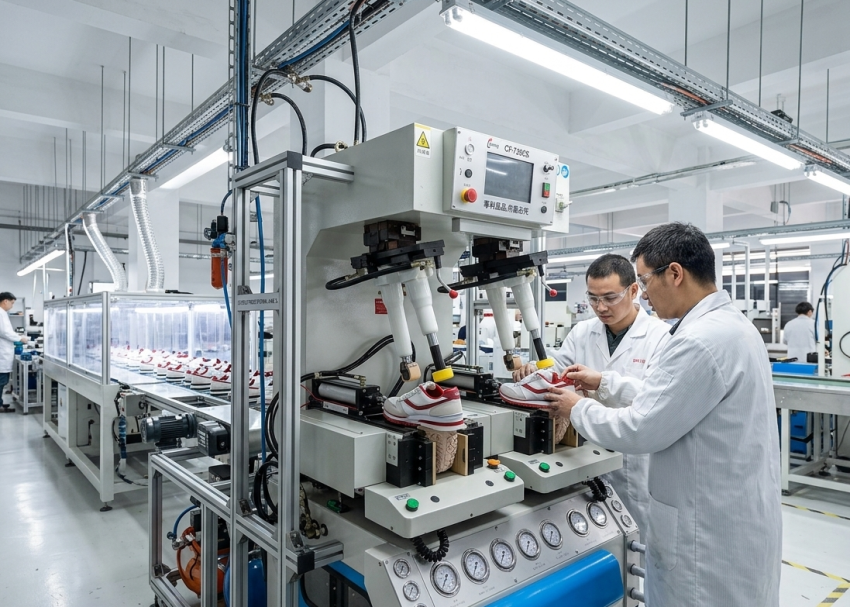
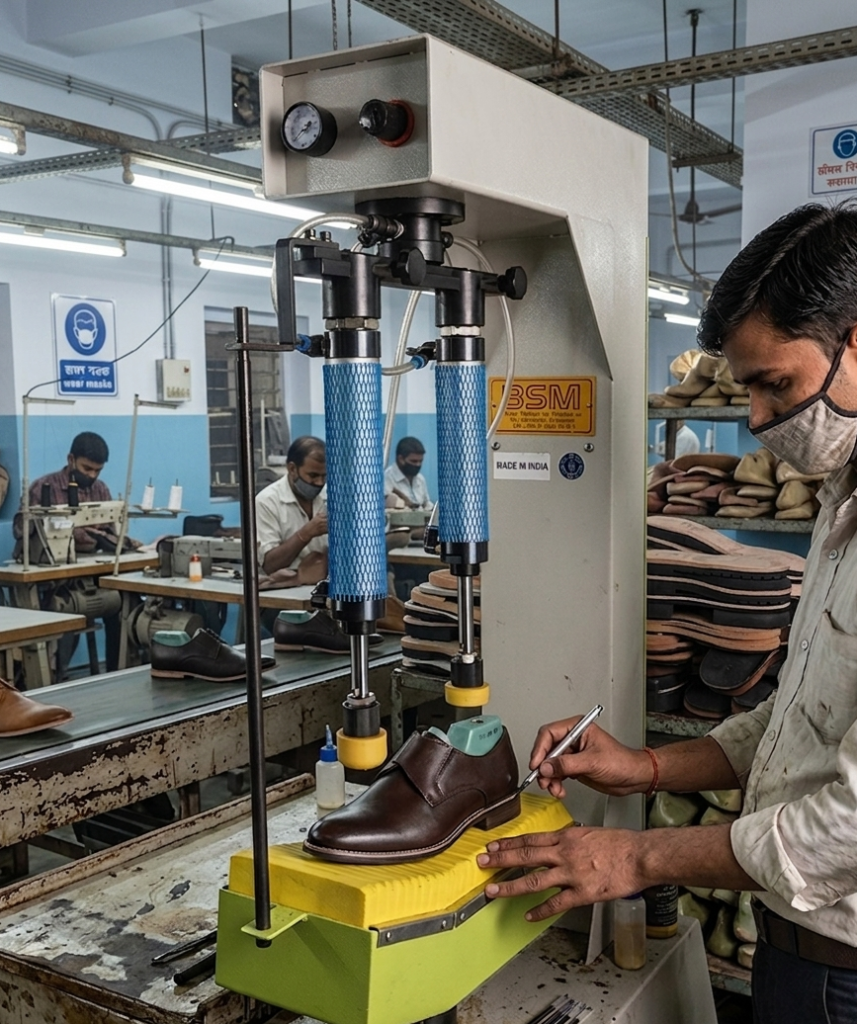
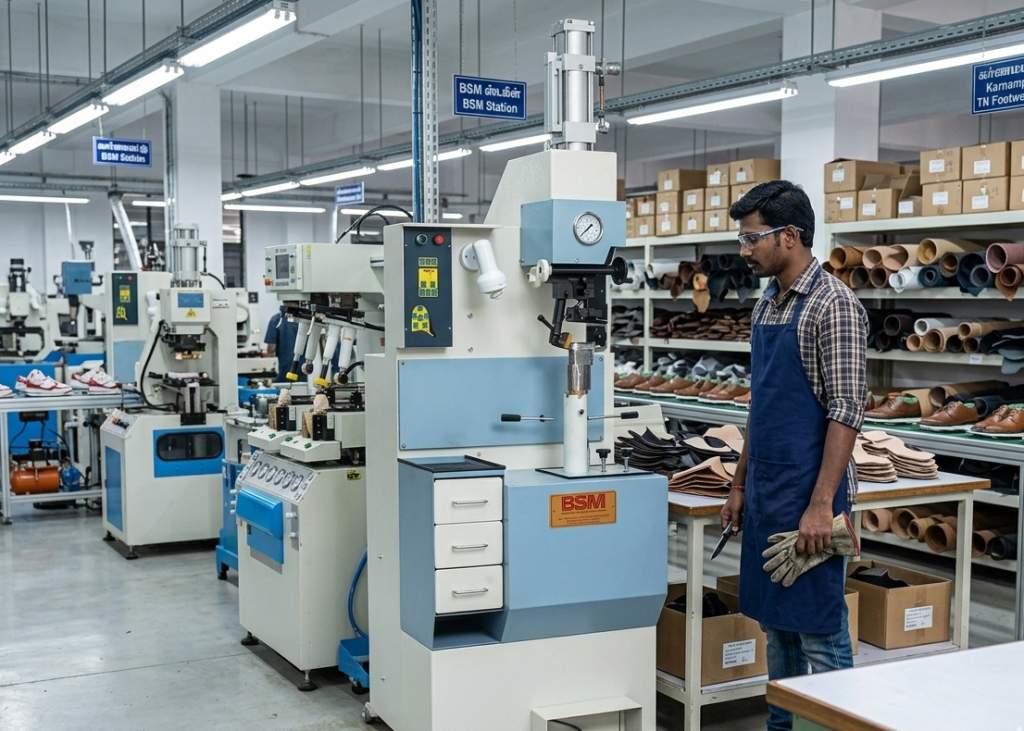
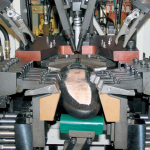
Outsole Pressing
Immediately after outsole attachment, operators transfer the shoe to the pressing station. At this stage, timing is critical because adhesive tack remains at its peak for only a short duration. Hydraulic or pneumatic presses apply calibrated pressure to ensure complete surface contact between the upper and outsole. At the same time, this operation removes any trapped air that could weaken the bond or create visible gaps.
To achieve uniform pressure distribution, factories use custom silicon negative molds. These molds replicate the exact tread pattern and sidewall geometry of the outsole. As a result, they prevent localized over-compression, tread collapse, or uneven bonding.
Pressing must occur within 60 seconds of attachment. Otherwise, adhesive performance drops significantly, leading to weak bonding zones.
Critical Parameters
- Pressing cycle completed within 60 seconds of attachment
- Pressure (kg/cm²) calibrated according to outsole hardness
- Dwell time aligned with adhesive type
- Silicon mold temperature controlled to prevent sticking or marking
Expert Tip: Clean molds daily and check Shore hardness weekly. Worn or contaminated molds often cause hidden defects such as uneven bond lines and surface impressions.
Chilling
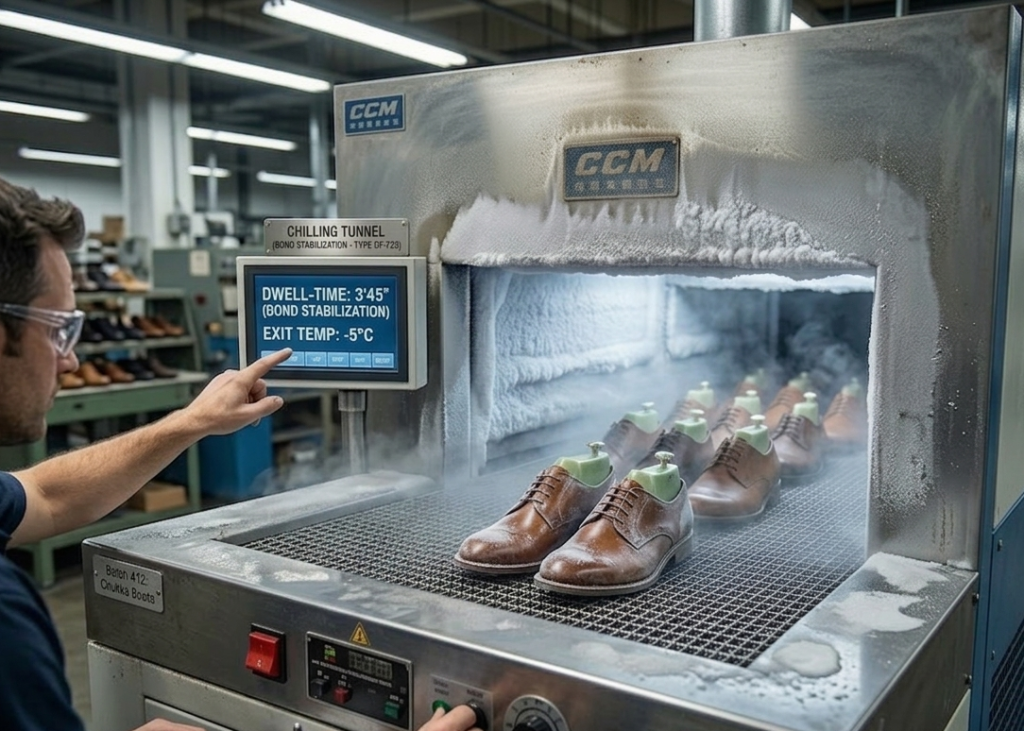
Following pressing, the shoe immediately enters a chilling tunnel. This stage stabilizes the bond and locks the product geometry before further handling. During pressing and activation, heat builds up within the adhesive and upper materials. If this heat remains, it can cause post-press distortion, shrinkage, or bond creep. Therefore, rapid cooling becomes essential.
The chilling tunnel uses controlled cold air circulation with defined conveyor dwell time. This setup ensures uniform cooling across all pairs.
Key Technical Parameters
- Tunnel temperature calibrated based on material thermal properties
- Conveyor dwell time adjusted for complete cooling
- Exit shoe surface temperature monitored for stability
Pro Tip: Integrate chilling data into the factory SCADA system. If temperature deviates from the specified range, automatically divert affected pairs for extended ageing and re-inspection.
Ageing
Although pressing creates the initial bond, full adhesive strength develops during ageing. At this stage, chemical cross-linking continues while internal stresses in the upper materials relax. Without proper ageing, the bond may appear acceptable initially but fail later during flexing or customer use.
Factories typically use natural rack ageing, which takes between 45 and 90 minutes under controlled ambient conditions. However, modern systems use accelerated ageing tunnels with conditioned air or mild infrared heating. These systems can reduce ageing time to under 30 minutes without compromising performance.
Environmental conditions significantly influence this stage. In particular, high humidity slows down cross-linking and extends the required ageing time.
Expert Tip: Monitor relative humidity continuously. If humidity exceeds 70%, increase ageing time accordingly to prevent latent bond failure during storage or shipping.
Last Removal (De-Lasting)
Once ageing is complete, operators remove the last using automatic de-lasting machines or controlled manual methods. This step requires careful handling because sudden force can damage the shoe structure. For example, excessive force may cause heel counter collapse, upper wrinkling, or shape distortion.
Modern machines apply gradual, controlled extraction force. This ensures consistent results and minimizes damage risk. In addition, the condition of the last itself plays a critical role. Worn or scratched lasts increase friction and raise the probability of defects during removal.
Pro Tip: Schedule regular last maintenance, including polishing and inspection. Also, monitor extraction force and speed as key indicators of process stability.
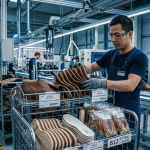
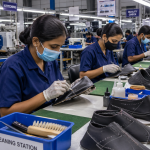
Stage Inspection – Assembly
After de-lasting, every pair undergoes a dedicated stage inspection. This checkpoint ensures that only properly assembled shoes move to finishing. Inspectors perform both visual and tactile checks. They verify outsole alignment, bond continuity, surface cleanliness, and overall shape retention.
If inspectors detect any deviation, they tag the pair for rework and remove it from the main flow. This prevents defective products from entering finishing operations, where correction becomes more difficult. This inspection stage acts as the final control point for bonding quality.
Finishing
Heel Nailing
For specific constructions such as formal or heeled footwear, heel nailing provides additional mechanical reinforcement. Automated heel-nailing machines drive nails or screws through the insole into the outsole heel base. This creates a permanent mechanical lock that supports the adhesive bond.
Modern machines use CNC control systems with depth sensors and force feedback. As a result, they ensure precise nail placement and consistent penetration depth. Improper calibration can cause serious issues. For example, excessive depth creates internal pressure points, while insufficient depth reduces holding strength.
Expert Tip: Set nail penetration depth 1.5–2.0 mm below the insole surface. In addition, perform periodic pull-out tests to verify long-term performance.
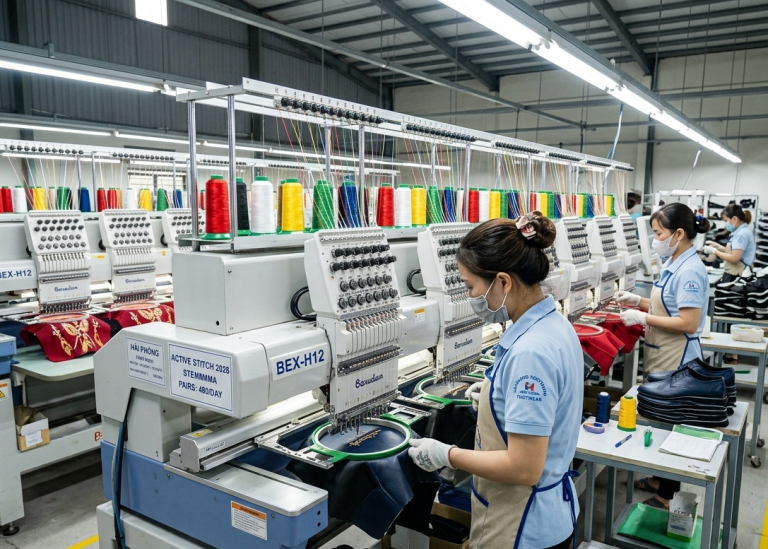
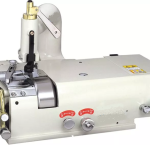
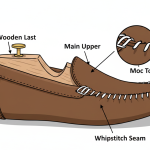
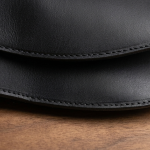
Side Wall / Littleway Stitching
Certain constructions require additional stitching between the upper and outsole or welt. This process improves structural integrity and enhances product aesthetics. Factories use heavy-duty Littleway or side-wall stitching machines. These machines maintain consistent stitch pitch, thread tension, and penetration depth.
Uniform stitching is essential, especially around curved areas. Poor tension control can lead to puckering, weak seams, or reduced waterproofing performance.
Key Technical Parameters
- Stitch density (stitches per inch) defined per construction
- Thread tension calibrated for material thickness
- Needle size selected based on seam strength requirements
Pro Tip: Use inline cameras or periodic pull tests to monitor stitch quality. Immediate correction prevents large-scale defects…
Footbed / Sock Attaching
Footbed attachment directly affects comfort, fit, and internal appearance. Operators position the footbed manually. Then, they secure it using adhesive and press mechanically to secure the bond.
Incorrect placement leads to wrinkles, slippage, or uneven cushioning. These defects become immediately noticeable during wear.
Expert Tip: Perform periodic shear tests to verify adhesion strength. Loose footbeds are a common cause of customer complaints.
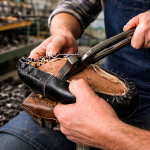
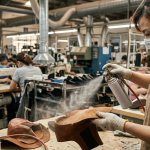
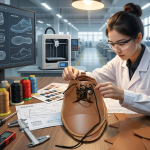
Repairing / Cleaning
At this stage, operators remove all visible defects from the shoe surface. They eliminate glue marks, scuffs, dust, and excess adhesive using appropriate tools and cleaning agents. This step requires attention to detail because even minor imperfections affect retail acceptance.
Factories typically use a combination of mechanical cleaning and solvent-based wiping. Lighting conditions play a crucial role. Proper illumination helps operators detect even microscopic defects.
Pro Tip: Adopt a two-stage cleaning approach. First, perform dry cleaning to remove bulk residue. Then, apply solvent cleaning for final finishing. This method reduces chemical usage and improves consistency.
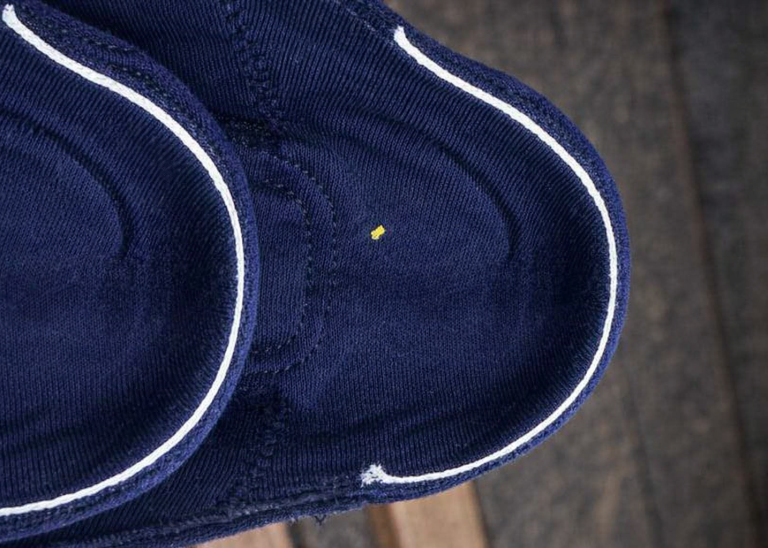
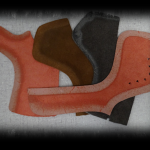
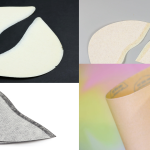
Paper Stuffing
Paper stuffing maintains the internal shape of the shoe during storage and transportation. Operators insert pre-formed fillers into the toe box and vamp area. This prevents creasing, collapse, and deformation.
Material selection is important, especially for export markets with high humidity. Moisture-resistant stuffing materials help maintain shape integrity over long transit periods. Improper stuffing creates problems. Over-stuffing makes end product bulkier, while under-stuffing allows deformation.
Expert Tip:
Match stuffing size precisely to last dimensions. Use treated paper for tropical shipping routes.

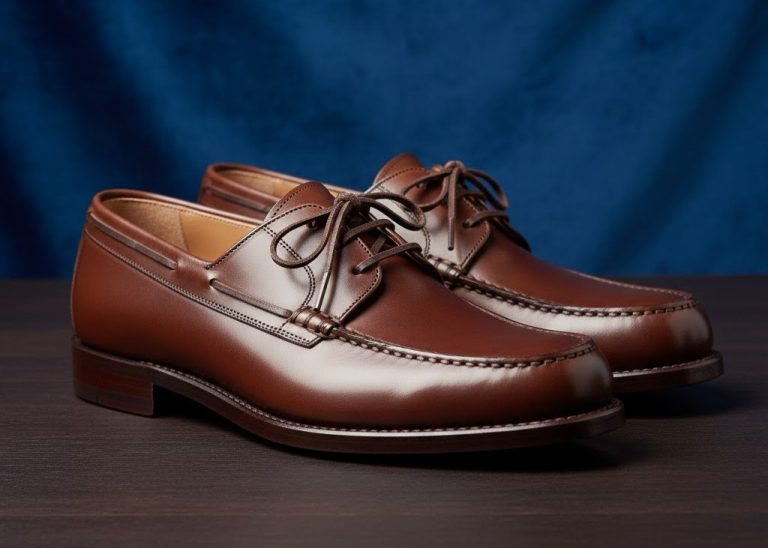
Lacing
Lacing transforms the product into a retail-ready item. It also contributes to visual presentation and brand perception. Operators must follow brand specifications for lace type, length, color, and tying method.
Consistency is essential. Uneven tension or poor presentation reduces shelf appeal and creates handling issues.
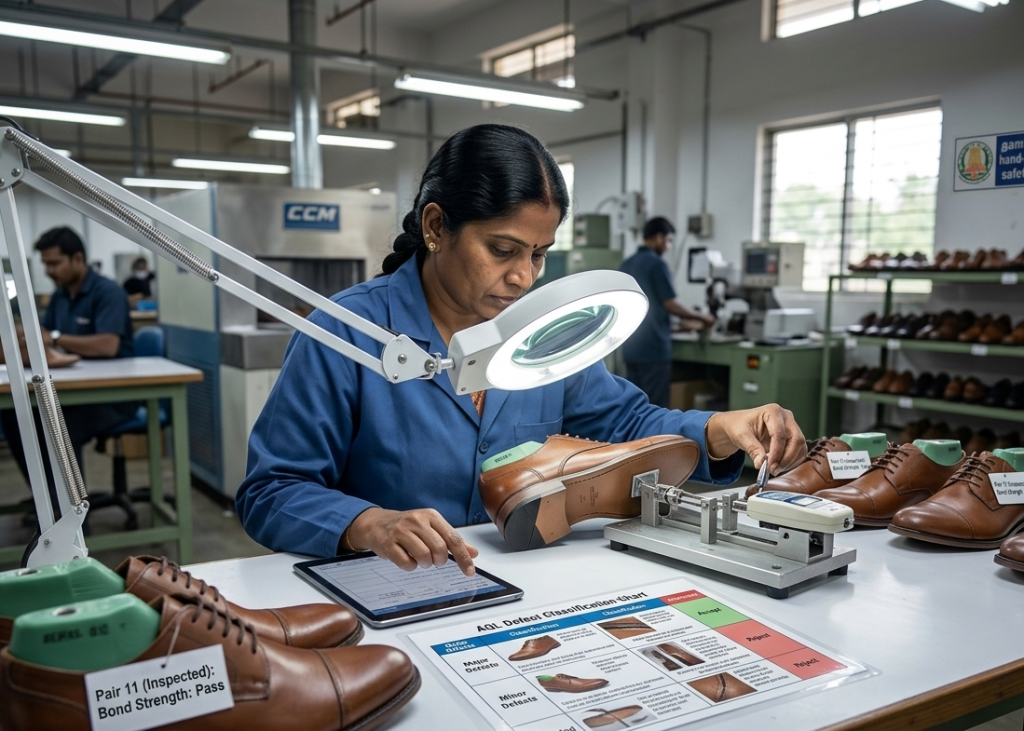
Final Inspection
Trained inspectors conduct a comprehensive final quality audit covering appearance, bonding integrity, shape retention, internal and external cleanliness, left–right pair matching, and compliance with all technical specifications. The inspection uses standardized checklists, magnifying lamps, flex-testing fixtures, and pair-matching stations under calibrated lighting. Only fully approved pairs receive the green tag to proceed to packing, while any deviation triggers detailed defect logging for root-cause analysis and process improvement.
Key Checks:
- Overall appearance and color consistency
- Bond strength verification at critical zones
- Shape and symmetry confirmation
- Complete cleanliness and absence of foreign matter
- Perfect left–right pairing and size matching
Expert Tip: Rotate inspectors every two hours to maintain defect detection accuracy. Integrate digital defect logging systems for real-time trend analysis and immediate corrective actions.
Finished Goods Warehouse
Carton Packing
Approved unit boxes are consolidated into high-burst-strength corrugated outer cartons at defined pack ratios (commonly 6, 8, 10, or 12 pairs per carton) using automated case erectors, fillers, and sealers. Cartons are strapped with high-tensile bands, labeled with all required shipping marks, barcodes, and handling instructions, then palletized according to customer stacking diagrams and container optimization software. Proper carton packing protects the product from compression, moisture, and impact during multi-modal transport.
Key Technical Parameters:
- Carton burst strength and edge crush test (ECT) values matched to stack height and transit conditions
- Pack ratio and orientation optimized for maximum container utilization without compromising protection
Pro Tip: Conduct periodic drop and compression tests on packed cartons to validate packaging design. Seasonal humidity variations require adjustments in desiccant usage and sealing methods.
Metal Detection
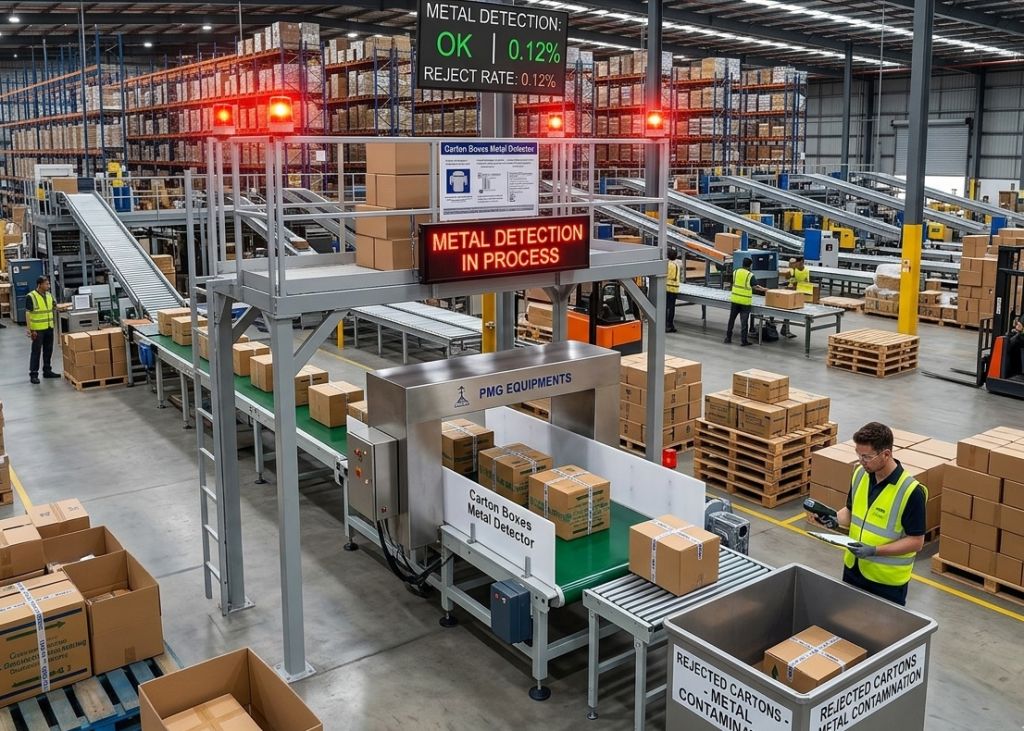
Every sealed carton passes through calibrated industrial metal detectors before palletization. This 100 % check eliminates any risk of metallic contamination from broken needles, staples, or foreign objects introduced during assembly or finishing. The system uses multi-frequency technology to detect ferrous and non-ferrous metals at varying depths, satisfying both consumer safety standards and major brand compliance requirements.
Expert Tip: Perform hourly sensitivity checks with certified test pieces and maintain detailed calibration logs. Any detection event triggers full line investigation and traceability review to prevent systemic contamination.
Final AQL Audit
Before shipment, quality teams perform AQL inspection based on statistical sampling. Inspectors evaluate defects according to predefined categories:
- Critical defects
- Major defects
- Minor defects
They follow international standards such as MIL-STD-105E. Only approved lots proceed to shipment. Rejected lots undergo full re-inspection and correction.
Pro Tip:
Maintain a digital database linking defects to production lines. This enables continuous improvement and faster root-cause analysis.
Documentation & Shipping Readiness
Complete shipping documentation—including detailed packing lists, commercial invoices, certificates of conformity, test reports, material safety data sheets, and origin documents—is compiled and cross-verified against the original purchase order and letter of credit requirements. Digital document management systems ensure version control and instant retrieval during customs or buyer audits.
Expert Tip: Implement a pre-shipment documentation checklist signed by both production and quality managers. Any discrepancy discovered at this stage can delay vessel cutoff and incur significant demurrage costs.
Container Stuffing
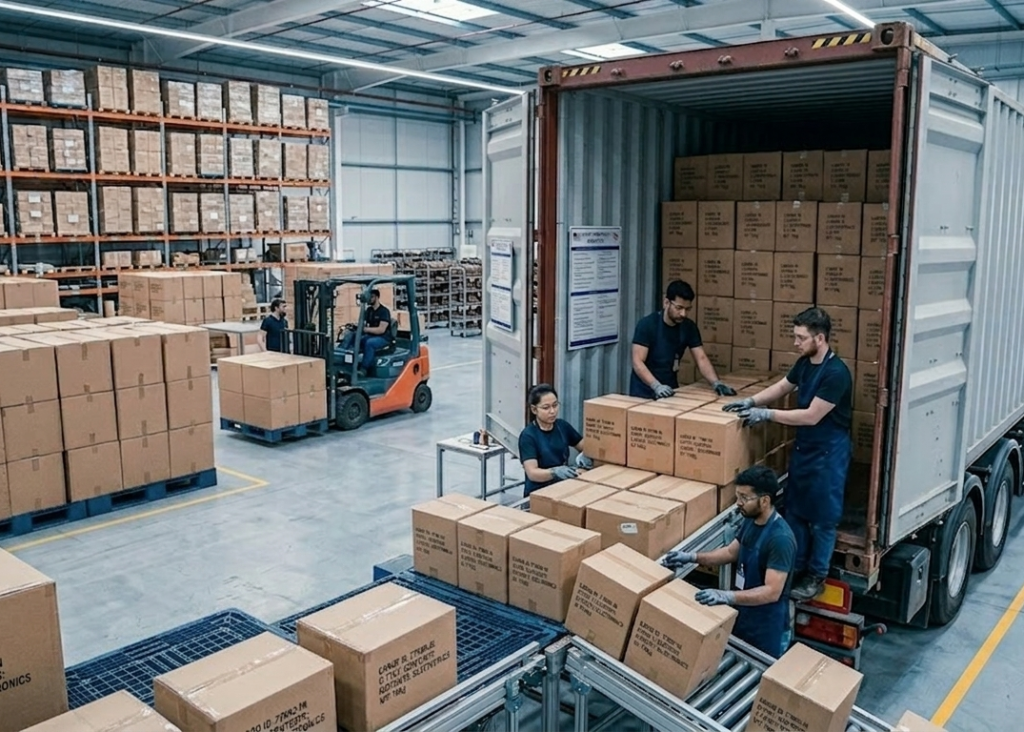
Prior to loading, containers undergo thorough pre-stuffing inspection per C-TPAT2 and brand security protocols, including seal verification and interior cleaning. Goods are loaded in a systematic, braced configuration using dunnage, air bags, void fillers, and blocking materials to withstand the rigors of 40-day ocean transit, road shocks, and stacking pressures without shifting, compression damage, or moisture ingress. Loading patterns are optimized using specialized software to maximize payload while maintaining stability.
Key Controls:
- Container floor and wall condition verified against ISO standards
- Load distribution calculated to prevent axle overload and ensure even weight distribution
- Final sealing and photographic documentation for insurance and claim prevention.
Expert Tip: Use humidity and temperature data loggers inside containers for high-value or moisture-sensitive shipments. Post-loading audits confirm compliance with all security and stability requirements
Conclusion
Assembly, finishing, and warehouse operations form the final and most critical phase of footwear manufacturing. At this stage, precision determines success. When teams control every parameter—adhesive performance, machine calibration, process timing, and inspection standards—they achieve consistent quality and reliable performance.
On the other hand, weak control leads to defects, shipment rejection, and financial loss. Therefore, factories must treat these operations as engineering-driven processes rather than routine tasks. When executed correctly, every shipment reflects not only a finished product but also the factory’s capability, discipline, and commitment to quality.
Ultimately, consistent execution at this stage ensures that each pair reaches the customer in perfect condition and performs as intended throughout its lifecycle.