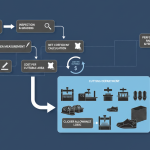
Component Marking After Cutting/Clicking–Stitching Process Series
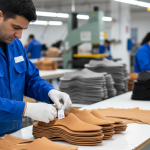
After the cutting process, components are organized and issued systematically, as explained in Component Bundling After Cutting/Clicking – Stitching Process Series. While bundling ensures smooth material flow and prevents mixing, it does not define how components will be stitched.
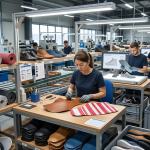
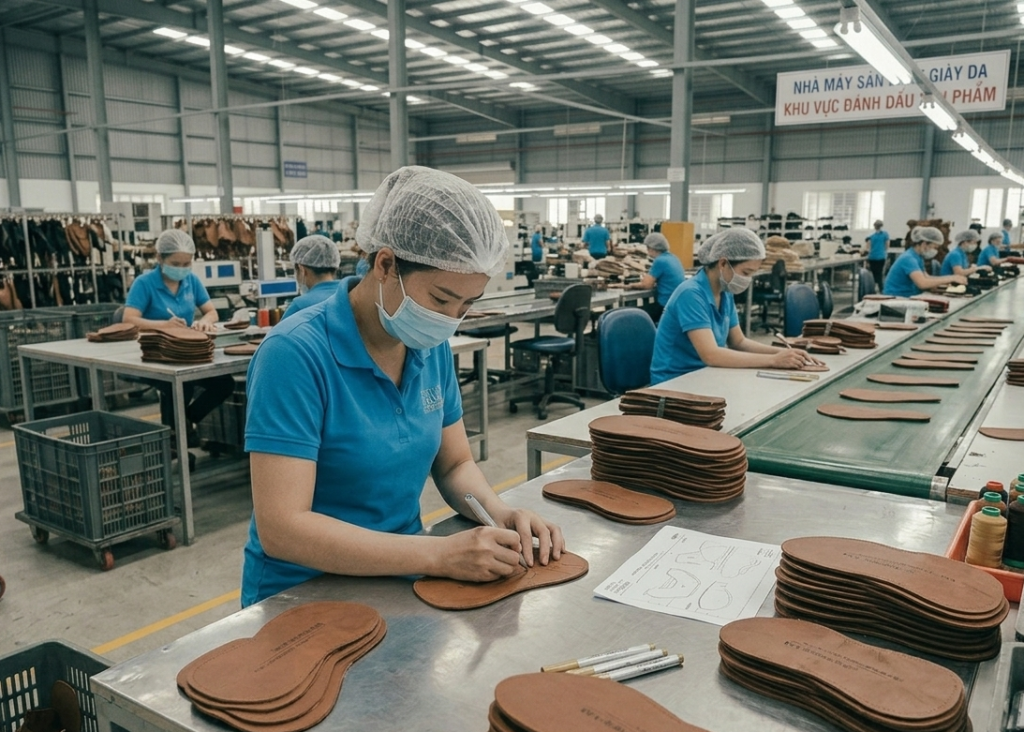
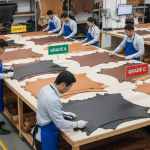
At this stage, component marking becomes critical. Marking defines stitching lines and folding references directly on each component, guiding operators to maintain accuracy during assembly. Without proper marking, even well-bundled components can lead to stitching deviations and quality issues.
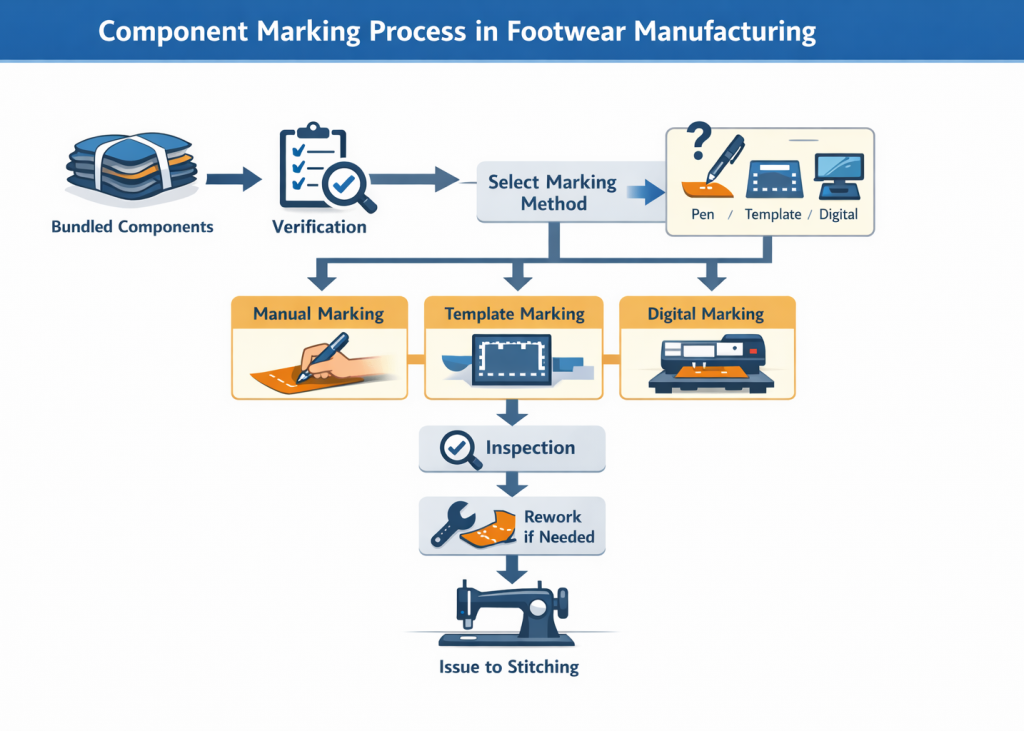
Operators use various marking and guidance systems such as silver or white marking pens, UV marking systems, screen templates, and digital marking machines. These methods ensure that assembly is performed accurately and consistently across all pairs.
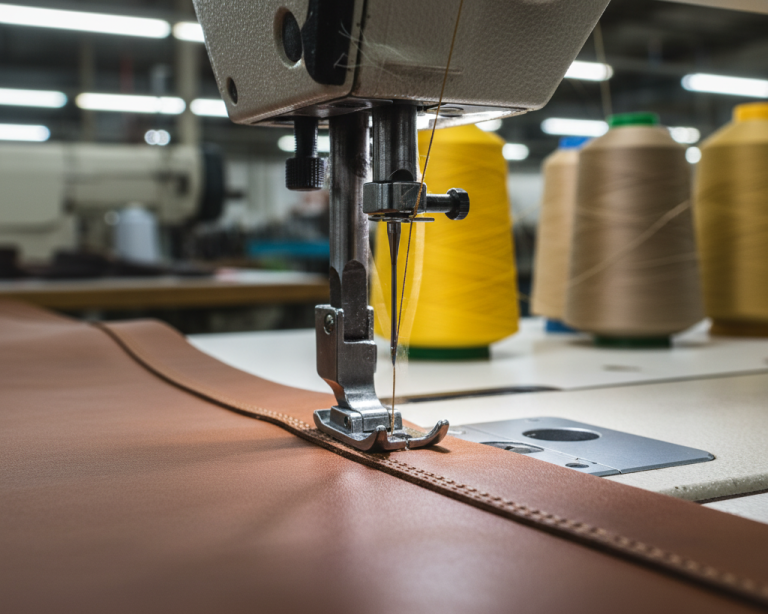
Marking is typically executed through manual marking, template-based marking, or digital systems, depending on production scale and complexity. As a result, this step connects organized material flow with precise stitching execution, ensuring consistency in final product quality.
Key Control Points
- Consistency across all components
- Accuracy of marking lines must match design specifications
- Visibility during stitching must be ensured
- Markings should not damage or stain material
Pro Tip :
Always validate marking visibility under actual stitching lighting conditions
Use contrast-based marking (light on dark, dark on light) for better clarity
Avoid disappearing/heat pens for export to cold countries (risk of reappearance)
1. Purpose and Scope of Component Marking
Component marking defines stitch lines, folding references, alignment guides, and functional zones on cut components before stitching. It acts as a visual instruction system for stitching operators.
In production, operators rely on these markings to maintain uniform seam allowances, accurate folding, and correct positioning of components. Without proper marking, even skilled operators may produce inconsistent results.
The scope covers all upper components including leather, synthetic materials, linings, reinforcements, and critical visible parts where precision is required.
Key Control Points
- Marking must align exactly with design specifications
- Ensure consistency across all pairs and sizes
- Avoid over-marking that confuses operators
- Maintain visibility without damaging material
Pro Tip :
Standardize marking thickness to avoid confusion
Conduct first-piece inspection before bulk marking
Maintain separate stencil sets for each size and model
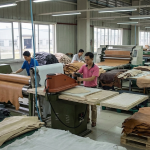
2. Marking and Guidance Systems Used in Footwear
Different marking systems are used depending on material type, production volume, and accuracy requirements. These systems ensure that stitch lines and folding zones are clearly defined and easy to follow during stitching.
In most factories, marking systems include manual, semi-automatic, and fully digital methods. Each method has its own application depending on complexity and scale.
Operators typically use:
- Silver or white marking pens for dark materials
- UV marking systems for invisible guidance
- Screen templates for repetitive accuracy
- Digital marking machines for high precision and automation
As a result, selecting the correct marking system improves productivity and reduces operator dependency.
Key Control Points
- Select marking method based on material and visibility
- Ensure markings do not fade during handling
- Maintain uniform marking thickness
- Avoid contamination or staining
Pro Tip :
Use digital marking for high-volume styles to reduce labor dependency
Combine template + manual marking for flexible production
Replace acrylic/plastic stencils if edges become worn or distorted
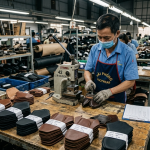
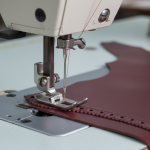
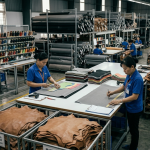
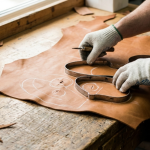
3. Manual Marking Using Pens
Manual marking is the most widely used method in footwear factories, especially where flexibility and quick adjustments are required. It is commonly applied in leather uppers, sampling, and styles with frequent design changes.
In practical factory execution, marking is not done freehand. Operators use component-specific templates (stencils) made from plastic sheets or acrylic sheets, which match the exact shape of each component. These stencils guide the operator in drawing accurate stitch lines, folding allowances, and alignment references. As a result, marking consistency improves while still allowing operational flexibility.
Different types of marking pens are selected based on material type and color contrast to ensure visibility without damaging the component.
Common Pens Used in Footwear Manufacturing
- Silver refill pens / metallic markers – Preferred for dark leather and synthetic uppers
- White chalk pens / gel pens – Used on black or dark materials for clear visibility
- Disappearing ink pens (air/water erasable) – Used for light-colored uppers and linings
- Heat-erasable pens – Used where markings must disappear after ironing or heat setting
- Low-pressure ballpoint marking pens – Used for thicker or hidden components
Material-Based Application
- Leather uppers: Silver or white pens for contrast and surface safety
- Synthetic uppers: Gel/chalk pens to avoid chemical interaction
- Textile/mesh: Light-pressure or disappearing ink to prevent bleeding
- Lining (light colors): Blue/purple disappearing ink pens
Important Note on Ink Behavior
Disappearing ink pens must be used carefully. In certain conditions, especially low temperatures (cold environments), the markings may reappear after fading.
Similarly, heat-erasable pens, which disappear with ironing, can also reappear when exposed to cold temperatures. Therefore, they should be avoided in components exposed to low-temperature storage or export conditions.
This behavior is widely observed in garment and footwear industries and must be considered during material and process selection.
Key Control Points
- Use plastic/acrylic stencil for accurate marking guidance
- Select pen based on material type and color contrast
- Avoid using disappearing/heat pens for export styles exposed to cold climates
- Ensure markings are visible during stitching but safe for final appearance
Pro Tip :
Regularly audit marking accuracy vs stitching output
Standardize marking SOP across lines
Store stencils flat to prevent bending
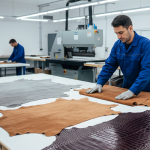
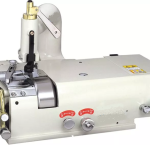
4. Screen Template Marking
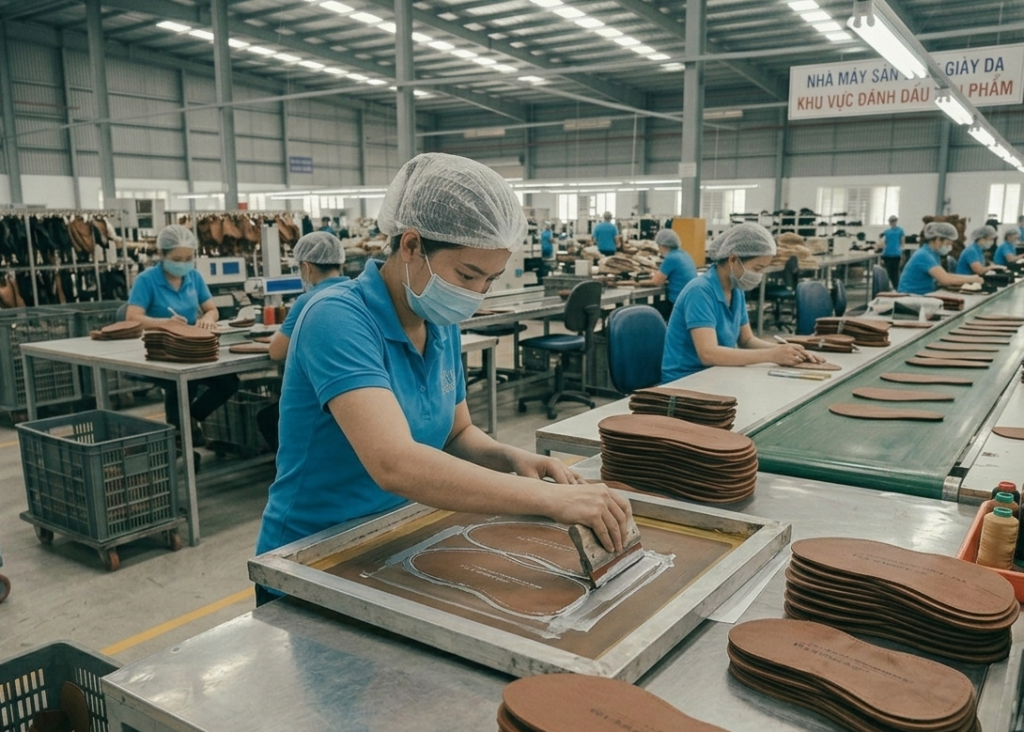
Screen template marking improves consistency by using standard screen printing screens to transfer markings onto components.
In this method, a prepared screen (similar to conventional screen printing) is used to apply marking lines uniformly across components. This ensures consistent stitch lines and folding references, especially in bulk production.
This method is widely adopted in medium to high-volume production environments where repeatability and speed are essential.
Key Control Points
- Ensure correct screen alignment with component position
- Maintain screen cleanliness to avoid smudging
- Monitor ink consistency and drying behavior
- Validate marking accuracy during first-piece approval
Pro Tip :
Standardize stencil material (acrylic/fibre) across all lines
Introduce stencil inspection frequency (daily/weekly based on volume)
Conduct marking trials before bulk production
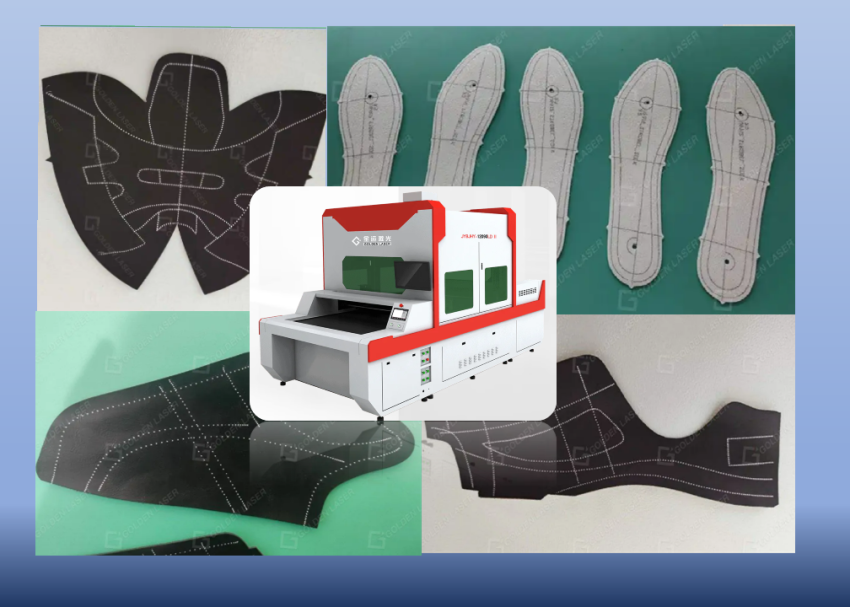
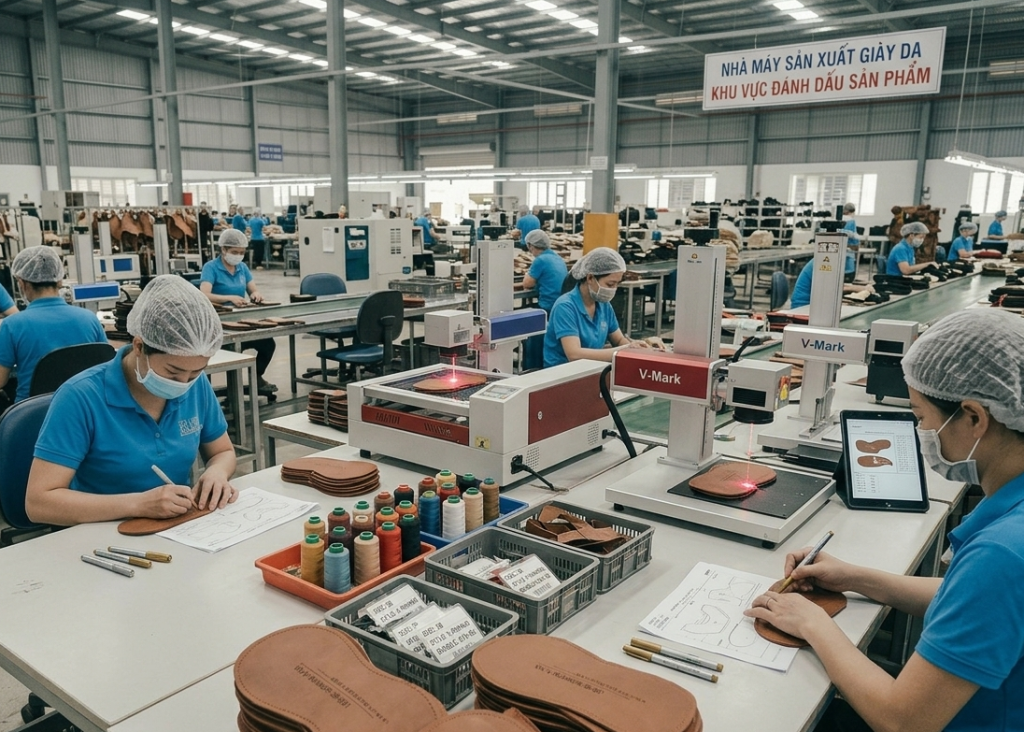
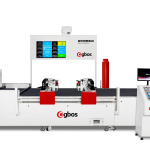
5. Digital Marking Systems in Footwear
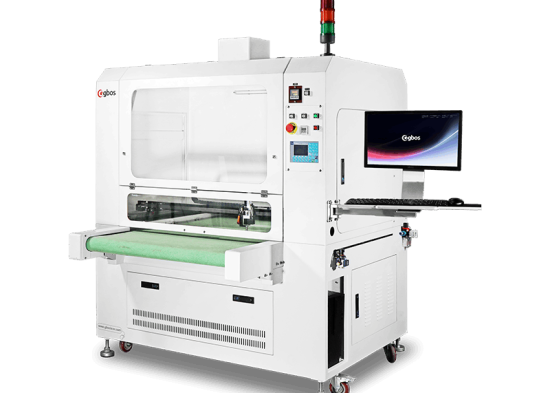
Digital marking machines are advanced systems that automatically mark stitch lines and guides with high precision. These machines use laser, inkjet, or projection technology to apply markings directly onto components. As a result, they eliminate manual errors and ensure repeatability across large volumes.
Digital marking is especially useful for:
- High-end footwear production
- Complex designs with multiple stitch lines
- Large-scale automated factories
Moreover, these systems integrate with CAD/CAM, enabling direct data transfer from design to production.
Leading Digital Marking Machine Suppliers
GBOS Laser Technology (China)
GBOS, headquartered in Dongguan, China, develops advanced automatic inkjet and laser marking systems with AI Vision Scan technology, enabling high-precision, fully automated footwear upper marking that replaces traditional screen printing processes.
Website: https://www.gboslaser.com/product_series/injket-marking-machine
Golden Laser (China)
Golden Laser, based in China, manufactures fully automatic inkjet marking machines with vision positioning, enabling high-speed, production-line stitch marking for footwear uppers while replacing manual marking processes.
Website: https://www.goldenlaser.cc/double-head-inkjet-line-drawing-machine-for-shoe-upper.html
IBON Technology (China)
IBON Technology, a China-based manufacturer, develops intelligent shoe upper marking machines with vision-guided inkjet systems, integrating marking with cutting workflows for improved accuracy, efficiency, and reduced labor dependency.
Website: https://www.iboncutter.com/products/p/ib1209-shoe-upper-marking-machine
MimoWork (China)
MimoWork, headquartered in Shanghai, China, provides laser and inkjet marking solutions with camera recognition, enabling automated, template-free marking for footwear uppers with high precision and flexible production integration.
Website: https://www.mimowork.com/contour-laser-cutting-machine/inkjet-marking-machine.html
Key Control Points
- Ensure calibration with CAD data
- Maintain machine accuracy and alignment
- Verify marking consistency across batches
- Train operators for machine handling
Expert Insight:
Keep separate templates for each size to avoid distortion
Avoid using worn-out stencils, even if deviation looks minor
Use contrast-based marking for operator ease
6. UV and Invisible Marking Systems
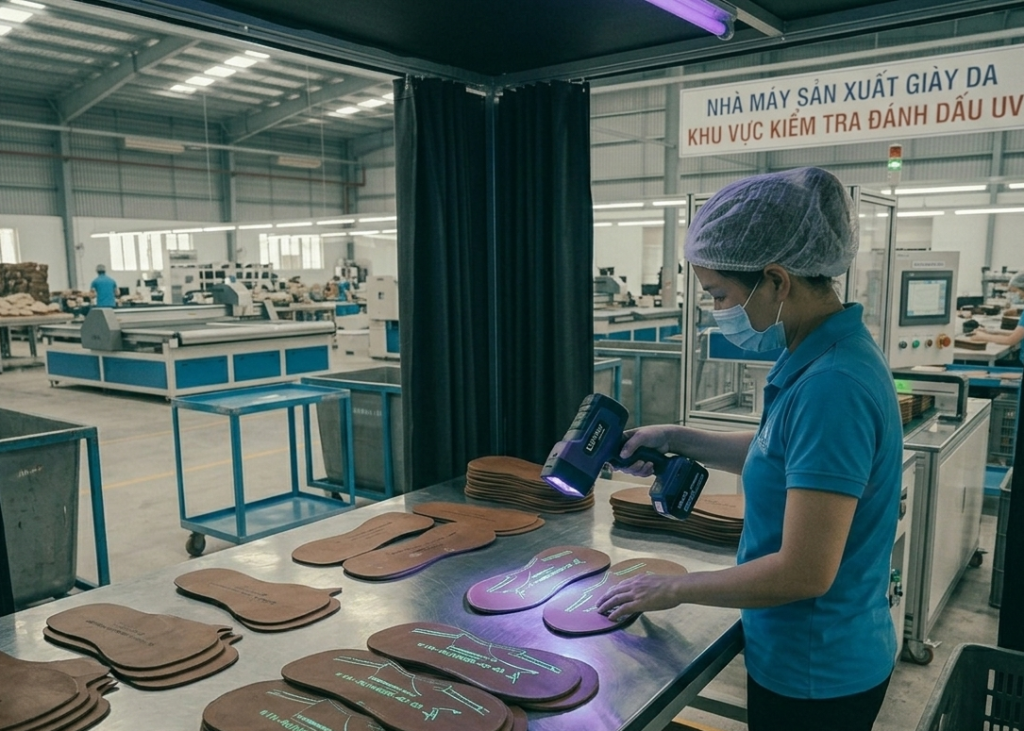
UV marking systems use special inks that remain invisible under normal lighting and become visible only under UV light. This method is preferred where visible markings may affect product aesthetics.
Similar to manual marking, UV marking is performed using component-specific templates (stencils) made from plastic or acrylic sheets. These stencils guide accurate placement of stitch lines and folding references, ensuring consistency without relying on operator judgment.
Operators use UV lamps during stitching to follow these markings precisely. This system is particularly suitable for:
- Premium leather footwear
- Light-colored uppers
- Visible external components
Key Control Points
- Use plastic/acrylic stencil for marking accuracy
- Ensure UV visibility under stitching conditions
- Maintain consistent ink application
- Verify marking before stitching starts
Expert Insight:
Train operators to identify marking visibility issues early
Use trial marking on scrap before bulk execution
Introduce periodic stencil calibration checks
7. Common Defects and Their Impact
Incorrect marking directly affects stitching quality and final product appearance. Common defects include:
- Misaligned stitch lines
- Incorrect seam allowance
- Invisible or faded markings
- Double or overlapping lines
These defects lead to rework, rejection, and productivity loss. Therefore, marking accuracy must be controlled strictly.
Key Control Points
- Conduct inline inspection after marking
- Reject defective markings immediately
- Maintain operator accountability
- Track defect trends for improvement
Expert Insight:
Introduce poka-yoke systems for marking alignment
Use color-coded marking for different operations
Digitize marking for complex styles
Conduct periodic operator skill assessment
Frequently Asked Questions – FAQs
1. Why is component marking important in footwear manufacturing?
It ensures accurate stitching, consistent seam allowance, and proper folding, directly affecting product quality.
2. Which marking method is best for leather components?
Manual and UV marking are commonly used due to leather variation and visibility requirements.
3. Can marking be fully automated?
Yes, digital marking systems can automate marking with high precision in large-scale production.
4. What happens if marking is incorrect?
It leads to stitching defects, rework, rejection, and increased production cost.
5. Is UV marking safe for all materials?
Yes, but visibility depends on lighting and proper ink application.
6. How do factories ensure marking consistency?
By using templates, digital systems, SOPs, and regular inspections.
7. What is the role of CAD in marking?
CAD enables accurate digital marking by transferring design data directly to machines.
Expert Insight:
Store templates properly to prevent bending or damage
Combine stencil + digital marking for high precision styles
Standardize approved pen types across factory


Explore other Stitching Process Series
- Stitching Process in Footwear Manufacturing: From Cutting to Closing Assembly in Shoe Production
- Raw Material Preparation for Cutting in Footwear Stitching – Stitching Process Series
- Cutting/Clicking in Footwear Stitching – Stitching Process Series
- Cut Component inspection after cutting/clicking – Stitching Process Series
- Cut Component Pairing & Match Marking After Cutting / Clicking-Stitching Process Series
- Cut Component Stamping After Cutting / Clicking – Stitching Process Series
- Cut Component Bundling After Cutting/Clicking-Stitching Process Series