The Fascinating World of Footwear Manufacturing: A Step-by-Step Guide
Ever wondered what goes into crafting your favorite pair of shoes? The footwear manufacturing process blends creativity, precision, and cutting-edge technology to deliver quality, comfort, and style. In this blog, we’ll guide you through the essential stages of shoe production, offering a clear glimpse into the journey from raw materials to the final product. So, stay tuned to explore each stage in detail in future blogs, and don’t miss our related posts for more insights into the world of footwear!
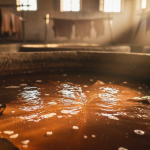
1. Raw Material Procurement: Laying the Foundation
Actually, the journey of a shoe starts with sourcing top-quality raw materials. They place orders based on purchase requests from brands or market demands, and they select materials like leather, synthetic fabrics, rubber, and trims.
2. Raw Material Inspection: Ensuring Excellence from the Start
When materials arrive, the quality team inspects all of them to meet industry standards. In this way, only the best materials proceed to production.
Inspection Process:
- Quantity Check: The team verifies that deliveries match the order.
- Testing Phase: They conduct physical and chemical tests to assess durability, flexibility, and safety compliance.
- As a result, Outcome: Approved materials move to the warehouse, while defective batches trigger negotiations with suppliers for replacements.
Pro Tip: Early quality checks prevent costly errors later. Learn more in our upcoming blog on Quality Assurance in Footwear Manufacturing.
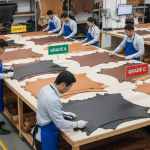
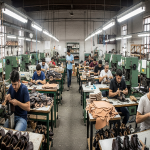
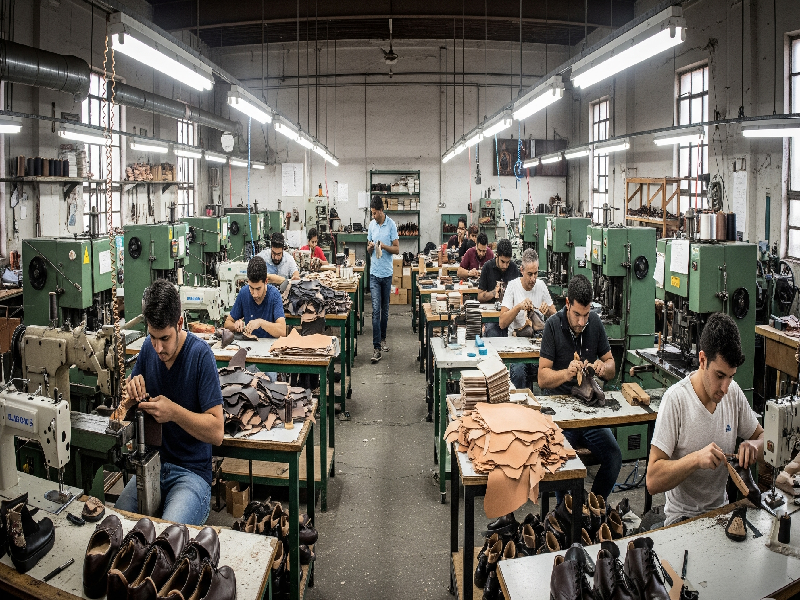
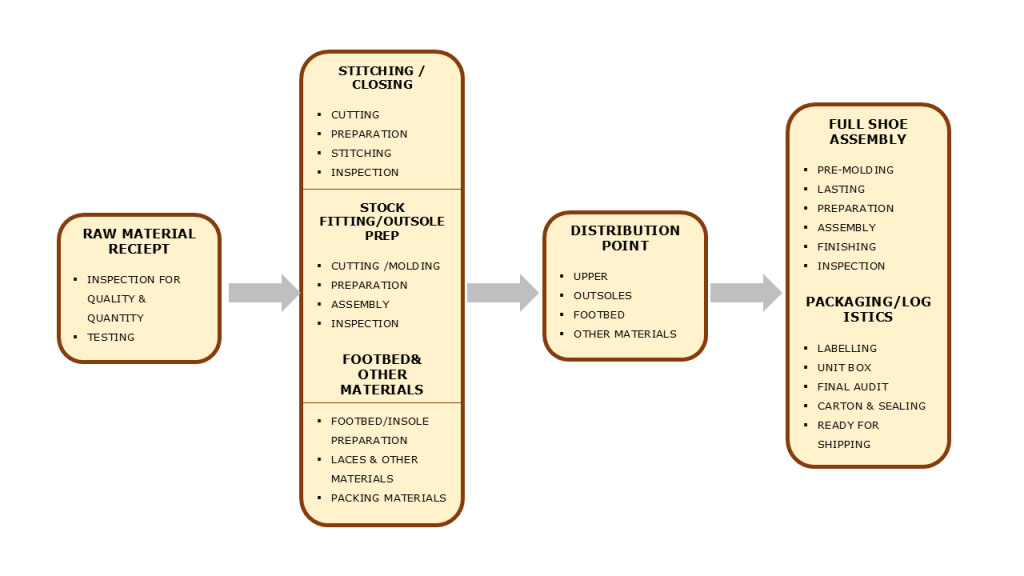
3. Manufacturing Departments: A Coordinated Effort
Footwear production involves multiple departments working simultaneously: the Upper/Stitching Department, Footbed/Insole Department, Outsole/Stock Fitting Department, and Full Shoe Assembly Line. For now, Let’s explore each briefly.
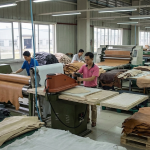
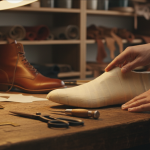
A. Upper/Stitching Department: Crafting the Shoe’s Top Layer
The upper is the visible part of the shoe that covers the foot, and its production blends artistry and precision.
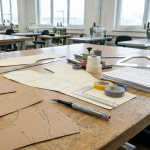
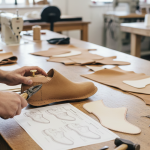
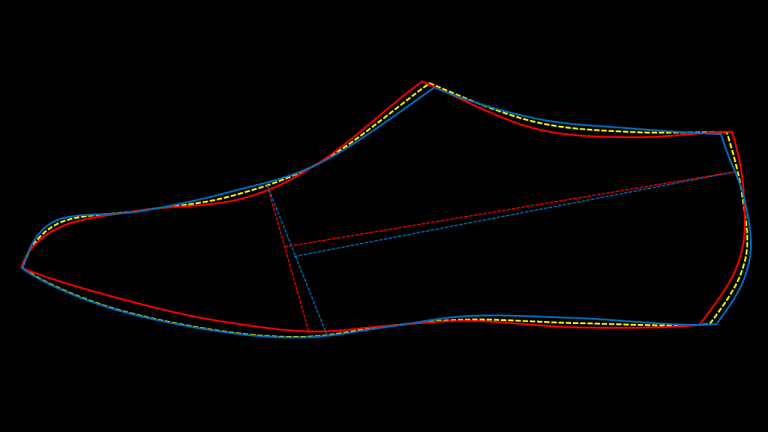
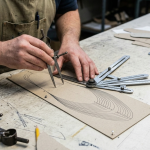
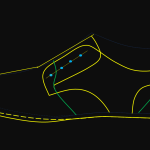
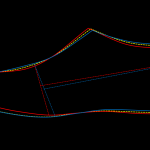
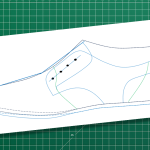
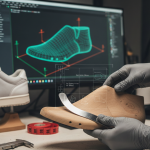
1. Cutting: Shaping the Components
Cutting serves as the first step, where workers shape materials like leather, fabric, linings, and reinforcements based on design specifications. Various cutting methods depend on the material, volume, and precision required:
- Manual/Hand Cutting: Ideal for low-volume orders or salesman samples, using cardboard patterns, tin sheets, or thick boards.
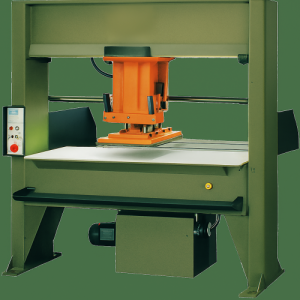
- Machine Cutting: Utilizes steel rule dies for high-volume production, ensuring accuracy and consistency.
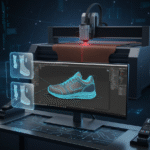
- Smart Cutting: Advanced machines handle complex materials and large-scale orders.
- Laser Cutting: Perfect for precise edges and fray-prone materials.
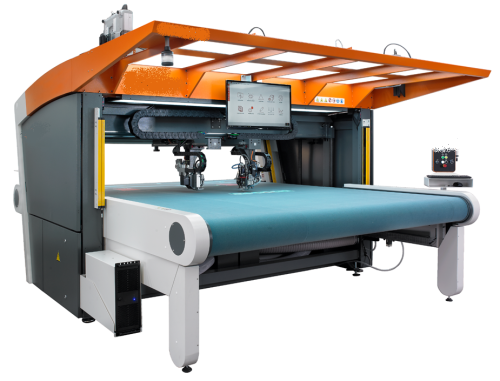
Fun Fact: Modern 2D/3D software ensures cutting patterns are accurate to the millimetre, reducing waste. Therefore, want to know more? Stay tuned for our blog on Cutting Technologies in Footwear.
2. Preparation: Setting the Stage for Assembly
Before stitching, components undergo several preparatory steps:
- For Instance, Marking: Reference marks (e.g., silver refills, UV pens, or notches) are added to guide assembly. However, Advanced processes now use marking-free techniques to streamline production.
- Reinforcement: Teams fuse or laminate fabrics or thermoplastics to enhance durability and structure.
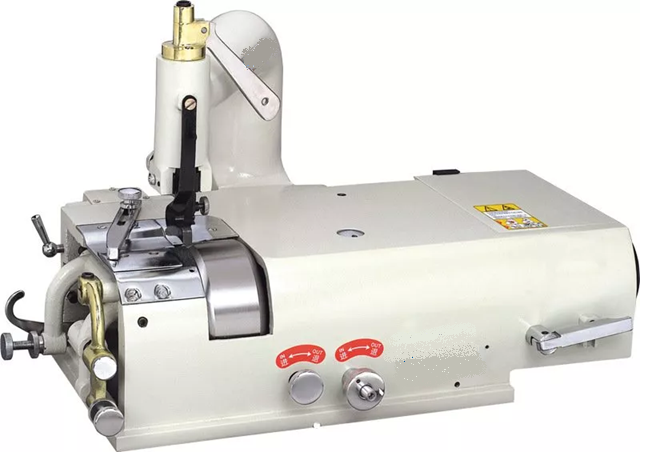
- Skiving & Splitting: Workers split leather to ensure uniform thickness, while they skive it to reduce thickness in specific areas for aesthetics and ease of stitching..
- Stamping/Embossing: Operators add brand logos or size labels for identification.
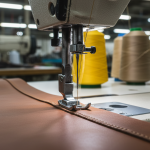
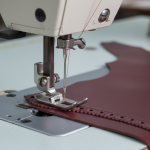
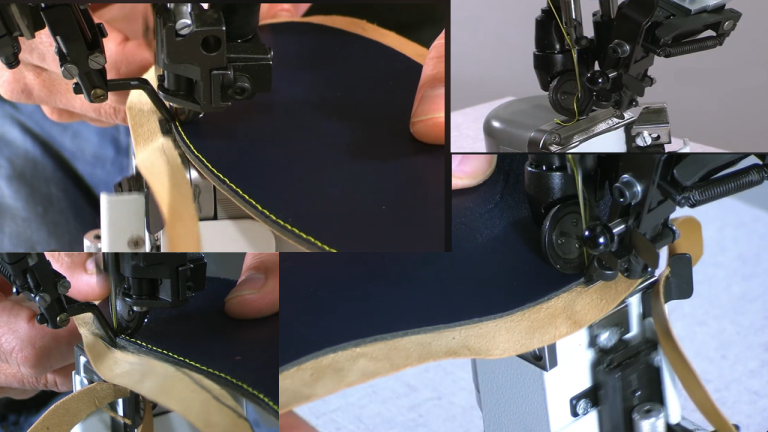
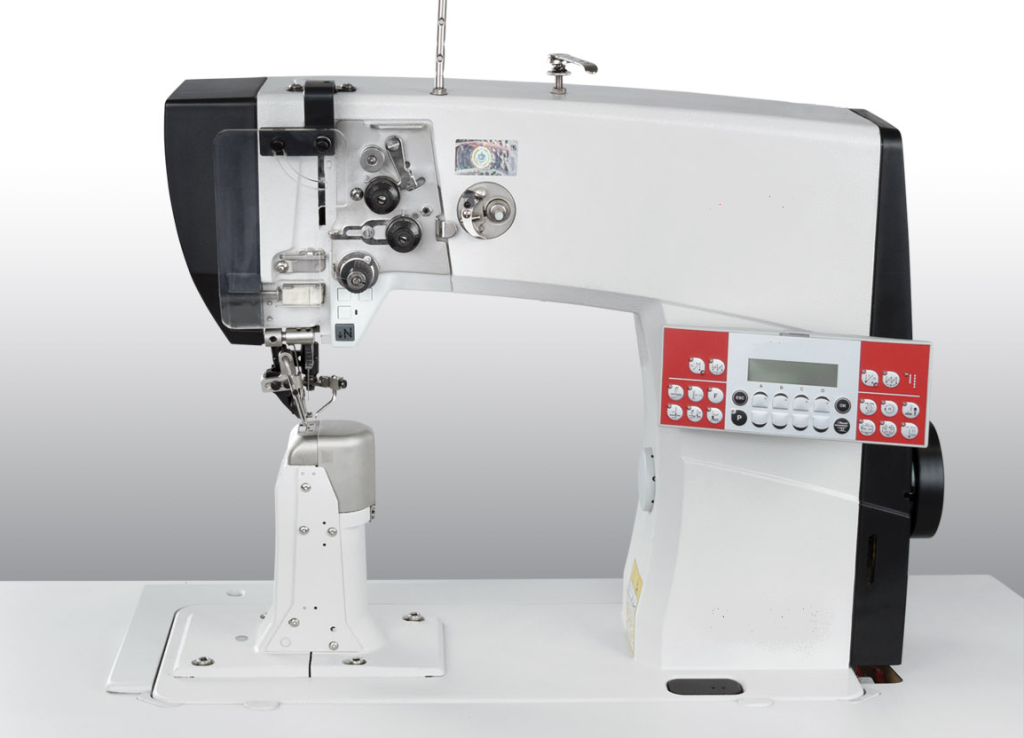
3. Stitching Assembly: Bringing the Upper to Life
Next, the components get stitched together using specialized machines, such as:
- Post Bed Machines: Common for shoe uppers due to their precision.
- Flat Bed CNC Machines: Ideal for mass production and intricate designs.
- Single/Double Needle Machines: Used for various stitching patterns, including zigzag and embroidery.
Once stitched, the upper transforms from flat pieces into a partial 3D structure, ready for inspection and transfer to the Distribution Centre


B. Outsole/Stock Fitting Department: Building the Shoe’s Foundation
Once teams complete the stitching, the upper transforms from flat pieces into a partial 3D structure. Then, it becomes ready for inspection and transfer to the Distribution Centre.
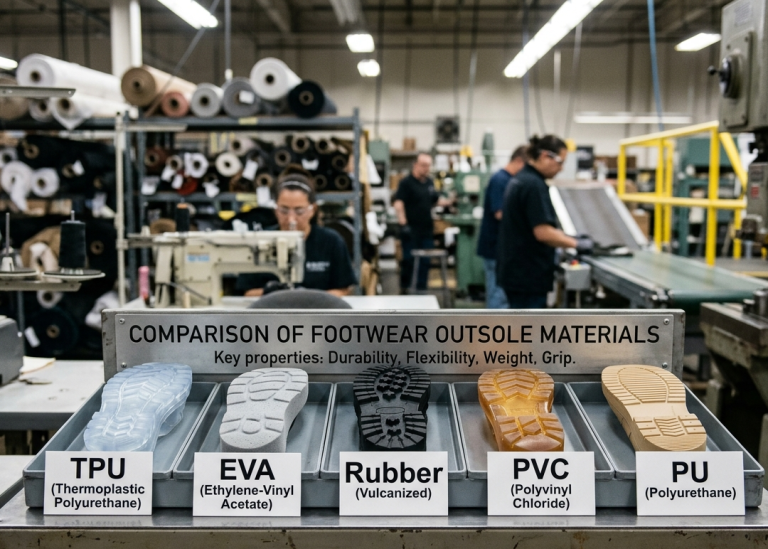
Types of Outsoles:
| Outsole Type | Description | Common Use |
| Leather | Elegant, breathable | Dress shoes |
| Rubber | Durable, slip-resistant | Casual/athletic shoes |
| TPU/EVA | Lightweight, shock-absorbing | Sports/comfort shoes |
| PU | Abrasion-resistant, lightweight | Fashion/work shoes |
| Molded | Pre-shaped for complex designs | Mass production |
Production Process:
- First, Cutting : Workers cut leather and rubber outsoles using dies, while they create molded outsoles (e.g., TPU or EVA) by pouring or injecting material into molds.
- After that, Assembly: Teams bond components like the outsole, midsole, heel, and shank using adhesives and press them together with specialized machines.
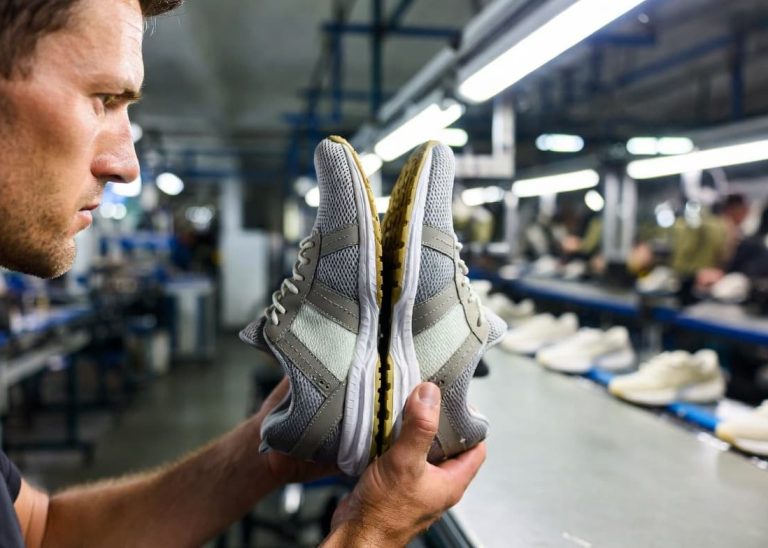
- Finally, Inspection: Inspectors check completed outsoles for quality before they move to the assembly line.
C. Footbed/Insole Department: Comfort at Its Core
The footbed or insole provides cushioning and support. So, this department focuses on shaping and assembling insoles using materials like foam, gel, or leather. Additionally, each component gets crafted to meet ergonomic and comfort standards, ensuring a perfect fit inside the shoe.

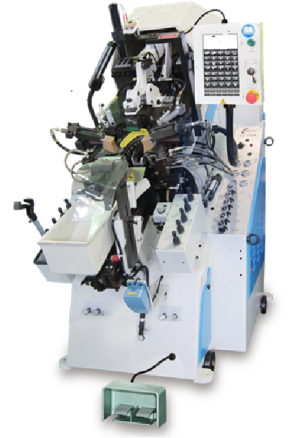
4. Full Shoe Assembly: Bringing It All Together
With all components ready, the final assembly transforms individual parts into a complete shoe.
Key Steps:
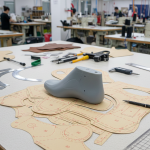
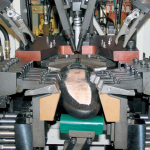
- Initially, Molding: The upper’s toe and heel areas are molded for shape and stability, often using back-part molding techniques.
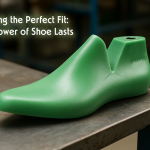
- Lasting: A plastic, wooden, or aluminum last (mold of the foot) is used to shape the upper. High-density polyethylene (HDPE) lasts are most common due to their durability and cost-effectiveness. Different lasting techniques are used depending on the shoe’s construction (e.g., cemented, Goodyear welt). Check out our blog on Shoe Construction Methods for a detailed breakdown.
- Before attachment, Preparation: Workers apply primers to the upper and outsole, and they rough surfaces (using emery paper or steel brushes for leathers) to ensure strong adhesion.
- Now,Sole Attachment: Teams bond the outsole to the upper using adhesives and press it with specialized machines for a secure fit.
- After bonding,Finishing: Workers add creams, polishes, or laces, and the shoe undergoes a final inspection for quality.
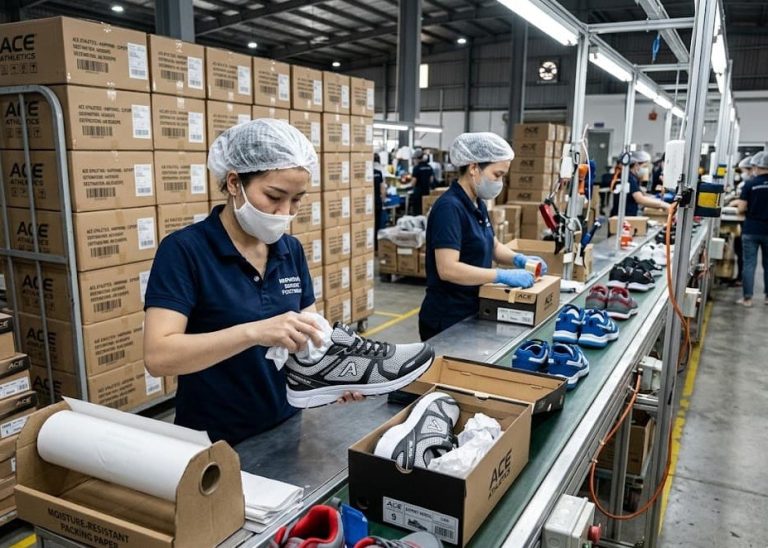
- Lastly, Packing: Teams label shoes, pack them with wrapping paper or tissue, and place them in shoeboxes or cartons for shipping.
Packing and Logistics: Ready for the World
In the final step, teams prepare shoes for distribution. For example, each pair gets carefully packed with necessary labels, stuffed to maintain shape, and sealed in cartons. From here, they’re ready to hit retail shelves or be shipped directly to consumers.
5. Why the Footwear Manufacturing Process Matters
Understanding footwear manufacturing highlights the craftsmanship behind every shoe. Innovations like automation and sustainability shape its future, ensuring quality and style.
Share your thoughts in the comments! Explore more:
Eco-Friendly Footwear Practices
The Art of Shoe Cutting Techniques
Quality Assurance in Footwear Production