Cut Component Pairing & Match Marking after Cutting/Clicking – Stitching Process Series
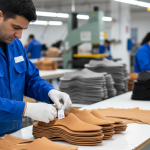
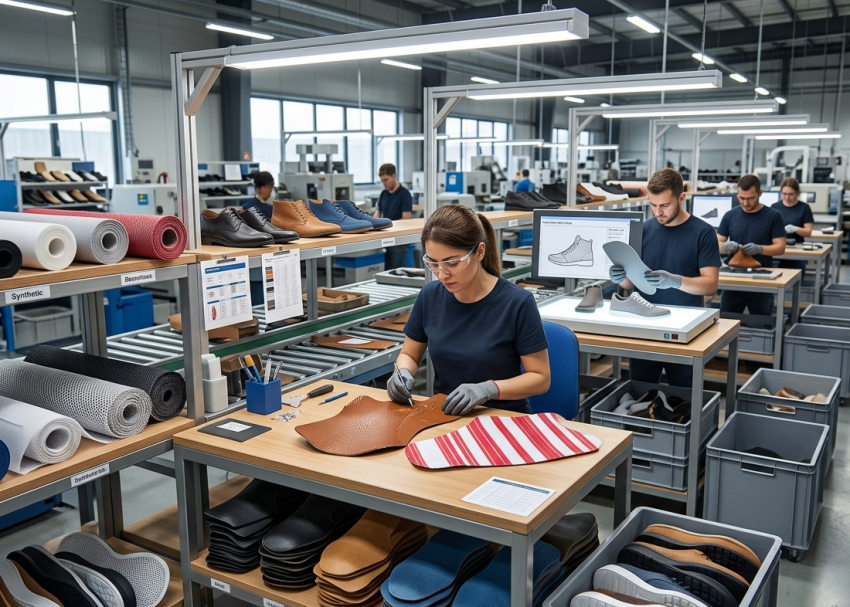
After cutting, components enter a critical control stage where left and right shoe parts are matched for visual and material consistency. This step is most sensitive for leather due to natural variation; however, it is equally necessary for non-leather materials where batch, finish, and processing differences can create mismatches.
In continuation of the previous stage (Cut Component inspection after cutting/clicking – Stitching Process Series), only approved components proceed for pairing and identification. This ensures that defects are already eliminated before visual matching begins.
Pro Tip :
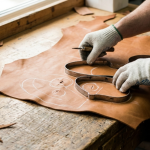
For leather, always pair from the same hide zone for premium quality
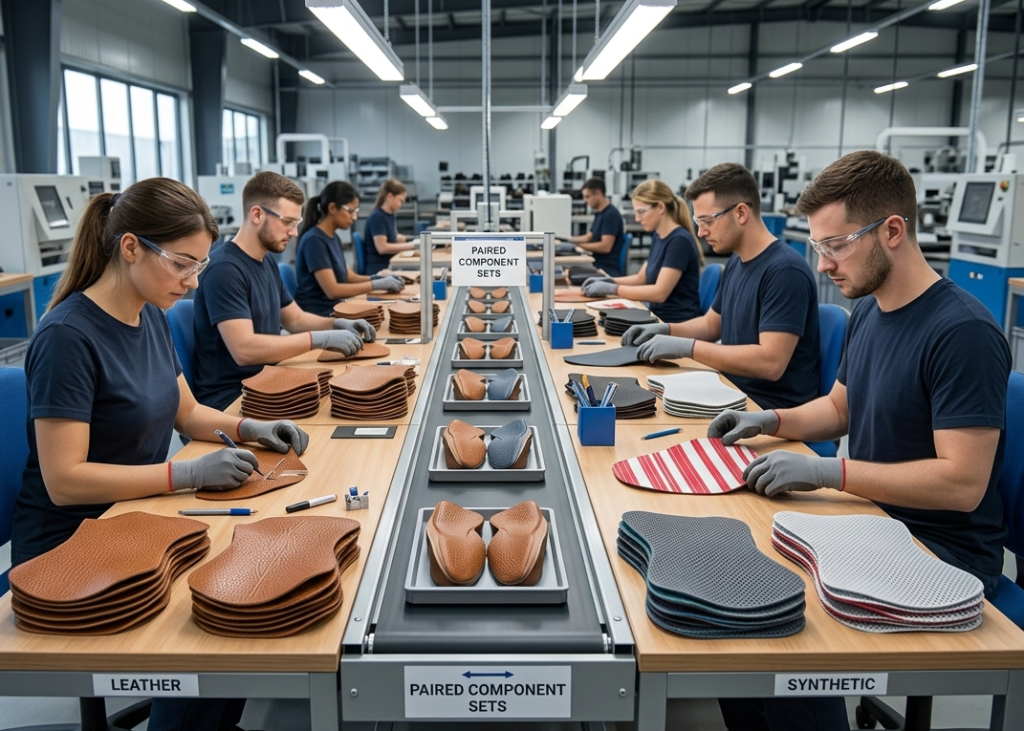
For Synthetics, control batch variation strictly at warehouse level
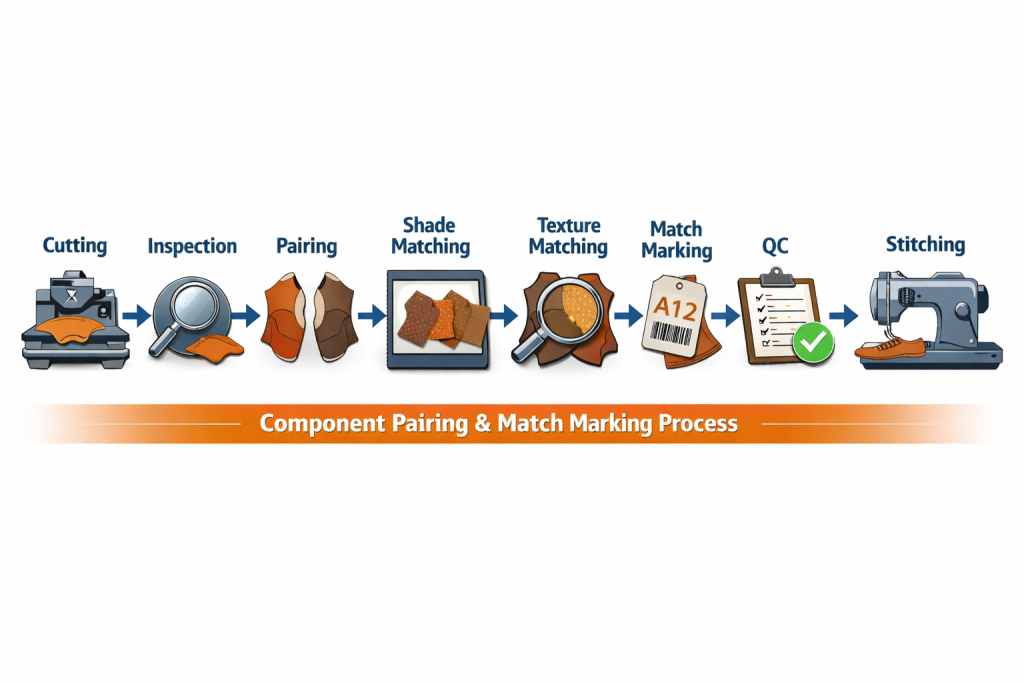

1. Cut Component Pairing in Footwear Manufacturing
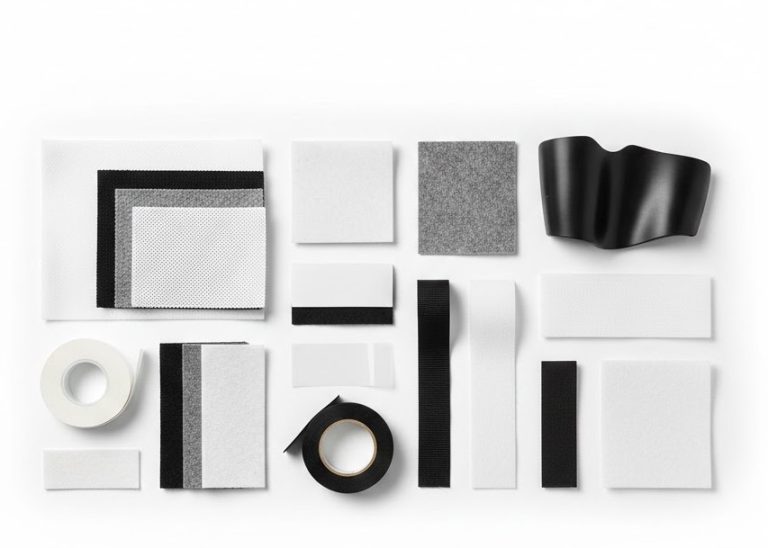
Component pairing is the process of grouping all cut parts that will form a single pair of shoes while ensuring they match in appearance and material characteristics. For leather, variation occurs naturally across the hide. For non-leather materials such as synthetic, PU, mesh, or textile, variation typically arises from batch differences, coating inconsistency, or finishing variations.
This step is essential because mismatch between left and right shoes becomes clearly visible after stitching and finishing. For leather, the mismatch may appear as shade or grain variation. In synthetic materials, it may appear as gloss difference, color tone shift, or texture inconsistency.
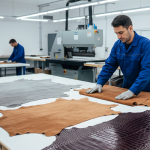
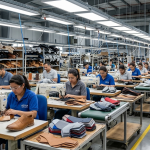
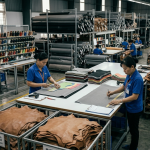
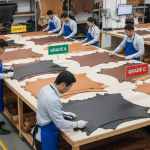
In execution, operators collect components like vamp, quarters, tongue, and lining from the same cutting lot. They compare left and right parts side by side. If variation is detected, they re-select components from the same group or batch to achieve the closest possible match. Factories typically use pairing tables and organized bins to control this process.
Key Control Points:
- Pair components from the same hide (leather) or batch (non-leather)
- Avoid mixing different cutting lots
- Ensure visual consistency before grouping
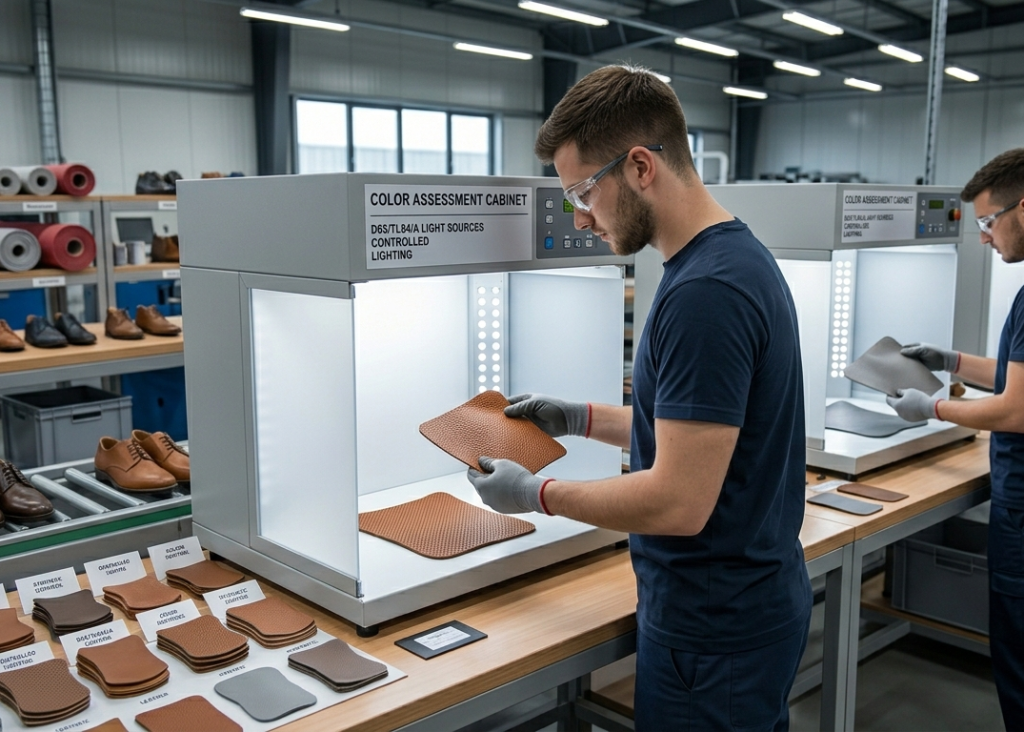
- Use controlled lighting for accurate comparison
Pro Tip : Use light booths to standardize visual inspection
2. Shade Matching and Visual Consistency Control
Shade matching ensures that all visible upper components in a pair have uniform color and finish. Leather shows natural dye variation, while non-leather materials may show batch-to-batch or coating variation.
This step directly affects product acceptance. Even slight differences in color or finish between left and right shoes become highly noticeable in finished footwear. Therefore, factories enforce strict visual controls during this stage.
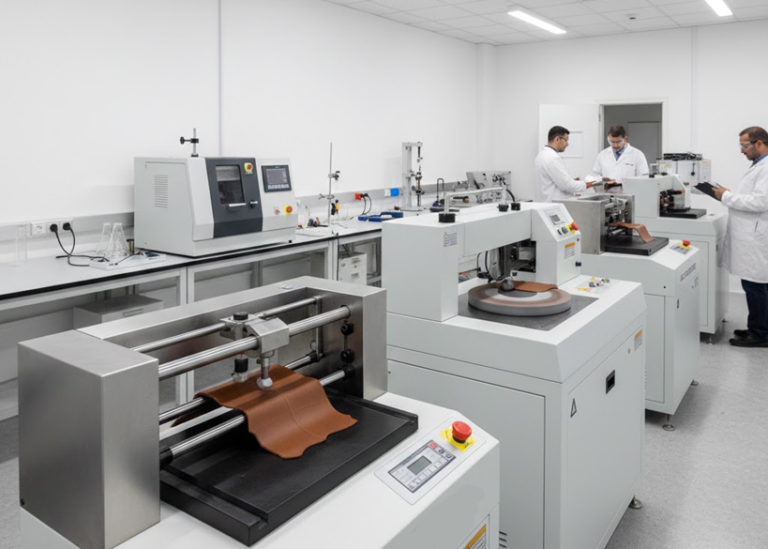
Operators perform shade matching under standardized lighting such as D65 or factory-approved light sources. Leather components are grouped into shade bands based on visual tone. For synthetic materials, operators check for color tone, gloss level, and surface reflection consistency. Components outside tolerance are either re-paired or rejected.
Key Control Points:
- Use standard lighting conditions for all materials
- Maintain shade band classification for leather
- Check gloss and finish consistency for synthetics
- Reject or downgrade mismatched components
Pro Tip : Train operators separately for leather and synthetic evaluation
3. Grain, Texture, and Surface Consistency
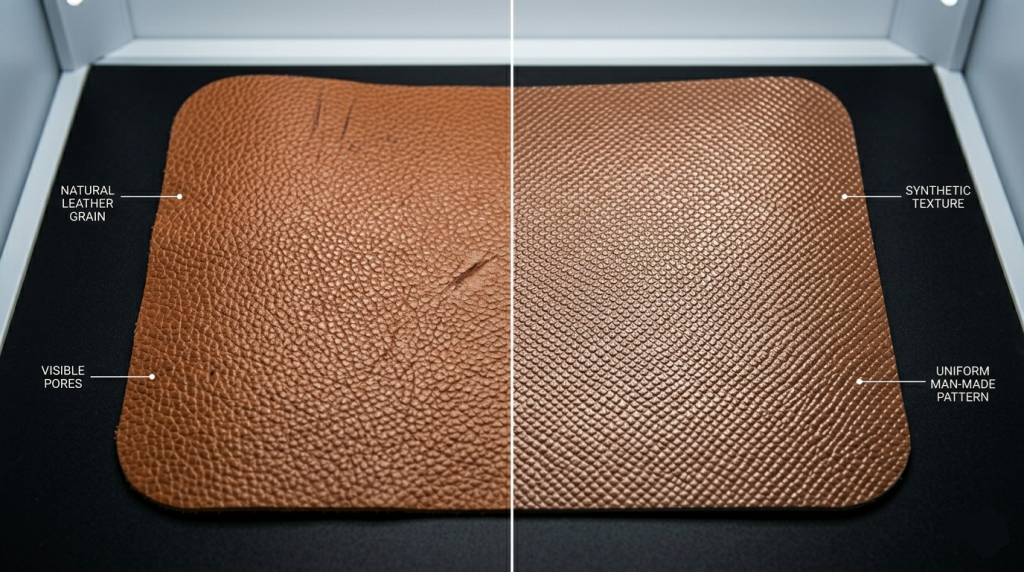
Material surface consistency includes grain pattern in leather and texture or finish in non-leather materials. Leather may show natural grain variation, while synthetics may show embossing differences, coating unevenness, or fabric texture variation.
This step ensures both shoes in a pair present a uniform surface appearance. In leather, mismatch in grain pattern creates visual imbalance. In synthetics, inconsistency in embossing or texture affects product aesthetics and perceived quality.
During execution, operators inspect visible components such as vamp and quarters. For leather, they match grain pattern and natural markings. For synthetics, they check embossing alignment, surface smoothness, and fabric weave consistency. Special attention is given to directional materials where orientation impacts appearance.
Key Control Points:
- Match grain pattern for leather components
- Ensure embossing and texture consistency for synthetics
- Maintain directional alignment for textile materials
- Prioritize high-visibility components
Pro Tip : Introduce barcode tracking to eliminate mix-ups

4. Match Marking and Pair Identification
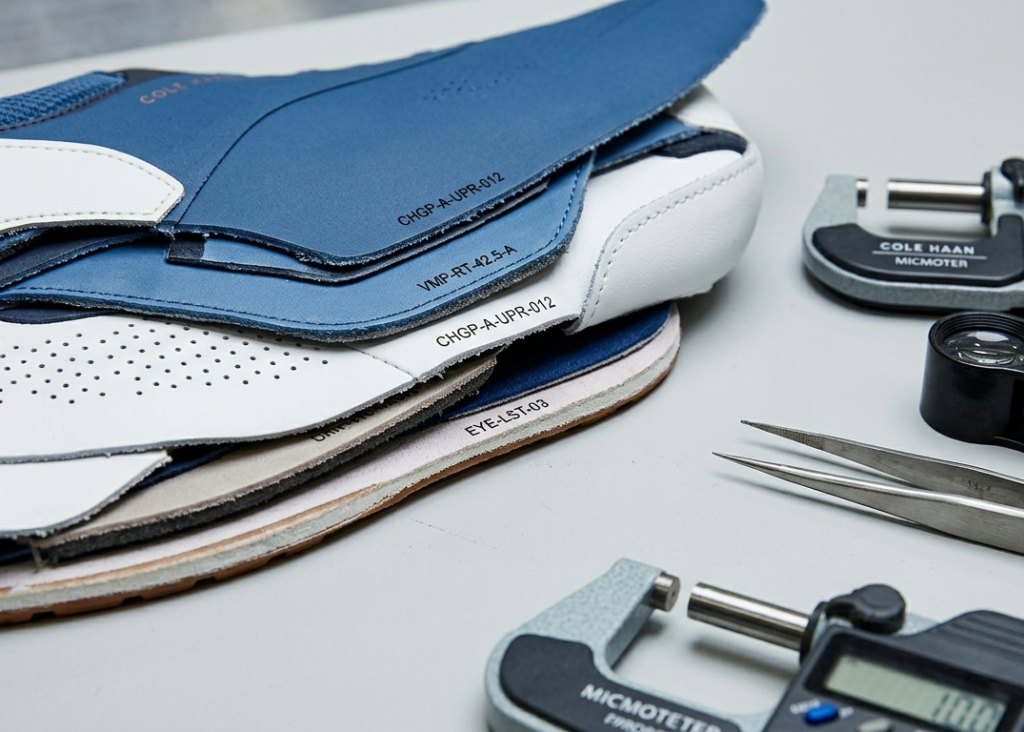
After pairing, match marking ensures that all components belonging to one pair remain together throughout production. This step prevents mixing, especially in high-volume factories handling multiple styles and materials.
This is critical for both leather and non-leather materials. Even perfectly paired components lose value if they get mixed during stitching preparation.
Operators apply identification using chalk, ink, stamps, stickers, or barcode labels. These markings are placed in non-visible areas. Advanced factories use barcode or RFID systems to track each pair digitally across processes.
Key Control Points:
- Mark all components with the same pair identification
- Place markings in hidden areas only
- Use durable and clear marking methods
- Implement barcode systems for better traceability
Pro Tip : Maintain clear segregation of batches and shade groups
5. Final QC Check Before Stitching Release
Before releasing components to stitching, a final quality check ensures that pairing, matching, and marking are correctly executed for all materials.
This stage acts as a final control gate. For leather, it confirms shade and grain consistency. For non-leather, it ensures uniform color, texture, and finish. Any mismatch detected at this stage prevents costly rework later.
Inspectors verify pairing accuracy, marking correctness, and overall visual consistency. They also ensure that no mixing has occurred between pairs. Only approved sets move forward to stitching.
Key Control Points:
- Verify pairing for both leather and non-leather materials
- Check shade, texture, and finish consistency
- Confirm correct match marking
- Hold and correct non-conforming sets immediately
Expert Insight: Avoid excessive handling to prevent surface damage
Frequently Asked Questions – FAQs
1. Is component pairing only important for leather?
No, it is critical for both leather and non-leather materials due to different types of variations.
2. What is the main challenge in leather pairing?
Natural variation in color, grain, and texture across the hide.
3. What is the main challenge in synthetic materials?
Batch variation, coating inconsistency, and gloss differences.
4. Can pairing errors be corrected later?
No, correction becomes difficult after stitching and assembly.
5. How do factories prevent mixing of components?
By using match marking, controlled handling, and tracking systems.
6. Which components need the highest attention?
Vamp and quarters due to high visibility.
7. Is automation possible in pairing?
Partially, but visual judgment remains essential.
Expert Insight: Conduct inline audits to catch pairing errors early


Explore other Stitching Process Series
- Stitching Process in Footwear Manufacturing: From Cutting to Closing Assembly in Shoe Production
- Raw Material Receipt in Footwear Stitching – Complete Factory Control Guide
- The Raw Material Inspection in Footwear Stitching – Stitching Process Series
- Raw Material Preparation for Cutting in Footwear Stitching – Stitching Process Series
- Cutting/Clicking in Footwear Stitching – Stitching Process Series
- Cut Component inspection after cutting/clicking – Stitching Process Series