How to Identify the Correct Breakline in Footwear Pattern Engineering
Improving Upper Fit, Material Distribution, and Pattern Accuracy – Footwear Manufacturing Insights
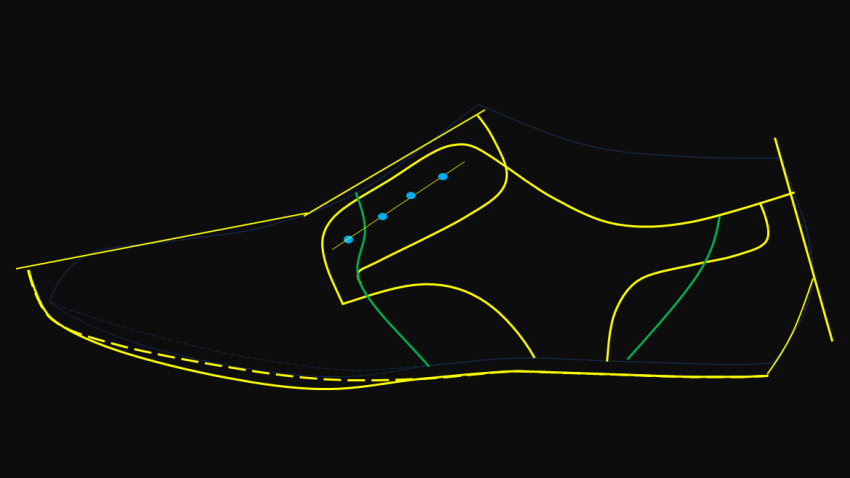
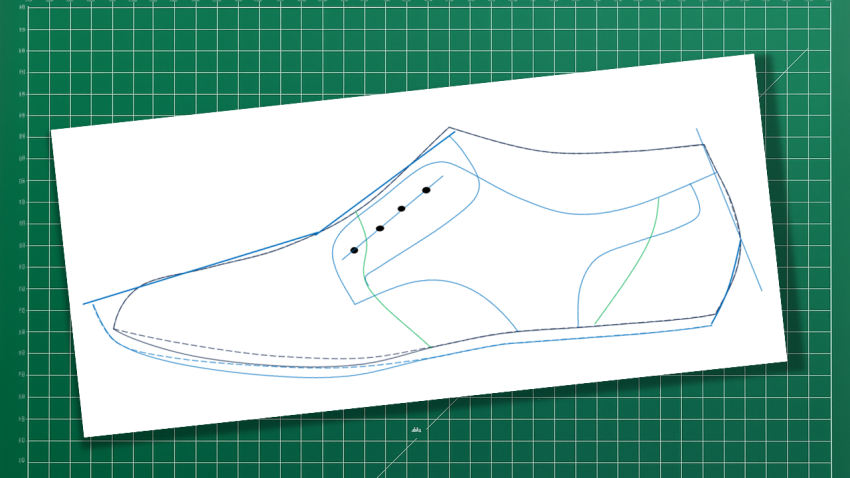
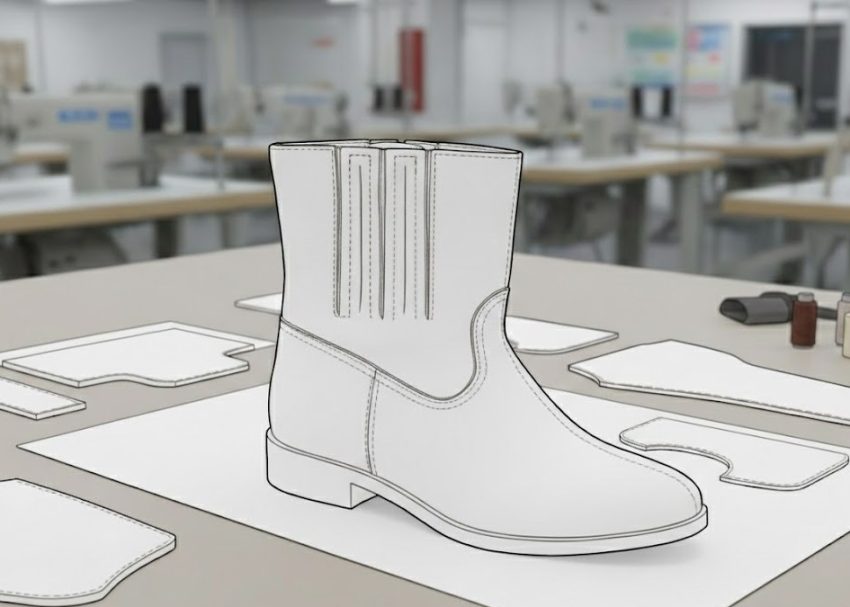
In footwear pattern engineering, identifying the correct breakline is one of the most critical yet experience-dependent tasks. The breakline determines how the upper wraps around the last, directly affecting material distribution, fitting, appearance, and lasting quality. Even a slight variation in the breakline can create excess material in one area while generating excessive tension in another, resulting in wrinkles, distortion, or fitting issues.
This article explains how breakline positioning influences upper behavior and why using different colours while marking patterns can significantly improve pattern accuracy.
Understanding the Breakline
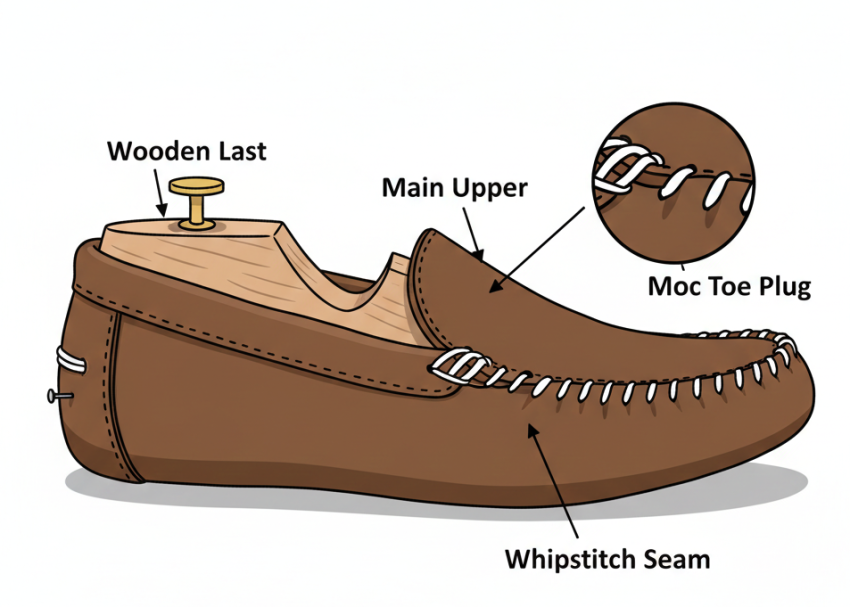
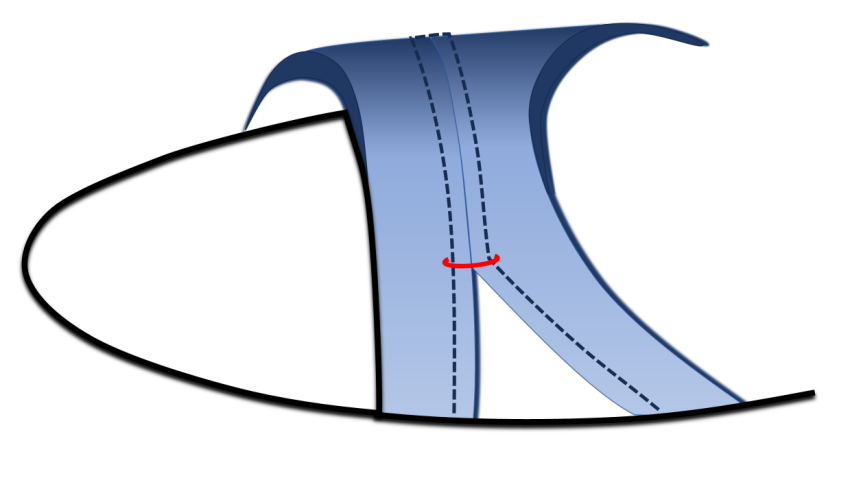
The breakline acts as the reference where the upper transitions around the last during pattern development. Since leather and synthetic materials stretch differently in various directions, changing the breakline position changes how the material distributes over the last.
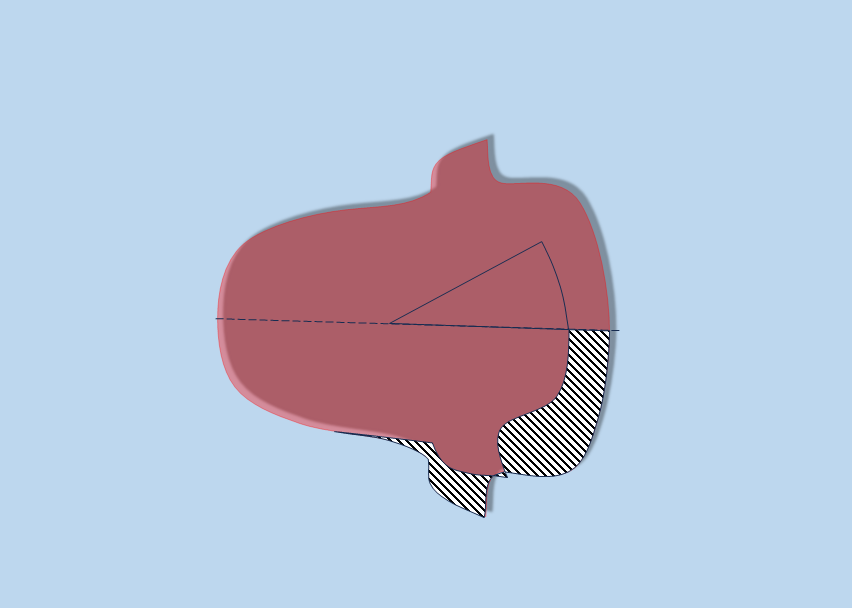
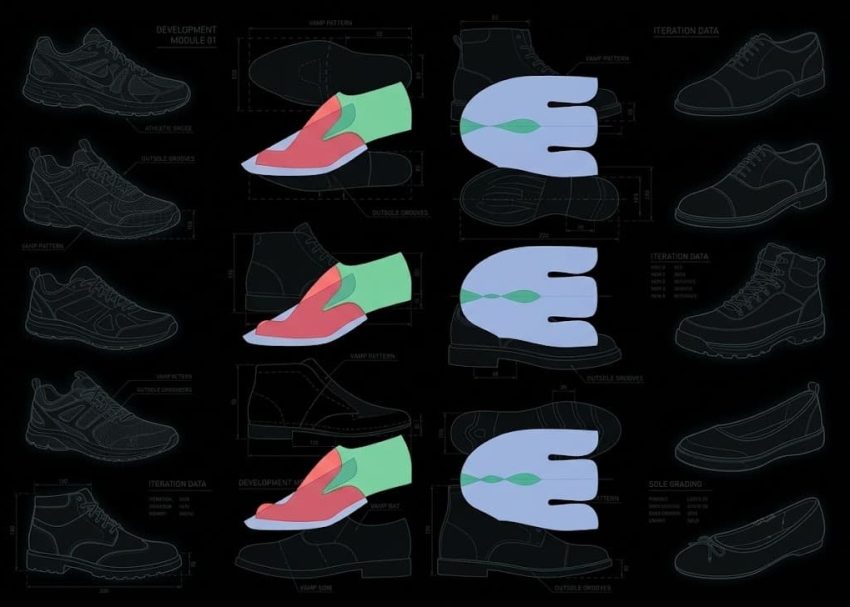
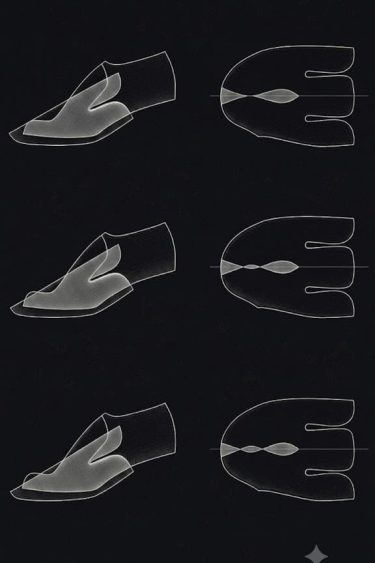
The illustrations demonstrate three different breakline positions. The broad hatched areas represent the normal coverage of the upper material, while the white spaces indicate surplus material.
Close hatched regions highlight areas subjected to higher tension during lasting. If the breakline is incorrectly positioned, one section of the upper may become loose while another experiences excessive stretching, leading to poor aesthetics and reduced comfort.
For this reason, experienced pattern engineers often adjust the breakline several times before finalizing the standard pattern.
Using Two Colours for Pattern Marking
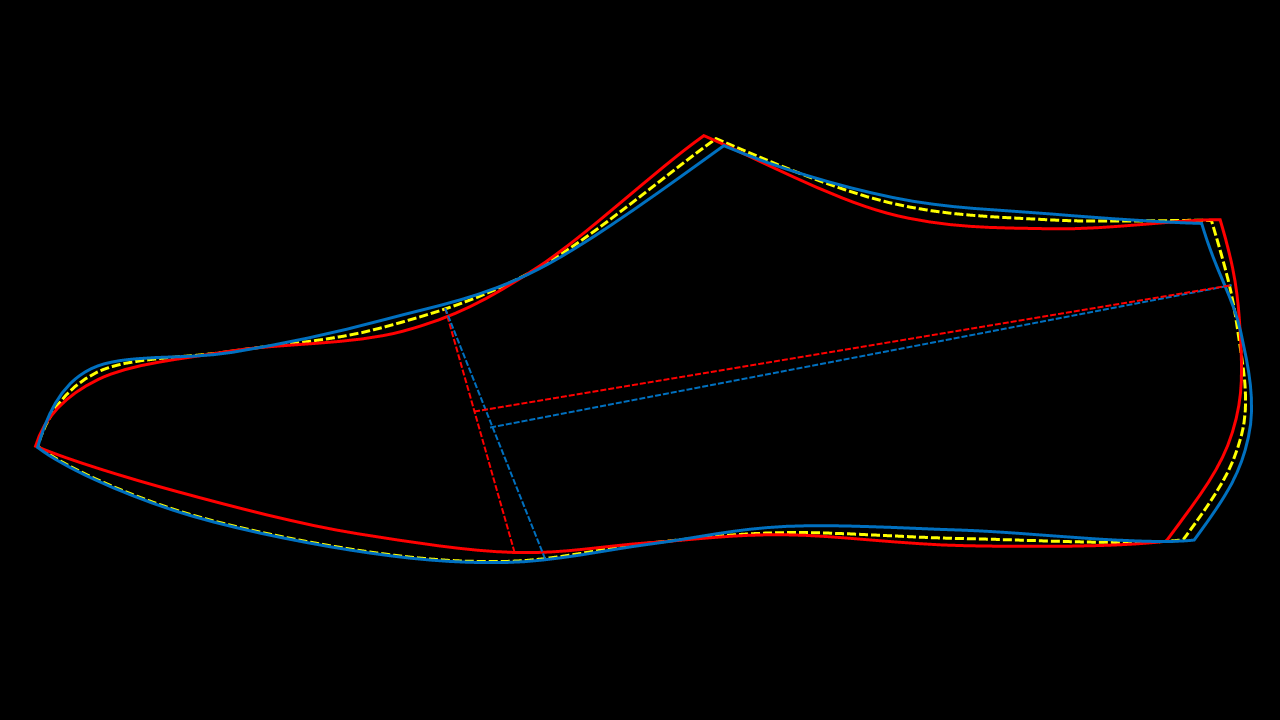
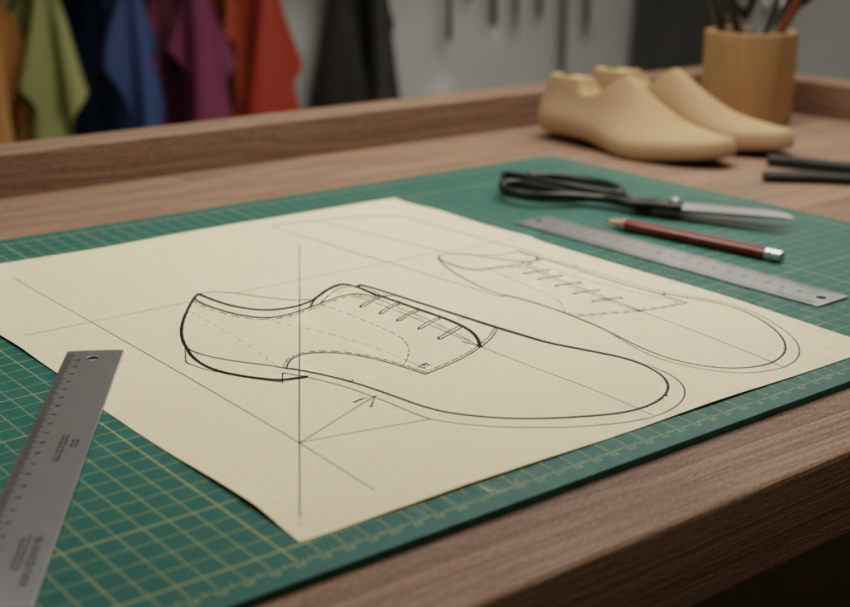
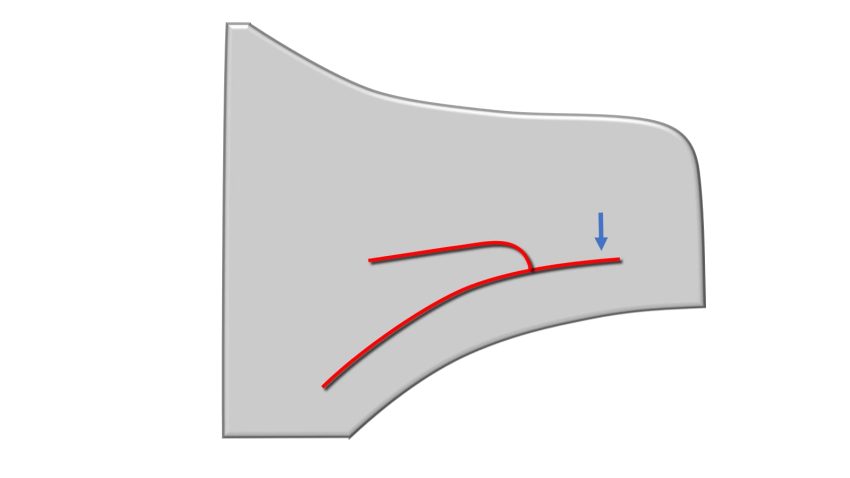
Many footwear styles require separate patterns for the inside (medial) and outside (lateral) feather edges of the last. Since these edges are rarely identical, marking both on the same standard pattern can easily create confusion.
Using two different coloured pencils or pens allows pattern makers to distinguish between the inside and outside feather-edge lines, reducing marking errors and improving pattern consistency. This simple practice becomes especially valuable when developing complex uppers or asymmetric footwear designs.
Best Practices
- Identify the breakline before developing the standard pattern.
- Observe surplus material and tension zones during trial lasting.
- Minimize excessive stretching near flex points.
- Mark inside and outside feather edges using different colours.
- Verify break line accuracy.
- Recheck the pattern after lasting trials before grading.
Key Takeaways
- Breakline selection directly affects upper fit and lasting quality.
- Incorrect breaklines create surplus material or excessive tension.
- Material behaviour should guide breakline placement.
- Colour-coded pattern marking reduces confusion between medial and lateral feather edges.
- Accurate breakline identification improves pattern consistency and production quality.
Expert Tip : A correctly positioned breakline ensures balanced material distribution rather than simply following the visual centre of the shoe. Small adjustments of only a few millimetres can significantly improve upper fit and reduce lasting defects.
Conclusion
Although breakline positioning appears to be a small step in footwear pattern engineering, it has a major impact on upper performance, fit, and manufacturing quality. Combined with simple practices such as colour-coded pattern marking, accurate breakline identification helps produce cleaner patterns, reduces development errors, and ensures consistent footwear production.