Veldtschoen / Stitchdown Construction: The Ultimate Guide
Estimated Reading Time: ~ 6 minutes
What is Veldtschoen (Stitchdown) Construction?
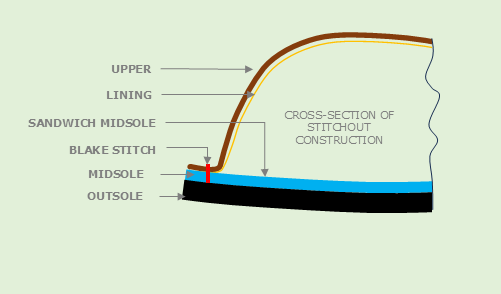
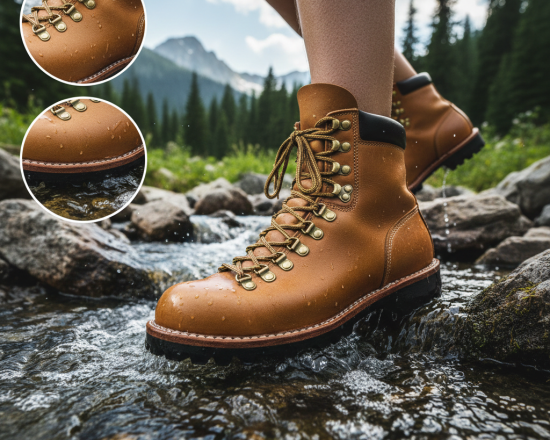
Veldtschoen, also known as stitchdown, is a classic method. In this technique, manufacturers turn the upper’s lasting allowance outward, or “flange” it, and then attach it directly to an extended insole lip called the runner. Next, they stitch or cement the outsole. As a result, the flange acts like a natural storm welt and keeps water out. That’s why this construction delivers outstanding durability and weather resistance.
Why Stitchdown is Loved for Work Boots & Country Shoes
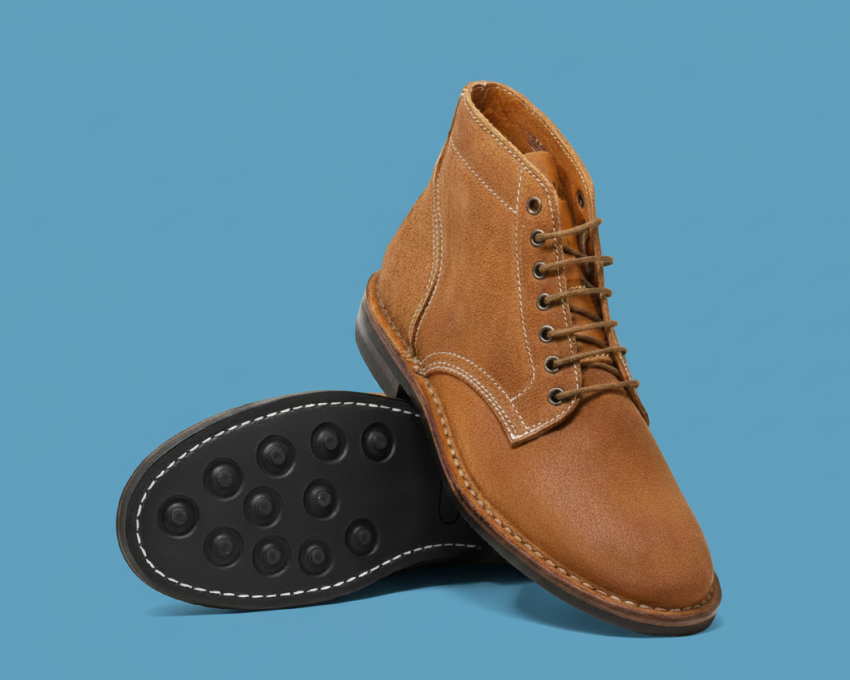
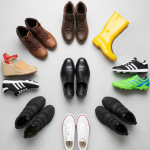
People love stitchdown because it creates tough, flexible, and naturally water-resistant footwear. For example, the outward flange works like a built-in storm welt. That’s why brands such as Red Wing, Tricker’s, and Viberg choose it for work boots, hiking boots, and children’s shoes.
Key Advantages of Veldtschoen Construction
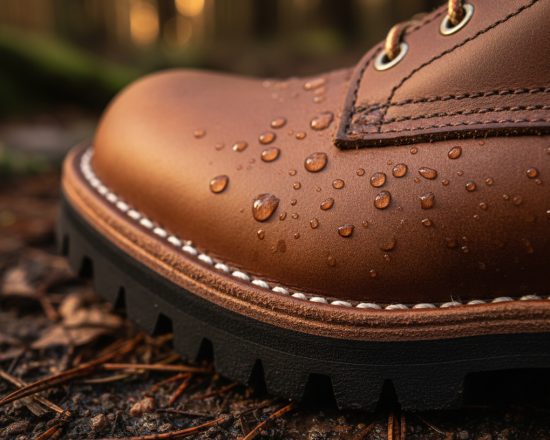
Stitchdown offers five big benefits. First, it keeps water out better than most constructions. Second, you can resole the boots easily. Third, they feel comfortable from day one – no break-in needed. Fourth, the boots stay flexible and finally, they look distinctly rugged with visible edge stitching. Plus, factories produce them faster and cheaper than Goodyear welt yet they still last decades.
Main Variations of Stitchdown Construction
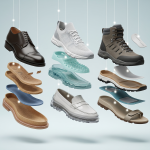
Three primary types exist: Classic Stitchdown (sole-stitched), True Veldtschoen (runner-stitched), and Two-stage Veldtschoen (both insole and runner used with lining fully flanged), each offering different levels of water resistance and manufacturing complexity to suit casual, work, or premium boot production needs.
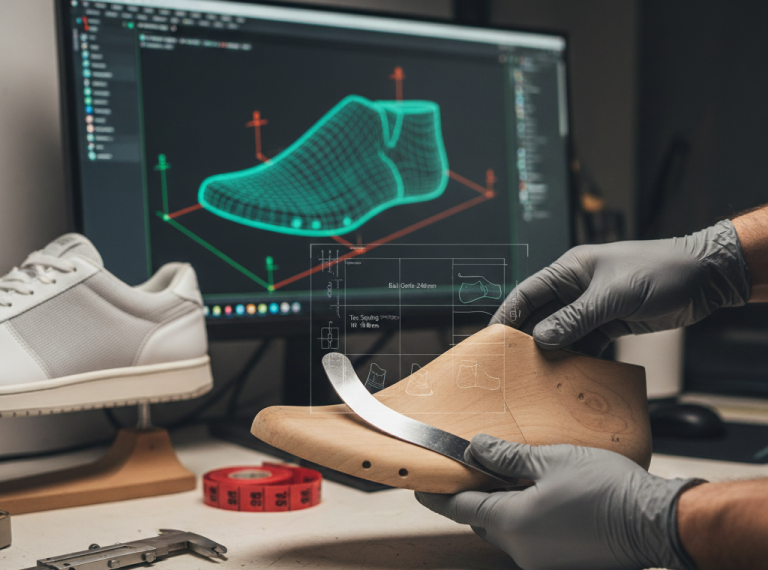
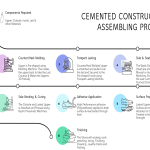
Complete Step-by-Step Stitchdown Manufacturing Process (Factory Sequence)
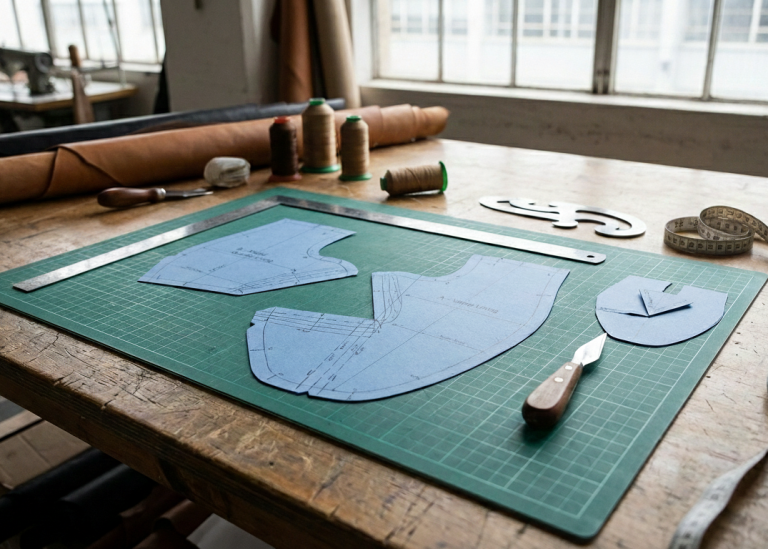
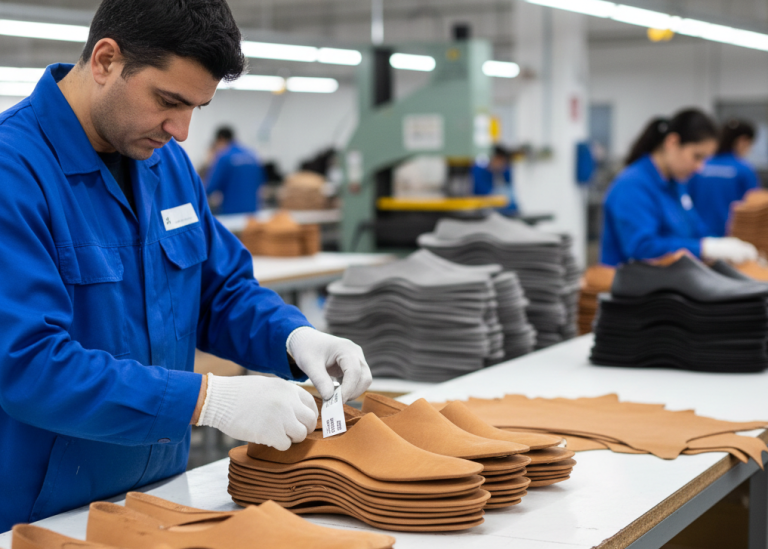
Cutting & Upper Closing
All components – leather upper, lining, toe puff, counter – are precisely cut using clicking presses and stitched together in the closing room before lasting begins, ensuring accurate fit and material efficiency.
Toe Puff Heat Activation
Thermoplastic or solvent-based toe puffs are bonded to the vamp using a hot-air activation machine at 90–130 °C for 8–15 seconds depending on material thickness and adhesive type, providing structural integrity to the toe area.
Counter (Heel Stiffener) Moulding
The pre-cut counter is softened with steam or heat and moulded around a heated aluminium back part moulder matching the exact last profile to provide rigid heel support without distorting the upper shape.
Pre-Cementing of Lasting Margin & Runner
Neoprene or PU adhesive is brushed or machine-applied only on the 12–15 mm lasting margin and runner edge to avoid contaminating the lining; haloing tape is often used for precision edge control.
Pro Tip: Always use masking tape on lining side to prevent adhesive bleed-through and maintain clean interiors.
Runner / Insole Attachment to Last
A 10–12 mm wider runner board is temporarily fixed to the last bottom with 6–8 tacks or staples ensuring perfectly uniform overhang all around for consistent flanging.
Toe Mulling & Conditioning
The toe area is softened with steam or conditioning spray for 15–30 seconds so the leather can stretch smoothly over the last without cracks or pleats, enhancing overall fit.
Hydraulic Toe Lasting
Modern CNC toe lasting machines with adjustable wipers flange the upper outward onto the runner with extreme precision, achieving consistent 9–11 mm flange width for optimal attachment.
Pro Tip: Use silicone-coated wiper plates to prevent leather marking and ensure smooth, mark-free flanges.
Side & Heel Lasting + Seat Trimming
Side lasting machines flange the quarters and heel, followed by sharp knife trimming to ensure uniform distance (usually 12 mm) from feather edge for perfect stitching line alignment.
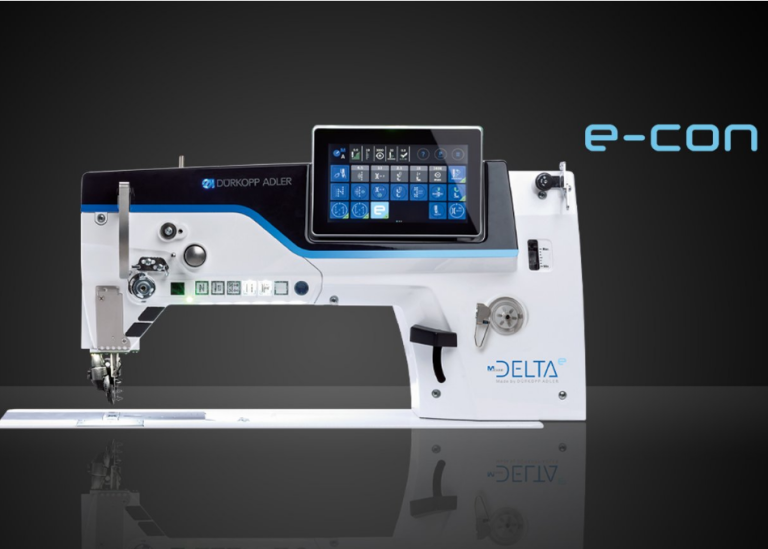
Outsole Lock stitching
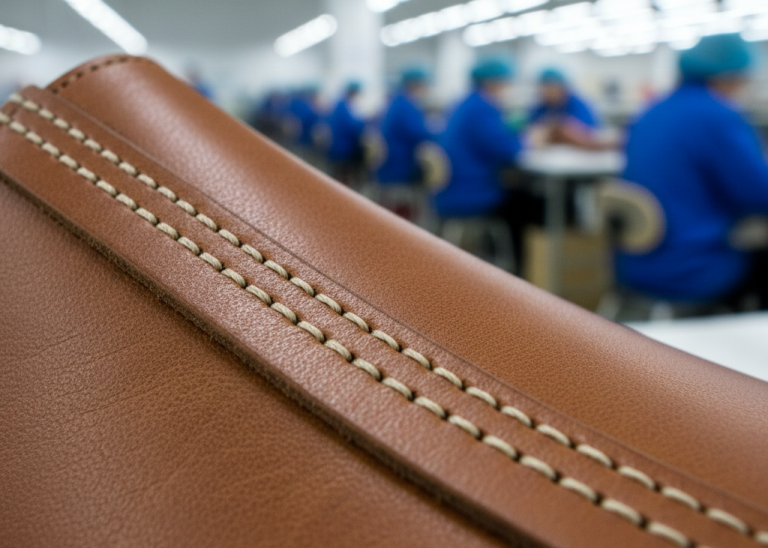
Heavy-duty post-bed or curved needle lockstitch machines sew through outsole, flanged upper, and runner using waxed linen or polyester thread (typically 0.8–1.0 mm) for secure bonding.
Machines: Adler 869 stitching machines – USM Machines
Pro Tip: Set stitch length 5–6 mm for strength and classic appearance, adjusting tension for even thread pull-through.
Heat Setting (80-100 °C for 3-4 Mins)
Shoes on lasts pass through a conveyor oven to relieve lasting stresses and help leather conform perfectly to the last shape, preventing distortion post-delasting.
Wrinkle Chasing & Hand Ironing
Skilled operators use low-heat irons with cloth protection to remove wrinkles without damaging surface finish, ensuring a smooth, professional appearance.
Tack & Staple Removal
Every single tack must be removed using magnetic tack pullers – leaving even one inside is a major defect that can injure the wearer or hinder delasting.
Double-Coat Bottom Adhesive Application
PU adhesive applied twice on runner and sole with minimum 10–15 min drying between coats and before reactivation, building a strong, flexible bond.
Recommended Adhesives: Henkel Technomelt PUR 579A, SAR 30F (Neoprene)
Best Practice: Rough sole surface to 80–120 grit and halogenate rubber soles for maximum adhesion grip.
Heat Reactivation & Sole Pressing
Soles and bottoms are heated to 60–70 °C, then pressed at 4–6 bar for 10–15 seconds in a hydraulic sole attaching machine to fuse components securely.
Recommended Machines: OMPSA (Italy) sole press
Deep Freezing / Chilling (−15 °C)
Shoes are chilled for 4–6 minutes to permanently crystallize the adhesive bond and stabilize shape after multiple heating cycles, locking in the construction.
Edge Trimming & Finishing
Rough and fine hob cutters trim the excess edge to uniform width, followed by inking, waxing, and burnishing for a polished, protective edge.
Recommended Machines: Fortuna ES-55 edge trimming machines
Pro Tip: Change hob knives every 800–1000 pairs for clean cuts and uniform width without fraying.
Final Cleaning, Delasting & Shoe Rooming
Uppers are cleaned with compatible solvents, lasts carefully removed, socks inserted, trees placed, laces added, and final QC performed before packing to ensure market-ready quality.
Pro Tips & Best Practices Summary
- Always maintain runner overhang tolerance ±0.5 mm for even flanging
- Use cold-moulded counters identical to production last profile to avoid fit issues
- Never skip tack removal – use UV light check if needed for thorough inspection
- Control reactivation temperature within ±5 °C of adhesive spec to prevent weak bonds
- Keep trimming knives razor sharp – dull blades cause fraying and uneven edges
- Record heat-setting and chilling parameters for every batch to optimize consistency
Why Choose Stitchdown Construction?
Stitchdown/Veldtschoen remains one of the toughest, most repairable, and most comfortable constructions – perfect for anyone who values heritage quality and lifelong footwear. Its simplicity in resoling and inherent weatherproofing make it a timeless choice for boots that endure.