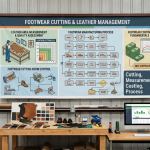
Cut Component Inspection after Cutting/Clicking – Stitching Process Series
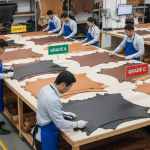
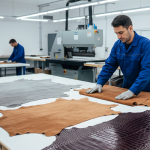
In the previous blog, Cutting/Clicking in Footwear Stitching – Stitching Process Series, we discussed how raw materials are converted into precise components using different cutting methods. Once cutting is completed, the next critical stage is component inspection, which acts as a quality gate before stitching.
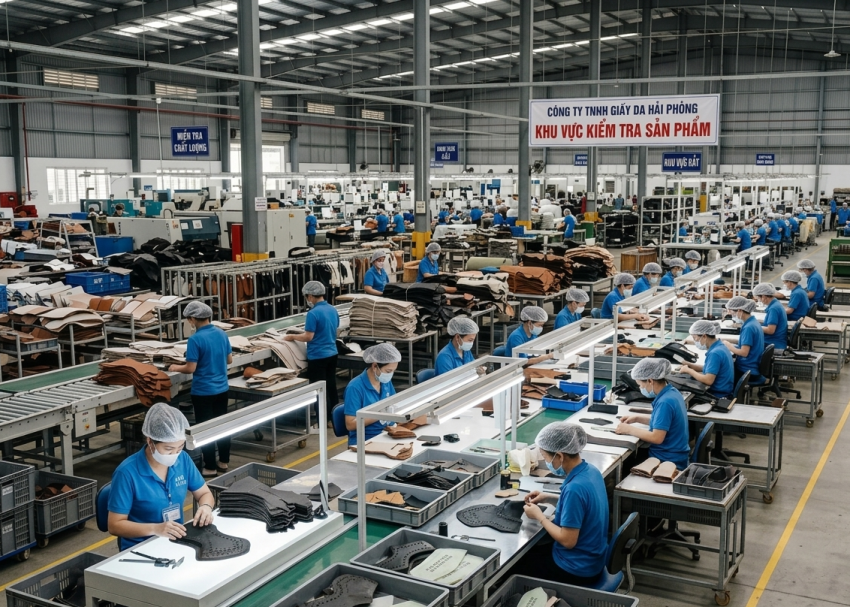
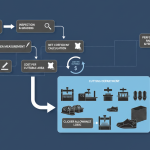
As established in the Stitching Pillar Blog, component inspection ensures that each cut part meets defined quality standards before entering assembly. At this stage, every component is verified individually to prevent defective parts from moving forward, where correction becomes difficult and costly.
This step is essential because defects missed here directly impact stitching quality, increase rejection, and reduce line efficiency. Therefore, a structured inspection system is followed in factories to ensure only approved components proceed to the next stage.
Pro Tip :
Maintain master patterns / templates at every inspection station
Implement first-piece approval for each cutting batch
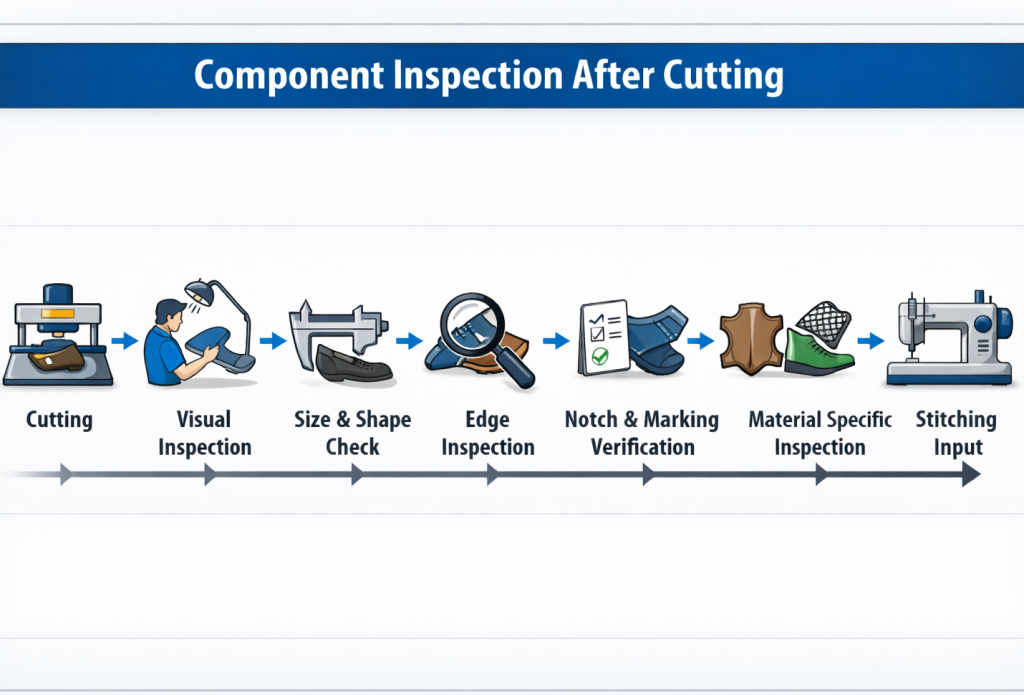
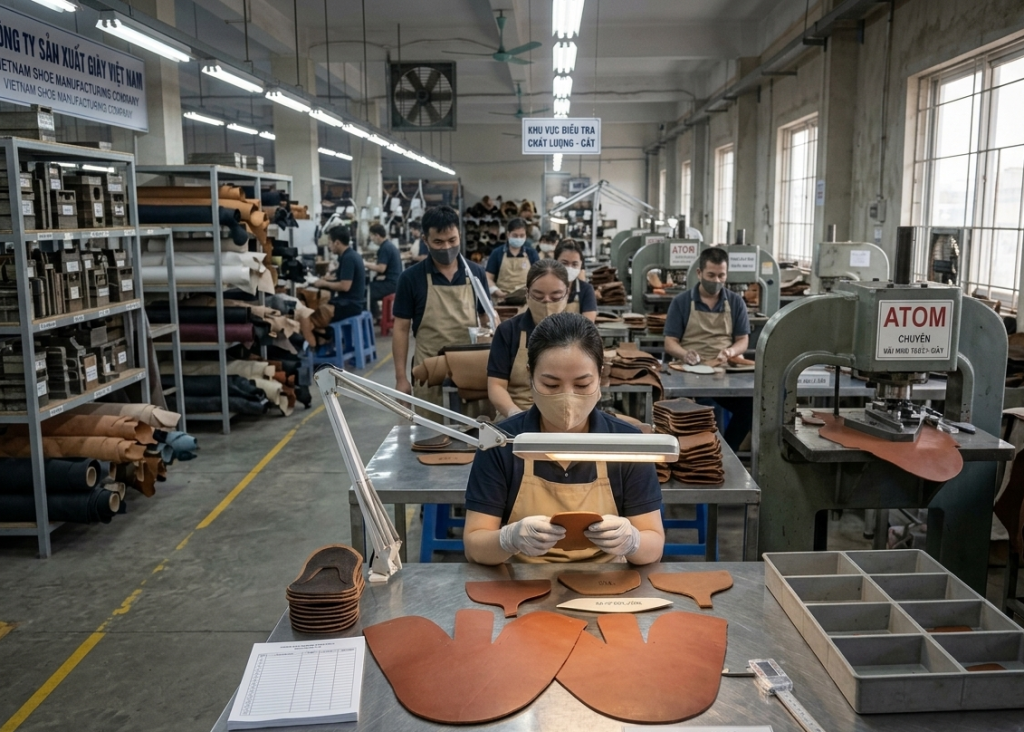
1. Visual Inspection of Cut Components
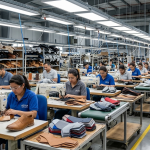
Immediately after cutting, each component is visually inspected to identify surface defects, grain issues, or damages created during the cutting process. This aligns with the pillar blog focus on surface defect control but is executed here in a structured inspection format.
This inspection is important because many defects—especially in leather—become visible only after cutting. If these defects are not removed at this stage, they directly affect upper appearance and customer acceptance.
Operators perform inspection under standardized lighting conditions to avoid shadow or color distortion. Each component is checked against an approved reference or master sample. Defective components are separated instantly into rejection or rework categories to avoid mixing.
Factories also follow a Satra grading system to ensure consistency in decision-making.
Key Control Points:
- Use standardized lighting for inspection
- Compare with approved master samples
- Classify defects (minor, major, critical)
- Segregate defective parts immediately
Pro Tip :
Train inspectors on impact of dimensional errors in stitching
Use digital verification tools for precision styles
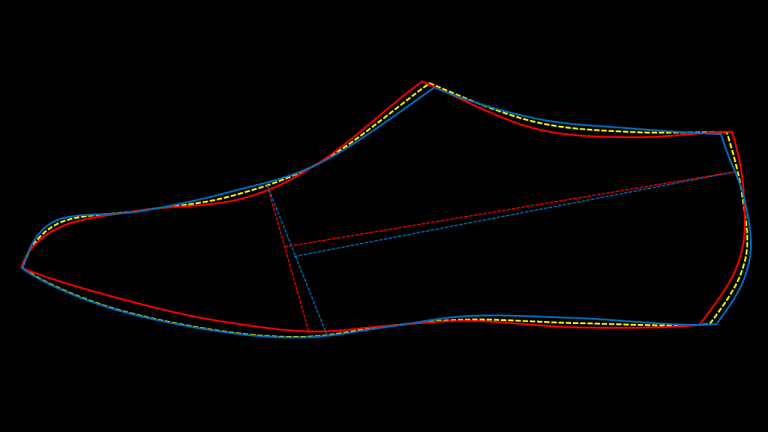
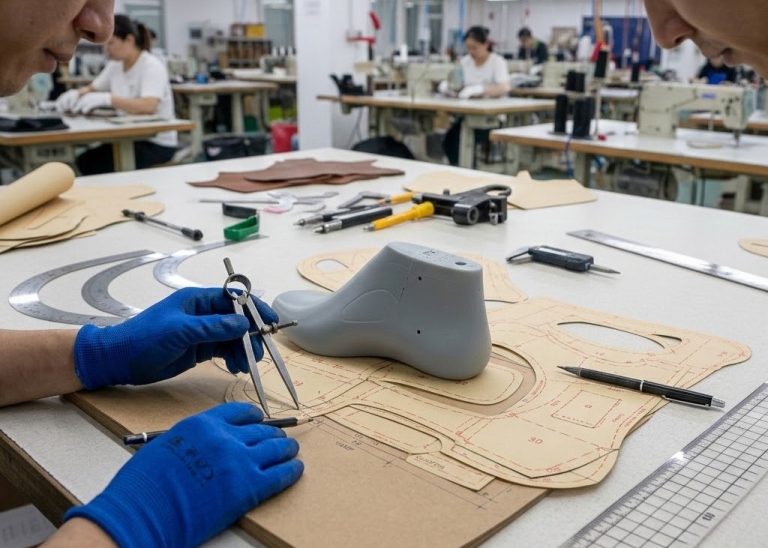
2. Size and Shape (Dimensional Conformity Check)
After visual approval, each component is checked for dimensional accuracy and correct shape as per the pattern specification. This directly aligns with the pillar blog requirement of dimensional conformity.
This step is critical because even small size deviations lead to stitching misalignment, seam distortion, and fitting issues. Therefore, maintaining strict dimensional control ensures smooth assembly.
Operators use templates, metal patterns, or digital measuring tools to verify dimensions. Components are checked against the original die or CAD pattern. Special attention is given to functional areas such as throat opening, vamp curvature, and stitching margins.
Left and right components are checked for symmetry to avoid imbalance during assembly.
Key Control Points:
- Verify dimensions using approved templates
- Check symmetry between corresponding components
- Maintain defined tolerance limits
- Reject or re-cut non-conforming parts
Pro Tip :
Use standard marking codes across factory
Maintain marking reference charts at inspection tables

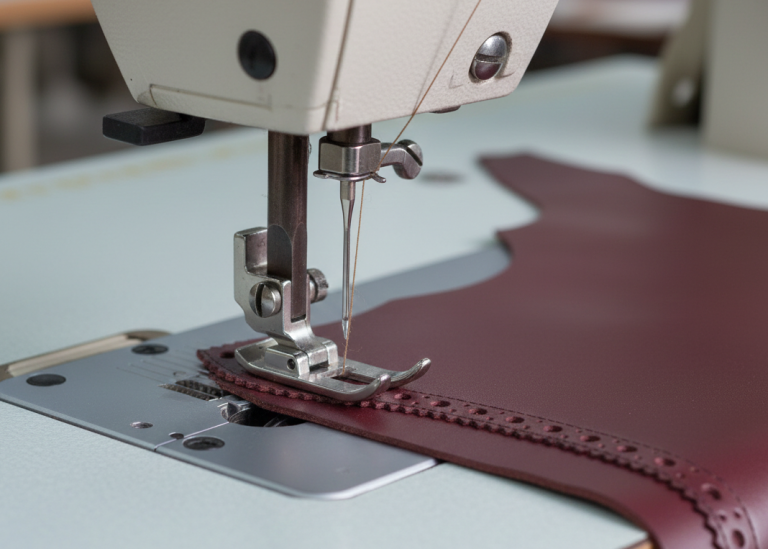
3. Edge Accuracy and Cutting Quality Inspection
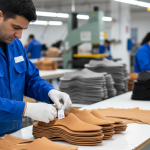
Following dimensional checks, edge quality is inspected to ensure that all components are cut cleanly and accurately. This expands the pillar blog point on edge accuracy into a detailed control process.
Edge quality is important because rough or uneven edges create stitching difficulties, poor seam appearance, and finishing issues. Therefore, maintaining clean edges supports both productivity and product quality.
Inspectors check for smooth edges, clean curves, and complete cutting. Defects such as fraying, jagged edges, double cuts, or incomplete punching are identified. For synthetic materials, melted or hardened edges are also evaluated.
Critical areas such as curves and fine design sections receive extra attention, as they are more prone to cutting defects.
Key Control Points:
- Ensure smooth and clean edges
- Check for incomplete or overlapping cuts
- Inspect detailed curves carefully
- Reject components with edge damage
Pro Tip :
Avoid overlapping or double markings
Regularly check print quality in CNC cutting systems
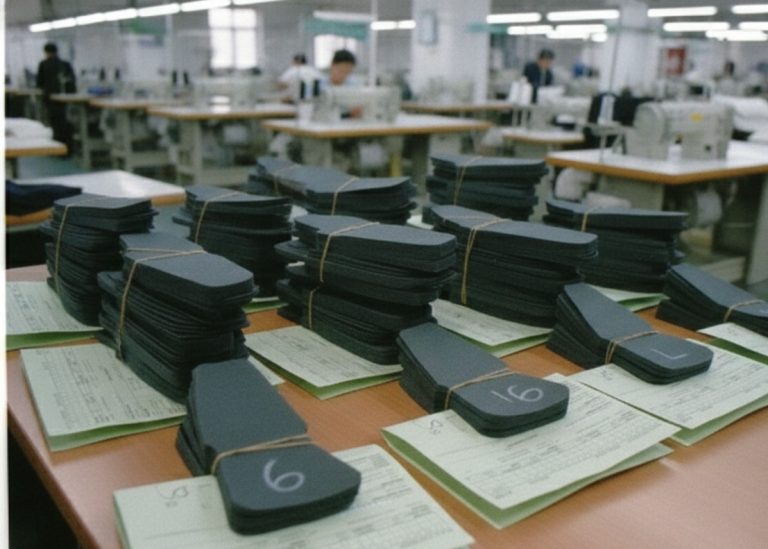
4. Notch, Marking, and Identification Verification
Each component includes notches and markings that guide stitching alignment and assembly positioning. These elements must be accurate and clearly visible to avoid errors during stitching.
This step is important because missing or incorrect markings result in misalignment, incorrect assembly, and increased rejection. Therefore, proper marking verification ensures smooth downstream operations.
Inspectors check that all notches are properly cut and positioned. Markings such as size, style number, alignment guides, and directional indicators are verified for clarity and accuracy.
For automated cutting systems, printed markings are checked to ensure they are not faded, misaligned, or incomplete.
Key Control Points:
- Ensure all notches are present and correctly positioned
- Verify clarity and readability of markings
- Check alignment guides for stitching accuracy
- Reject components with missing or unclear markings
Pro Tip :
Implement material-specific inspection checklists
Maintain separate QC standards for each material type
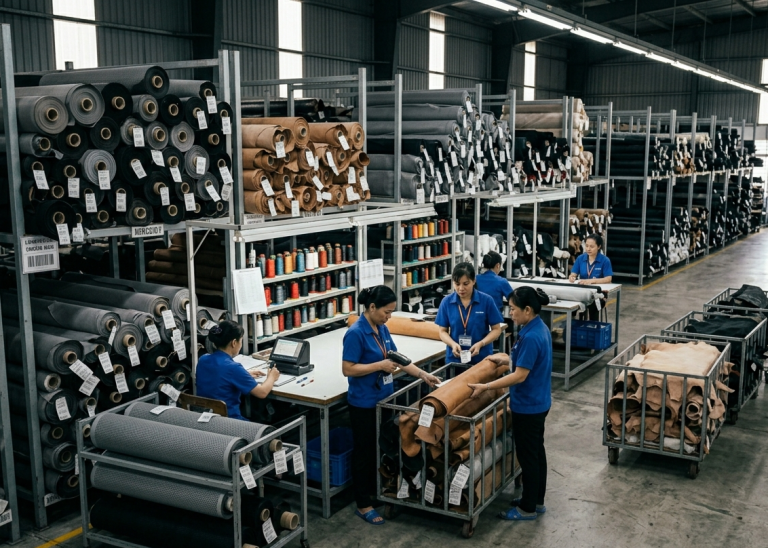
5. Material-Specific Inspection (Leather vs Non-Leather Components)
In addition to general inspection, factories apply material-specific checks based on the type of upper material. This ensures that defects unique to each material category are properly controlled.
Leather Components Inspection
Leather requires detailed inspection due to its natural characteristics. Inspectors check for scars, wrinkles, loose grain, vein marks, insect bites, and shade variation. Grain uniformity and thickness consistency are also verified.
Softness and stretch behavior are evaluated, especially in critical areas like vamp and quarters. Loose grain or excessive stretch can affect durability and appearance.
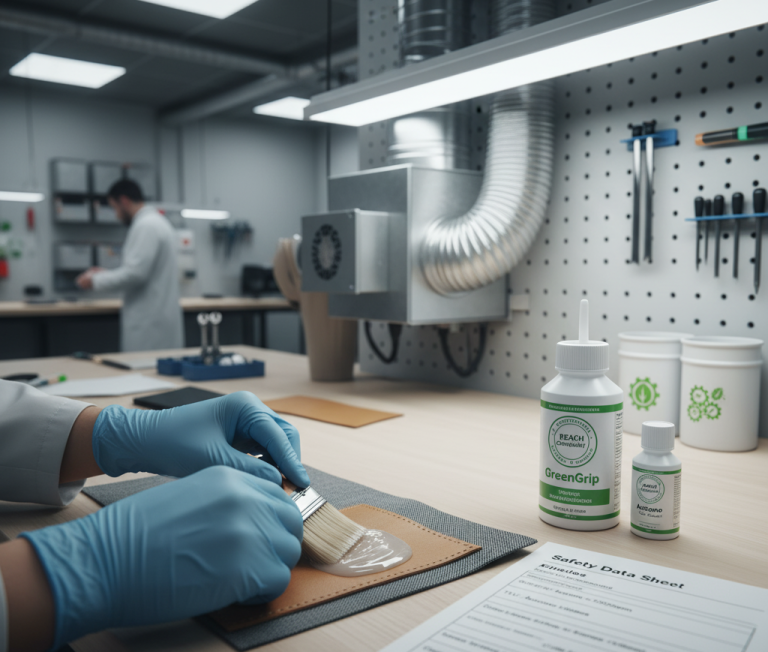
Non-Leather Components (Fabric, Mesh, Synthetic Materials)
Non-leather materials such as fabric, mesh, PU, or microfiber are inspected for manufacturing defects. These include weaving faults, yarn breakage, coating defects, lamination issues, and color inconsistency.
Inspectors also check for fraying edges, delamination, print misalignment, and structural weakness. For mesh materials, hole structure consistency and strength are verified.
This material-specific approach ensures that each component meets both aesthetic and functional requirements.
Key Control Points:
- Leather: check grain quality, scars, thickness, shade
- Fabric/Mesh: check weaving defects and fraying
- Synthetic: check coating, lamination, and color consistency
- Follow material-specific acceptance standards
Expert Insight:
Use defect sample boards for inspector training
Track supplier-wise defect trends
Frequently Asked Questions – FAQs
1. What is the purpose of component inspection after cutting?
To ensure only quality-approved components enter stitching, preventing downstream defects.
2. What are the main checks performed during inspection?
Visual defects, size accuracy, edge quality, markings, and material-specific defects.
3. Why is dimensional accuracy important?
It ensures proper stitching alignment and final shoe fit.
4. What defects are common in leather components?
Scars, loose grain, wrinkles, and shade variation.
5. How are synthetic materials inspected?
By checking coating quality, lamination, color consistency, and structural defects.
6. What happens if defective components enter stitching?
They cause rework, rejection, and reduced production efficiency.
Expert Insight:
Check first cut sample before full production
Avoid using damaged boards to protect dies
Monitor cutting quality as an indicator of board condition

Explore other Stitching Process Series
- Stitching Process in Footwear Manufacturing: From Cutting to Closing Assembly in Shoe Production
- Raw Material Receipt in Footwear Stitching – Complete Factory Control Guide
- Raw Material Inspection in Footwear Stitching – Stitching Process Series
- Raw Material Preparation for Cutting in Footwear Stitching – Stitching Process Series
- Cutting/Clicking in Footwear Stitching – Stitching Process Series