Crust to Finishing: Leather Manufacturing Series – Part 5
Estimated Reading time: ~5 – 6 minutes
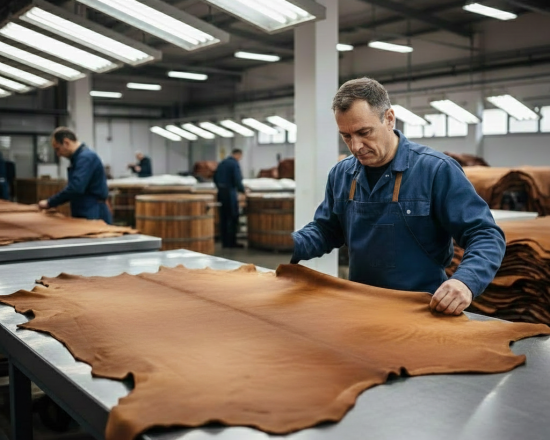
Introduction – Continuing the Leather Manufacturing Series
Welcome to Part 5 of our comprehensive Leather Manufacturing Series! In Part 1–3 we followed raw hides through beamhouse operations, in Part 4 we explored wet-end processes from tanning to crust, and now in Part 5 we complete the journey: transforming dry crust leather into luxurious, market-ready finished leather.
Every step — staking, buffing, snuffing, embossing, coating, ironing, and final grading — is crucial for achieving the softness, color, texture, and durability demanded by fashion, upholstery, and automotive brands.
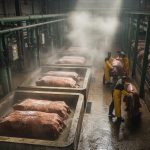
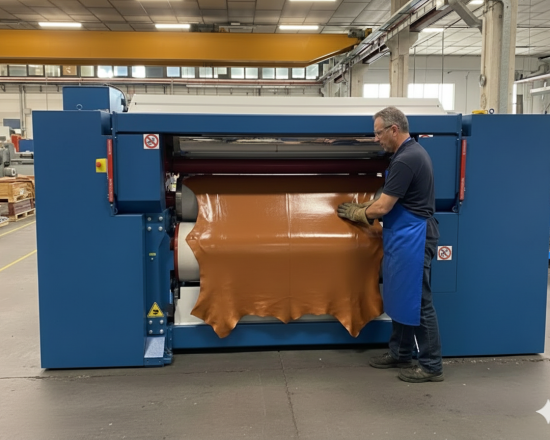
Staking – The First Step After Crust
Purpose:
Staking is the very first dry operation on crust leather. It mechanically softens the hide, separates tightly bound fibers, improves drape, equalizes thickness, and dramatically enhances overall hand feel and flexibility.
Process:
Crust leather (12–18% moisture) is passed through vibrating blades or rollers that repeatedly stretch and flex the hide in multiple directions, breaking fiber bonds and opening the structure without damaging the grain layer.
Machinery & External Links:
Cartigliano Through-Feed Staking → https://www.cartigliano.com/en/portfolio-category/staking-machines/
SHIBIAO Vibration Staking Machine → https://www.shibiaomachinery.com/leather-vibration-staking-machine/
Pro Tip: Perform staking on crust with 12–16% moisture for maximum softness without tearing.
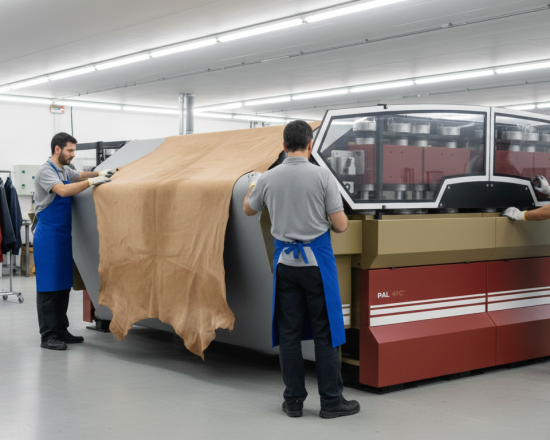
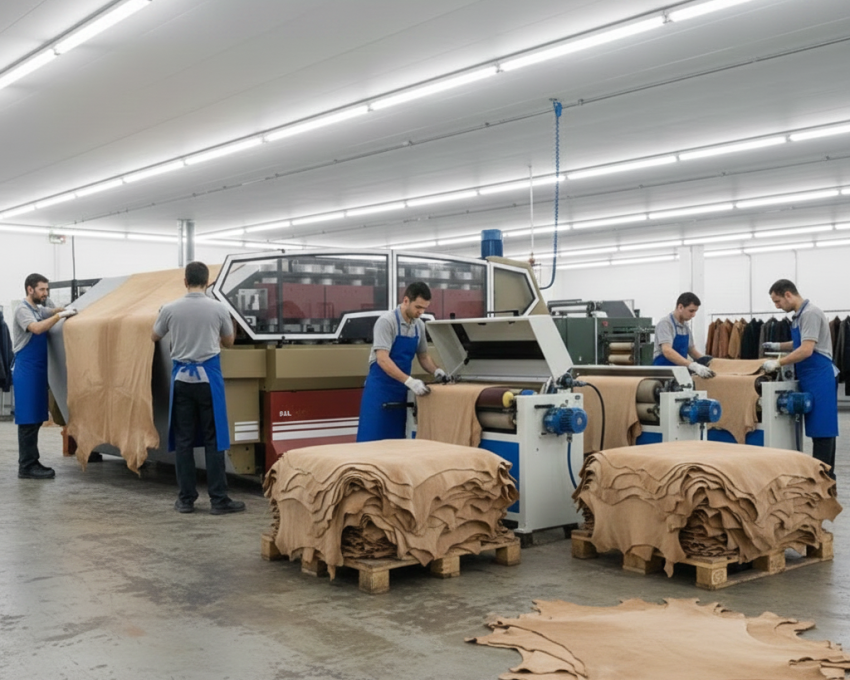
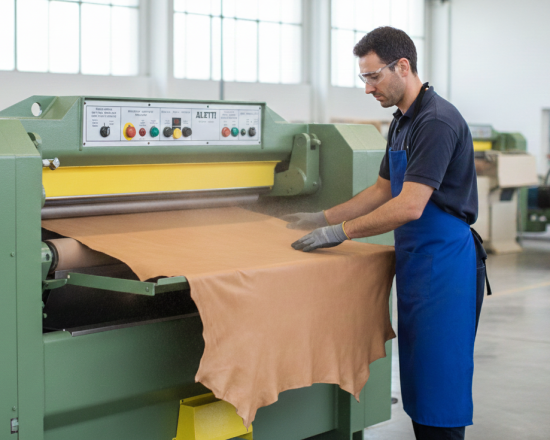
Buffing
Purpose
Buffing removes natural grain defects, levels the surface, reduces thickness variations, and creates a uniform base for subsequent finishing while enabling suede or corrected-grain leather production.
Process
Rotating cylinders covered with abrasive paper (80–600 grit) lightly sand the grain side. Dust extraction systems remove particles instantly. Heavy buffing can completely remove the grain to produce nubuck or corrected-grain leather.
Machinery
Aletti VELOX 800 → http://www.aletti-italia.com/en/tannery.htm
Pro Tip: Perform staking on crust with 12–16% moisture for maximum softness without tearing.
Snuffing
Purpose
Snuffing is a very light surface abrasion of the grain that raises a fine, velvety nap, removes remaining high spots, improves softness, and significantly increases adhesion of pigments and top coats in later stages.
Process
Using extremely fine abrasive paper (400–800 grit), the leather is gently sanded to expose the top of the collagen fiber bundles, creating a uniform short nap while preserving most of the natural grain beauty.
Machinery
Aletti VELOX 800 → http://www.aletti-italia.com/en/tannery.htm
Pro Tip: Snuff only 0.05–0.15 mm — over-snuffing weakens tear strength.


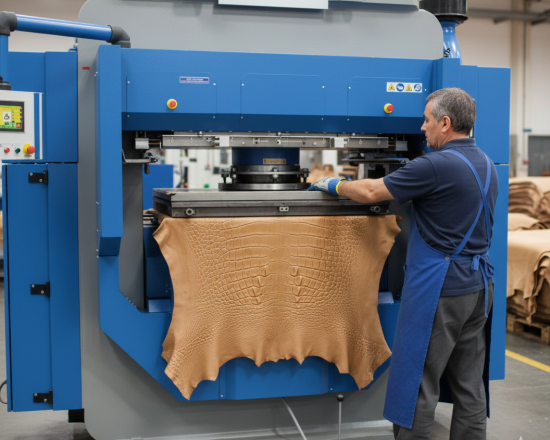
Embossing
Purpose
Embossing permanently impresses decorative or functional patterns (crocodile, ostrich, pebble, logos, etc.) into the leather surface, adding value and hiding minor natural defects while maintaining softness.
Process
Heated engraved plates or rollers (90–160°C) are pressed onto the leather under controlled hydraulic or pneumatic pressure for 2–8 seconds, forcing the softened grain to take the exact negative of the plate design.
Machinery
Gemata Rotopress Continuous Embossing – Gemata Machine
Mostardini Embossing Machines – Mostardini Machine
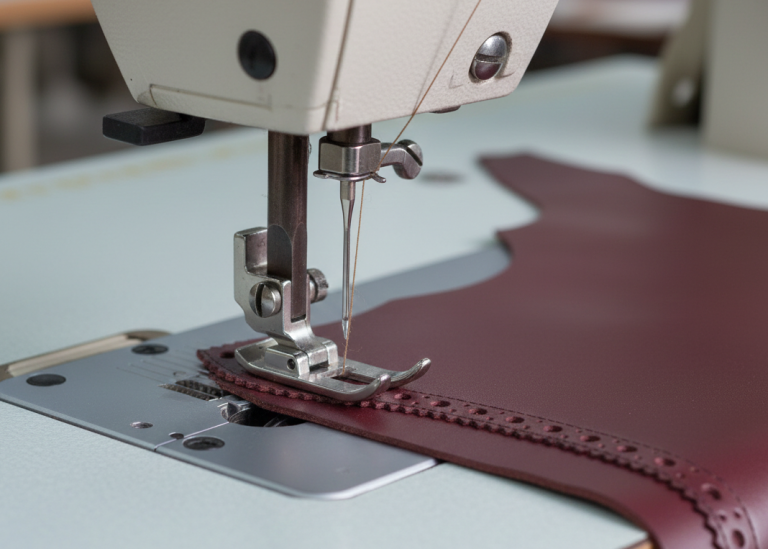
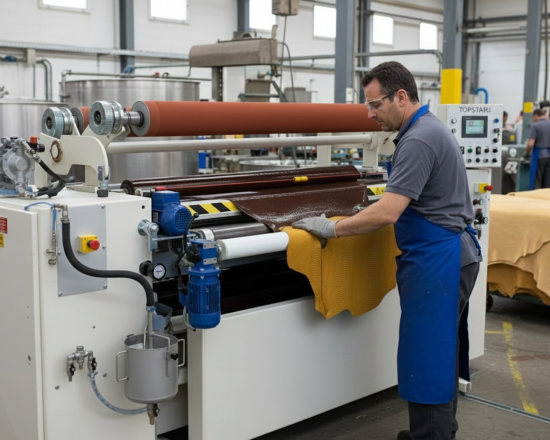
Coating & Spraying
Purpose
Coating applies base color, pigments, binders, and protective top coats to achieve the desired shade, handle, water resistance, light-fastness, and surface effects (gloss, matte, pearl, metallic, etc.).
Process
Multiple thin layers are applied via reverse roller coaters, spray guns, or curtain coaters. Each layer is dried or cured (IR or hot air) before the next. Final top coat provides protection and the chosen visual/tactile effect.
Machinery
Gemata TOPSTAR Roller Coater → https://www.gemata.it/a_3_EN_199_1.html
Erretre Automatic Spray Lines → https://www.erretre.com/en/linee-rifinizione
Pro Tip: 2–4 very thin coats (8–15 g/m² each) always outperform one heavy coat.
Ironing & Polishing (Glazing)
Purpose
Ironing fixes the finish chemically and physically, flattens raised fibers, creates the final sheen level (high gloss to deep matte), and improves abrasion resistance and overall appearance.
Process
Heated cylinders or plates (70–130°C) press the leather under controlled pressure while optional polishing sleeves or agate stones burnish the surface, melting and flowing the top coat into a smooth, uniform film.
Machinery
SHIBIAO Hydraulic Ironing Machine → https://www.shibiaomachinery.com/leather-ironing-machine-tannery-machine-for-cow-sheep-goat-leather-product/
Bergi KURTA Polishing Cylinder → https://bergi.com/en/kurta/
Pro Tip: Set temperatures to 80–100°C for gloss without melting coatings—burnish in one direction to lay fibers flat.
Follow with a soft cloth buff for matte finishes; avoid over-ironing to preserve natural flexibility.
Final Grading & Quality Control
Purpose
Final grading sorts finished leather into commercial quality grades, measures usable area, detects and marks defects, and ensures every hide meets customer specifications before packing and shipment.
Process
Under standardized 5000–6500K lighting, inspectors (or AI cameras) examine both sides for colour uniformity, finish evenness, scars, scratches, and holes. Hides are measured, graded (A, B, C, etc.), tagged, and digitally recorded.
Machinery
Gani Robotics AI Grading System → https://ganirobotics.com/products/ganigrade-leather-grading-system
Illuminated Grading Tables → https://www.alliance-ind-inc.com/leather-grading-table
Pro Tip:
Combine human inspection with AI for <1% grading consistency.
Use standardized lighting (5000K) for consistent color assessment—document defects digitally for traceability.
Conclusion – The Complete Journey
With Part 5 we have now walked the entire leather manufacturing pipeline — from raw salted hide all the way to luxurious finished leather ready for bags, shoes, jackets, and car seats. Every operation from staking to final grading plays an essential role in delivering the softness, beauty, and performance the world expects.
Missed earlier parts?
← Part 4: Tanning to Crust
← Part 3: Transforming hides into Leather
← Part 2: Preparing hides for Tanning
← Part 1: From Hide to Pre-Tanning
For sustainable leather production standards: Leather Working Group → https://www.leatherworkinggroup.com/