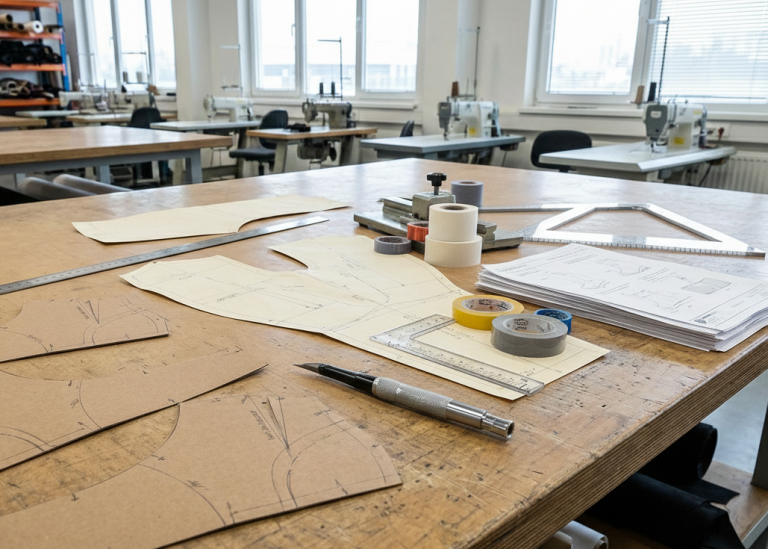
Mastering Surface Preparation in Footwear Manufacturing: Key Techniques for Strong Adhesion
Introduction: Why Surface Preparation Matters in Footwear Manufacturing
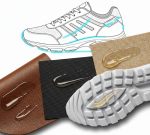
Imagine crafting sneakers that delaminate after minimal use. Overlooked surface preparation in footwear manufacturing often causes weak bonds between soles and uppers. This essential step lets adhesives grip firmly, producing durable shoes that handle everyday wear.
Our footwear adhesives series builds on polymer chemistry and bonding explorations. Here, surface preparation forms the base. It clears contaminants, adds texture for mechanical hold, and chemically activates surfaces for molecular bonds.
This guide covers mechanical and chemical methods for materials like leather, rubber, PVC, PU, TPR, SBR, and EVA—including IM and CM variants. We detail steps and best practices, to improve your processes.
The Fundamentals of Surface Preparation
Surface preparation turns contaminated, uneven areas into ideal adhesive surfaces. Skip it, and premium glues fail, causing peeling or delamination.
General Bonding Procedure
Achieve optimal bond strength through these five steps:
- Surface Preparation: Apply mechanical and chemical treatments to adherends.
- Coating of Surfaces: Spread adhesive uniformly.
- Drying the Adhesive: Allow solvent evaporation for tack.
- Attachment: Press surfaces together.
- Setting: Cure for final bond formation

Decontamination and Activation : Surface Preparation
You must pretreat surfaces before applying adhesive. This counters oil, dust, and chemicals while fixing unevenness from insole-upper cementing.
However, balance treatments carefully. For example, over-scouring damages leather, but under-treatment leaves synthetics slick. Test samples to confirm results.
Combine mechanical and chemical methods for superior outcomes. Mechanical techniques offer quick texture, while chemicals provide lasting activation.
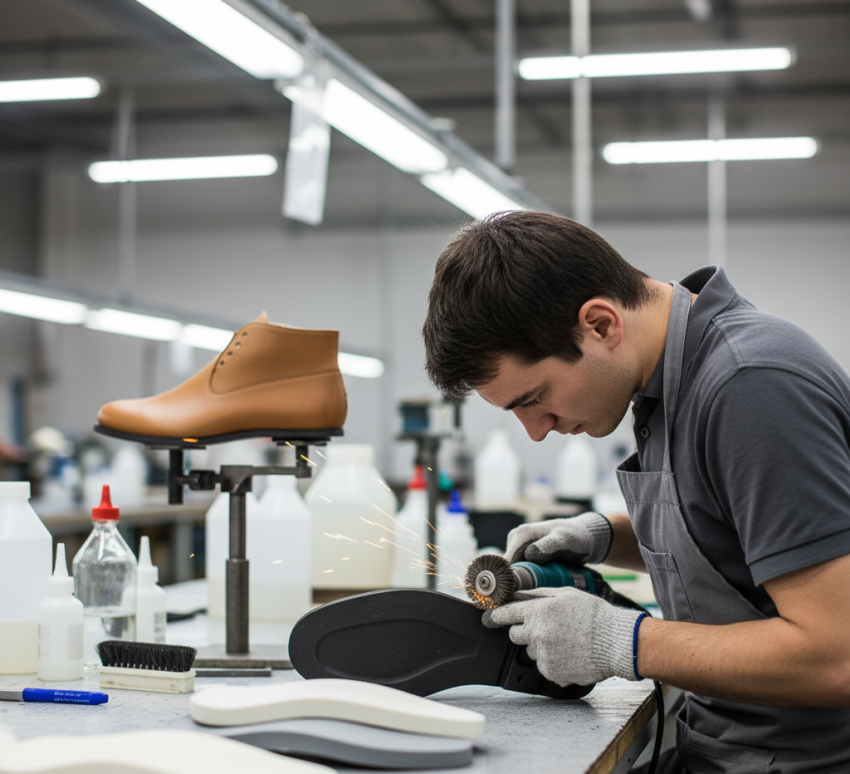
Mechanical Surface Preparation Techniques
This methods lead surface preparation in footwear manufacturing for their efficiency and low cost. They reshape surfaces physically, avoiding harsh chemicals.
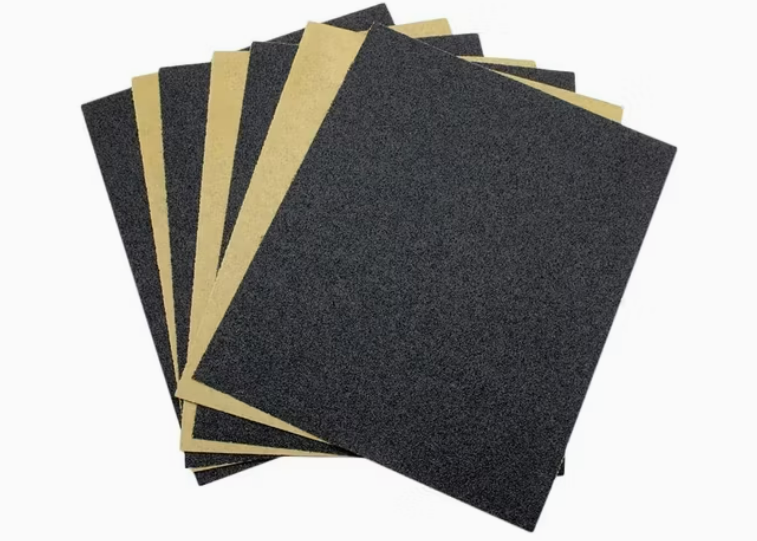
Scouring and Roughening
Start scouring with 24-40 grit emery paper to remove gloss and flaws on soles and uppers. For more texture, use a 24-36 SWG wire brush—perfect for rubber.
- Soles: Abrade lightly to reveal Fibers, preventing heat that deforms thermoplastics.
- Uppers: Target the lasted margin, halting at leather’s corium layer to prevent rips.
Additionally, employ buffing wheels for batch consistency. Benefits include speed and adaptability, though dust requires follow-up cleaning.
Dusting, Cleaning, and Solvent Wiping
Post-roughening, remove particles via compressed air. Next, degrease with solvents like MEK or trichloroethylene, leaving no residue. For instance, PVC soles improve with a fast MEK wipe, ready in seconds for bonding.
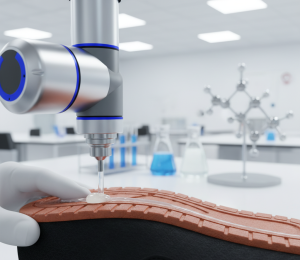
Surface Preparation Methods by chemical
Chemical approaches shine for non-porous synthetics where mechanical methods suffice less. They etch or activate for better adhesive wetting.
Halogenation and Chrlorination
Chlorination suits rubber-like soles with contaminants such as chalk. It outperforms roughening by creating an oxide layer that boosts adhesion and averts delamination.
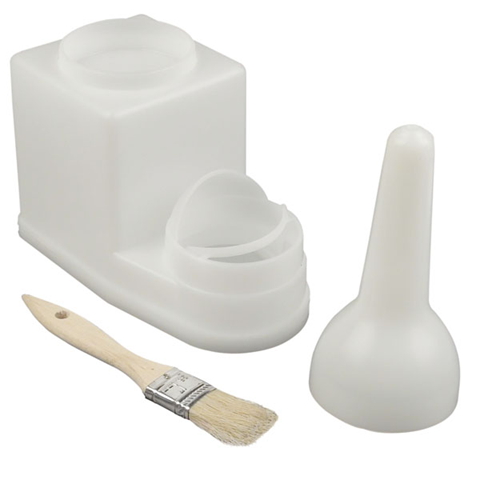
Apply a chlorine-liberating solution in organic solvent thinly by brush. Dry for 5-10 minutes. Key materials: SBR, natural rubber, TPR.
For TPR and SBR, use halogenation with bromine for added tack. Ventilate areas to manage fumes safely.
Priming and Degreasing
Use isocyanate primers for PU or EVA to link layers. Degrease PVC with trichloroethane against plasticizer migration. EVA benefits from acidic or alkali pre-treatment to neutralize acidity, plus UV priming and treatment for enhanced bonds. We’ll detail material-specific prep in a future blog

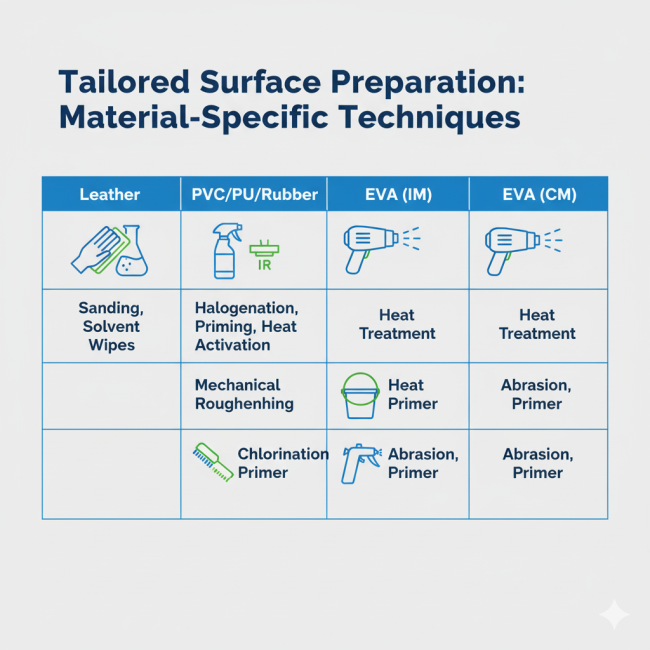
Tailored Approaches for Specific Materials
Match surface preparation in footwear manufacturing to material traits. See tailored strategies below.
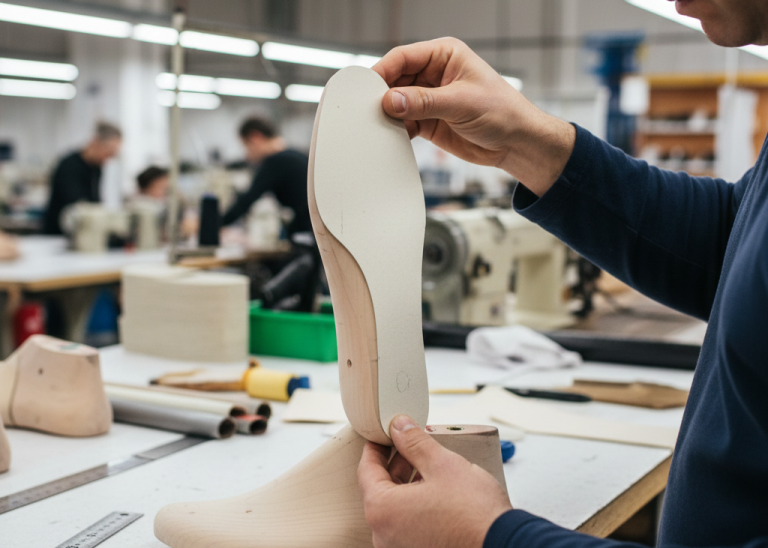
Balancing Porosity and Durability – Leather
Leather needs careful porosity management. Roughen sole flesh sides to expose fibers, keeping fat under 7% for neoprene. On uppers, reveal corium without grain damage. Check grease first—excess repels glues. Wipe with solvent post-treatment to clear tannins.
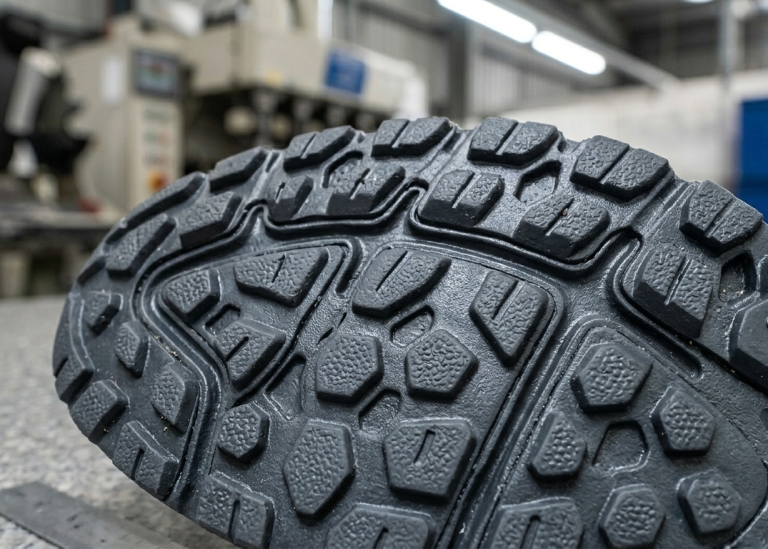
Synthetics: PVC, PU, and Rubber Variants
- PVC Soles/Uppers: Skip intense scouring; degrease via solvent to fight plasticizers. Reactivate adhesives below 80°C to avoid softening.
- PU (Poromerics): Scour to fabric base, prime with isocyanates. Vapor degrease Dimethyl silicone residues for purity.
- Rubber (Crepe, Microcellular, SBR): Brush with wire, then chlorinate. Wipe SBR quickly with isocyanate to maintain strength.
IM vs. CM Differences
EVA’s foam demands precision. IM (denser) and CM (lighter) both migrate plasticizers, but IM resists heat more.
- IM EVA: Roughen gently, solvent-wipe, then use two-part PU. Alkali soak aids cross-linking.
- CM EVA: Emphasize halogenation for etching. Isocyanate prime boosts mode II shear resistance.
Bond both within 20 minutes after priming
Adhesive Application and Bonding After Preparation
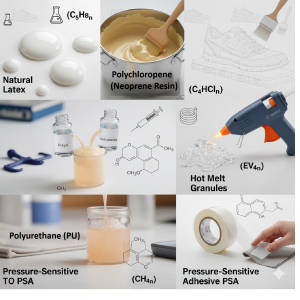
With prepared surfaces, apply PU or neoprene adhesives in one or two coats. Dry each 10-15 minutes. Reactivate heat at 50-70°C (adjust per material).
Keep Tack time1 under 30 seconds. Align soles on uppers, press at 30-45 psi for 5-30 seconds (vary by material/construction). Attach within 60 seconds for secure bonds. Watch for uniform pressure to avoid gaps.
Curing
- Rapid Curing: Chill pressed uppers 3-5 minutes at -5°C.
- Normal Curing: Dry overhead 25-35 minutes naturally.
Factories choose based on brand needs. Remove lasts post-curing when insole/strobel hits below 25°C.
Conclusion: Elevate Your Footwear Bonds Today
Surface preparation in footwear manufacturing drives resilient shoes. Merge mechanical and chemical tactics to build enduring products, from EVA casuals to leather premiums.
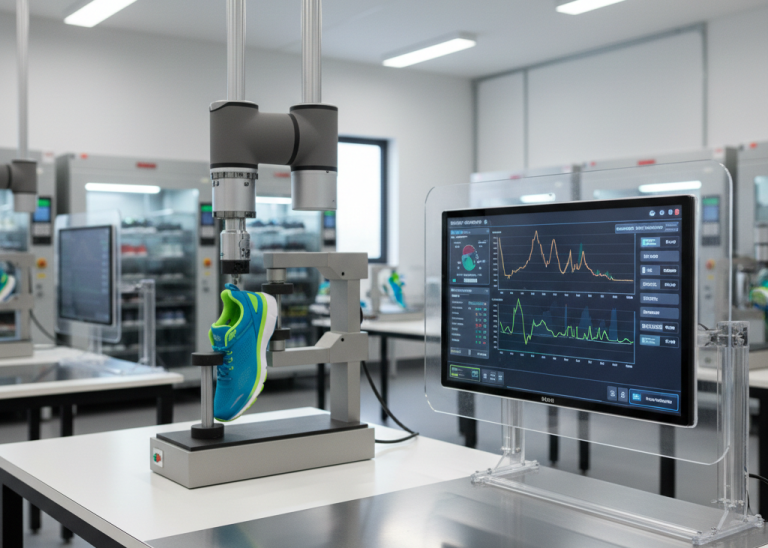
Implement now: Pilot EVA tests and monitor adhesion. Dive deeper in our footwear adhesives post or polymer guide.
Share your surface prep challenges in comments!
- Tack time is the amount of time an adhesive remains tacky or sticky after it has been applied — that is, the period during which it can still form a good bond when the surfaces are joined. ↩︎