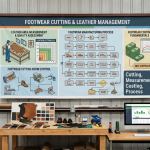
The Complete Guide to Moccasin Shoemaking: Types, Factory Processes, and Handcrafted Luxury Techniques
Introduction to Moccasin Construction and Historical Context
Moccasins rank among the most enduring and comfortable footwear designs ever created. Indigenous traditions originally shaped them to prioritize natural foot movement, flexibility, and minimal structure. Over centuries, artisans have evolved these humble designs, blending time-honored handcrafting skills with modern factory methods to satisfy today’s demands for everyday comfort and high-fashion appeal.
This comprehensive guide draws directly from respected shoemaking training materials originally developed by Leicester South Field College FAI. It guides you step by step through the three main categories of moccasins, their unique production techniques, essential operations, specialized machinery, and expert-level insights.
Whether you work as an aspiring artisan, a leathercraft enthusiast, a vocational student, or a small-scale shoe manufacturer, this resource offers a complete, sequential exploration—from the simplest slipper-style moccasins to exquisite, hand-sewn luxury dress versions.
The Three Main Types of Moccasins
Overview of Moccasin Categories
Shoemaking educators traditionally divide moccasins into three clear categories, each defined by its construction method and intended purpose:
- Slipper Moccasins — the simplest style, made completely without a last
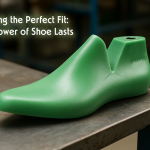
- Moccasin shoes shaped on metal moulds or lasts using pre-sewn uppers
- Dress Shoe Moccasins — the premium luxury tier, hand-sewn directly on the last
These distinctions help shoemakers choose the right approach based on comfort, appearance, durability, and target market.
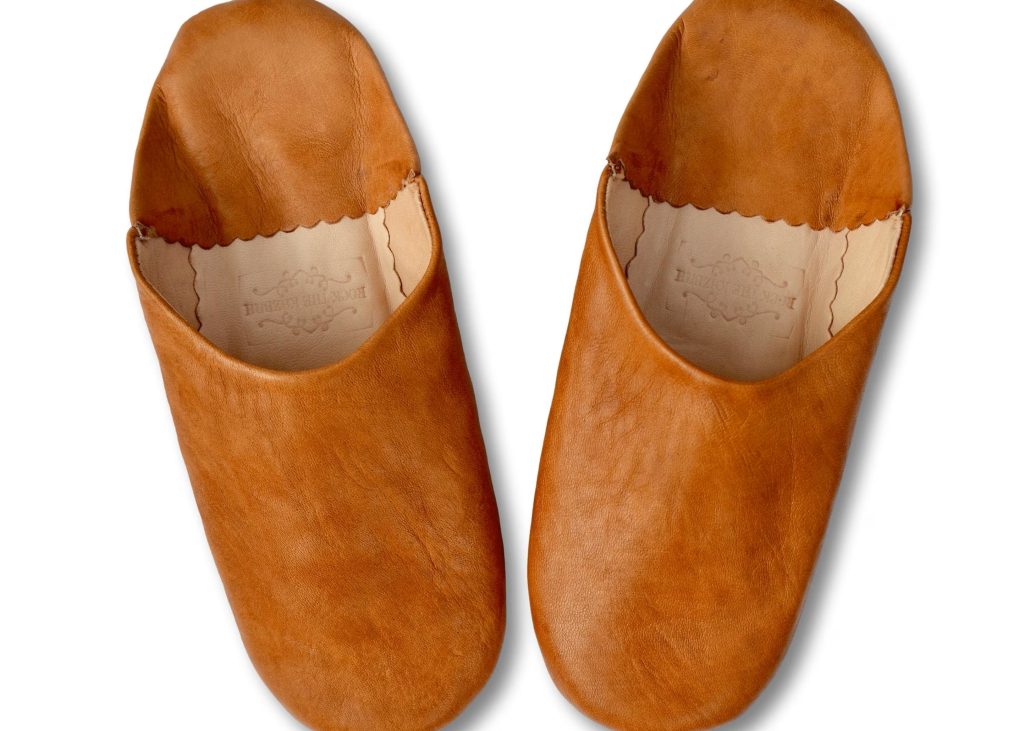

Slipper Moccasins – The Classic Handmade Style
Artisans create slipper moccasins without using any last at all. They form the entire shape simply by sewing the back seam and front seam.
A typical design features a drawstring threaded through a topband (or directly through holes in the topline) to hold the shoe securely on the foot.
Advantages of Traditional Slipper Moccasins
Artisans make these moccasins entirely by hand—no machines needed. Soft leather delivers outstanding comfort. The barefoot-like feel benefits foot health on safe, even surfaces.
Limitations of Traditional Slipper Moccasins
These moccasins often look crude and somewhat shapeless. The bottom leather wears out quickly, so they suit indoor use only. They offer very little protection on uneven floors. The material soaks up water like a sponge. Finally, the design allows virtually no heel height.
Commercial Factory-Produced Slipper Moccasins – Solving Traditional Drawbacks
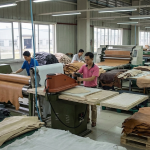
Manufacturers overcome many traditional limitations by making thoughtful changes in small-factory settings.
They eliminate the hand-sewn back seam and replace it with a wide back strap. This change creates space to insert a stiffener. A neatly sewn top band along the topline produces a much cleaner look and greatly improves the heel shape.
To solve poor bottom durability, factories sew on a runner made from microcellular rubber. Durability increases even more when they use a two-layer sole construction—the outer layer protects the attachment stitches. In many cases, workers hand-sew the front seam only after securing the runner (or first sole layer). Some production lines sew the runner and front seam first, then insert a last and attach a simple sole unit to the runner base.

Factory Production Sequence for Slipper Moccasins (Microcellular Runner & Sole)
The following table presents the complete operational sequence used in factory production of enhanced slipper moccasins, including machines and key techniques.
| Step | Operation | Detailed Description | Equipment / Notes |
|---|---|---|---|
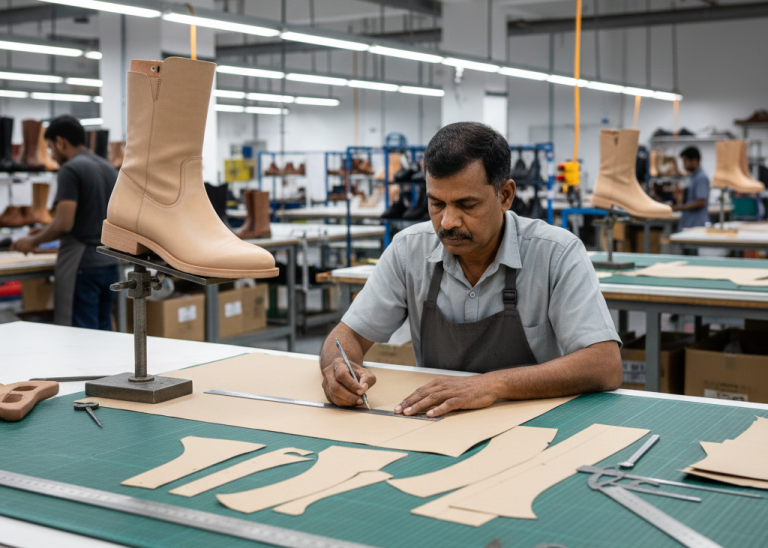
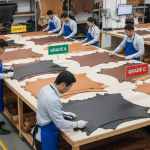
| 1 | Cut Upper | Uppers are cut on a clicking press using a press knife; leather thickness ≈ 2 mm, sometimes sheepskin with wool lining for warmth. Knives feature punch tubes to pre-cut stitch holes. | Swing beam clicking press |
| 2 | Cut Sole, Runner, Heel | Components die-cut from microcellular rubber sheets—lightweight, hard-wearing, waterproof due to closed tiny cells. | Same clicking press |
| 3 | Attach Heel to Sole | Heel bonded to sole using neoprene cement (detailed cementing methods referenced later). | Hand application or basic cementing tools |
| 4 | Marking | Cardboard marker (same shape as body pattern) with slots for sole position; marks transferred through slots. | Cardboard template |
| 5 | Cement Upper and Runner | Neoprene cement hand-brushed inside marker line on leather and on runner; dry 15 minutes, then align and hand-press. | Hand brush; special cement pot recommended |
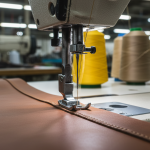
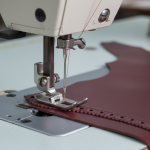
| 6 | Sew the Runner | Runner sewn to body using any sewing machine, guided by runner edge; thick strong thread and large stitches advised. | Standard sewing machine |
| 7 | Sew the Main Seams | Cross stitch or diagonal stitch most common (refer to page 87 and topic 8). | Sewing machine |
Lasting Process
| Step | Operation | Detailed Description | Equipment / Notes |
|---|---|---|---|
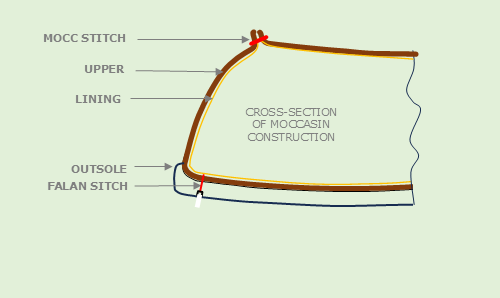
| 1 | Sew on Top Band & Stiffener Pocket | Band sewn on; drawstring/thong inserted first; pocket created for stiffener to improve back shape and support. | Any sewing machine; cross-section shows stitch rows |
| 2 | Insert Stiffener | Small stiffener (thermoplastic heats/sticks or leather scraps with latex adhesive); must be well adhered. | Heat if thermoplastic; skived edges |
| 3 | Insert Last & Heat Set | Not mandatory (shape sewn in), but dramatically improves fit and appearance. | Last insertion; heat-setting equipment |
| 4 | Preparation for Cementing | Surfaces cleaned by light scouring on coarse abrasive wheel or with supplier cleaning fluid. | Abrasive wheel or fluid |
| 5 | Cement Bottom and Sole | Neoprene/polychloroprene applied by hand brush to runner bottom and outside sole; dry thoroughly; special pot advised. | Hand brush; cement pot; machines only for high volume |
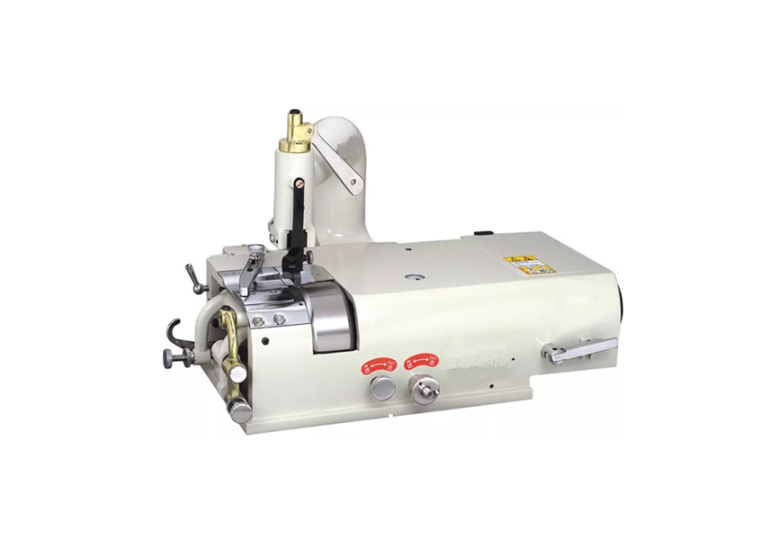
| 6 | Sole Attaching & Finishing | Sole heated ≈90°C, positioned, pressed ≥10 seconds; last slipped; forepart often sewn (horn lockstitch); edges trimmed/polished. | Sole heater, press; lockstitch machine; finishing tools |
Pro Tip: Maintain consistent 15–20 minute open time for neoprene cement in a clean, dust-free space; always perform adhesion tests on scrap leather to guarantee reliable bonds and avoid costly rework.
Production of Dress Shoe Moccasins (Factory Method)
Dress moccasins start with fully closed main-seam uppers and follow a structured, lasting-focused workflow.
The sequence appears in the table below.
| Step | Operation | Detailed Description | Equipment / Notes |
|---|---|---|---|
| 1 | Back Part Moulding | Thermoplastic stiffener inserted into pocket; heated, moulded on cooled metal shape with external pressure. | Back-part moulding machine; some wipe feather edge |
| 2 | Conditioning of Uppers | Moisture introduced (dip/mellow in bag/sack, humidifying room, steam) to soften leather for stretching. Terms: mull, steam, condition. Light/no toe puff due to stretch needs. | Steam nozzle, bucket, conditioning room |
| 3 | Pre-forming the Upper | Upper pulled over heated metal mould; heel piece pulls away; pleats hammered; sets while others loaded (6–8 stations). | Pre-forming machine (Tortelli, Verdi, etc.) |
| 4 | Preparing Last & Insole | Half insole moulded to last back, shank attached, front skived; cemented and tacked/stapled to last while wet. | Hand tools, tacking/stapling gun |
| 5 | Lasting | Upper pulled on with shoe horn; edge joint hammered for adhesion; back positioned and tacked. | Shoe horn; simple due to pre-forming |
| 6 | Seat & Waist Lasting | Seat lasted; waist pads press leather onto thermoplastic cement (machine) or hand cement + thumb wipe + tack laster. | Combined lasting machine or traditional tack laster |
Lasting Process
| Step | Operation | Detailed Description | Equipment / Notes |
|---|---|---|---|
| 7 | Heat Setting | Critical for fit/appearance; 120°C dry ≈4 min or moist heat; high-velocity air achieves 2–2.5 min. Vacuum dries only. | BUSMCo, PED machines; fan for cooling |
| 8 | Roughing | Bottom scoured with coarse abrasive through grain layer for cement penetration (avoid over-roughing). | Coarse abrasive wheel |
| 9 | Cementing | Hand brush for precision at edges + speed in center; sole cemented; dry before attachment. | Hand brush; full machines only for high production |
| 10 | Sole Attaching | Sole heated ≈90°C, positioned, pressed ≥10 seconds in attaching press. | Sole heater, hydraulic/air press |
| 11 | Last Slipping | Last broken at hinge on peg; shoe slides off (dirty lasts cause sticking). | Peg tool |
| 12 | Sole Sewing | Horn lockstitch machine; often forepart only, stitches in groove/channel to prevent feather pull-away. | Horn lockstitch machine |
| 13 | Finishing | Sole edge/heel trimmed & polished; leather soles scoured/polished; unit soles/resin rubber cleaned. | Finishing tools |
Pro Tip: Invest time in high-velocity hot-air heat-setting machines—they shorten cycles significantly while delivering superior shape memory and reduced creasing.
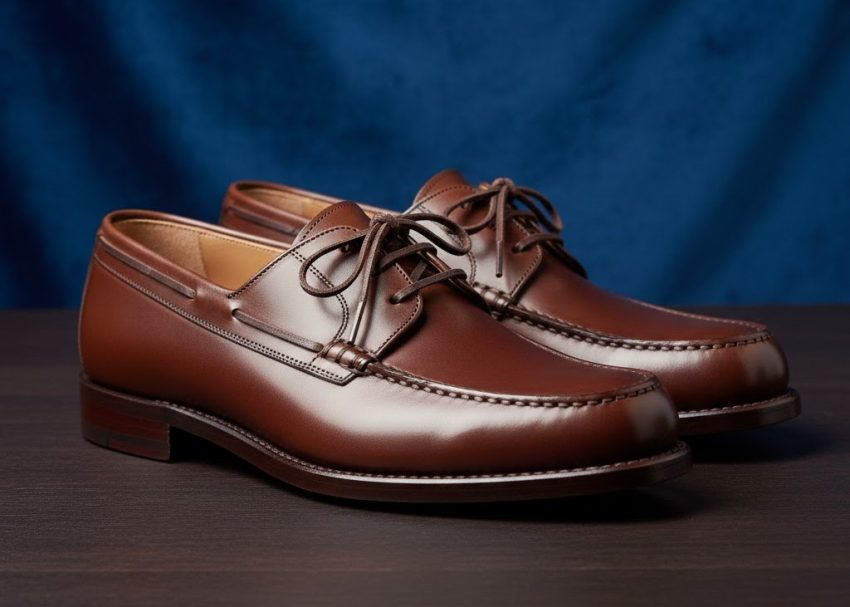
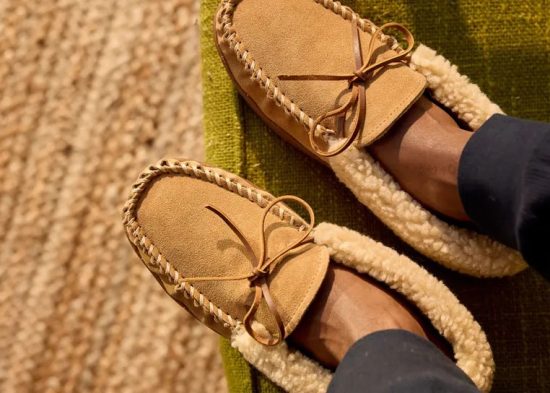
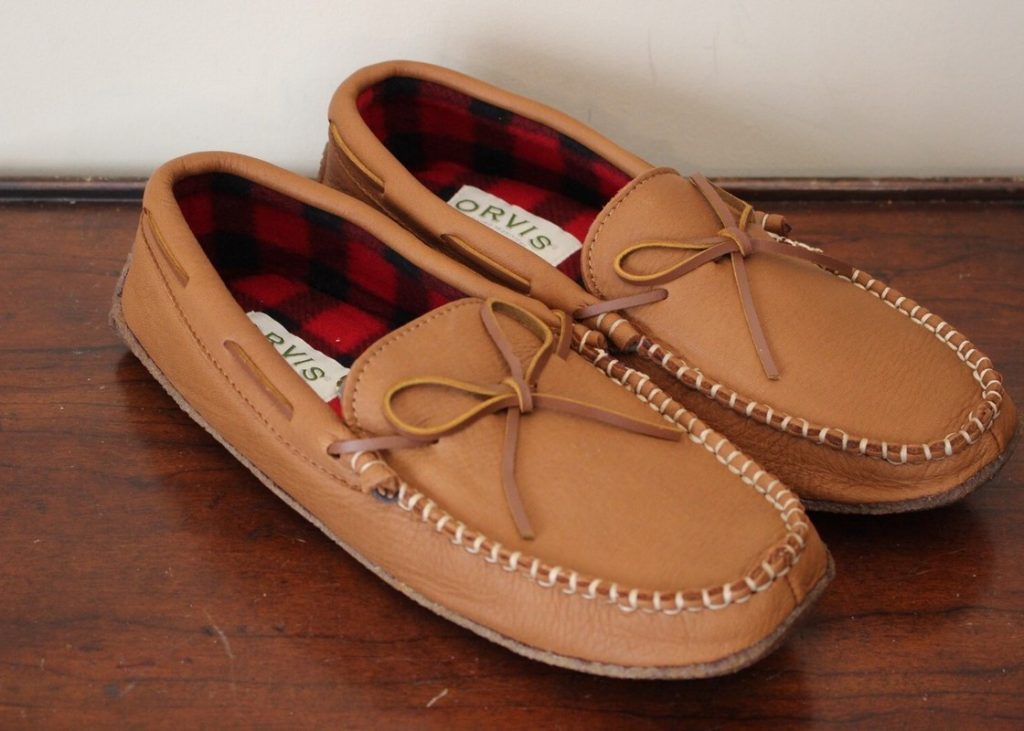
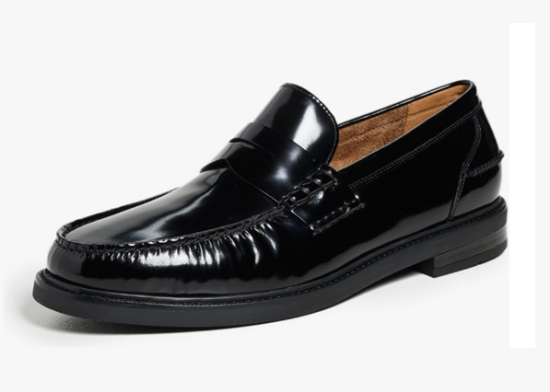
The Standard Commercial Moccasin (Flat-Lasted Full Forepart)
This widely produced style—known as the “standard” moccasin—features soft leather uppers (usually lined), hand-sewn front seams, U-bound leather toplines, elastic gussets under tabs, leather apron trims, short back counters with inserted stiffeners (pre-moulded or thermoplastic), cement-attached leather outsoles reinforced by forepart lockstitch seams, and a short insole/shank section for waist/seat lasting after forepart force lasting or pre-forming.
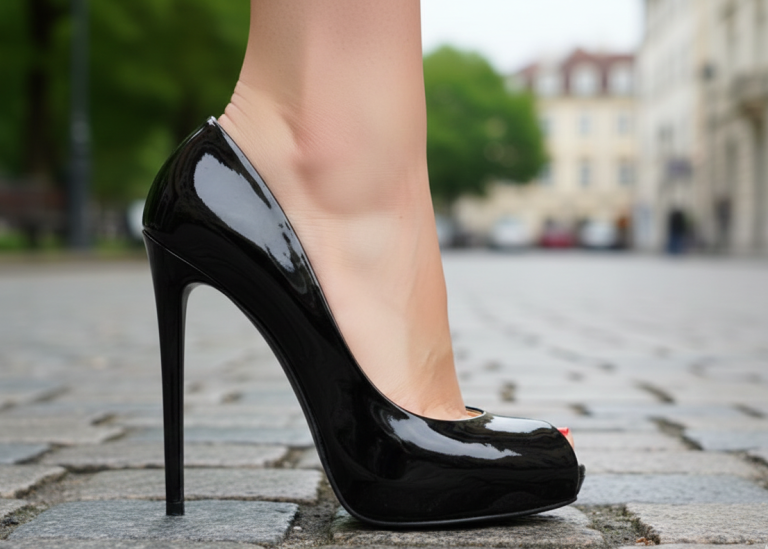
It accommodates both low and higher heels (with firm shank attachment to moulded seat/waist board for elevated styles).
Detailed cutting, closing, lasting, and shoe-room operations are comprehensively listed in tabular training references.
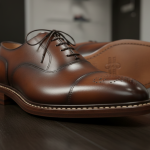
Luxury Hand-Sewn Dress Moccasins on the Last
Reserved for the absolute highest-grade luxury footwear—predominantly Italian—this labor-intensive method uses the finest calf or kid leather with full leather lining.
The complete hand-sewn sequence unfolds as follows:
- Upper fully prepared except for the apron (plug) seam; extra 2 cm allowance left on body edge for attachment; leather stiffeners frequently incorporated for premium quality.
- A half insole is temporarily attached directly to the last.
- Uppers are mellowed—dipped in water and allowed to soften thoroughly.
- The craftsman carefully positions the upper on the last, pulls it snugly over the toe area, and secures it initially with a few tacks driven into the top surface of the last.
- The front portion of the body is then hand tack-lasted onto the top of the last using gentle, controlled pulls with hand pincers until the entire forepart sits smoothly and securely without any visible pleats around the toe region.
- A sturdy leather band is fitted all around the front section of the shoe and held firmly in place by tacks driven into the waist area.
Lasting & Finishing Process
- The waist and seat portions of the moccasin are now lasted onto the insole—hand tacks secure the waist while a conventional tack seat laster handles the seat section.
- The assembled shoes rest on the lasts for a full day (or at minimum overnight) to properly “set” and retain excellent shape once the last is eventually removed.
- The body leather is meticulously hand-trimmed to the precise shape needed to receive the apron; this demanding cut—performed freehand with no guide marks—eliminates all tack-holding leather while the thick band continues to hold everything securely in position.
- The apron itself is temporarily positioned and secured with thin tacks placed so that final stitches will hide the holes.
- The apron is hand-sewn to the body using the classic traditional technique: the craftsman twists and waxes single strands of linen into custom-sized thread, rolls nylon or pig bristles into each end, pierces holes with an awl, inserts bristles with attached thread from opposite sides, and pulls through to form each individual stitch—continuing until the entire apron is securely attached. Temporary tacks and the leather band are then removed.
- The finished upper is carefully slipped off the last. The sole is first attached by cement, followed by a fine lockstitch sewn into a prepared channel in the leather sole; the channel lip is glued back down, concealing all stitches from view and protecting them from wear during use.
Pro Tip: When hand-sewing the apron, choose premium-grade linen thread and apply generous wax coating—this greatly reduces friction during stitching and produces tighter, more durable seams that elevate the overall luxury perception.
Conclusion – Why Moccasins Endure as a Shoemaking Classic
From their origins as practical, foot-conforming designs to their current status across casual slippers, durable commercial styles, and elite handcrafted luxury pieces, moccasins consistently deliver exceptional comfort, unmatched flexibility, and enduring appeal. Mastering the core disciplines—respectful handling of leather, accurate lasting, secure sole attachment, and precise finishing—enables creation of footwear that feels almost tailor-made for the wearer.