Footwear Manufacturing Cutting : Best Practices During Leather Cutting for Quality and Yield
Introduction
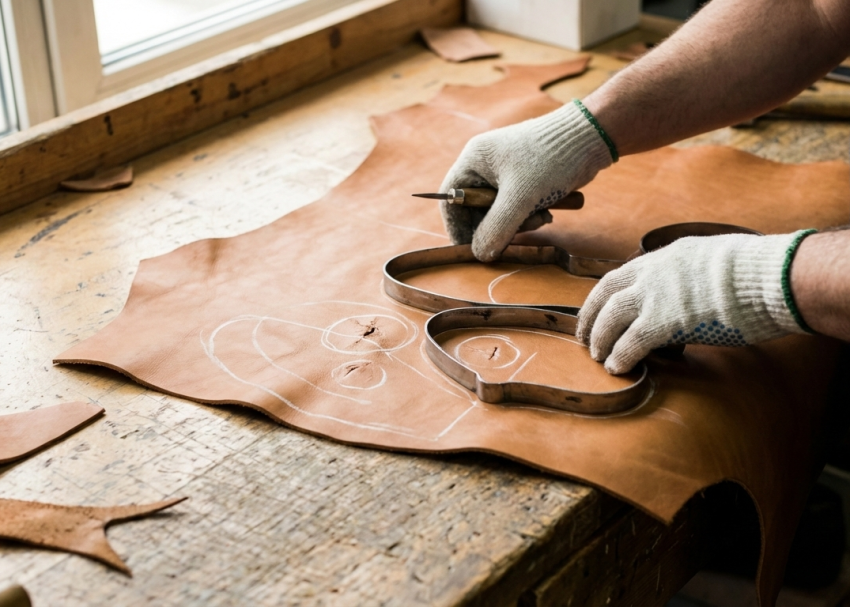
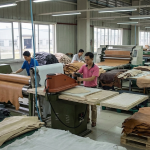
In footwear manufacturing, cutting is not just an operational task—it is a critical quality and cost-control function. Every decision made at the cutting table directly affects material utilization, component consistency, and final shoe performance.
This guide explains the best practices cutters should follow during cutting operations, focusing on flaw management, die placement, stretch direction, and waste reduction. When applied consistently, these rules help factories achieve higher yield, better quality, and improved production efficiency.

Why Correct Cutting Practices Matter
Effective cutting practices help to:
- Reduce leather waste and material cost
- Improve component appearance and fit
- Ensure consistent stretching and lasting behavior
- Prevent defects reaching later production stages
- Increase productivity and standardization
Best Practices During Cutting Operations
1. Prioritize Flawed Areas First
Cut components close to surface defects at the beginning.
This preserves clean areas for critical and visible parts later.
2. Maximize Yield in Defective Zones
When working with skins containing many flaws, place multiple dies first to determine the best possible layout and improve overall utilization.
3. Verify Doubtful Areas
If the suitability of any leather area is uncertain, always consult the supervisor before cutting. Early checks prevent costly mistakes.
4. Start with the Most Demanding Components
Always begin with:
- The largest skins
- The largest and most demanding dies
This ensures critical parts are cut from the best leather zones.
Smaller or less critical parts should be fitted later.
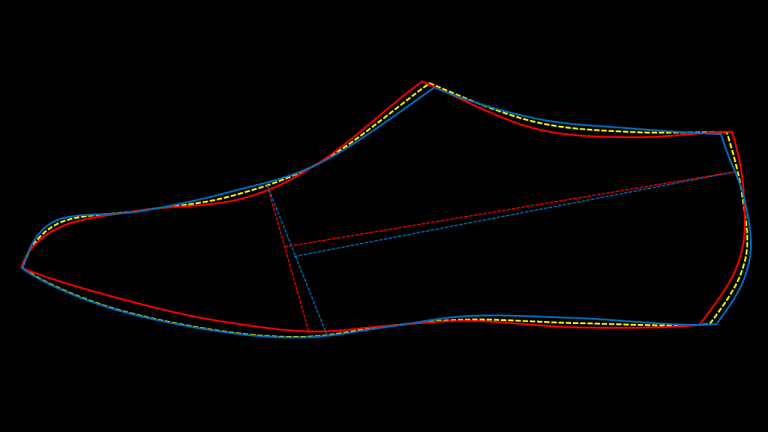
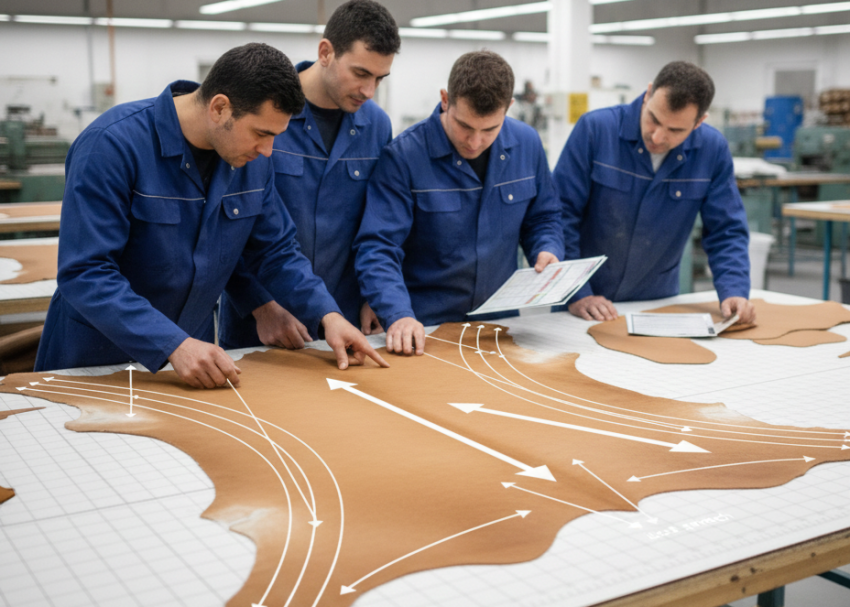
5. Follow Natural Stretch Direction
Cut components according to the natural tightness of the leather.
General rule:
- Stretch should run across the foot
- Tightness should follow heel-to-toe direction
This improves:
- Fit
- Shape retention
- Long-term wear performance
6. Cut Smart Around Flaws
Avoid placing visible parts on defected zones.
Instead, position flaws in:
- Lasting margins
- Underlay allowances
- Covered areas (logos, overlays, strips)
7. Match Straight Edges
Align straight edges of dies with straight edges of leather.
This minimizes awkward gaps and reduces waste.
Curved edges can also be matched where possible for better nesting.

8. Mix Dies for Maximum Economy
Do not cut dies in a fixed order.
Select the next best die based on how well it fits the remaining leather shape.
9. Create Repeatable Cutting Patterns
If certain dies interlock well:
- Arrange them in rows or blocks
- Repeat the same pattern
This standardizes cutting and improves yield consistency.
10. Plan Every Cut
Before cutting each die:
- Decide what the next cut will be
- Track the number of components already cut
Avoid over-cutting—excess parts always result in hidden waste.
Key Benefits of Following These Rules
| Area | Improvement |
|---|---|
| Material utilization | Higher yield, less waste |
| Product quality | Better appearance and fit |
| Production efficiency | Faster layout decisions |
| Cost control | Reduced leather consumption |
| Standardization | Repeatable cutting patterns |
Conclusion
Professional cutting is a blend of technical skill, planning, and material understanding. By applying these best practices—managing flaws, respecting stretch direction, optimizing die placement, and planning each cut—footwear factories can significantly improve both quality and profitability.
These rules transform cutting from a routine task into a strategic production advantage.