Troubleshooting Adhesive Bond Failures in Footwear Manufacturing: A Guide to Essential Testing Methods
Introduction: Why Adhesive Testing Matters in Footwear Production
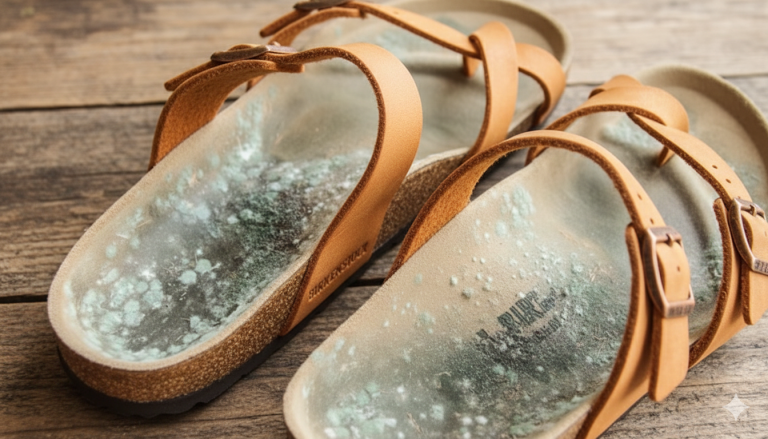
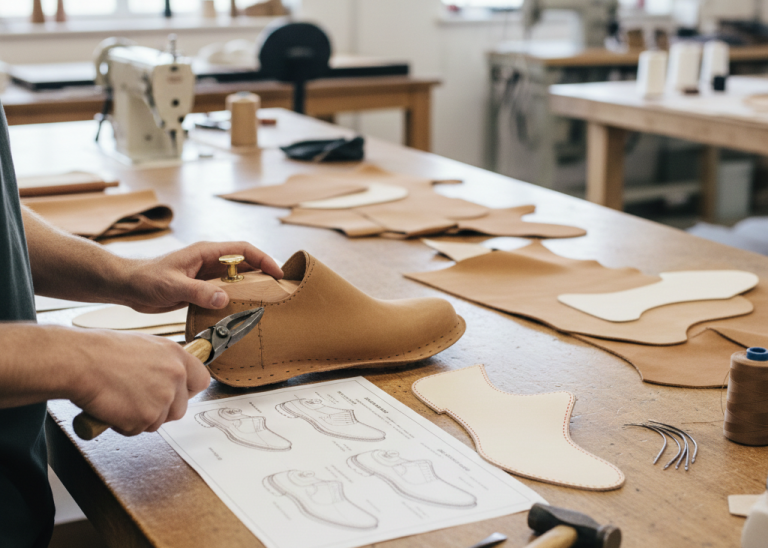
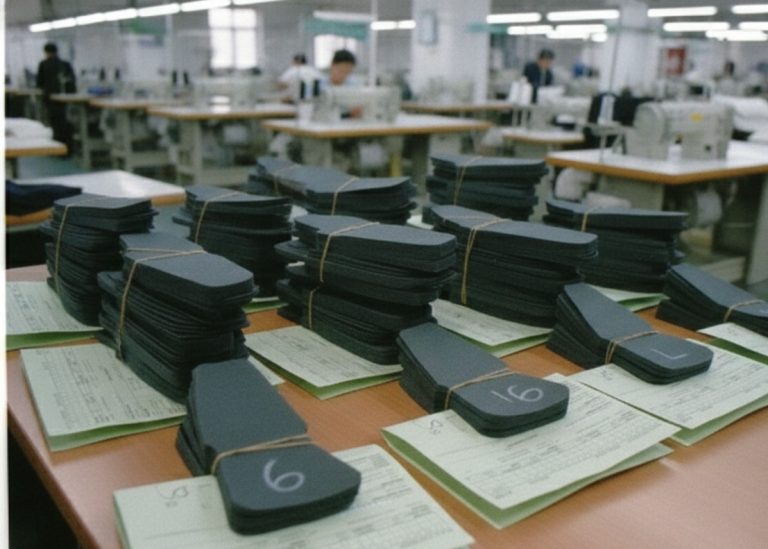
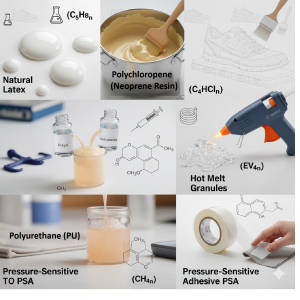
Manufacturers rely on robust adhesive bonds to craft durable footwear. However, when these bonds fail—leading to peeling soles or delaminating uppers—production lines stall, customer returns increase, and customer confidence quickly erodes. This blog explores adhesive testing in footwear production. Specifically, it presents innovative troubleshooting techniques combined with comprehensive testing methods. By adopting these strategies, companies can greatly elevate product quality and streamline operations. Whether you work with polychloroprene, polyurethane, or other adhesives, consistent testing serves as a vital cornerstone of success.
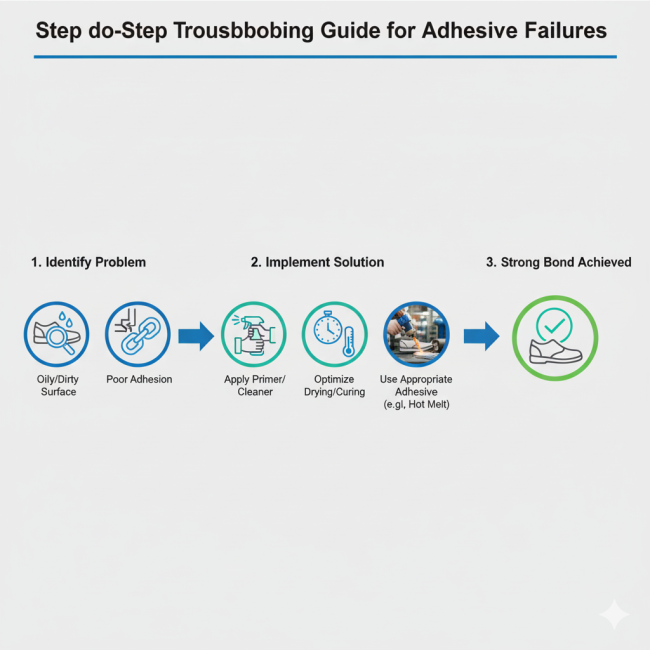
Common Causes of Bond Failures in Adhesives
Inadequate surface preparation severely undermines adhesion strength. In addition, manufacturers often select unsuitable adhesives for their specific projects. Applying adhesive too thickly or allowing premature self-curing also compromises bond integrity. Furthermore, shifting surfaces during hot melt solidification disrupts the entire process. Porous substrates absorb adhesive, thereby weakening the bond. Lastly, insufficient pressure application creates defects such as blisters and separations.
Challenges with Self-Curing Adhesives
Self-curing adhesives can present unique difficulties. For example, they may trigger reactions too soon after mixing. As a result, the adhesive hardens before it has a chance to form secure bonds. Therefore, regular monitoring during application and curing becomes crucial when performing adhesive testing in footwear.

Troubleshooting Tips for Adhesive Application Challenges
Manufacturers face diverse application hurdles daily. Thick adhesive complicates brushing and forms pleats. Inadequate surface pretreatment worsens these issues. Thinning the adhesive or enhancing cleaning protocols solves these problems..
Environmental Challenges
Environmental conditions frequently affect bonding quality as well. Oily surfaces and high humidity commonly cause over-drying and poor tack. To overcome this, applying primers such as trichloroethylene or polyisocyanate solutions removes contaminants effectively. Additionally, force-drying with infrared heating followed by applying adequate pressure greatly strengthens adhesion.
Managing Pressure
Proper pressure application is critical for strong bonds. Short dwell times result in insufficient pressure. By increasing pressure and extending dwell times, manufacturers can secure much more robust bonds. For hot melt adhesives, charring typically indicates excessive heat, while stringing usually signals temperatures that are too low. Therefore, carefully adjusting temperatures and keeping valves clean prevents drips. Ultimately, these adjustments turn potential challenges into successful adhesive testing outcomes in footwear production.
Essential Adhesive Testing Methods for Quality Assurance
Various testing methods help evaluate adhesive performance throughout footwear production. Manufacturers conduct these tests from the moment adhesive arrives until final curing is complete. Common examples include solids content, viscosity, drying time, shelf life, pot life, peel strength, and shear strength. These tests work well for water-based, solvent-based, rubber, polychloroprene, and polyurethane adhesives.
Solids Content Testing
Measuring Solids Content for Adhesive Testing in Footwear
Step-by-Step Solids Content Measurement Technicians start by weighing 5g of adhesive in a dish. Next, they dry it at 100°C for two hours, allow it to cool, and weigh it again. They continue repeating this cycle until the weight remains stable. Use this formula to calculate:
Percentage of solids= (Weight of solids = adhesive after heating and cooling / Weight of adhesive before heating)×100
This method ensures the adhesive’s consistency remains intact.
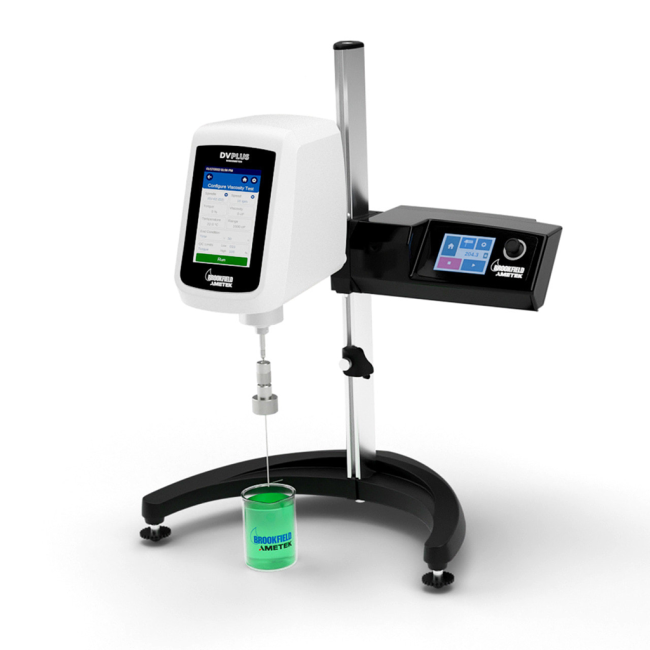
Viscosity Measurement
Assessing Viscosity in Adhesive Testing in Footwear
This testing reveals important information about adhesive age, quality, and stability. Operators use viscometers equipped with stands, motors, and rotating spindles. After selecting the correct spindle, they compare readings against standard reference values. Results are typically expressed in Centipoises (cps) for adhesive testing in footwear.
Shelf Life and Drying Time
Evaluating Drying and Pot Life in Adhesive Testing
Drying Time: Technicians measure drying time by checking when the adhesive no longer feels tacky to the touch..
Shelf Life: To assess shelf life, they periodically compare viscosity against fresh samples.
Pot Life: Manufacturers track viscosity changes over time to ensure alignment with production requirements.
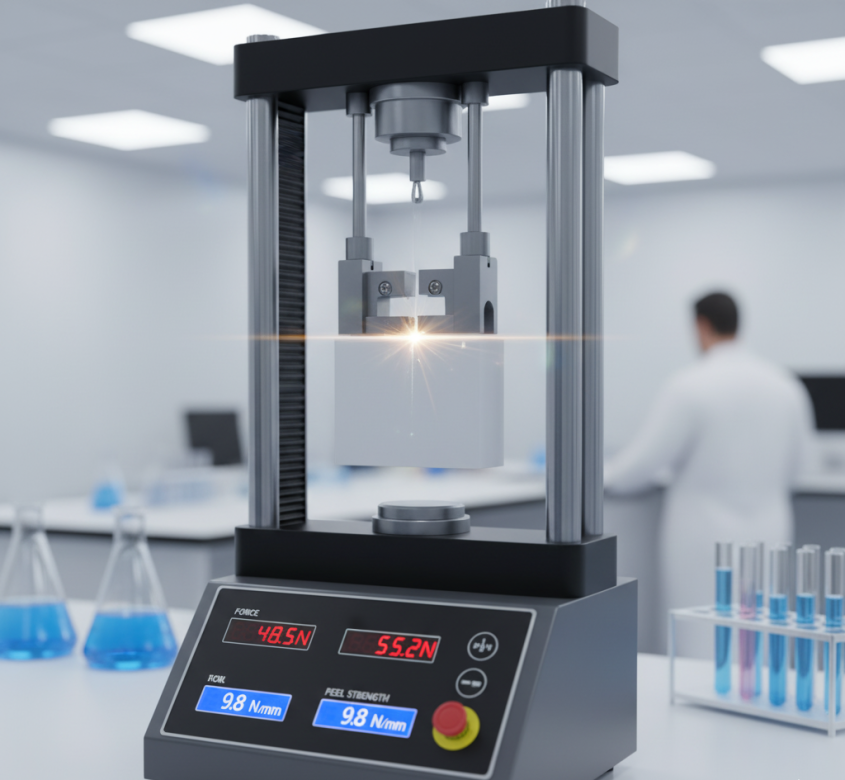
Shear and Peel Strength Testing
Testing Peel Strength for Adhesive Testing in Footwear
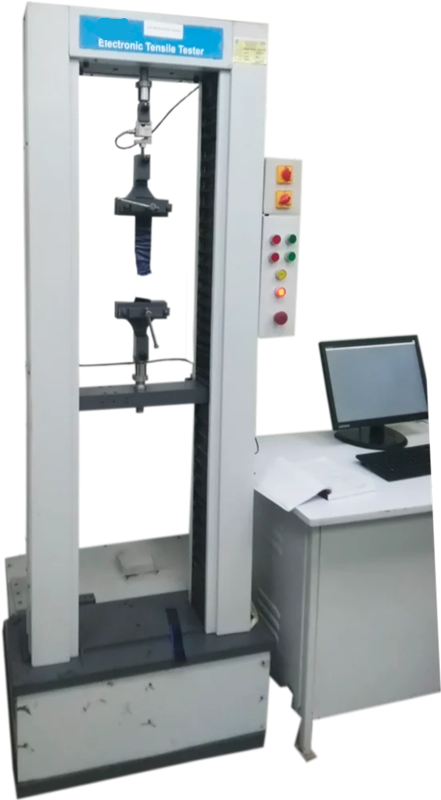
Accurate Peel Strength Testing Technicians measure peel strength in kg/cm width. They prepare 150 x 25mm strips and bond 75 x 25mm areas. SATRA tensometers apply 180° separation at 25cm/min after 48-hour conditioning. Subheading: Rigorous Shear Strength Testing This method evaluates joint strength under shear loads.
Preparation of test specimen: Technicians cut two 150 × 25 mm strips from the bonding materials. Next, they apply adhesive over a 75 × 25 mm area at one end. Then, they align the strips face-to-face and apply pressure of 2–4 kg/cm² for 30–60 seconds. Finally, specimens are conditioned for 48 hours at 27±2°C and 65% relative humidity.
Apparatus: Using SATRA Cantilever Tensometer The SATRA tensometer grips one end in an opposed clamp and the other at 180°. Technicians use a knife to initiate separation. The machine runs at 25cm/min or as recommended.
Peel strength after immersion in water: The specimens prepared as above is tested for peeling after load by the method mentioned above.
Tested for peeling after heat aging: Likewise, Testing After Immersion and Heat Aging They test peel strength after water immersion using the above method. They also heat specimens at 70±2°C for 100 hours before testing.
In Shear: This test measures the strength of the joint in shear when loaded to produce shear distortion of planes parallel to the plane of the adhesive bond.

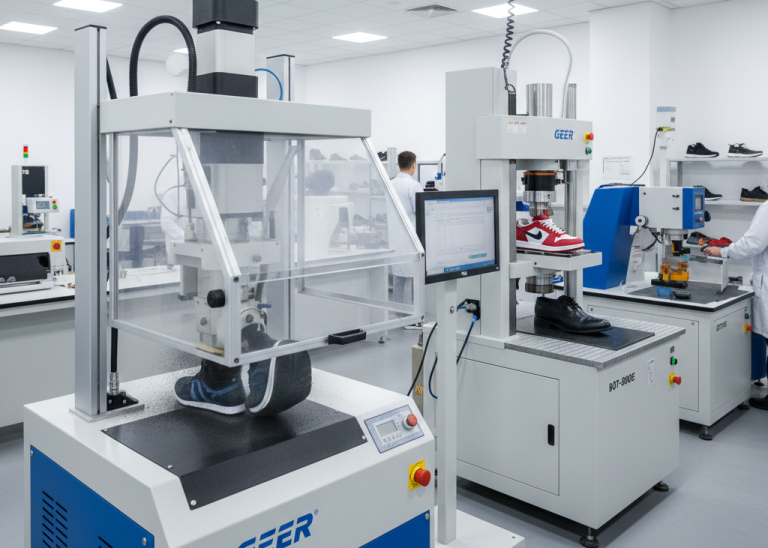
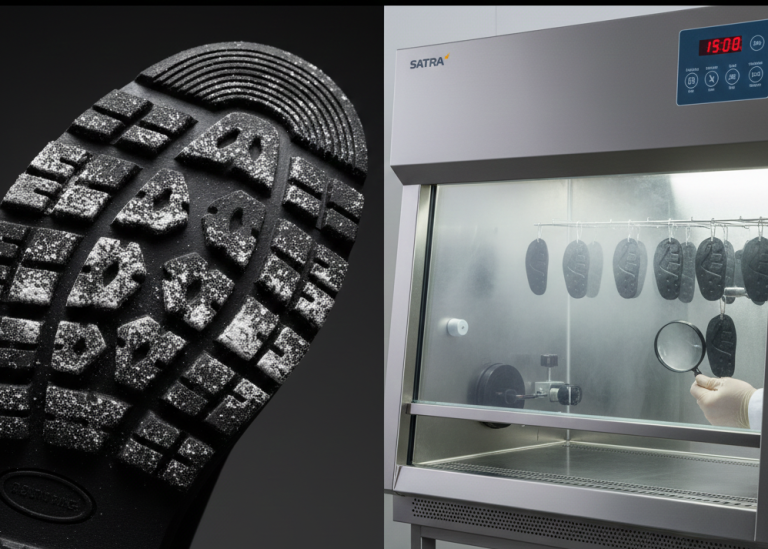
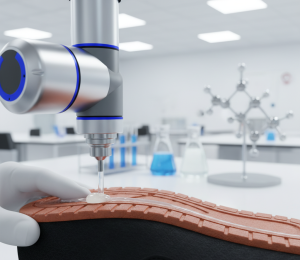
Sole Adhesion Test
Conducting Sole Adhesion Tests for Footwear Adhesive Quality
Adhesion Test of Outsole : Conducting Sole Adhesion Assessments Technicians evaluate toe, heel, and side adhesion with SATRA testers. They use a cantilever beam and toe load device to contact the toe or heel curve. It fix the shoe and support the sole on an anvil until separation. They note the gauge reading for the required force.
Required to separate at sole are tested for softening point, hot melt adhesives melt temperature, flow point, specific gravity, tensile strength and melt viscosity are given here for methods, are suggested and a few needle having reference.
(a) Penetration method: Testing Hot Melt Properties Technicians assess softening points, melt temperature, flow point, specific gravity, tensile strength, and melt viscosity. They use the penetration method with a 1 sq mm needle under 5g load.
Preparation of the test sample: First, cut 150 × 25 mm samples and apply adhesive over 25 × 50 mm areas. After drying, press the coated strips face-to-face. Grip the free ends 125 mm apart, apply load in the bonded plane, and record the force.
Ball and Ring Apparatus for Hot Melt Testing
Utilizing Ball and Ring Apparatus This apparatus measures hot melt flow and softening points. Technicians place samples under controlled conditions for precision.
Conclusion: Strengthen Your Bonds Through Rigorous Testing
Adhesive testing in footwear forms the foundation of high-quality manufacturing. Through targeted troubleshooting, bond failures can be addressed effectively. Regular peel strength, viscosity, and other tests dramatically reduce defects. Tools such as SATRA testers and Brookfield viscometers deliver actionable insights. As a result, manufacturers improve efficiency and product reliability by implementing these methods today. Stay tuned for more insights in our series!