Chrome Tanning Process: Complete Guide from Pickled Pelt to Wet Blue Leather
Estimated Reading time: ~ 7 minutes
Introduction
Welcome back to our in-depth Leather Manufacturing Series! After covering the complete beamhouse process (soaking → liming → deliming → pickling), we now move into the heart of leather production: chrome tanning. This is the single most important stage that converts perishable, acidified pickled pelts into stable, heat-resistant, and globally tradable wet blue leather — the universal semi-finished product that accounts for over 80–90% of all leather used in footwear, upholstery, automotive, and fashion worldwide.
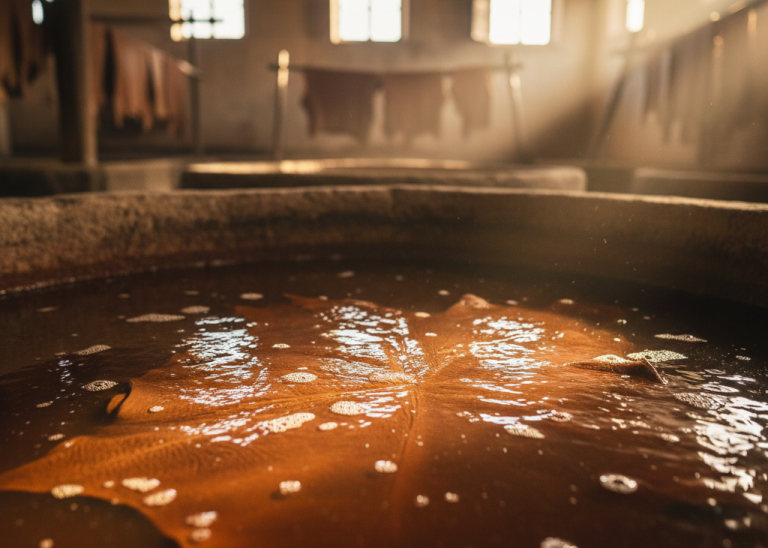
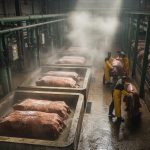
Pickling – The Essential Pre-Tanning Step
After deliming and bating, hides must be acidified and preserved before chrome can penetrate. This step ensures the collagen fibers are swollen and ready for even chromium uptake, preventing defects like uneven tanning later.
Process parameters
- Acid: Sulfuric acid (or formic/sulfuric blend) 1–2%
- Salt: 6–8 Bé (50–70 g/L NaCl)
- Final pH: 2.5–3.0
- Temperature: 20–25 °C
- Time: 90 min to 6 hours
- Drum: Same drum used for tanning (no unloading)
Best Practice: Check pH in the thickest part of the hide (neck area) using a surface probe. Uniform pH ≤ 3.0 across the cross-section is mandatory for even chrome penetration.
Pro Tip: Add 0.5–1% formic acid (85%) in the last 30 minutes — accelerates penetration by 30–40% and reduces grain damage risk.
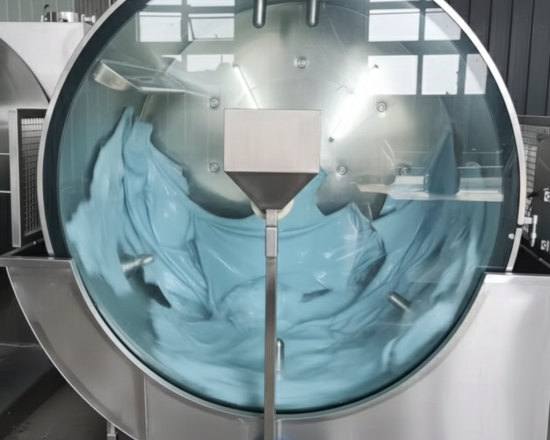
Chrome Tanning (Chroming)
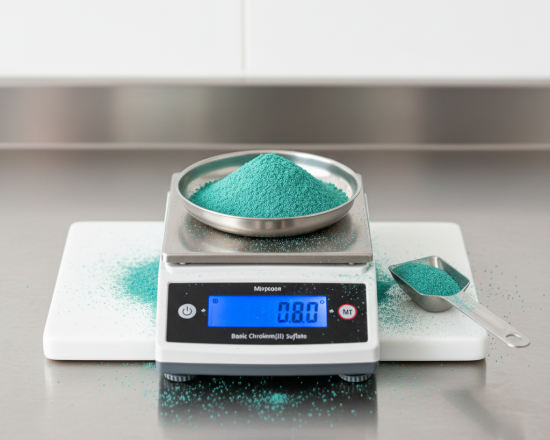
The actual tanning reaction begins when basic chromium sulfate is introduced.
Standard offer
- 6–8% commercial basic chromium sulfate (24–26% Cr₂O₃) on pickled weight
- Liquor ratio: 0.5–1.0 (short float preferred)
- Temperature: 20 °C → gradual rise to 40 °C
- Duration: 4–12 hours at 8–12 rpm
Best Practice: Pre-dissolve chrome powder in warm water (40–45 °C) and add through automatic dosing pumps over 60–90 minutes to prevent surface over-tanning.
Pro Tip: Add 0.3–0.5% of a masked chrome complex (33% basicity) at the start — this dramatically improves initial penetration in thick cattle hides..
Basification – The Make-or-Break Step
This is where reversible tanning becomes permanent.
Procedure
- pH rise: 3.0 → 3.8–4.2
- Agents: MgO, NaHCO₃, sodium formate, or self-basifying syntans
- Temperature: Final hour at 35–40 °C
- Time: 3–6 hours
Best Practice : Use automatic pH-controlled dosing systems. Target final exhaustion of bath: Cr₂O₃ in spent liquor < 0.1 g/L.
Pro Tip : Switch to magnesium oxide after pH 3.6 — it gives slower, more controlled rise and results in softer, fuller leather than sodium bicarbonate.
Critical check: Shrinkage temperature (Ts) must reach ≥100 °C (test using boiling water test or differential scanning calorimeter).


Post-Basification Operations – Often Ignored but Absolutely Critical
These mechanical and stabilization steps ensure the wet blue is uniform, stable, and ready for storage or shipment. Skipping them risks chrome migration, wrinkles, or microbial growth.
Unloading & Horsing Up
Hides exit the drum and drain on perforated stainless horses for 4–12 hours at ambient temperature.
Best Practice Tilt horses at 15–20° for gravity drainage; avoid stacking until liquor drips cease to prevent “chrome bleeding.”
Piling / Ageing (24–48 hours)
Stack 20–40 hides in a humidified room (18–22 °C, 80–90% RH) for diffusion.
Best Practice Use breathable tarps over piles to retain moisture without trapping heat, which could cause spotting.
Pro Tip Mist piles with 0.5% sodium formate solution mid-ageing — boosts fixation by 5–10% and enhances belly fullness.
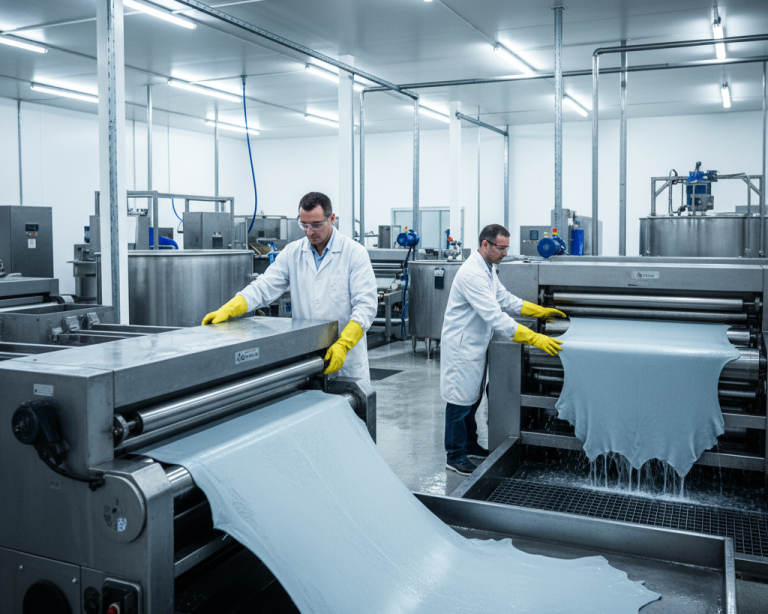
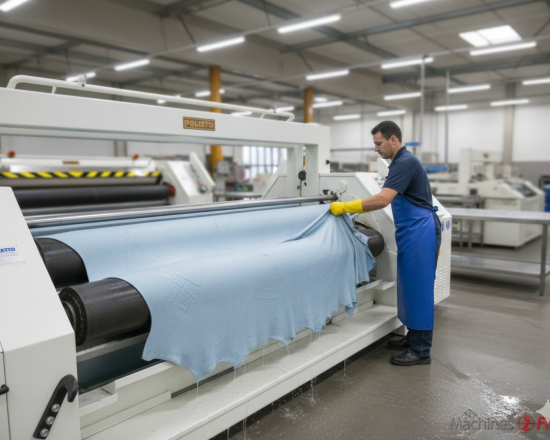
4.3 Setting Out & Samming
Mechanical stretching and dewatering via through-feed machines.
Best Practice Dual passes: First with felt rollers (low pressure, 100 bar) for smoothing; second with rubber (150 bar) for wringing. Speed: 8–12 m/min.
Pro Tip Calibrate roller gaps to hide thickness (±0.1 mm) — yields 3–5% more square footage without grain tears.
Pro Tip: Use felt rollers first pass (100 bar), rubber second pass (150 bar) → 3–5% higher area yield.
Direct Machinery Links:
Rizzi Flamar (setting/samming machines): https://rizzi.it/en/homepage-english/
Poletto (staking and samming): https://www.machines2find.com/ads/181-staking-machines-cartigliano-2-bj (example listing; contact via OFFICINE POLETTO S.r.l.)
Turner (splitting/samming): Referenced in industry directories; contact via https://www.wotol.com (used machinery marketplace for Turner models)
Vacuum Drying (Optional but Common for Export)
Reduces moisture to 12–18% for stability.
Best Practice: 45–50 °C at 70–100 mbar for 2–4 hours; monitor via hygrometer to avoid over-drying.
Prot Tips: Pre-spray 1–2% synthetic fatliquor — prevents case-hardening and improves re-wetting in post-tanning by 20%..
Direct Machinery Links:
- Cartigliano (vacuum dryers): https://www.cartigliano.com/en/leather-division/
- Rotopia (drying systems): Integrated with Cartigliano; see above for details.
- Seipa (drying tables): Referenced in tannery equipment; contact via https://machinesitalia.org/company/cermac-srl (related supplier network).

Advantages & Disadvantages of Drying Wet Blue After Tanning
Drying wet blue (to “crust” stage) stabilizes it for long-distance shipping, but it’s not always mandatory.
Advantages:
- Extended Shelf Life: Reduces water content to 12–18%, minimizing bacterial/mold growth; wet blue can last 1–2 years vs. months if undried. (Vonbaer.com / durlicouros.com.br)
- Easier Handling & Transport: Lighter weight (30–50% less) cuts shipping costs; uniform moisture prevents warping during transit. (leathercraftmasterclass)
- Better Post-Tanning Consistency: Pre-dried hides rehydrate evenly, improving dye uptake and finishing yields by 5–10%. (Arcanefox)
- Market Flexibility: Preferred for global trade; allows buyers to customize retanning without spoilage risks.
Disadvantages:
- Risk of Fiber Damage: Over-drying (>50 °C) causes brittleness or cracking, reducing tensile strength by 15–20%. (Leatherneo)
- Energy & Cost Intensive: Vacuum systems consume 20–30 kWh per batch; not eco-friendly in water-scarce regions. (steelhorseleather)
- Loss of Natural Pliability: Dried hides may require more fat liquoring to regain softness, adding a processing step. (Vonbear)
- Environmental Load: Increases energy footprint; undried wet blue is more sustainable for local finishing. (durlicouros.com.br)
Final Quality Check – Cross-Section Test
Verify uniformity before packing.
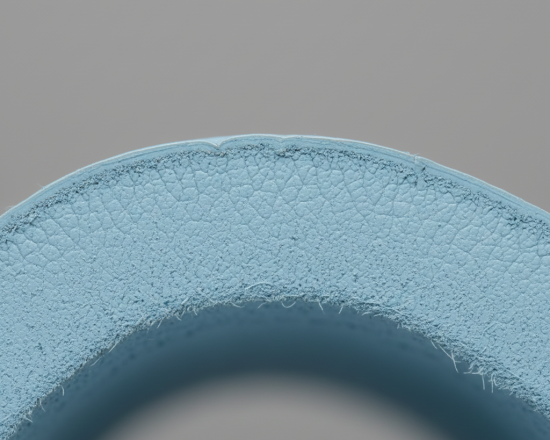
Best Practice: Cut a 1 cm strip from butt, neck, and belly. All three must show uniform color and pH 4.0–4.2 when tested with indicator paper.
Physical Tests Required for Chrome/Wet Blue Leather
Quality control for wet blue ensures compliance with standards like IUP 6 (IULTCS), ASTM, or ISO 4044. These tests focus on physical integrity, as wet blue is semi-finished. Perform on representative samples post-drying.
Key Physical Tests:
- Shrinkage Temperature (Ts): Measures thermal stability (ASTM D6076 or IUP 16). Heat samples in water; Ts ≥100 °C indicates successful tanning. Best Practice: Test at 1–2% strain rate; low Ts signals under-tanning.
- Tensile Strength & Elongation: Pulls strips until break (IUP 6 or ASTM D2209). Minimum 200 N/cm width for uppers. Pro Tip: Condition samples at 65% RH/20 °C for 48 hours pre-test to mimic real use.
- Tear Strength: Measures resistance to ripping (IUP 8 or ASTM D4843; single/double tongue method). >20 N for light leathers. Best Practice: Test grain and flesh sides separately.
- Thickness Uniformity: Gauge at 10+ points (IUP 3). ±0.2 mm tolerance. Pro Tip: Use digital micrometers; variations >0.5 mm predict finishing defects.
- Moisture Content: Oven-dry method (IUP 9); 12–18% for dried wet blue. Best Practice: Avoid over-drying to prevent brittleness.
- Water Vapor Permeability (WVTR): Breathability test (ASTM E96); >5 mg/cm²/h.
- Visual & Surface Inspection: Check for chrome stains, wrinkles, or uneven blue via microscopy (IUP
Pro Tip : Use UV light for hidden defects.
These tests (detailed in ASTM leather standards) ensure export readiness and end-use performance.
Reference : ASTM / Gesterinstruments / leelinebags
Sources & Further Reading (Verified Direct Links)
- TFL Basification Guide: https://www.tfl.com/en/advice/application-advice/pickling-and-tanning-basification-ph-of-chrome-tannage.jsp
- Stahl EasyWhite Tan & Chrome Basics: https://www.stahl.com/leather-brands/easywhite-tan
- Buckman Pickling/Tanning Guide: https://www.buckman.com/applications/pickling-tanning-and-basification-for-chrome-tanned-leathers/ (replaces outdated Bulletin 7014)
- UNIDO Leather Processing Resources: https://leatherpanel.org/publications-categories/cleaner-technologies (includes manuals on processing)
Conclusion – The Complete Journey
The chrome tanning process, from pickling to post-basification stabilization, exemplifies efficiency and versatility, producing durable wet blue that underpins 90% of global leather goods. By integrating best practices like precise pH control, automated dosing, and rigorous physical testing (e.g., Ts and tensile strength), tanners can achieve superior yields, compliance, and sustainability. While drying offers logistical advantages, balance it against energy costs and fiber risks for optimal results. Ultimately, chrome tanning’s speed and performance make it indispensable, but pairing it with eco-innovations (e.g., chrome recovery) ensures a thriving, responsible industry.
Missed earlier parts?
← Part 4: Tanning to Crust
← Part 3: Transforming hides into Leather
← Part 2: Preparing hides for Tanning
← Part 1: From Hide to Pre-Tanning
For sustainable leather production standards: Leather Working Group → https://www.leatherworkinggroup.com/