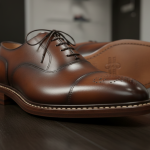
Stitching Control in Footwear Manufacturing: Motors, Trimmers, Guides, and Safety Systems
Stitching control plays a critical role in footwear manufacturing, as it directly influences stitch accuracy, operator safety, and overall product consistency. While stitch appearance is immediately visible on finished footwear, the systems that regulate stitching quality often operate unnoticed in daily production. These systems include motor selection, trimming mechanisms, edge guides, safety guards, and ergonomic workstation design.
Moreover, modern stitching machines are no longer evaluated only by speed. Instead, factories assess them based on control, reliability, safety, and ease of operation. As a result, improved stitching control helps manufacturers reduce defects, lower operator fatigue, and maintain uniform quality across production lines.
Stitching Machine Motors: The Foundation of Control
The stitching motor drives the machine and determines how accurately the operator can control speed, stopping position, and stitch placement. Over time, motor technology has evolved from mechanical clutch systems to electronically controlled solutions.
Therefore, understanding motor types is essential for improving stitching performance in footwear factories.
Clutch Motors: Traditional but Skill-Dependent
Clutch motors have long been used in industrial stitching machines and are still found in many traditional footwear factories.
Key characteristics:
- Power is transmitted continuously via a running motor and clutch mechanism.
- Speed control depends heavily on operator skill and foot pedal modulation.
- Needle stopping accuracy is limited, especially at high speeds.
Advantages:
- Lower initial cost.
- Simple mechanical design.
- Robust and widely understood by maintenance teams.
Limitations:
- Difficult to control at low speeds.
- Needle stopping precision is inconsistent.
- Higher noise and energy consumption.
- Quality variations increase with operator fatigue or inexperience.
Consequently, clutch motors tend to amplify differences in operator skill, which can lead to inconsistent stitch quality across shifts and production batches.
Pro Tip: Clutch Motor Usage : Use clutch motors only for non-visible stitching operations such as internal reinforcements or temporary seams, where minor stitch variation is acceptable..

Electronic Motors: Precision and Consistency
Electronic motors, often mounted directly under the machine bench and provide direct electronic control over stitching operations.
Key benefits:
- Stitching speed is controlled electronically rather than mechanically.
- Needle position can be accurately controlled (up or down).
- Smooth acceleration and deceleration improve stitch accuracy.
Operational advantages:
- Reduced learning curve for new operators.
- Better consistency across shifts and production batches.
- Lower noise and reduced power consumption.
As a result, electronic motors support higher productivity while maintaining uniform stitch quality, even on complex footwear components.
Pro Tip: Productivity Improvement
Electronic motors can increase line efficiency by 5–10% by reducing rework caused by uneven stitch starts and stops.
Needle Positioning Motors: Advanced Control for Complex Operations
Needle positioning motors represent a further advancement by allowing the needle to stop automatically in a predefined position.
Why this matters:
- The needle can stop precisely at the top or bottom of the stroke.
- Operator handling during turns, corners, and edge alignment improves.
- Stitching errors caused by uncontrolled stopping are reduced.
Impact on productivity:
- Faster operator response during directional changes.
- Improved stitch alignment on curves and tight radii.
- Reduced rework on visible stitching areas.
Although needle positioning motors involve higher initial cost, they deliver long-term quality and efficiency benefits, particularly for premium footwear production.
Pro Tip: Quality Stitching
For toe caps, quarters, and decorative seams, always set the needle stop position to needle-down during curves to avoid stitch displacement.
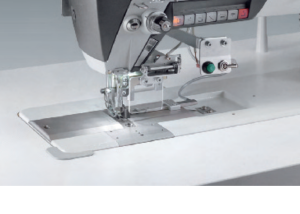
Back Tacking and Trimming Systems
Manual Back Tacking: Traditional Control
In manual back tacking, the operator controls reverse stitching and thread trimming.
Challenges:
- Inconsistent back tack length.
- Risk of insufficient or excessive reinforcement.
- Dependence on operator experience.
Therefore, manual systems often produce uneven results across operators.
Electronic Back Tacking and Thread Trimming
Modern machines integrate electronic control for both back tacking and trimming.
Advantages:
- Uniform stitch reinforcement at the start and end of seams.
- Automatic thread cutting at consistent lengths.
- Reduced risk of loose or overly short threads.
Operational benefits:
- Improved seam durability.
- Cleaner stitch appearance.
- Faster cycle times without operator distraction.
In addition, electronic thread trimming cuts threads at controlled lengths, preventing loose ends or excessively short threads.
Pro Tip: Defect Reduction
Electronic trimming significantly reduces thread pull-out complaints in customer quality audits.
Automatic Trimming Mechanisms
Automatic trimming systems activate immediately after the stitching cycle is completed.
Key improvements:
- Consistent thread length across all components.
- Reduced manual handling and rework.
- Enhanced visual quality of finished footwear.
Consequently, automatic trimming improves both productivity and visual quality, especially on exposed stitching areas.
Pro Tip : Visual Quality
Automatic trimming is highly recommended for exposed stitching on uppers, where loose threads affect perceived product value.
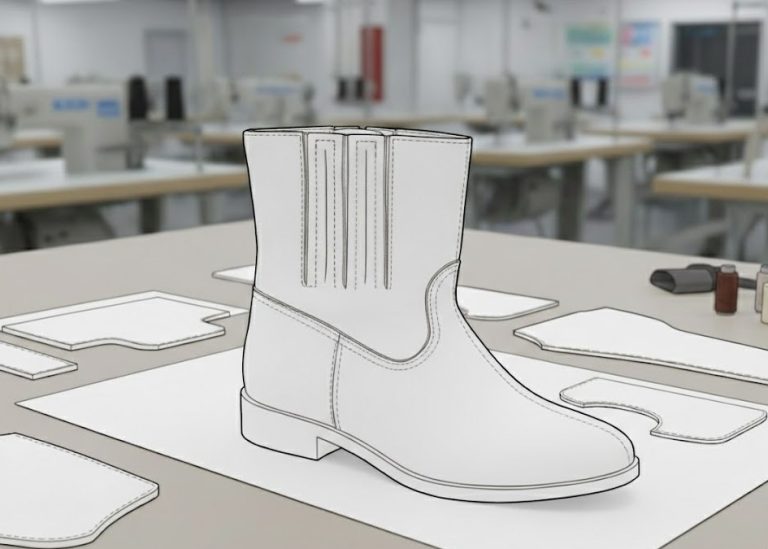
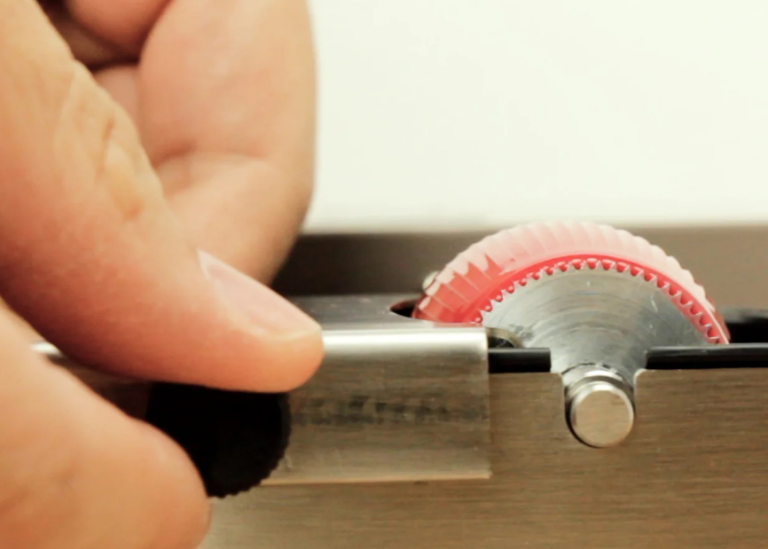
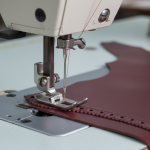
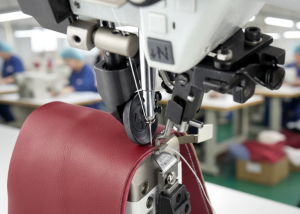
Stitching Guides: Ensuring Edge Accuracy
Edge Guides and Flip-Down Guides
Guides are essential for maintaining a uniform distance between the stitch line and the component edge.
Functions of guides:
- Keep stitching parallel to edges.
- Improve visual symmetry.
- Reduce operator concentration load.
Flip-down edge guides:
- Can be engaged or disengaged quickly.
- Allow rapid change between guided and free stitching.
- Ideal for mixed operations and varied components.
As a result, guides help standardize stitch quality across different skill levels
Pro Tip : Skill Balancing
Edge guides are excellent tools for balancing line output, as they allow newer operators to meet quality standards faster.

Guards and Operator Safety
Safety guards are mandatory on all moving parts of stitching machines and protect operators from needle-related injuries.
Needle Guards and Eye Guards
Primary functions:
- Protect the operator’s eyes from needle breakage.
- Prevent accidental finger contact with the needle.
Design considerations:
- Must not obstruct the operator’s line of sight.
- Should be positioned at approximately 90 degrees to the viewing angle.
- Must be large enough for protection but compact enough to avoid distraction.
However, poorly designed guards may distract operators and are often removed, which increases safety risks.
Pro Tip: Needle and thread sizes must be carefully matched to material thickness. Incorrect selection often causes thread breakage or surface perforation.
Conclusion
Stitching control in footwear manufacturing involves much more than needle movement. It includes motor technology, electronic control systems, trimming mechanisms, guides, safety guards, and ergonomics.
When these elements work together, manufacturers achieve higher consistency, improved safety, and better productivity. For modern footwear factories, investing in effective stitching control systems is a strategic requirement rather than an optional upgrade.